Featured materials
18Master class IntermediateFree
A step-by-step tutorial for sewing a two-layer panama hat: draft the pattern for the crown top, side band, and brim to your own measurements, fuse the pieces with interfacing and double-sided fusible web, sew and bind the seams with bias tape, join the crown to the brim, and finish with decorative metallic topstitching.
Master class Beginner40 minFree
A step-by-step tutorial for drafting a three-tier skirt pattern: take the main measurements — hip circumference and garment length, split into three tiers — plus extra height measurements from the waistline to the floor at the front, side, and back; calculate the first tier's width, adjust it using the reference points, and calculate the second and third tiers' widths using a gathering coefficient.
Master class Beginner1 hrFree
A step-by-step tutorial for sewing a 50×50 cm pillowcase with the French seam on the outside: cut a square piece and two rectangular pieces, hem the long edge of the rectangular pieces with a double fold, layer the pieces wrong-side up so the envelope flap forms in back, sew the main seam with a 1.3 cm allowance, turn the pillowcase right side out, and topstitch around the perimeter 1.5 cm from the edge — this is what creates the neat French seam on the right side, while all the raw edges stay hidden.
Master class Intermediate2 hr 30 minFree
A step-by-step tutorial for sewing a baby sleep sack: print and tape together the pattern (or draft it yourself from a grid diagram), cut the bib, back, and bag pieces, sew the lining to the batting and quilt it, gather the top of the bag, sew the bib to the front, insert a zipper into the side seam, join the outer fabric to the lining, and bind the raw edges with bias tape.
Master class Beginner1 hrFree
A step-by-step tutorial for sewing a Simon the Cat plush toy: print the pattern, cut the fleece pieces with seam allowances, sew the body, clip notches on the paws and cut a slit in the head, turn the toy right side out and stuff it with hollow-fiber filling, sew on the tail and eyes, then finish the face and paws with decorative stitching.
Master class IntermediateFree
A step-by-step tutorial for sewing boxer briefs from knit fabric using ready-made patterns (sizes 46, 48, 50, 52): assemble the fly, bind it with bias tape, join the double gusset to the front and back pieces, calculate and sew on the elastic waistband using four alignment marks, and hem the bottom edge.
Master class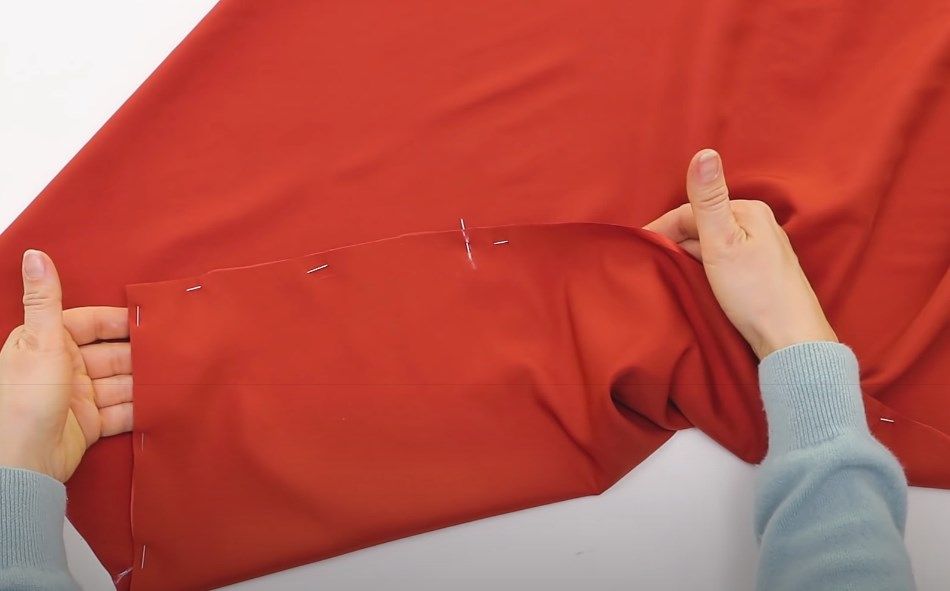 IntermediateFree
A step-by-step master class for sewing an elastic-waist satin midi skirt: choosing lightweight fabric, bias cutting with the Grasser pattern, steam-shrinking the waistline, sewing an enclosed seam without a serger, adding a double elastic waistband, and finishing the hem with a baby hem.
Master class AdvancedFree
A personal breakdown of sewing a kids' winter parka from a ready-made pattern: welt pockets, assembling the front panels and back, insulating the lining, setting in the zipper and hood, a waist drawstring with a grommet, a wind flap, and elastic cuffs with hook-and-loop tape — including fabric and insulation amounts used.
Master class Beginner1 hr 30 minFree
A step-by-step tutorial for sewing a double hat from an old sweater: take a single measurement — head circumference — cut the outer piece from the sweater's back and the lining from fleece, shape the crown seam with angled cuts, sew the outer layer and gather the top, assemble the lining in two steps for a snug fit, hand-sew the lining to the brim, then make and attach a fur pompom.
Master class Beginner1 hrFree
A tutorial for a knit beanie hat: make a simple pattern from a single measurement, cut and sew the piece, finish the bottom edge, form pleats along the back seam, and decorate as you like.
Master class Beginner1 hr 30 minFree
A step-by-step tutorial for sewing a "fruit slice" hot pad: cut fabric strips in three colors, sew them into a panel, cut wedge-shaped pieces from it using a template flipped in a checkerboard pattern, piece the wedges into a fan, fill the center with a half-circle, quilt the piece onto a backing with batting, and bind the straight and curved edges with contrasting binding.
Master class Beginner2 hrFree
A tutorial for home slippers made from fabric scraps: assemble a padded sole from felt, batting, and denim, make a patchwork top using the "pizza" technique, join the pieces, and finish the edge with a knit binding.
Master class Beginner1 hrFree
A step-by-step tutorial for making a patchwork mosaic without fussy piecing: draw random lines on a paper template, dividing a square into several sections, stack 4 layers of different fabric together, transfer the markings and cut through all the layers at once, then swap same-shaped pieces between the layers to get 4 blocks in coordinating fabrics; assemble the finished blocks into a mosaic using one of three methods.
Master class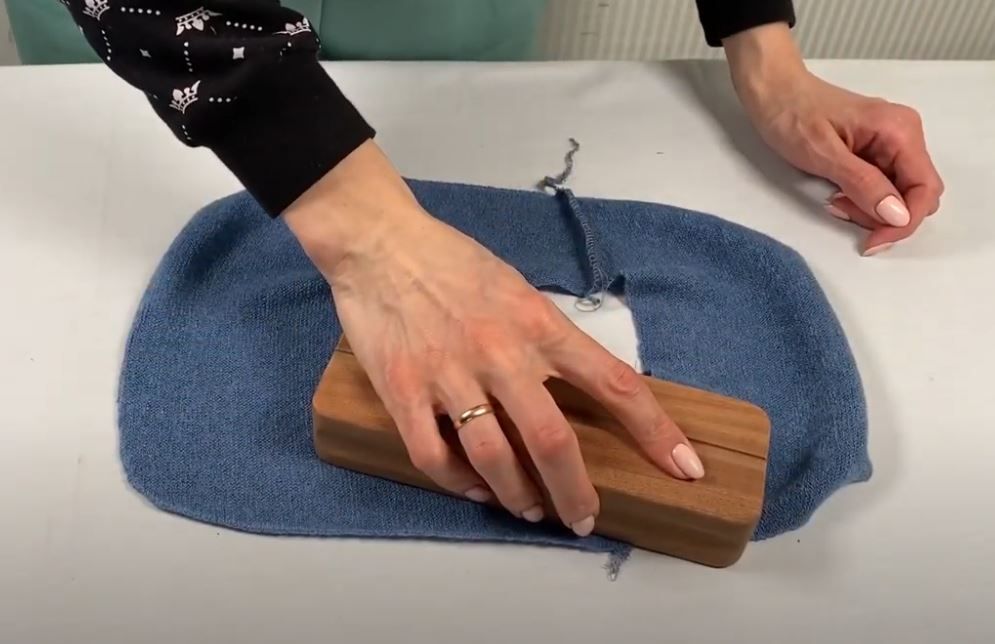 BeginnerFree
A step-by-step master class for sewing a warm neck warmer dickey from angora knit or French terry: print the universal pattern, cut the pieces, stabilize the shoulders, sew the shoulder seams, prepare the collar, and attach it using four control points.
Master class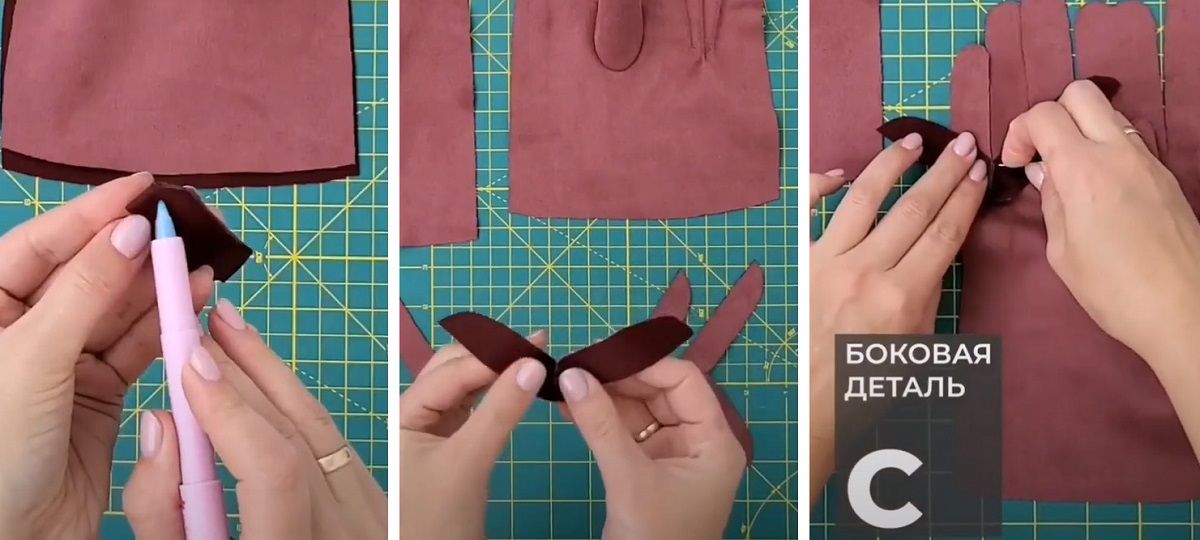 IntermediateFree
Step-by-step master class on sewing gloves: measuring the palm without the thumb, sizes 5-9 for palm circumferences of 16-24 cm, full-size pattern sheets with a scale check, length adjustment, 1 mm tucks, 3 mm seams, the thumb, and side pieces A, B, C.
Master class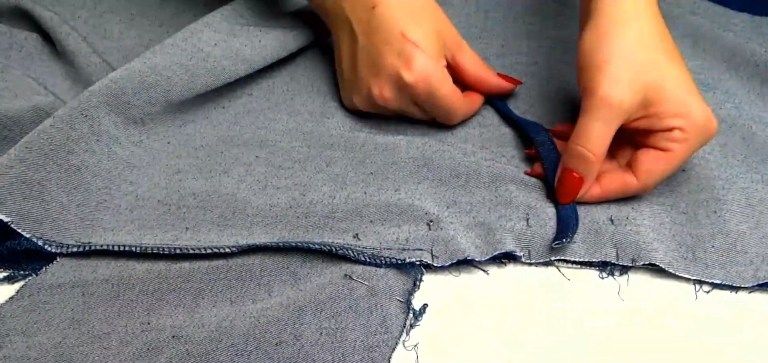 Intermediate2 hrFree
A detailed sewing tutorial for a wrap dress: download and print the A4 pattern at 100%, choose size 40-52 and height 158, 164, or 176, cut the fronts, back, sleeves, pockets, belt, facing, and ties from medium-weight natural fabric, then sew the darts, shoulders, pockets, sleeves, side seams, front edge and neckline facing, belt, and hem.
Master class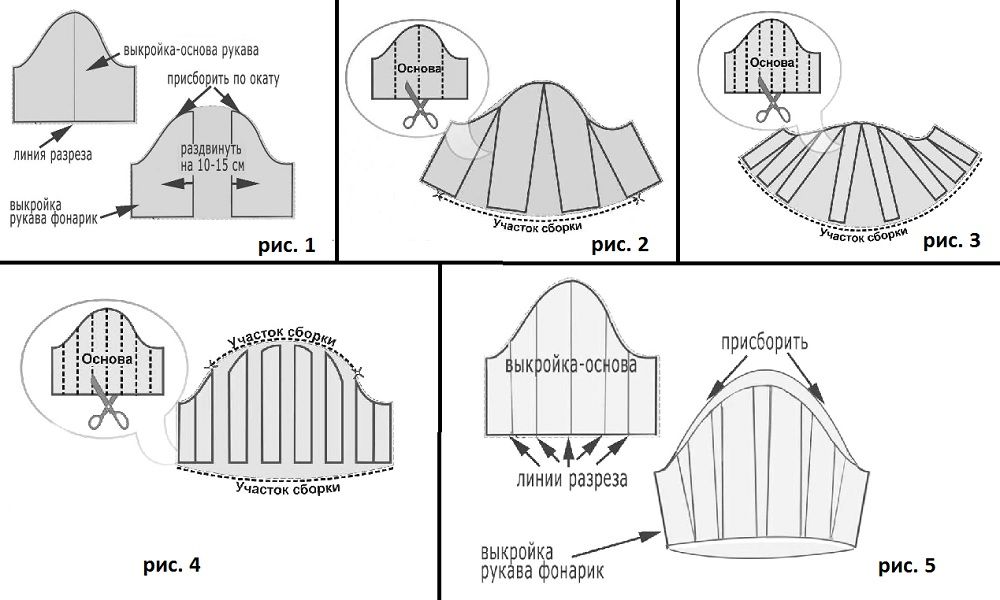 IntermediateFree
This master class shows how to model a puff sleeve from a basic straight sleeve pattern: cut and spread the pieces for gathering at the hem, at the sleeve cap, or along both lines, while avoiding extra fabric near the underarm seam.
Master class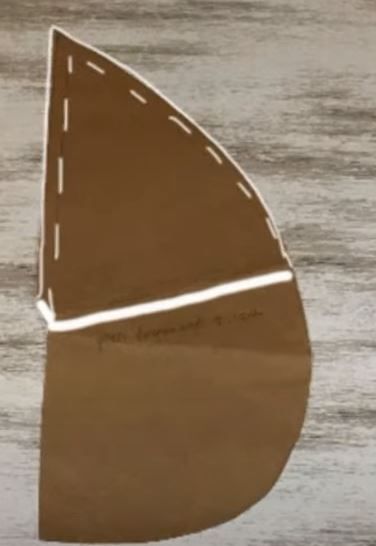 IntermediateFree
How to sew a Teardrop backpack: prepare the outer and lining pieces, add 1.5 cm for the side zippers, mark the openings, stabilize the outer pieces with polyester batting, fusible interlining, or interfacing, then assemble the pockets, plackets, front, back, straps, and final backpack.


