
Chinese Knot Button From Cord: A Loop and a Knot
 BeginnerFree
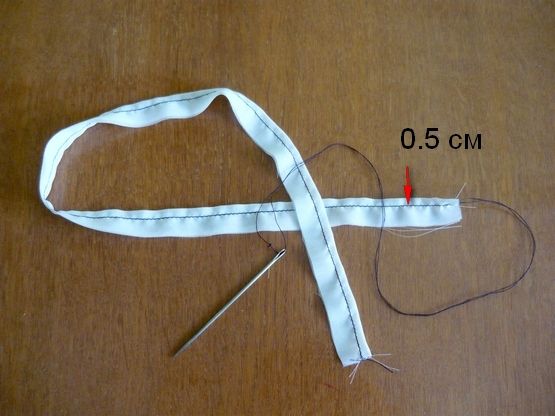
A step-by-step tutorial showing how to make a round fabric cord from bias tape and braid a basic Chinese knot button with a loop.
Rubrics
Komok.me
Komok is a craft community for master classes, lessons, and projects in sewing, knitting, and other crafts.


Home decor
Home decor craft tutorials with handmade decorations, textile decor, seasonal ideas, furniture refreshes, and DIY details.
BeginnerFreeA step-by-step tutorial showing how to make a round fabric cord from bias tape and braid a basic Chinese knot button with a loop.

 BeginnerFree
A step-by-step tutorial for a decorative plaster vase: a mix of 2 parts plaster to 1 part water, poured into a balloon, spread across the walls, dried for a couple of hours, an opening cut in, a plaster foot cast in a 1-1.5 cm ring, then sanding, painting, and varnish.
 BeginnerFree
A step-by-step recipe for papier-mâché paste: soften pieces of toilet paper gradually in construction PVA glue, then add liquid soap, sunflower oil, starch, and flour one by one, and knead the mass on the table like dough for 10-15 minutes.
 BeginnerFree
Assemble a floating ornament tree: round metal grid, four chains, a hanger, fishing line, and a seven-tier layout.
 BeginnerFree
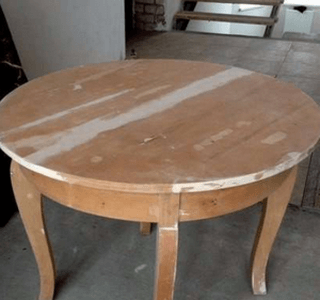
A master class on how to refresh an old round table: strip the old finish, fill and sand the tabletop, decorate it with fabric using glue, and seal the result with layers of varnish.
 BeginnerFree
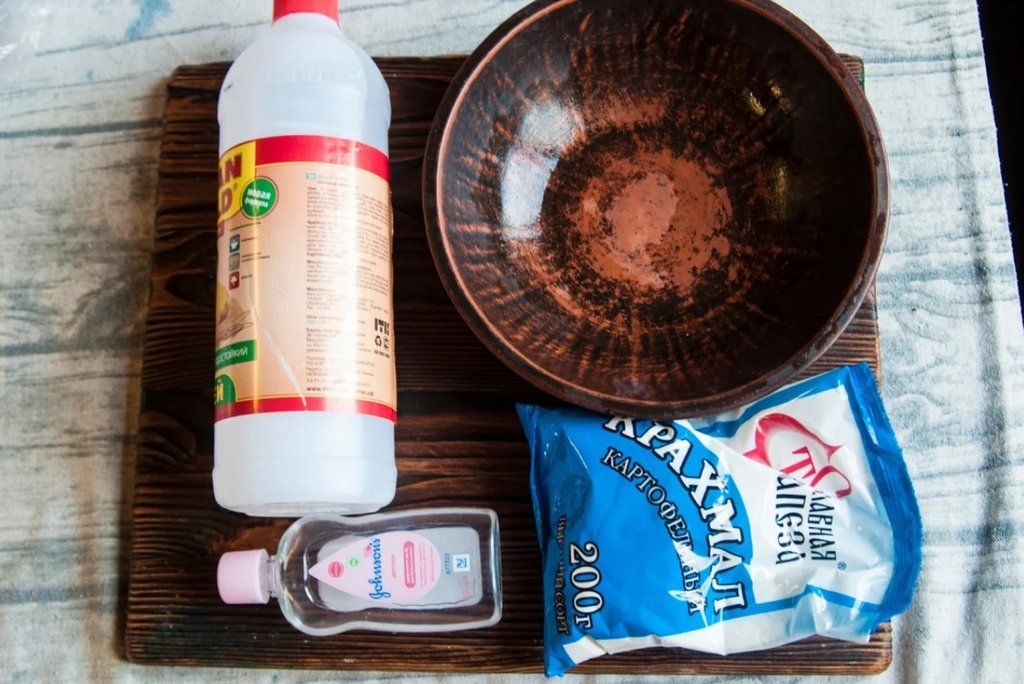
This master class shows how to make air-dry modeling clay as an alternative to polymer clay. The mixture uses starch, Titan glue, and baby oil. Add glue to a mound of starch: about 2 tablespoons of glue per 100 g of starch. The proportions are approximate, so add more starch until the mixture becomes a firm dough that pulls away from your hands. Add 2–3 teaspoons of baby oil to the nearly finished mixture and knead again; the oil makes the clay softer, more flexible, and easier to use for small details. Uncolored clay stays slightly translucent when rolled thin, so add white pigment or colored paints for a denser color. Thin pieces harden in about 30 minutes, while larger figures need at least a day to dry. After drying, the pieces are not brittle and keep a useful amount of flexibility.
 IntermediateFree
A step-by-step tutorial for decorating a notebook cover with ready-made embroidery: calculate the piece sizes with a simple formula, reinforce the wrong side with fusible interfacing, join the embroidered motif to the fabric and lace trim, assemble the front and back pieces with inner flaps, and close it up with a blind stitch.
 Beginner1 hr 30 minFree
A quilted leaf rug tutorial: make a pattern, cut the pieces from raincoat fabric, cotton, and batting, assemble the cover, hand-sew the opening, and machine-quilt the marked lines.

 BeginnerFree
The author makes a ring-binder notebook from scratch: cuts the parts from heavy cardboard, optionally adds synthetic batting, covers the blank with faux leather and fabric, assembles a closure, and glues in the ring binder mechanism. The full dimensions on the diagram are not explained in the text.

 IntermediateFree
A step-by-step tutorial for decorating a tabletop with a scarf: take the old table apart and prep it, lay the scarf in place and glue it down with PVA from the center outward, fold and glue the edges under the tabletop, then apply at least 5 thin coats of yacht varnish, letting each one dry fully before the next.

 BeginnerFree
Here's how to restore old furniture on a budget: sand the surface, sketch a design in pencil, work it in with wood stain, and finish with varnish.
 BeginnerFree
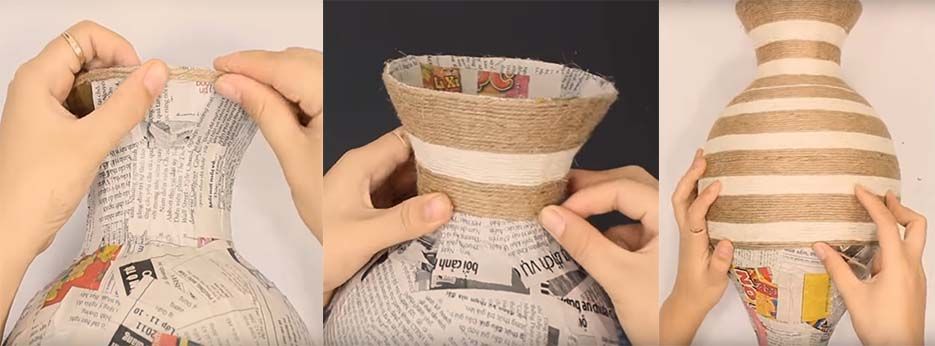
This tutorial shows how to build a vase form from a balloon and a plastic bottle, strengthen it with glued paper layers, wrap it with jute, and decorate it with burlap flowers and beads.
 BeginnerFree
Make a collapsible 3D product-photo backdrop from thick cardboard and printed background sheets or self-adhesive film. Cut slotted panels from the sample, prepare 6 backgrounds, cover and reinforce the panels, and combine them into different shooting setups.

 BeginnerFree
This master class shows how to make nuno felt by wet-felting wool onto tulle mesh. You need bubble wrap, felting wool, tulle mesh, natural soap, and a spray bottle. Lay the tulle and wool fibers on the bubble wrap in a loose arrangement, then crumple the mesh into folds to create organic curves: some wool sits inside the mesh and some on top of it. If the tulle is not enough, add more pieces and continue building folds vertically. Once the base area is set, cover the folds with a thin continuous layer of wool, leaving 4–5 cm free around the edges. Spray the piece with warm water, cover it with a second piece of bubble wrap with bubbles facing inward, and massage with soapy water. Knead and roll until the wool firmly felts into the tulle. After rinsing and drying, the material shrinks by at least 33–35%. The bouclé folds can be left as they are, or you can gently pull the mesh in selected areas for more volume and texture.
 Beginner4 hrFree
A tutorial for a New Year faux fireplace made from cardboard boxes: build the frame, reinforce it with cardboard, papier-mâché it with newspaper and prime it, cut and glue on foam "bricks," paint, and decorate with a garland and ornaments.
 BeginnerFree
Two ways to refresh old shoes: iron a pattern onto sneakers or moccasins using transfer paper, and dress up ballet flats with a grosgrain ribbon bow trimmed in sequins or beads.

 BeginnerFree
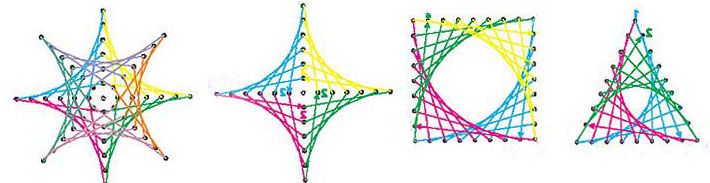
Learn the basic string art embroidery shapes for beginners: how to mark points on cardboard, stitch an angle, circle and square, how point spacing changes the look, and why complex images are built from several simple geometric charts.
 BeginnerFree
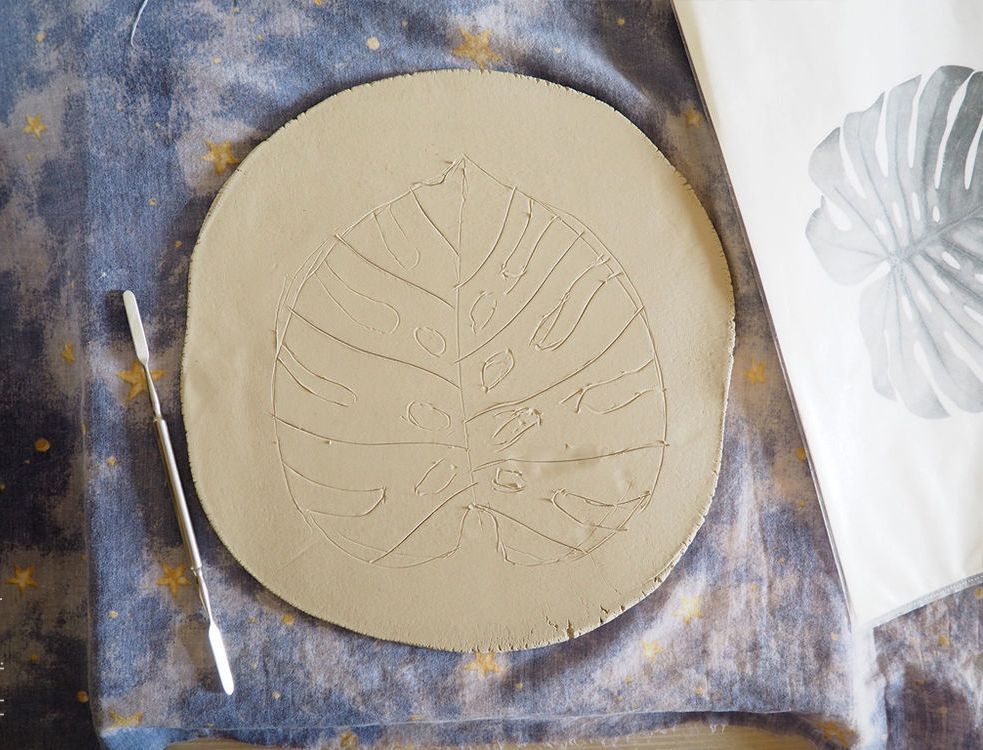
This tutorial explains how to make a soap dish shaped like a monstera leaf: roll clay to about 5 mm, cut the slots, smooth the edges, shape it in a bowl, dry it, sand it, and paint it.