Clay monstera soap dish: leaf shaping and painting
This tutorial explains how to make a soap dish shaped like a monstera leaf: roll clay to about 5 mm, cut the slots, smooth the edges, shape it in a bowl, dry it, sand it, and paint it.
BeginnerFree
Translated
Things you will learn
For beginners, dark green polymer clay is the easiest option: after baking, the piece already reads as a leaf.
Roll the slab to about 5 mm and transfer the leaf outline from a drawing or paper template.
The most important neatness step is smoothing every rectangular cut with a modeling tool and a damp finger before drying.
Shape the soap dish while the clay is still flexible: place the leaf in a bowl and let it dry in that curve.
Monstera leaf soap dish
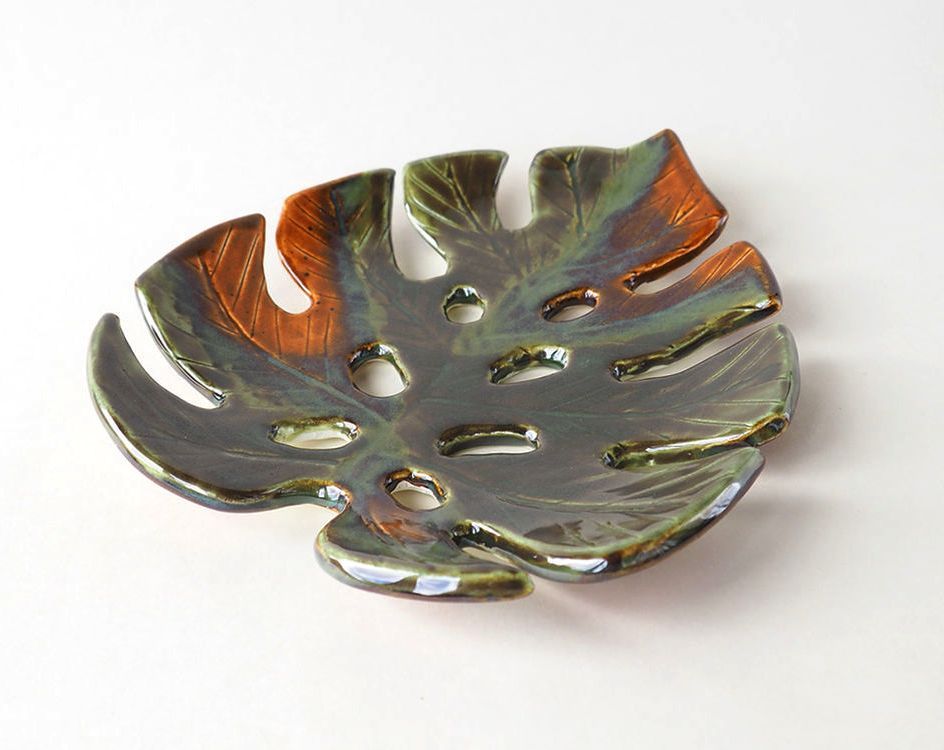
The finished piece is a shallow decorative soap dish in the shape of a monstera leaf. The slots, curved bowl shape, veins, and painting make it suitable for a bathroom, sink area, or as a small tray for dry items.
Materials and tools
Materials
Polymer clay or white clay, The original uses classic white clay and then paints it; for beginners, the author suggests dark green polymer clay.
Water, For smoothing the edges with your finger.
Monstera leaf drawing or paper template, Transfer the drawing directly to the slab or cut around a paper template.
Paints, Needed if you work with white clay.
Cloth or protective work mat, Protects the table while rolling, cutting, and painting.
Tools
Rolling pin, For rolling the clay slab.
Plexiglass or a flat guide, Helps keep the slab thickness even.
Modeling tool or thin knife, For cutting slots, shaping the outline, and smoothing the form.
Bowl, Used to give the leaf its curved soap-dish shape.
Fine sanding mesh, For smoothing the surface after drying.
Damp sponge, For removing sanding dust before painting.
Brushes, For painting veins and colour.
Oven or the fixing method required by your clay, Set temperature only according to the manufacturer’s instructions for your clay.
Preparation
Check your clay type
The original tutorial combines drying, painting, and later heat fixing. Before you start, check the instructions for your exact clay: air-dry, polymer, and ceramic clay all require different finishing methods.
Prepare the leaf outline
Choose a recognisable monstera shape with large cuts. If you do not want to draw directly on the clay, cut a paper template in advance.
Roll the clay and transfer the leaf
First make an even slab and transfer the monstera silhouette onto it.
Prepare the materials and workspace
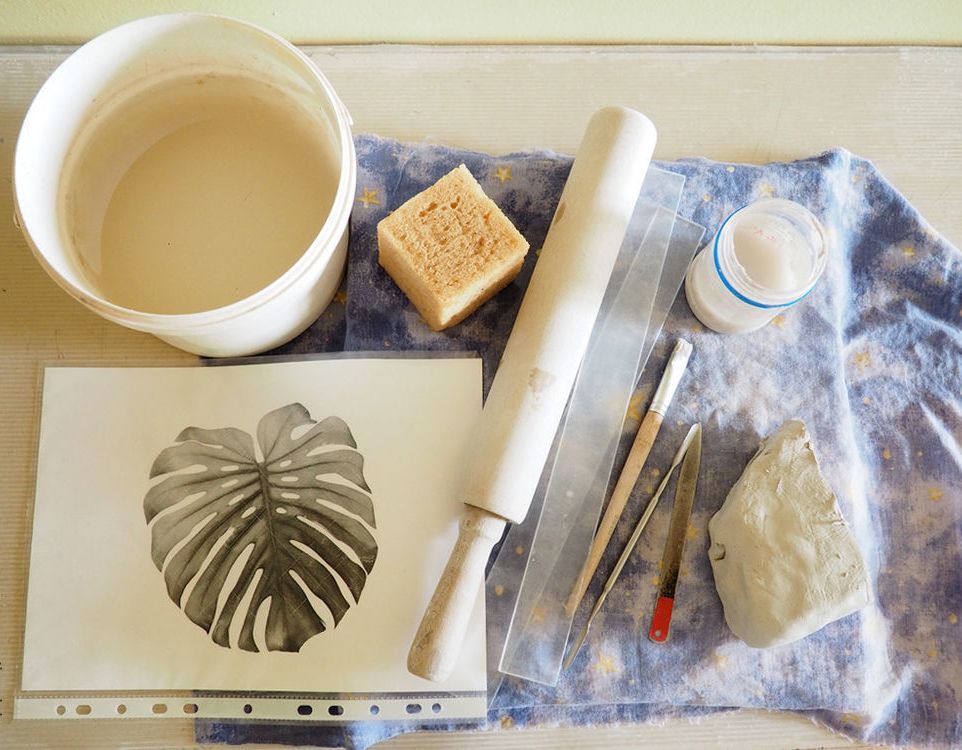
Lay out the clay, water, modeling tool, rolling pin, brushes, and work mat. Keep the monstera leaf drawing nearby from the start.
Prepare clay, water, modeling tool, rolling pin, and the monstera leaf drawing.
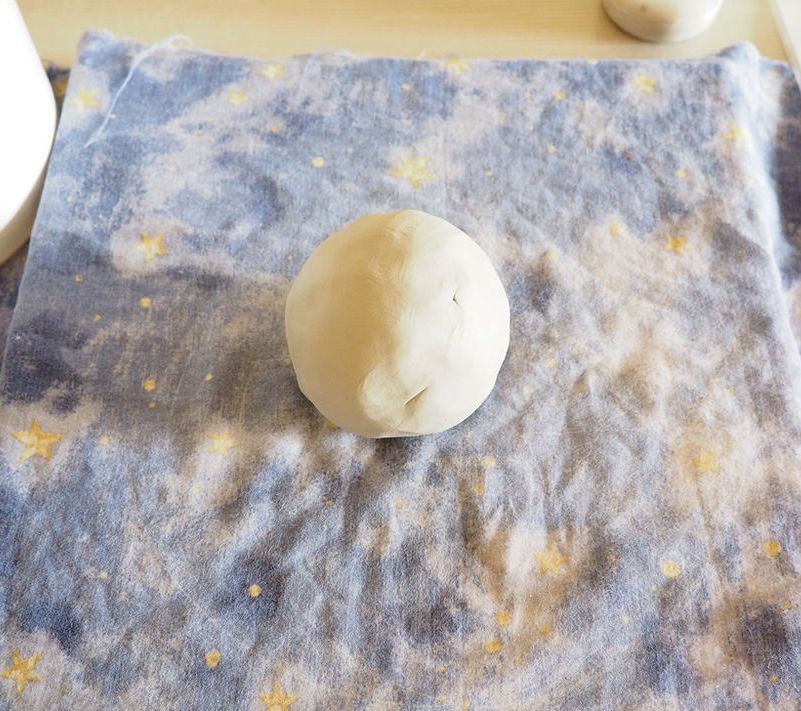
Knead and roll the slab
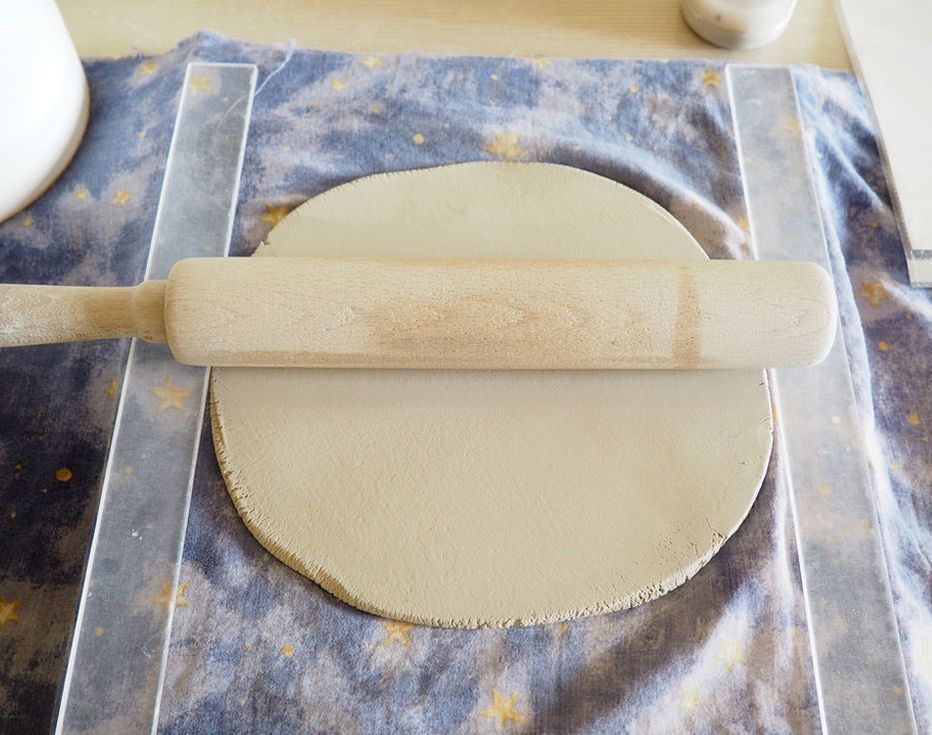
Knead the clay and roll it with a rolling pin to about 5 mm. You can control evenness with plexiglass or another flat guide.
Knead the clay before rolling it out.Roll the slab and control the thickness.
Check the thickness
A slab that is too thin will deform easily; one that is too thick is harder to cut neatly and dry evenly.
Transfer the monstera drawing
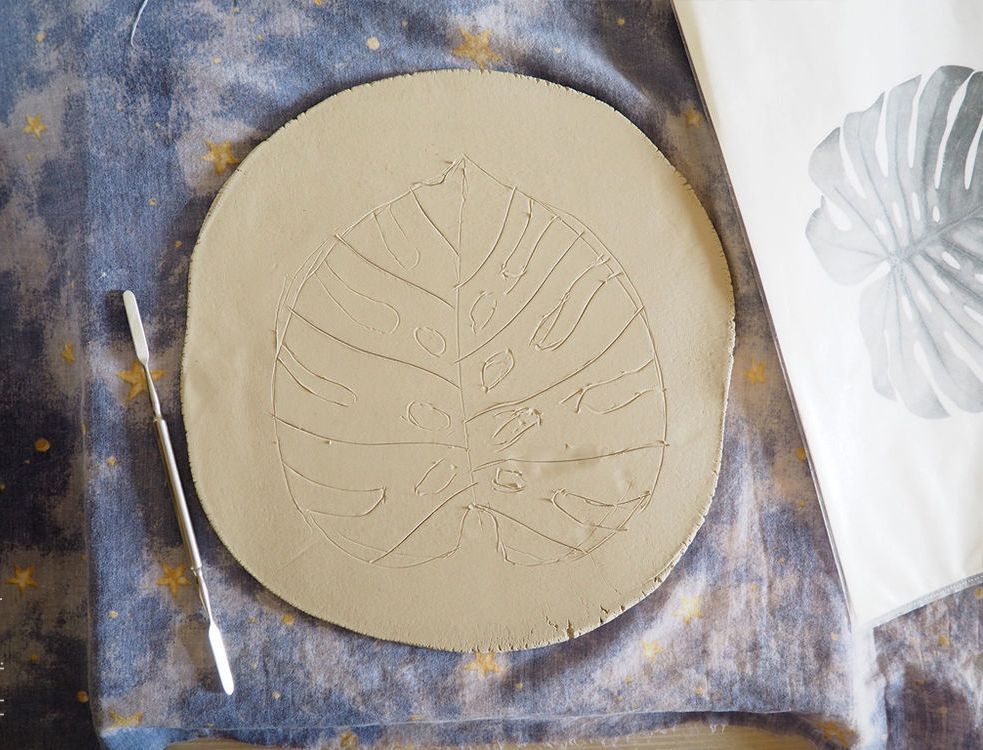
Mark the outline and main slots on the slab. You can draw on the surface or place a paper template on top and cut around it.
Transfer the leaf drawing to the slab.
Cut the slots and smooth the edges
After rough cutting, refine the leaf into a smooth organic shape.
Cut the outline and openings
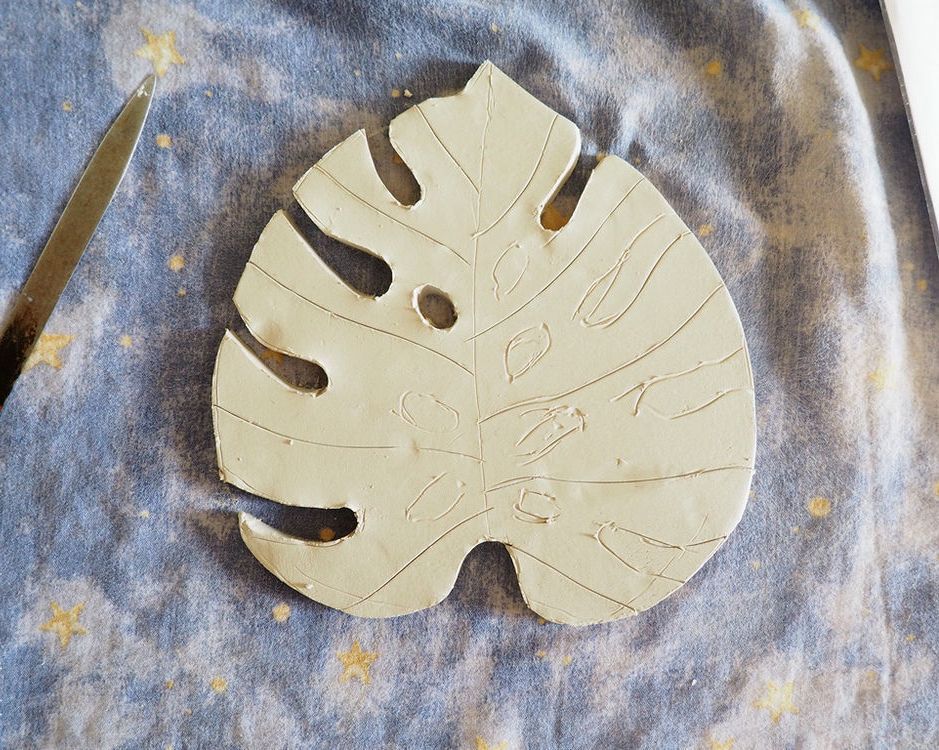
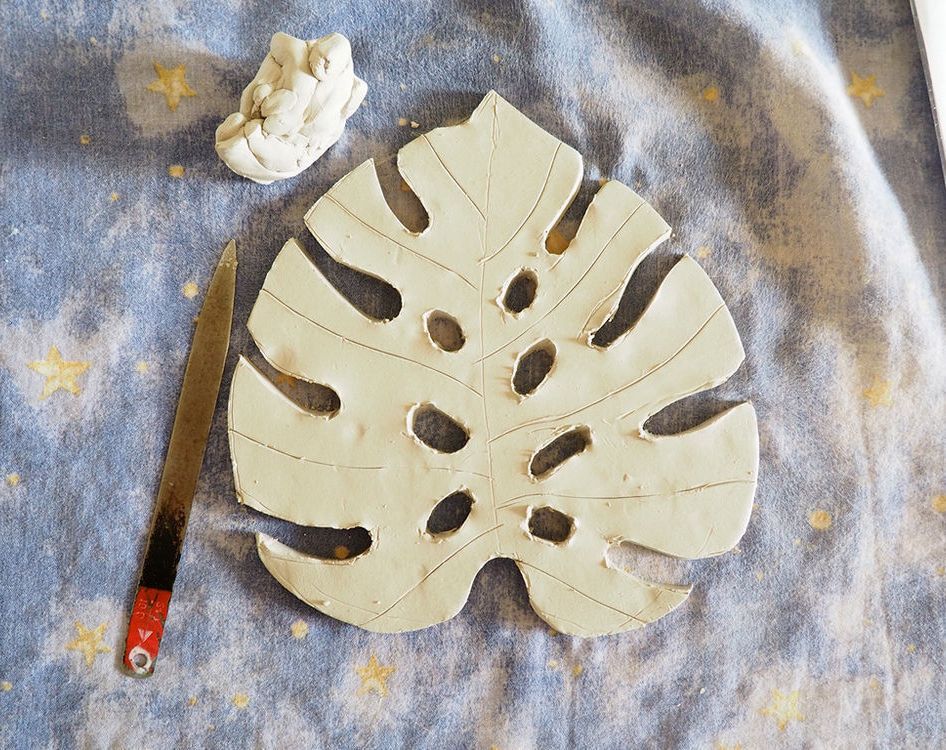
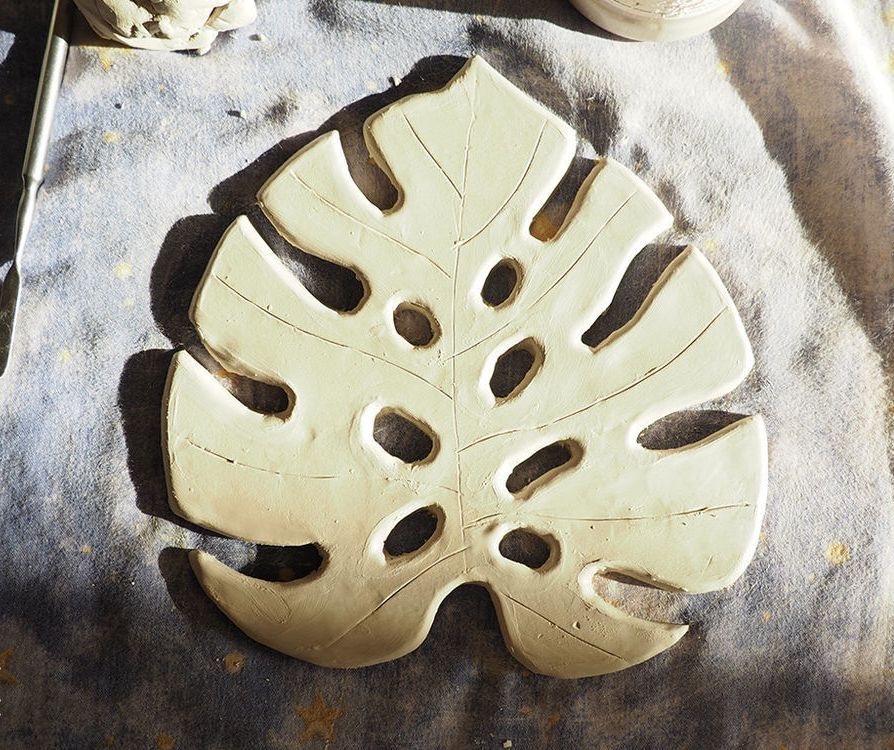
Cut the outer outline and the characteristic monstera openings. At this stage the leaf is still rough, with straight and sharp cut edges.
Cut the outer leaf outline.Add the characteristic monstera slots.
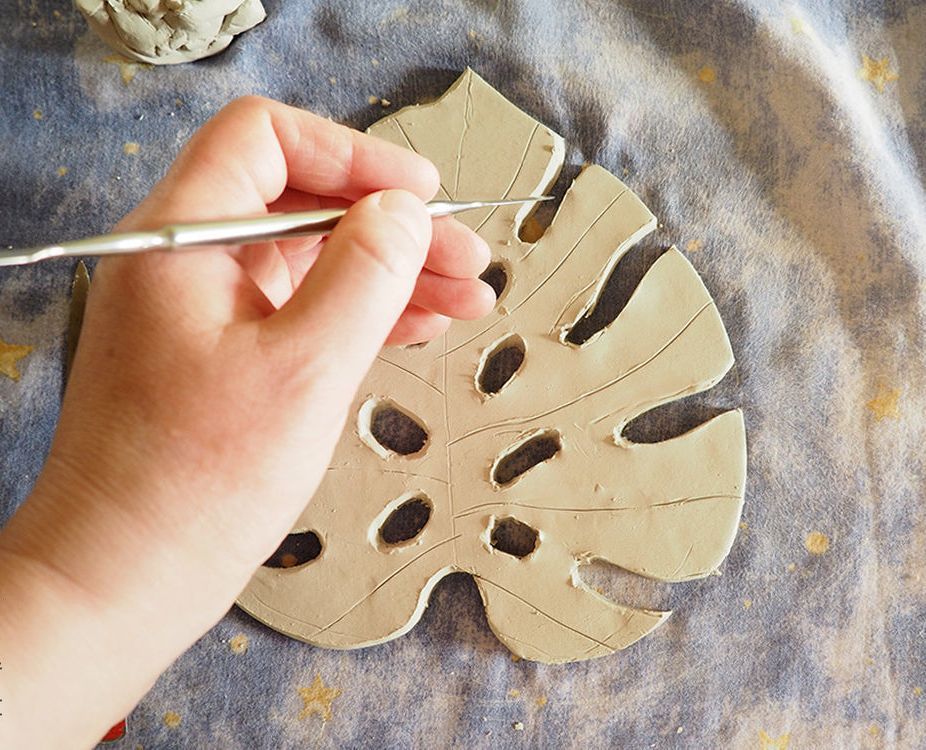
Round the sharp corners with a modeling tool
Remove the rectangular look of the cuts with the tool. Do not try to fix everything in one pass; round each edge gradually.
Remove sharp corners with a modeling tool.
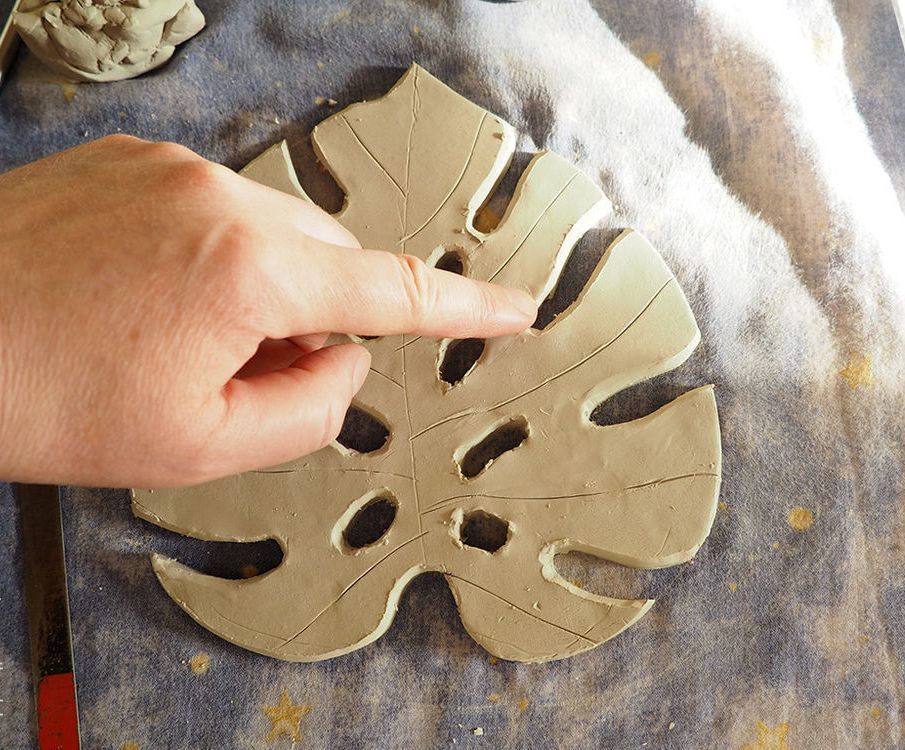
Smooth the outline with a damp finger
Dip your finger in water and gently smooth the edge until the slots and outer outline become fluid.
Use a damp finger to make the edge fluid.After smoothing, the leaf is ready to be shaped.
Do not flood the clay
Water is only for local smoothing. If the surface gets too wet, let it stabilise for a while.
Shape and dry the dish
While the clay is flexible, give the future soap dish its curve and vein texture.
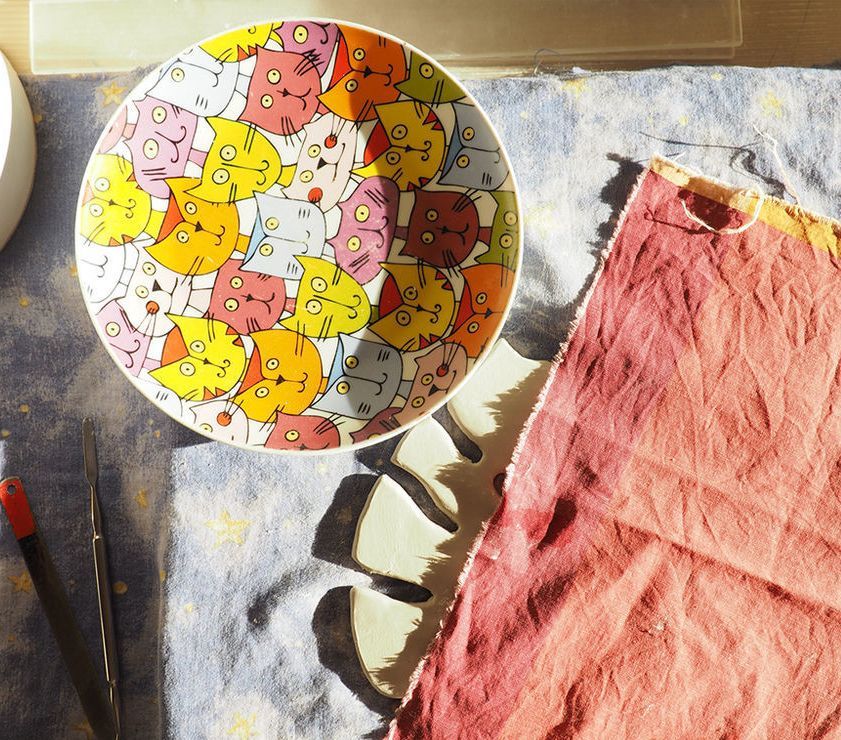
Place the leaf in a bowl
Put the blank into a bowl and press it gently so the leaf becomes a shallow dish. Do not overbend the slots; they should keep their shape.
Shape the leaf into a shallow bowl.
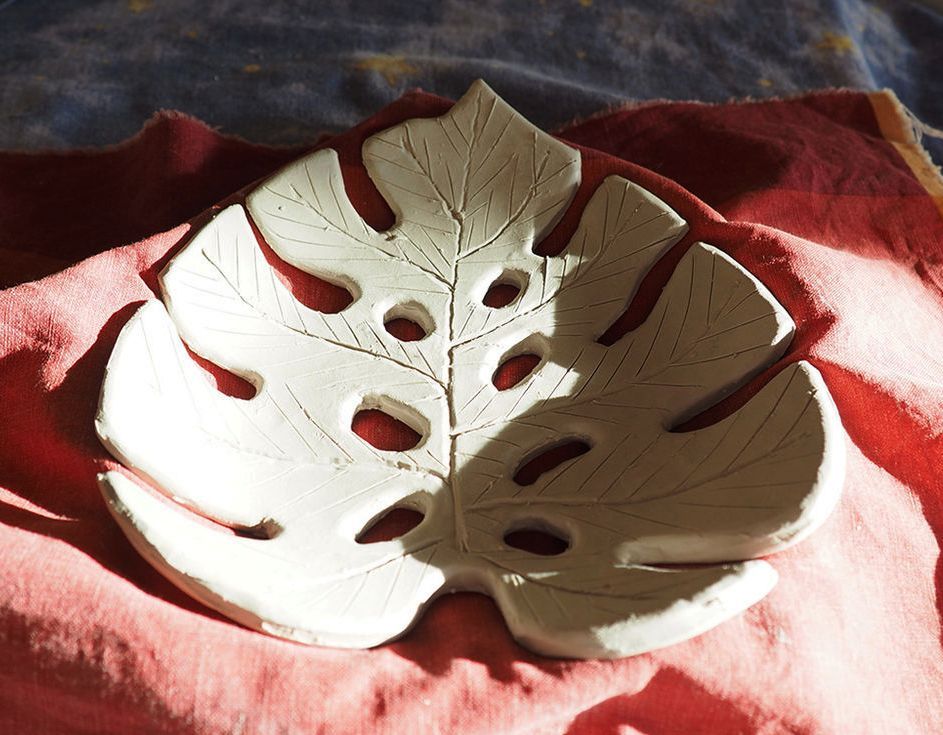
Add veins and leave it to dry
While the leaf is settling into the curve, mark the veins with a brush or modeling tool. Leave the blank to dry for a couple of days and do not remove it from the form too early.
Add veins while the clay is still flexible.
Dry without rushing
If you remove the blank before it stabilises, the leaf may flatten or the slots may warp.
Sand, paint, and fix the piece
After drying, remove uneven spots, paint the leaf, and fix it according to your material instructions.
Remove uneven areas after shrinkage
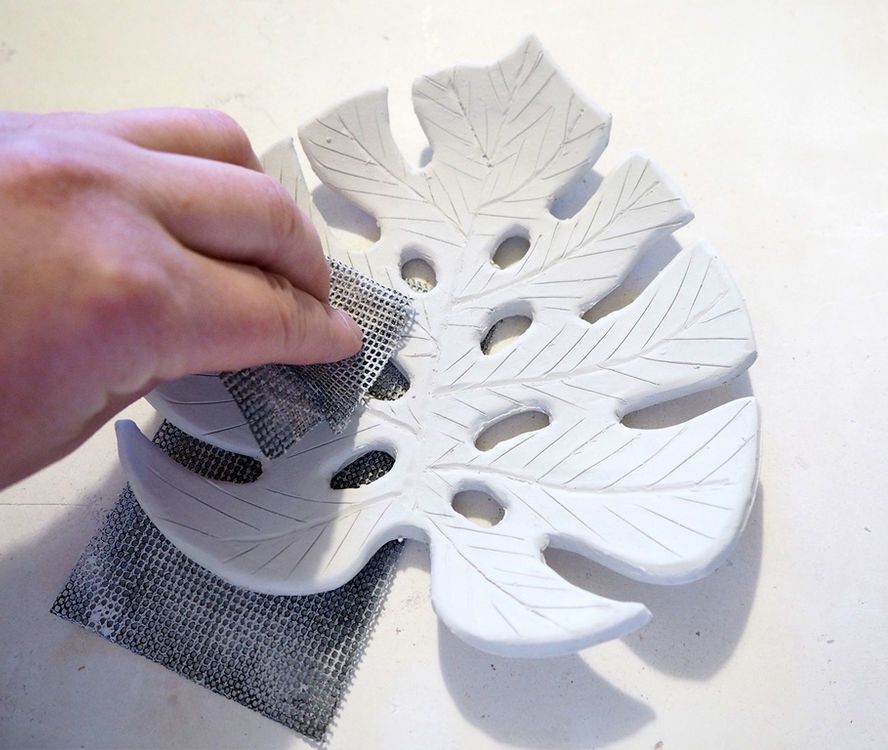
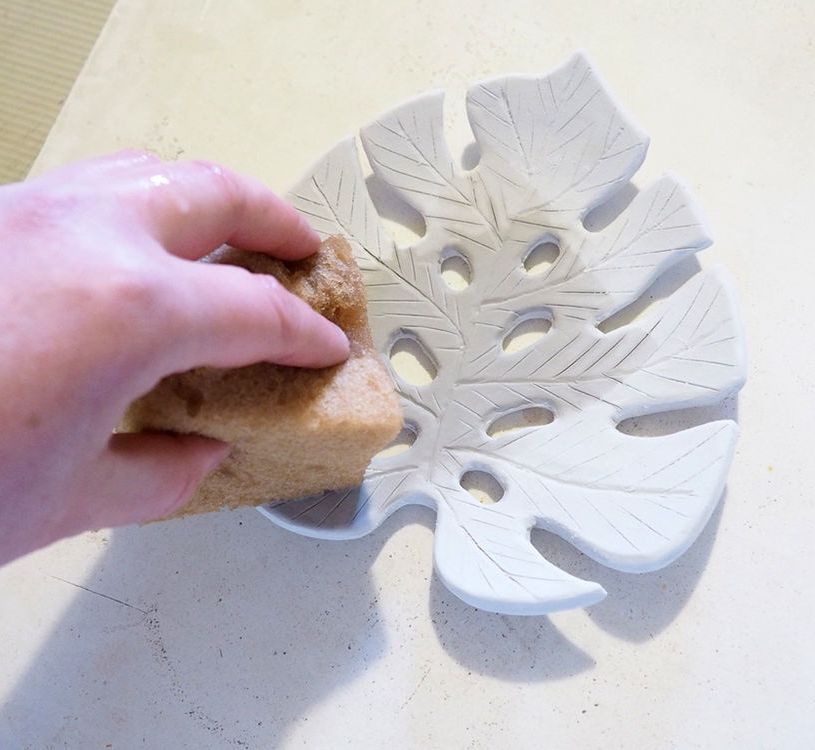
After drying, clay may shrink slightly and reveal surface unevenness. Smooth it with fine sanding mesh until the surface is even.
After drying, remove uneven spots by sanding.Wipe the piece with a damp sponge before painting.
Paint the leaf
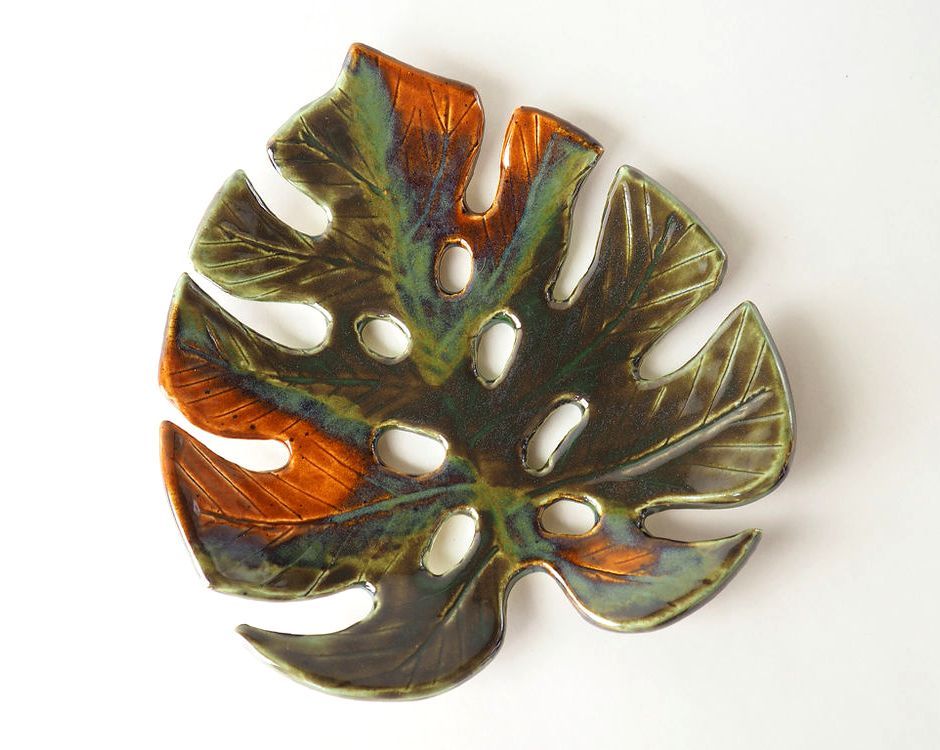
Before painting, remove sanding dust with a damp sponge. Then emphasise the veins, add green, brown, and warm spots, or keep the surface calmer and more solid-coloured.
Paint the leaf after drying and sanding.
Let the paint dry and fix the piece
The next day, after the paint has fully dried, fix the piece using the temperature or finishing method required by your exact clay.
Finished monstera soap dish after painting and fixing.
Do not guess the temperature
Do not use a universal temperature: polymer, air-dry, and other clays are fixed differently.
Finish and variations
Finish
White base with painting
Choose this if you want a painterly leaf with colour transitions, veins, and spots.
Green clay with minimal painting
The easiest option for beginners: the leaf shape is already clear, and you do not need to build the colour with paints.
Variations
Decorative small tray
If the piece will not have constant contact with water, the same shape can be used as a small decorative tray for jewellery or small items.
Leaf in another size
Repeat the same technique with a larger or narrower template, as long as the slab stays thick enough and the slots remain smooth.
After cutting, the edges are rectangular or ragged.
Likely cause
The outline was cut sharply and the smoothing with tool and water was rushed.
How to fix it
First round the corners with a modeling tool, then gradually smooth the outer outline and every slot with a damp finger.
The leaf loses its dish shape
Problem
The blank flattens and becomes too flat.
Likely cause
The leaf was removed from the bowl before the clay had stabilised.
How to fix it
Shape the curve right after smoothing and let the piece dry in the bowl. If your material allows, adjust the curve before it fully dries.
Uneven spots appear after drying
Problem
The surface becomes rough or patchy.
Likely cause
The clay shrank and sanding dust was not removed fully.
How to fix it
Sand with fine mesh, wipe with a damp sponge, and only then start painting.
It is unclear when to bake or fix it
Problem
Different clays require different drying, painting, and fixing sequences.
Likely cause
Your material may not be the same as the author’s.
How to fix it
Check the manufacturer’s instructions: temperature and baking time cannot be transferred between different clay types.
?FAQ
Can I use green clay right away?
Yes. In the original tutorial, the author specifically recommends dark green polymer clay for beginners: after baking, the piece already looks like a leaf and does not need complex painting.
How thick should the slab be?
The tutorial uses about 5 mm. This is enough for the leaf to hold its shape while still being easy to cut.
Do I need a paper template?
Not necessarily, but a template helps beginners. You can transfer the drawing directly onto the slab or cut the shape around a paper blank.
Why leave the blank for a couple of days?
The clay needs time to stabilise in the curved shape. After drying, it is easier to see shrinkage and sand uneven spots neatly.
Can this soap dish be used with water?
That depends on your clay, paints, and final coating. If the piece will get wet often, choose materials and a protective finish rated for water contact.
Your project
Log in to track your project, attach photos, and publish your result into the shared feed.

 BeginnerFree