Make a Floating Christmas Tree: Plan and Quick Tutorial
 BeginnerFree
Assemble a floating ornament tree: round metal grid, four chains, a hanger, fishing line, and a seven-tier layout.
Rubrics
Komok.me
Komok is a craft community for master classes, lessons, and projects in sewing, knitting, and other crafts.


Interior decor
Interior decor tutorials from Komok: handmade vases, furniture refreshes, textile accents, wall decor, and practical home details.
BeginnerFreeAssemble a floating ornament tree: round metal grid, four chains, a hanger, fishing line, and a seven-tier layout.

 Beginner4 hrFree
A tutorial for a New Year faux fireplace made from cardboard boxes: build the frame, reinforce it with cardboard, papier-mâché it with newspaper and prime it, cut and glue on foam "bricks," paint, and decorate with a garland and ornaments.

 BeginnerFree
A step-by-step tutorial for decorating a tablecloth with appliqué: fuse fabric and felt pieces in place with fusible web and an iron, add small details and swirls with a disappearing marker, topstitch the outlines in contrasting thread, finish with embroidery floss stitches and mini fabric 'buttons,' and trim the tablecloth's edge with pompom trim or colored stitches.

 BeginnerFree
A step-by-step tutorial for a denim office-supply organizer: cut a rectangular backing from a pant leg and cardboard, sew on pockets and a strip of waistband, attach the fabric to the cardboard with hot glue, a heavy-duty stapler, or grommets, and decorate it with snaps, buttons, and a fun doll face.
 Beginner1 hrFree
A step-by-step reupholstering tutorial: remove the seat, replace the foam if needed, cover it with new fabric, and secure it with a staple gun.

 BeginnerFree
Here's how to make a floor vase from a cardboard tube and cardboard: build the frame, cover it in papier-mâché, coat it with putty, add a raised pattern, and finish it with decoupage.
 BeginnerFree
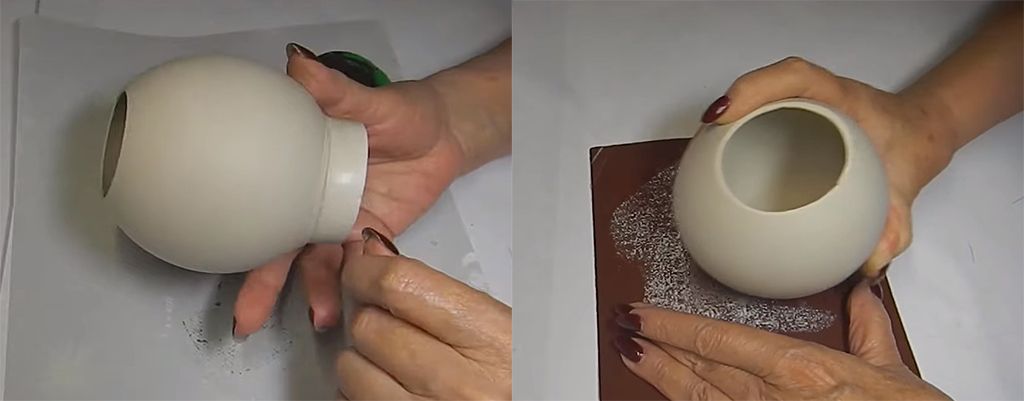
A step-by-step tutorial for a decorative plaster vase: a mix of 2 parts plaster to 1 part water, poured into a balloon, spread across the walls, dried for a couple of hours, an opening cut in, a plaster foot cast in a 1-1.5 cm ring, then sanding, painting, and varnish.
 BeginnerFree
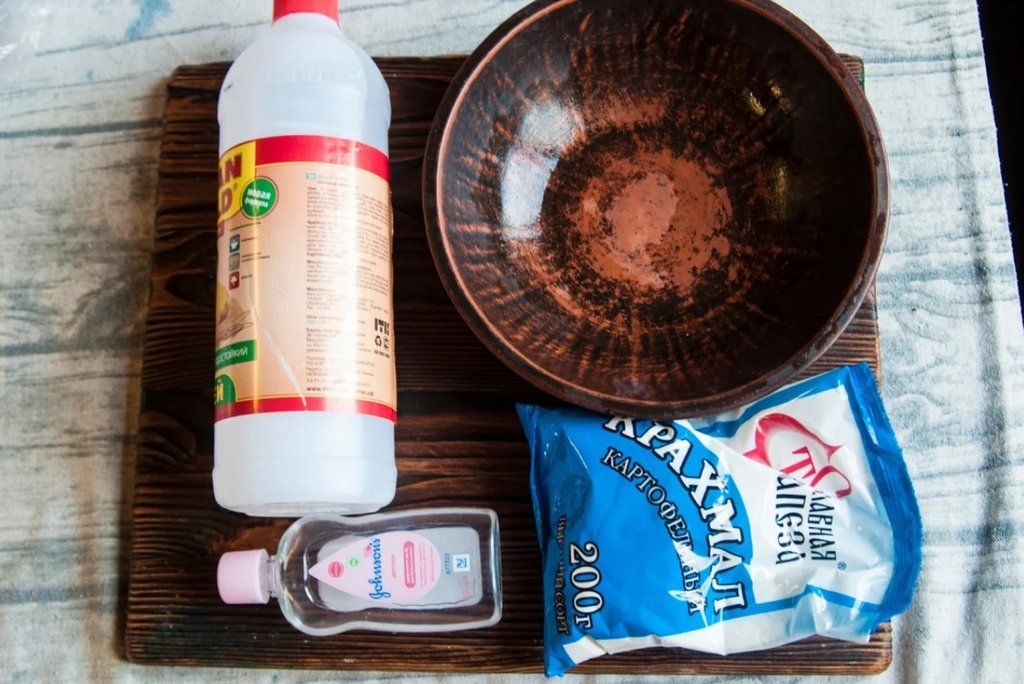
This master class shows how to make air-dry modeling clay as an alternative to polymer clay. The mixture uses starch, Titan glue, and baby oil. Add glue to a mound of starch: about 2 tablespoons of glue per 100 g of starch. The proportions are approximate, so add more starch until the mixture becomes a firm dough that pulls away from your hands. Add 2–3 teaspoons of baby oil to the nearly finished mixture and knead again; the oil makes the clay softer, more flexible, and easier to use for small details. Uncolored clay stays slightly translucent when rolled thin, so add white pigment or colored paints for a denser color. Thin pieces harden in about 30 minutes, while larger figures need at least a day to dry. After drying, the pieces are not brittle and keep a useful amount of flexibility.
 BeginnerFree
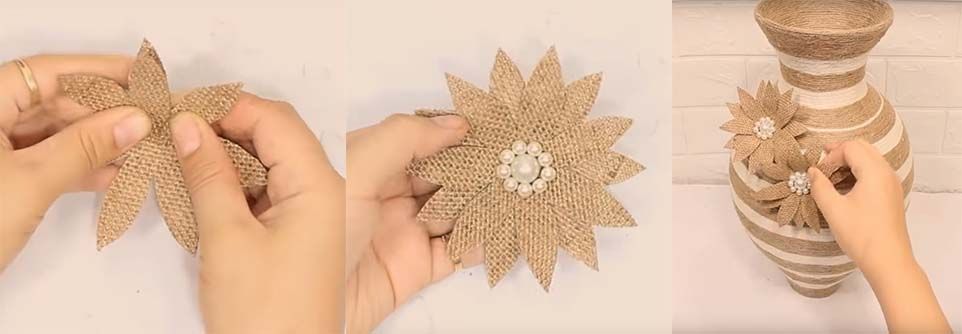
This tutorial shows how to build a vase form from a balloon and a plastic bottle, strengthen it with glued paper layers, wrap it with jute, and decorate it with burlap flowers and beads.
 BeginnerFree
Make a collapsible 3D product-photo backdrop from thick cardboard and printed background sheets or self-adhesive film. Cut slotted panels from the sample, prepare 6 backgrounds, cover and reinforce the panels, and combine them into different shooting setups.
 BeginnerFree
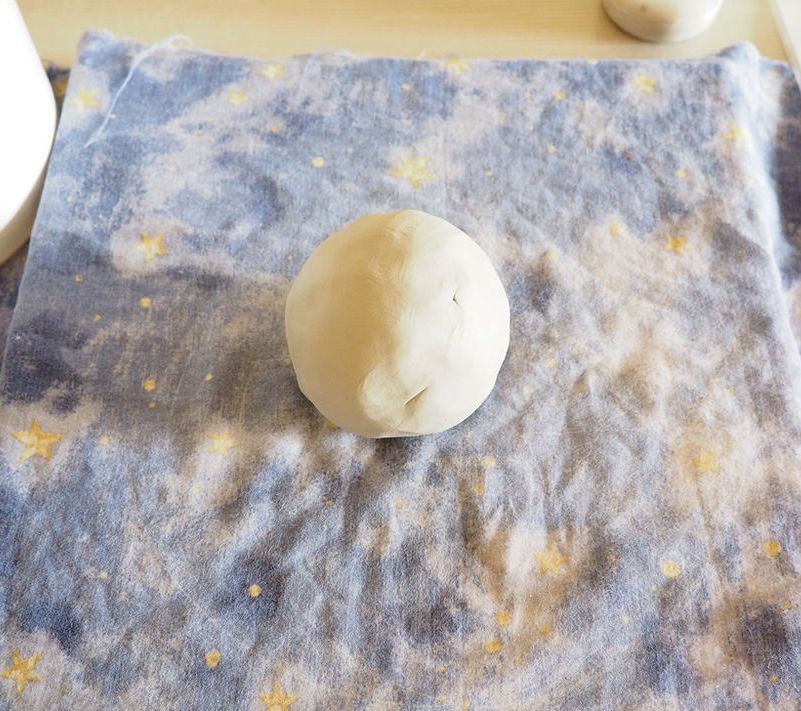
This tutorial explains how to make a soap dish shaped like a monstera leaf: roll clay to about 5 mm, cut the slots, smooth the edges, shape it in a bowl, dry it, sand it, and paint it.

 Beginner2 hrFree
A decoupage mini tray tutorial: prime and stain a wooden board, soak and apply a decoupage card, sand the edges, paint in the background with acrylics, and attach the handles.