A quilted leaf rug tutorial: make a pattern, cut the pieces from raincoat fabric, cotton, and batting, assemble the cover, hand-sew the opening, and machine-quilt the marked lines.
Beginner1 hr 30 minFree
Translated
Things you will learn
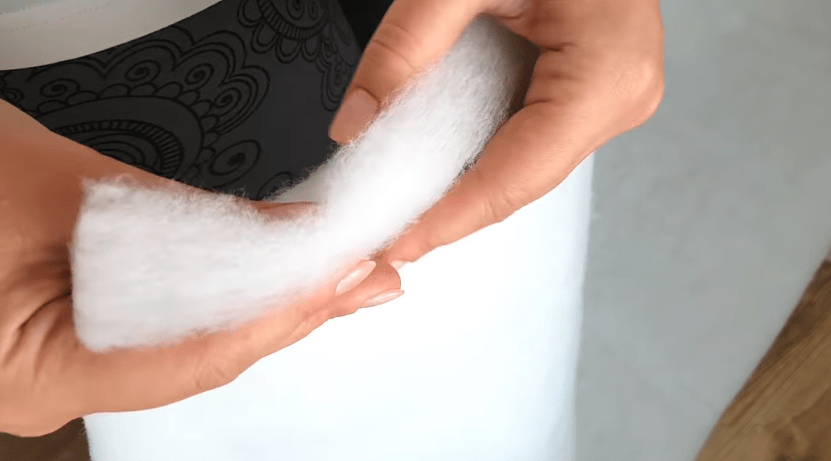
The leaf-shaped rug is made from raincoat fabric, matching cotton fabric, and batting of 150 g/m² or heavier.
Start with a paper pattern of the leaf and mark the veins on it — this makes the work easier and helps keep the leaf shape even.
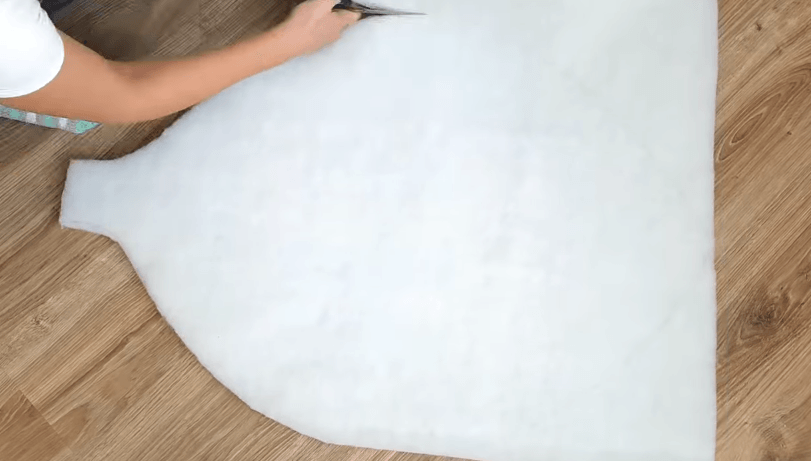
Cut the piece from all the materials, leaving a seam allowance of at least 1.5 cm on the raincoat fabric and cotton for easier handling.
There are two assembly methods: stitch all three fabrics together at once, or sew a cover from the raincoat fabric and cotton first and then stuff it with batting — the author chose the second method as easier.
Hand-sew the remaining opening shut, then machine-quilt along the marked lines — this is what makes the rug quilted and ready to use as a warm bedside cover or a rug for a child.
What you'll get
You'll get a soft quilted leaf-shaped rug that can be used as a warm bedside cover or a rug for a child.
Materials and tools
Materials
Green raincoat fabric, red, yellow, or orange also work well, depending on your preference
Matching cotton fabric
Batting, 150 g/m² or heavier
Tools
Sewing machine
Hand-sewing needle, for closing the opening
Tailor's chalk or marker, for tracing the lines
Ruler, for marking the quilting lines
Make the leaf pattern
Before cutting the fabric, make a paper pattern.
Make and mark the paper pattern
Start with the pattern — it makes the work easier and helps keep the leaf shape even.
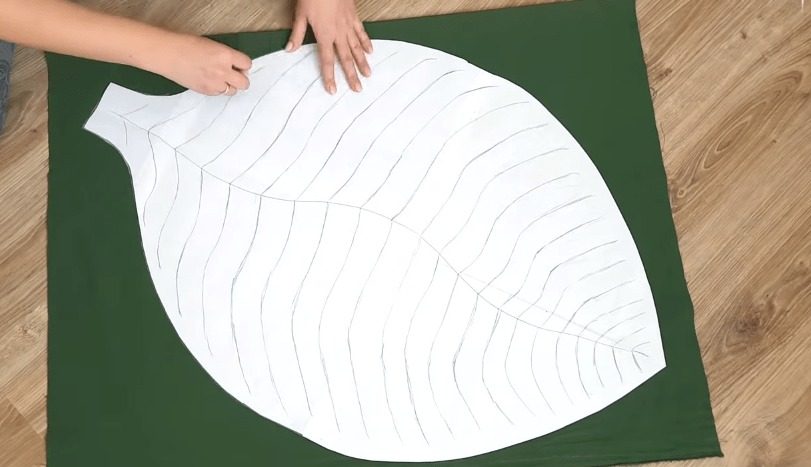
Transfer the leaf lines onto the fabric
Use the pattern to mark the future quilting lines.
Trace and draw all the lines of the leaf
Trace around the pattern and draw in all the lines of the leaf.
Cut the pieces from all the materials
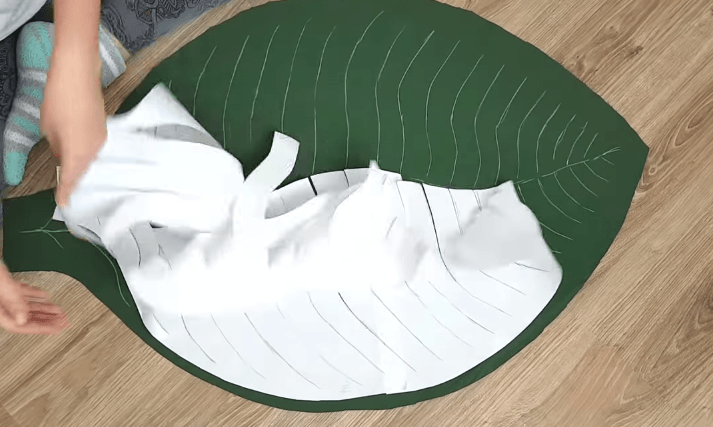
The piece is cut from the raincoat fabric, cotton, and batting.
Cut the piece from the raincoat fabric, cotton, and batting
Cut it out and cut the piece from all the materials. Leave a seam allowance of at least 1.5 cm on the raincoat fabric and cotton for easier handling.
Assemble the cover and fill it with batting
Choose whichever assembly method works best for you.
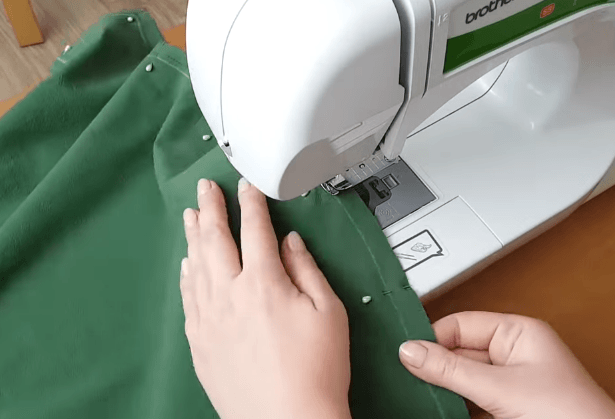
Choose an assembly method for the rug
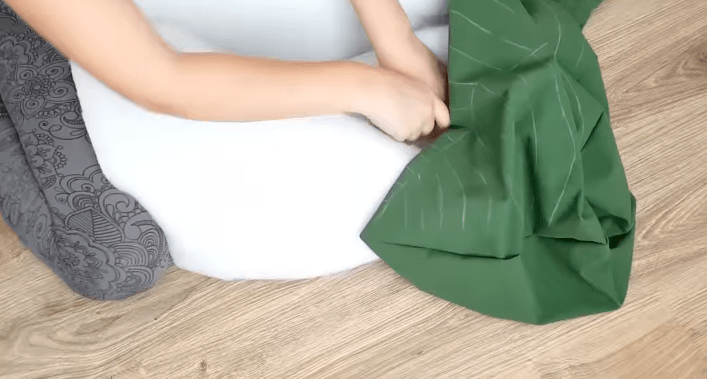
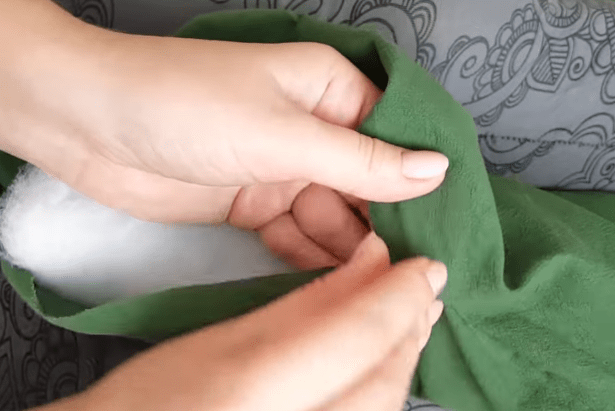
There are now 2 methods — both work well, so do whichever is easier for you. Stitch all 3 fabrics together at once, or sew a cover from the raincoat fabric and cotton and then fill it with batting. I chose the second option, which felt easier to me.
Hand-sew the opening shut
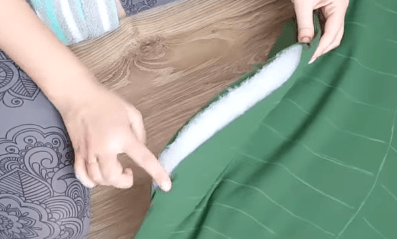
After stuffing with batting, a small opening remains.
Hand-sew the remaining opening
Since I had an opening left, I sewed it shut by hand.
Quilt the lines and finish the rug
Machine quilting along the marked lines finishes the rug.
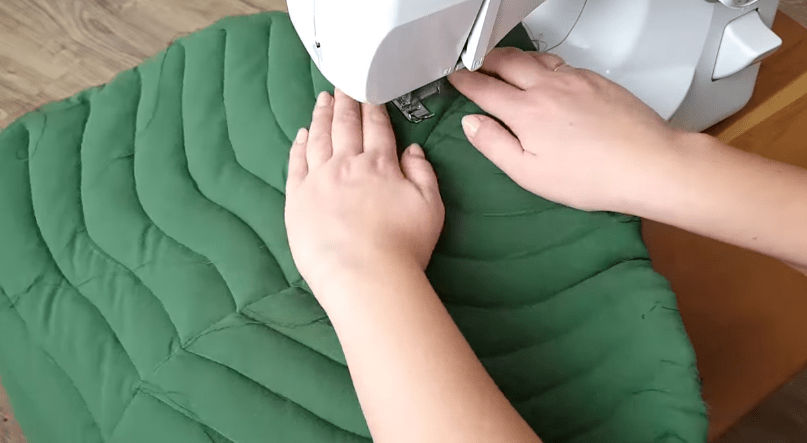
Machine-stitch along the marked lines
Now machine-stitch along the marked lines and the quilted rug is ready. You can use it as a warm bedside cover or as a rug for a child.
Finish and variations
Finish
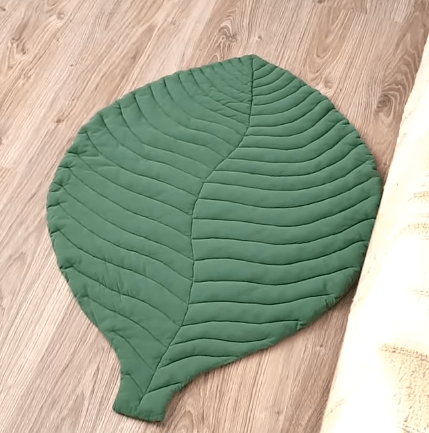
Your quilted leaf rug is ready
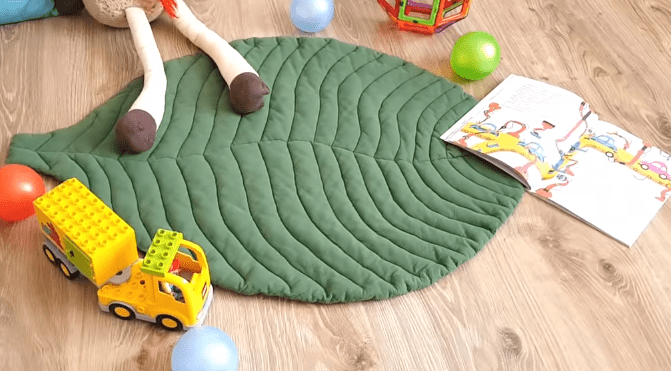
The finished rug can be used as a warm bedside cover or as a rug for a child.
Variations
Choose a different color of raincoat fabric
Besides green, you can choose red, yellow, or orange raincoat fabric — whatever you prefer.
Choose a convenient assembly method
You can stitch all three fabrics together at once, or sew a cover from the raincoat fabric and cotton and fill it with batting separately — choose whichever is more convenient for you.
After assembly, the leaf shape looks skewed or uneven at the edges.
Likely cause
The paper pattern wasn't marked carefully, or the seam allowances on the raincoat fabric and cotton ended up different widths.
How to fix it
Make the paper pattern carefully and mark the veins ahead of time — this helps keep the leaf shape even; leave the same seam allowance of at least 1.5 cm on all pieces.
The hand-sewn opening is noticeable
Problem
After hand-sewing the opening shut, a visible seam or pucker remains on the rug.
Likely cause
The stitches were too large, or the fabric wasn't smoothed out carefully before sewing.
How to fix it
Hand-sew the opening with small, hidden stitches, smoothing out the fabric edges and the batting inside first.
The machine-quilted lines come out uneven
Problem
After machine quilting, the lines on the rug are offset from the marked lines or come out crooked.
Likely cause
The lines were marked inaccurately with the ruler, or the fabric shifted while sewing.
How to fix it
Mark the lines with a ruler carefully ahead of time, and pin the fabric and batting layers together before machine quilting so they don't shift.
?FAQ
What materials is a leaf-shaped rug sewn from?
From raincoat fabric, matching cotton fabric, and batting of 150 g/m² or heavier.
Why do you need a paper pattern?
It makes the work easier and helps keep the leaf shape even.
What seam allowance should you leave when cutting the pieces?
At least 1.5 cm on the raincoat fabric and cotton.
How do you close the opening after stuffing with batting?
Sew it shut by hand.
How do you use the finished rug?
As a warm bedside cover or as a rug for a child.
Your project
Log in to track your project, attach photos, and publish your result into the shared feed.
Oh, a rug like this is perfect for a kid's room! I'd make it bigger, enough to cover the whole play area: in cold weather you don't have to worry about the little one sitting on a cold floor.
 Beginner1 hr 30 minFree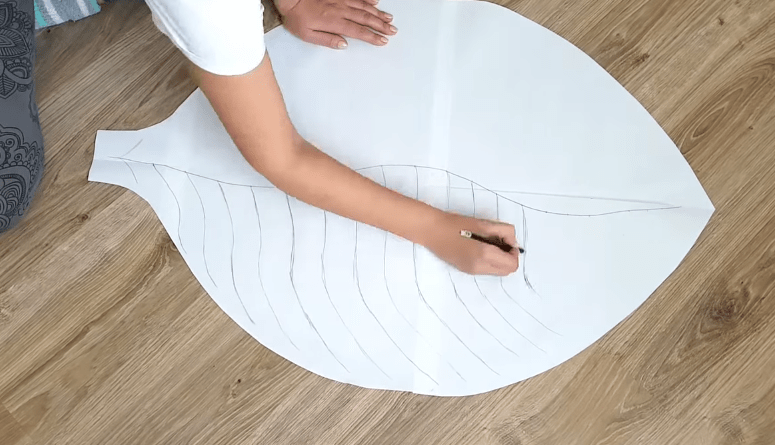


Oh, a rug like this is perfect for a kid's room! I'd make it bigger, enough to cover the whole play area: in cold weather you don't have to worry about the little one sitting on a cold floor.