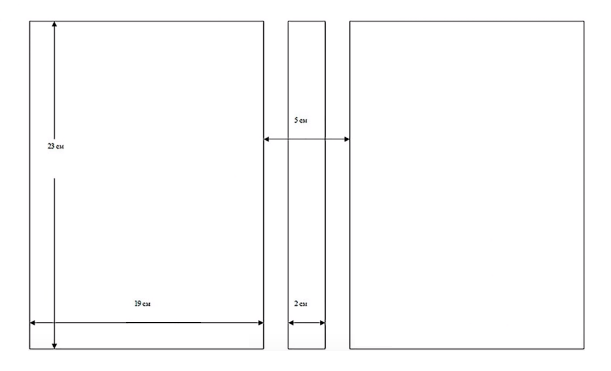
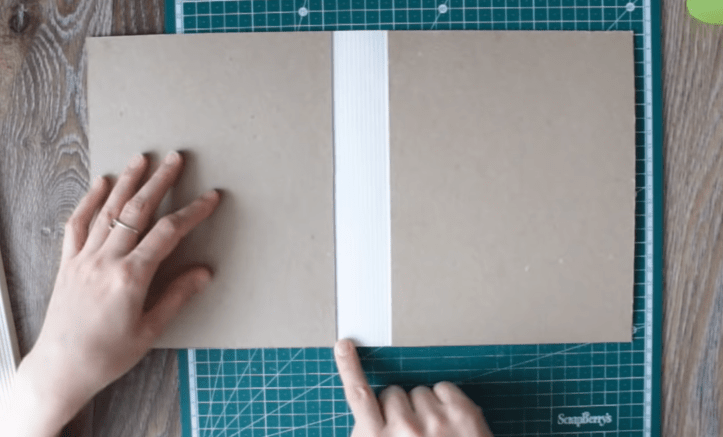
The author makes a ring-binder notebook from scratch: cuts the parts from heavy cardboard, optionally adds synthetic batting, covers the blank with faux leather and fabric, assembles a closure, and glues in the ring binder mechanism. The full dimensions on the diagram are not explained in the text.
BeginnerFree
Translated
Things you will learn
The base uses heavy cardboard, fabric, faux leather, a ring binder mechanism, and a closure; synthetic batting is optional.
Cut the faux leather with a 2 cm allowance on every side of the blank.
Glue the ring binder mechanism in the center; the source also allows a mechanism with the special bolts included in the set.
DIY Ring Binder Notebook Cover
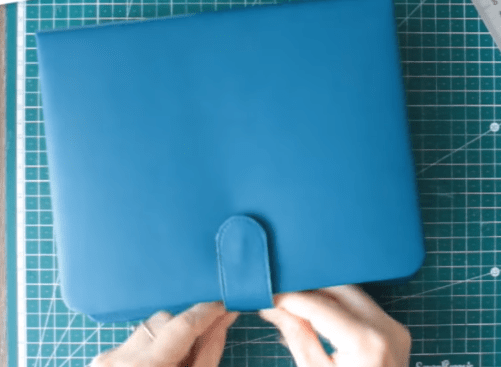
A handmade cover with a closure and ring binder mechanism for replaceable pages.
Materials and tools
Materials
Heavy cardboard, You can use bookbinding board.
Cotton fabric, For the inside.
Faux leather, 2 cm larger than the blank on every side.
Synthetic batting, Optional.
Ring binder mechanism
Snap fasteners
Acrylic paper, Place it over the inside cotton fabric.
Tools
Sharp craft knife, For straight lines when cutting cardboard.
Thread and needle
Superglue or hot glue
Binder clips, For pressing while covering with faux leather.
Use a sharp craft knife to cut the parts shown in the diagram from heavy cardboard for clean, straight lines.
Cover the notebook
Add synthetic batting
Glue the synthetic batting to the outside and trim away the excess.
Cover with faux leather
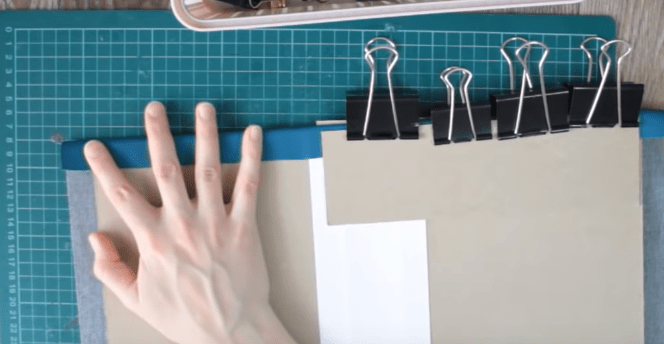
Cut the faux leather so that every side is 2 cm larger than the blank. Cover the cardboard tightly on all sides; hold it in place with a press made from two pieces of cardboard and binder clips.
Make the closure
Assemble the closure piece
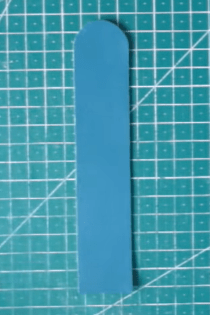
Cut out 2 pieces, attach a snap to one of them, and join the pieces together.
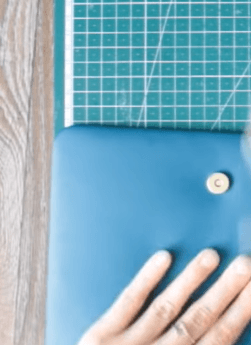
Attach the other half of the snap
Find the center of the notebook side piece, attach the other half of the snap there, and glue the closure on the reverse side with superglue.
Assemble the inside
Cover the inside with fabric
Cover the inside with cotton fabric, then place acrylic paper over it. Glue the ring binder mechanism in the center; some mechanisms are fastened with the special bolts included in the set.
Use the notebook
Add and rearrange pages
This notebook can hold any number of pages; rearrange them, remove them, and insert them wherever you need.

 BeginnerFree