Featured materials
18Master class Beginner15 minFree
A crochet master class for the body of the "Sandy Girl" doll using a No. 1.5 hook: arms, legs (with crocheted shoes and leg warmers), torso, and head. In the next master classes the author will show how to do the face and knit/crochet an outfit and a toy for the doll.
Master class IntermediateFree
A step-by-step tutorial for sewing the Antoshka baby doll: cut and sew the body pieces, stuff and cinch the arms, legs, and torso, reinforce the neck with a cardboard tube, attach the limbs with a hidden button-joint method, sew on the head with blind stitches, and sew the clothes from separate patterns with no seam allowances.
Master class Intermediate3 hrFree
A step-by-step tutorial for making a toy spider from fur: cut wire for the legs and jaws, wrap it in fur strips, cut and sew the fur head and body pieces, stuff them, join the pieces together, sew the legs onto the head, and finish with bead eyes.
Master class BeginnerFree
This tutorial explains how to work out doll proportions using head height: dividing the total height into 8 parts, and marking the torso, legs, waist, collarbones, and arm length.
Master class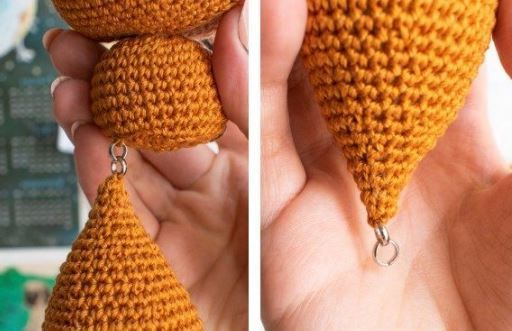 IntermediateFree
A step-by-step crochet pattern for a Chibi Fox amigurumi: prepare orange, peach, brown, and white yarn; crochet the head, white muzzle, orange cap with muzzle overlay, two ears, body, white tail overlay, and tail; then embroider the details and assemble the toy.
Master class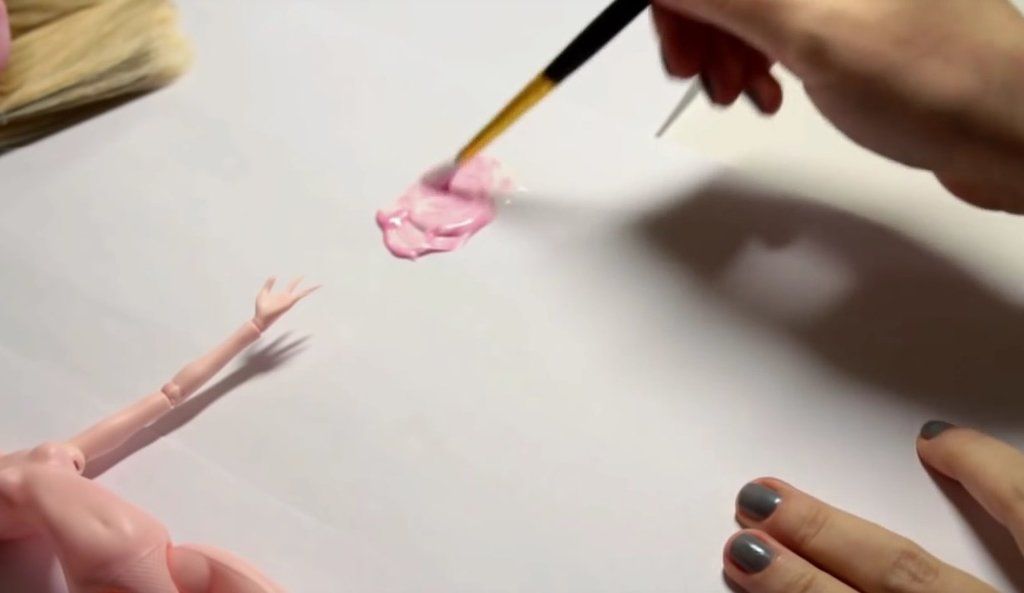 IntermediateFree
This master class shows how to change a doll body color with acrylic paint: disassemble the joints, mix a generous batch of thick paint, apply thin even layers with a sponge, add blush shading, and seal the result with spray varnish.
Master class Beginner1 hr 30 minFree
A step-by-step tutorial for sewing a fabric whale: trace the pattern onto the fabric as a mirror image, cut the pieces with a 0.5 cm seam allowance, stitch and set aside the flippers and tail, sew the main body pieces leaving openings for the flippers, insert the flippers and tail, stuff the toy, and sew on bead or button eyes.
Master class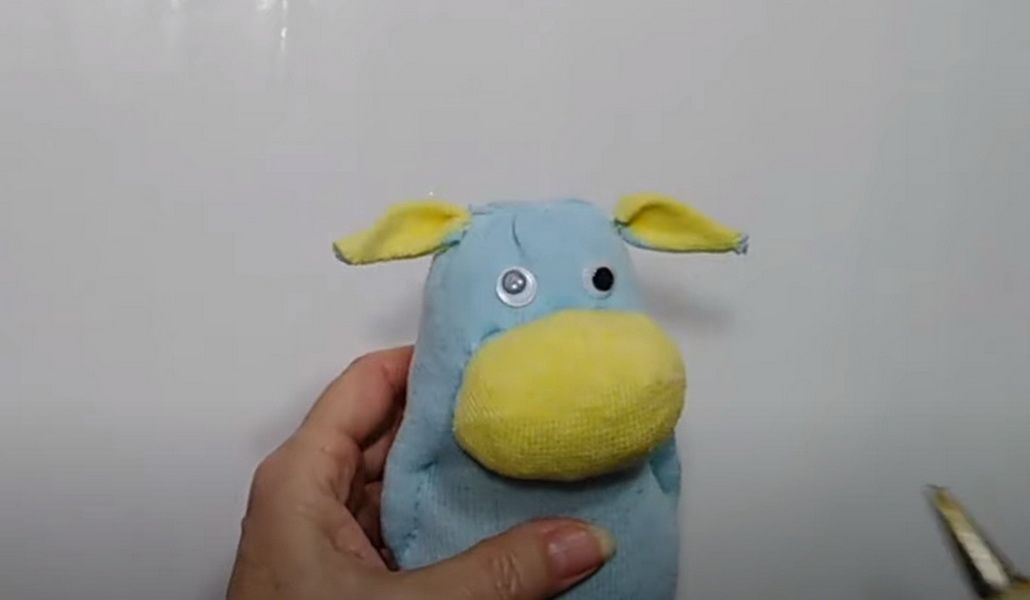 BeginnerFree
This tutorial shows how to make a soft bull calf from a child’s sock: prepare the sock, form the body and head, sew on the front legs, make the muzzle from a pattern, and secure small details safely.
Master class Beginner3 hrFree
The second part of the amigurumi cat tutorial, crocheted from Japanese charts: finish the black and orange spots, the eyes, the tail, and both front legs, then join the pieces and shape the face.
Master class BeginnerFree
Here's how to reshape an OOAK doll's facial features with nail files and buffers: smooth down the large areas, adjust the nose bridge, remove scratches, and polish the surface.
Master class BeginnerFree
This cat doorstop protects a door from banging and can also block the gap at the floor. Sew it from two layers of fabric using a pattern, stuff it, weight it with pebbles in a tied bag, and decorate it with fabric paint and marker.
Master class BeginnerFree
This article gives the ingredients and mixing order for a basic mixture: combine instant coffee granules, boiling water, and spices while hot, then add PVA glue after cooling. The author suggests adjusting the color and scent strength yourself and recommends 100% Arabica for a lasting fragrance. It does not explain application or drying.
Master class BeginnerFree
A soft doll-body tinting tutorial with pastel: prepare the surface, mix the shade, rub in the pigment, add blush to the joints, and seal everything with matte acrylic varnish.
Master class BeginnerFree
This master class shows simple Barbie doll clothes made from leftover fabric scraps. For a midi dress, cut two rectangles — one for the bodice and one for the skirt — plus narrow trim straps, finish the edges, fit the bodice on the doll, mark darts, gather the skirt to the bodice width, sew the two pieces together, and add a narrow strip of hook-and-loop tape along the side edge. For a bell skirt, cut a narrow waistband and a wider skirt rectangle, gather the skirt with a running stitch, baste on the folded waistband, sew the back seam partway, and leave space for hook-and-loop tape. For simple trousers, choose a non-fraying fabric, fold it in half, cut directly around the doll, baste and sew the two pieces, then finish the top with a wide tie belt.
Master class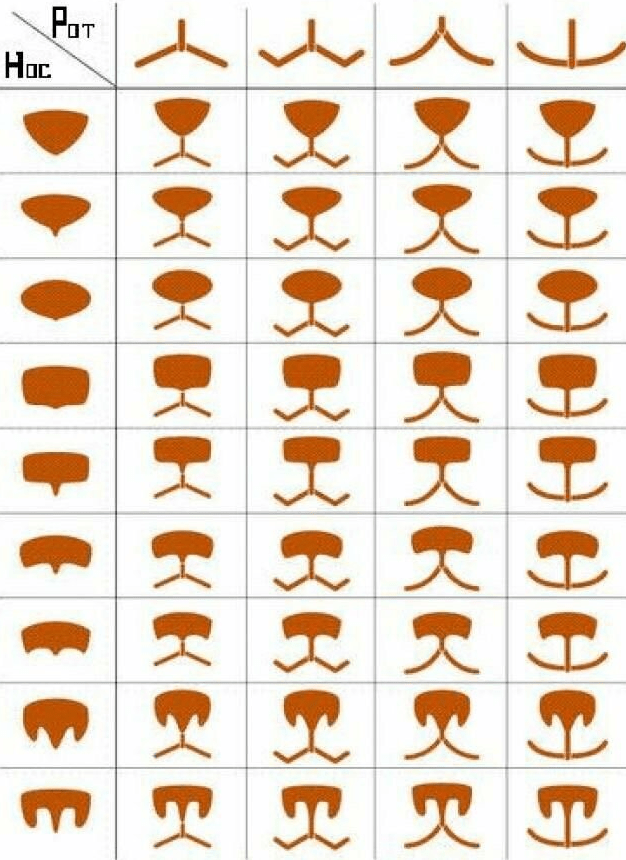 BeginnerFree
Step by step, choose the face expression, bring the needle out at the center of the nose, embroider a dense fan-shaped nose, form the mouth and hide the thread tail under the stitches.
Master class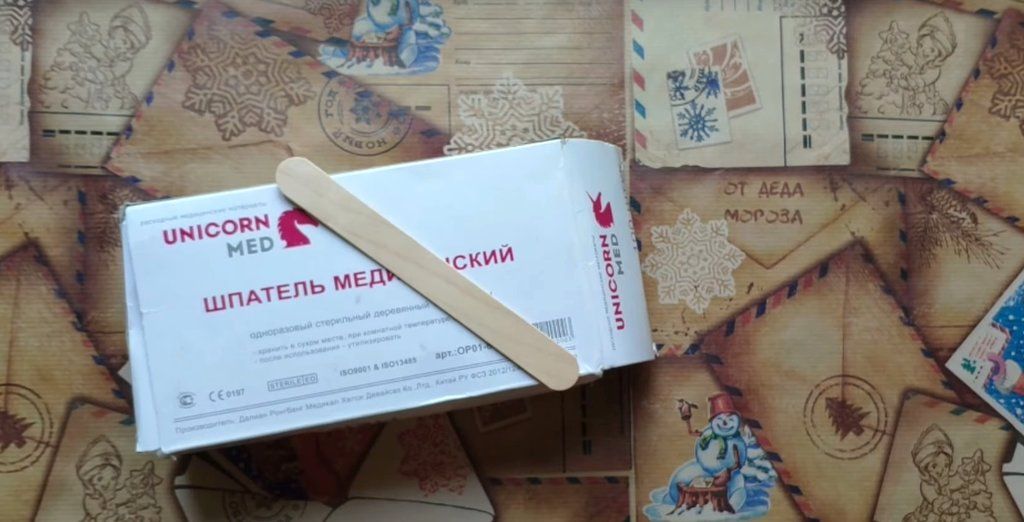 BeginnerFree
Step by step, make a Christmas tree ornament shaped like miniature skis: soften wooden spatulas in boiling water, bend the tips, sand the blanks, make poles from skewers, paint with acrylic paint and attach the decorations.
Master class BeginnerFree
This tutorial shows how to make a doll from an old CD. Cover the disc with fabric using a 3 cm allowance, make hair from yarn wrapped around a wide ruler or cardboard, and make the head from two 7 cm cardboard circles, batting, and white fabric. Finish by gluing on the hair, drawing the face, and adding decorations.
Master class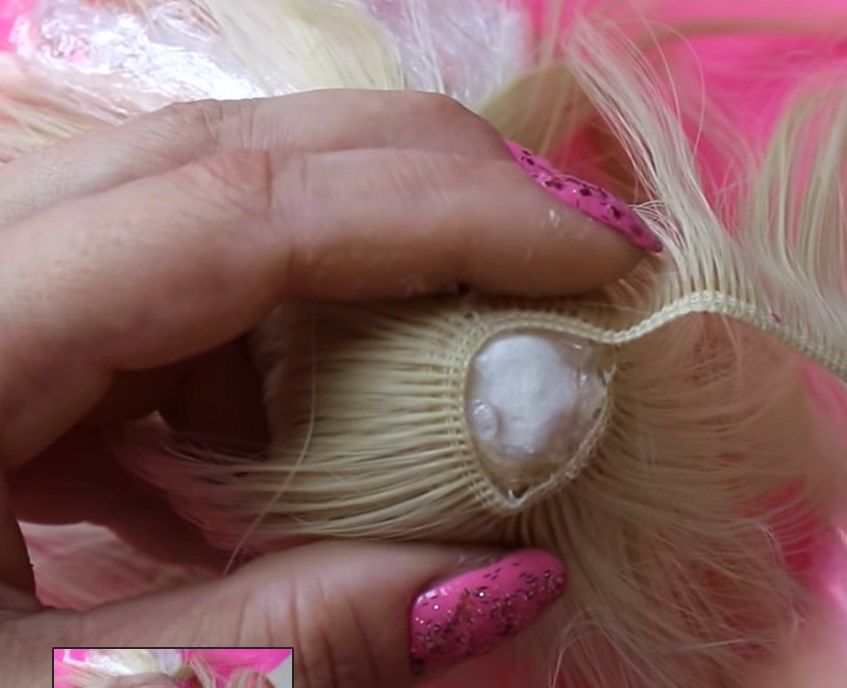 BeginnerFree
Make the wig base directly on the doll’s head: protect the head with film, form a cap from napkins and PVA glue, trim the hairline, and glue the wefts from the nape toward the crown in a spiral.


