A step-by-step tutorial for making a toy spider from fur: cut wire for the legs and jaws, wrap it in fur strips, cut and sew the fur head and body pieces, stuff them, join the pieces together, sew the legs onto the head, and finish with bead eyes.
Intermediate3 hrFree
Translated
Things you will learn
Making the spider takes no more than three hours; the base material is an old fur hat or coat — the author didn't try faux fur, since a matching shade was hard to find.
Cut wire into pieces: 4 strips 16 cm long, 4 pieces 12 cm long, and 4 pieces 4 cm long — these become the spider's jaws and legs.
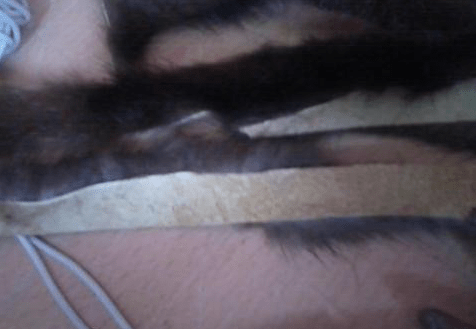
Cut 1 cm wide fur strips only in the direction of the nap and only along a ruler (a metal one works best), so you don't damage the fur; glue the strips to the wire and fold the edges over.
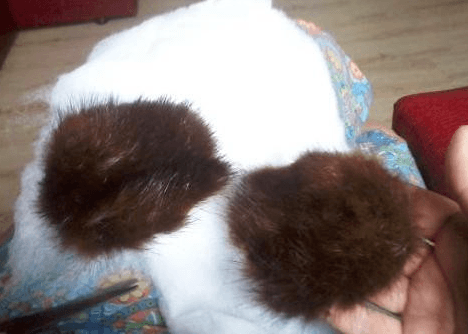
For the body, cut 2 fur pieces for the back and 1 leather-and-fur piece each for the head — keeping the fur's nap direction correct matters; sew the pieces, stuff them with soft filling, and close them with a blind stitch.
Join the head and body, inserting 2 pieces of wire inside for stability; lay out the legs with the long ones on the outside and short ones in the center, sewing them only to the head, not the body.
What you'll get
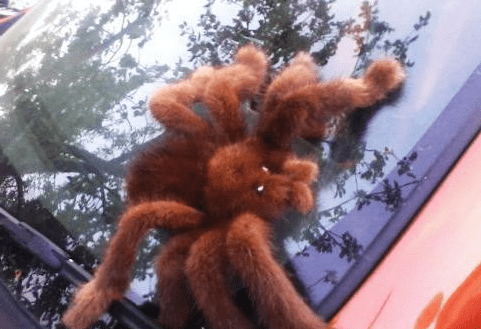
You'll get a realistic fur tarantula prop with wire-framed legs and bead eyes, ready to use for a prank.
Materials and tools
Materials
Wire, cut into pieces for the spider's legs and jaws
An old fur hat or coat, the author didn't try faux fur, since a matching shade was hard to find
Moment-brand glue, used to glue the fur to the wire and to bond the pieces together
Soft stuffing, used to fill the spider's head and body
A piece of cardboard, needed to make templates for the body pieces
Beads, used as the spider's eyes
Tools
A sharp knife (a craft knife works best), needed to cut the fur pelt cleanly along a ruler
Pliers, needed to work with the wire frame for the legs
Preparation
Gather your materials
Gather wire, an old fur hat or coat, Moment-brand glue, a sharp knife, pliers, soft stuffing, a piece of cardboard, and beads.
Cut the wire
Cut wire into pieces: 4 strips 16 cm long, 4 pieces 12 cm long, and 4 pieces 4 cm long — these will become the spider's jaws and legs.
Make the spider's legs
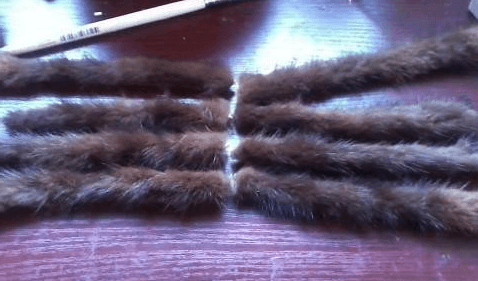
The wire leg frames get wrapped in strips of fur.
Cut the fur strips
Cut 1 cm wide strips from the fur. Cut the pelt only in the direction of the nap, and only along a ruler (a metal one works best), so you don't damage the fur.
Wrap the wire in fur
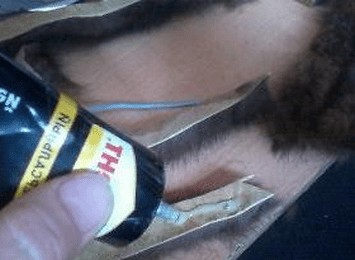
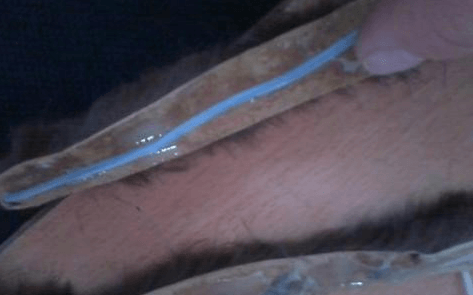
Spread glue on the fur strips and glue them to the wire, folding the edges over.
Make the spider's head and body
The head and body are cut from fur and leather using templates, then sewn and stuffed.
Make templates and cut the pieces
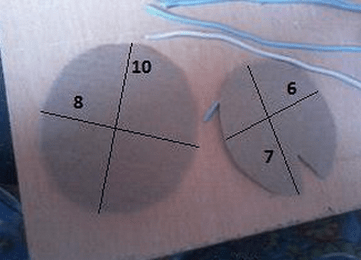
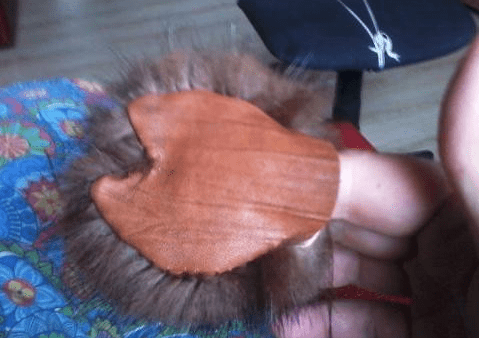
Make two templates from a piece of cardboard (you can use your own measurements). Transfer the pattern onto the fur. It's important that the nap on the back runs toward the future neck, and on the head runs from the back of the head toward the mouth. For the spider, you'll need to cut 2 fur pieces for the back and 1 leather-and-fur piece each for the head.
Sew and turn the head piece right side out
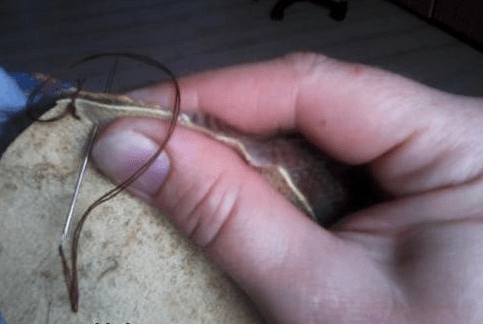
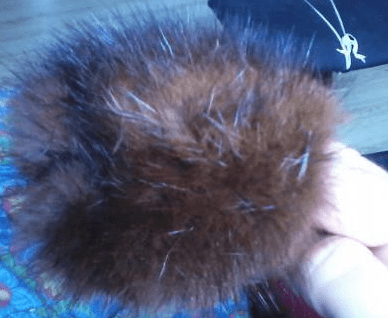
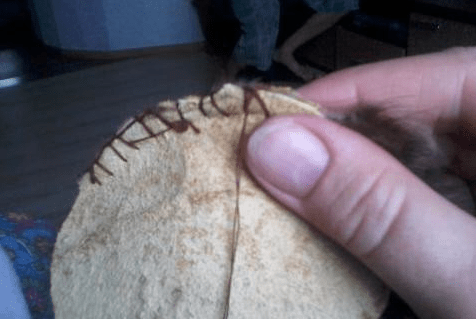
Put the pieces right sides together and sew them. Turn the head piece right side out.
Stuff and close the head
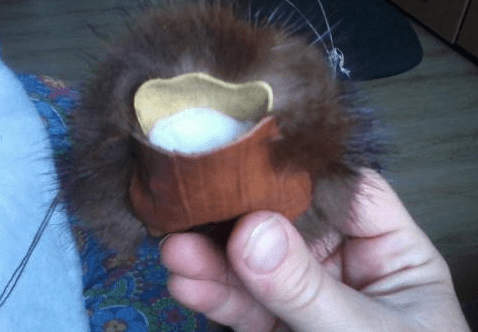
Stuff the head piece with soft stuffing and carefully close it with a blind stitch.
Repeat for the body
Do the same for the spider's body.
Assemble the spider
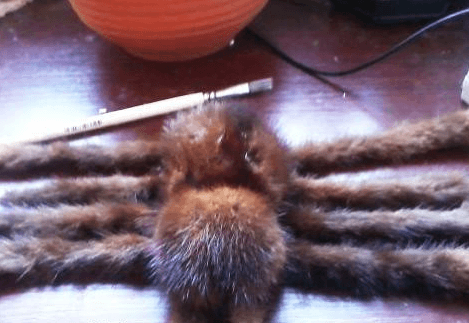
The head, body, and legs come together into one figure.
Join the head and body
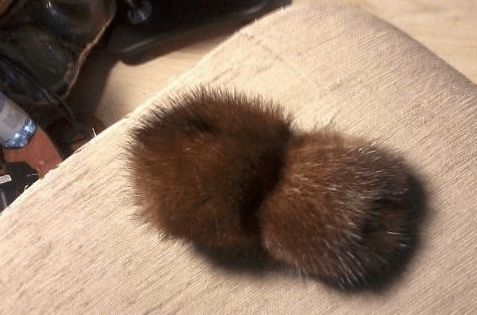
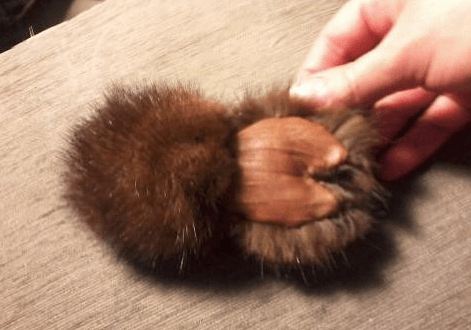
Join the head to the body. To keep the head and body from bending out of shape, insert 2 pieces of wire inside the piece and add more glue at the join.
Lay out and sew on the legs
Lay out the legs: long ones on the outside, short ones in the center. Sew the legs only to the head — leave the body alone — and sew them to the leather base. Shape a bend, and add extra glue at the joint.
Add the eyes
The finishing touch is the spider's eyes.
Add bead eyes
Real spiders have 8 tiny eyes, but a couple of large beads work just as well in place of small eyes.
Finish and variations
Finish
Use your spider for a prank
You can leave the finished spider somewhere unexpected to prank friends and family — you're guaranteed plenty of reactions!
Variations
Your own body size
You don't have to use the author's exact template for the body — feel free to make it your own size.
While cutting the fur strips, the nap or the pelt itself gets damaged.
Likely cause
The cut was made against the nap's direction, or without using a ruler.
How to fix it
Cut the pelt strictly in the direction of the fur's nap, and only along a ruler (a metal one works best), so you don't damage the fur.
The body and head bend out of shape
Problem
After joining the head and body, the piece doesn't hold its shape and bends.
Likely cause
No wire pieces were inserted inside the piece for rigidity.
How to fix it
Insert 2 pieces of wire inside the piece and add extra glue — this keeps the body and head holding their shape.
The fur's nap direction looks off
Problem
After assembly, the fur on the spider's back or head lies in the wrong direction, making it look less realistic.
Likely cause
The nap's orientation wasn't accounted for when transferring the pattern onto the fur.
How to fix it
Make sure the nap on the back runs toward the future neck, and on the head runs from the back of the head toward the mouth, right at the pattern-transfer stage.
The legs accidentally get sewn to the body instead of just the head
Problem
The spider's legs are sewn not just to the head but catch the body too.
Likely cause
The head and body weren't kept separate while sewing on the legs.
How to fix it
Sew the legs only to the head (to the leather base), without catching the body — this keeps the construction neater.
?FAQ
How long does it take to make the spider?
No more than three hours.
Can you use faux fur?
The author didn't try faux fur, since a matching shade was hard to find — an old fur hat or coat was used instead.
What wire lengths do you need for the legs and jaws?
4 strips 16 cm long, 4 pieces 12 cm long, and 4 pieces 4 cm long.
How do you cut the fur correctly?
Only in the direction of the nap, and only along a ruler (a metal one works best), so you don't damage the pelt.
How many eyes does the spider need?
Real spiders have 8 tiny eyes, but for the toy, a couple of large beads work just as well in place of small eyes.
Your project
Log in to track your project, attach photos, and publish your result into the shared feed.

 Intermediate3 hrFree