Miniature Skis Christmas Ornament from Wooden Craft Sticks
Step by step, make a Christmas tree ornament shaped like miniature skis: soften wooden spatulas in boiling water, bend the tips, sand the blanks, make poles from skewers, paint with acrylic paint and attach the decorations.
BeginnerFree
Translated
Things you will learn
How to bend wooden spatulas so they look like real skis.
How to trim and sand the blanks without rough edges.
How to make miniature ski poles from skewers, caps and thin cord.
How to assemble a Christmas tree ornament and hide the attachment points with decorations.
What you will make
The finished piece looks like a tiny pair of skis with poles and winter decorations. You can hang it on the Christmas tree, use it as gift decor, or make a personalized ornament for each family member.
Finished skis with white tinting and small decorative details.
Materials and tools
Materials
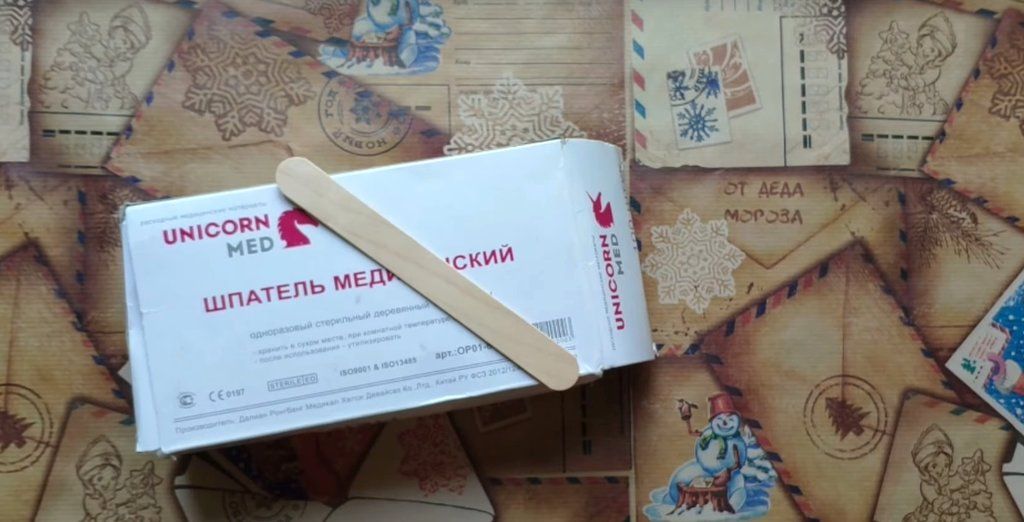
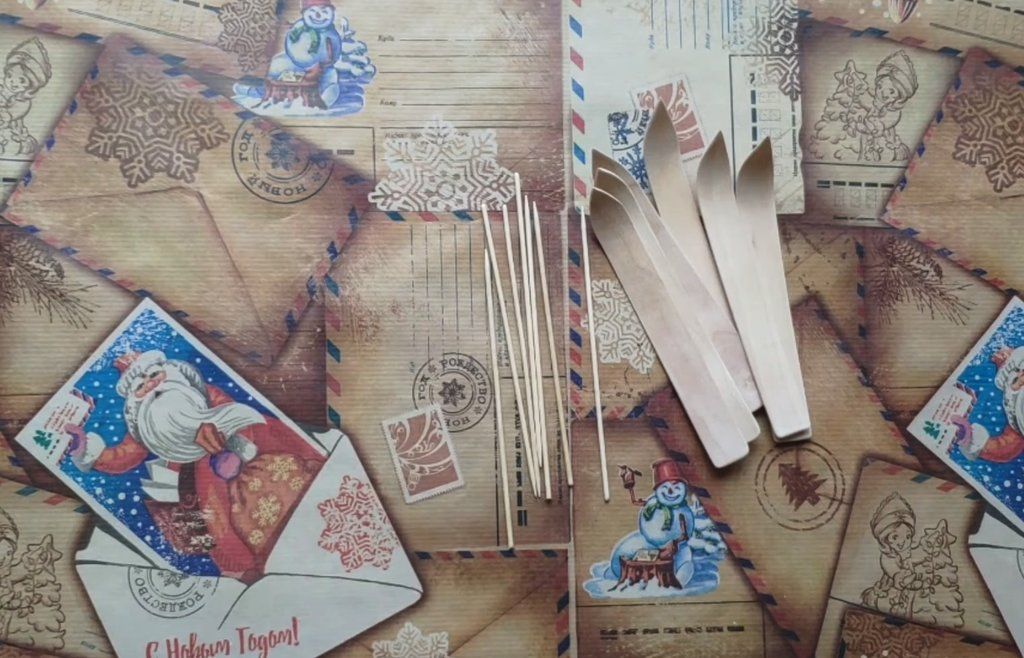
Medical wooden spatulas or wide popsicle sticks, 2 pcs., For one pair of skis; spatulas are easier to use because they are wider and straighter.
Wooden barbecue skewers, 2 pcs., Used to make the ski poles.
Acrylic paint, For painting the skis and poles; white, silver, black or natural shades all work.
Thin black cord, For the small loops on the ski poles.
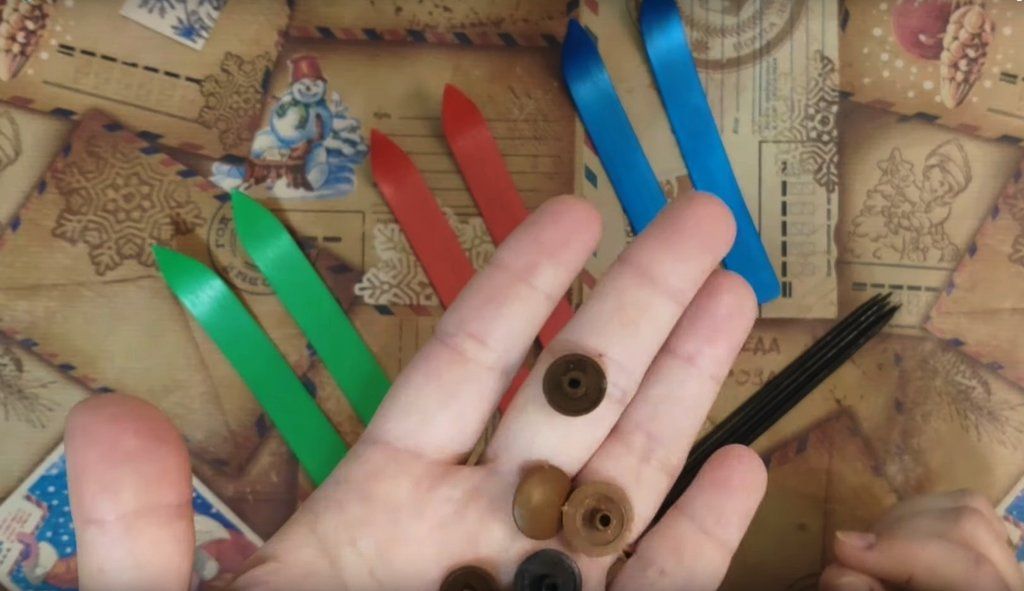
Furniture caps, 2 pcs., Used to imitate the baskets on the ends of the ski poles.
Clear glue, For neatly fixing the small loops on the poles.
Hot glue, For final assembly and attaching the decorations.
Decorative sprigs, pinecones, ribbon or cord for hanging, For the final decoration and the hanging loop on the back.
Water, For boiling and softening the wooden blanks.
Tools
Small saucepan, For boiling the wooden spatulas.
Tape, To hold the bent ski tips in place while they dry.
Scissors, craft knife or wire cutters, For trimming the spatulas and skewers.
Sandpaper or a sanding nail file, To smooth rough edges after trimming.
Paintbrush, For applying acrylic paint.
Awl or thick needle, For making holes in the furniture caps.
Hot glue gun, For final assembly; use with care.
Preparation
Work with children only under supervision
This tutorial includes boiling water, cutting wood and hot glue. An adult should handle those steps, while a child can safely help choose decorations, paint and finish the ornament.
Prepare the drying setup in advance
After boiling, the wood cools quickly and becomes less flexible. Before you start, prepare the tape and a place where you can hold the bent ski tips in position while they dry.
Soften the wooden blanks
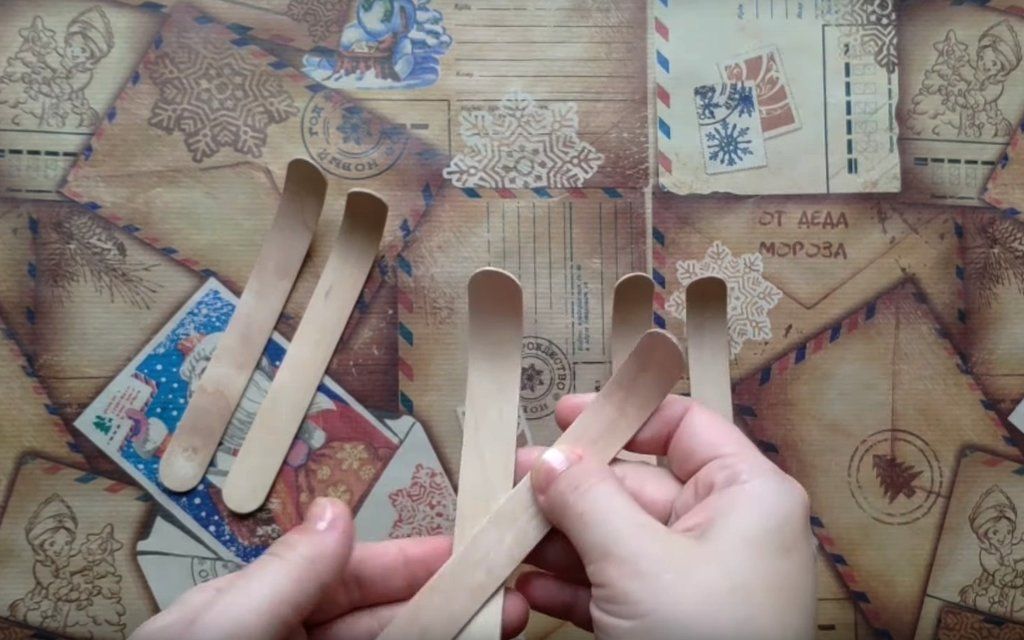
To make the sticks look like skis, first make them flexible. The original tutorial uses medical wooden spatulas for this.
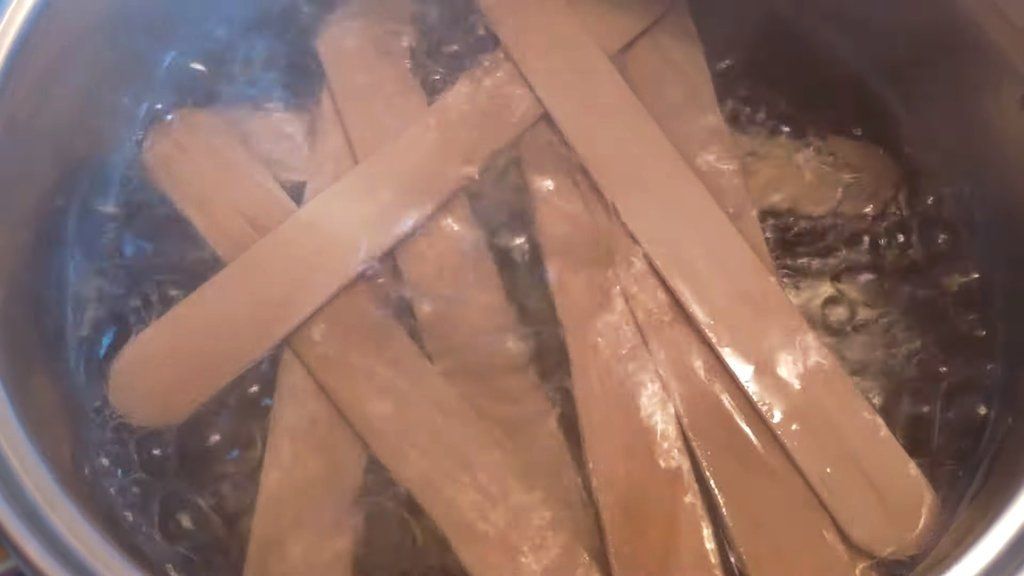
Boil the spatulas for 20-30 minutes
Pour water into a saucepan, add the wooden spatulas and boil them for about 20-30 minutes. After this, the wood becomes more pliable and you can carefully bend the ski tips.
Boil the spatulas for 20-30 minutes so the wood becomes more flexible.After hot water, the blanks are easier to bend into a ski shape.
Do not force a dry stick to bend
A dry blank can crack easily. If it resists bending, keep it in hot water longer.
Shape the curve and prepare the skis
Do not rush this stage: the ski shape needs to dry while fixed in place, otherwise the tips may straighten out.
Bend the ski tips and secure them with tape
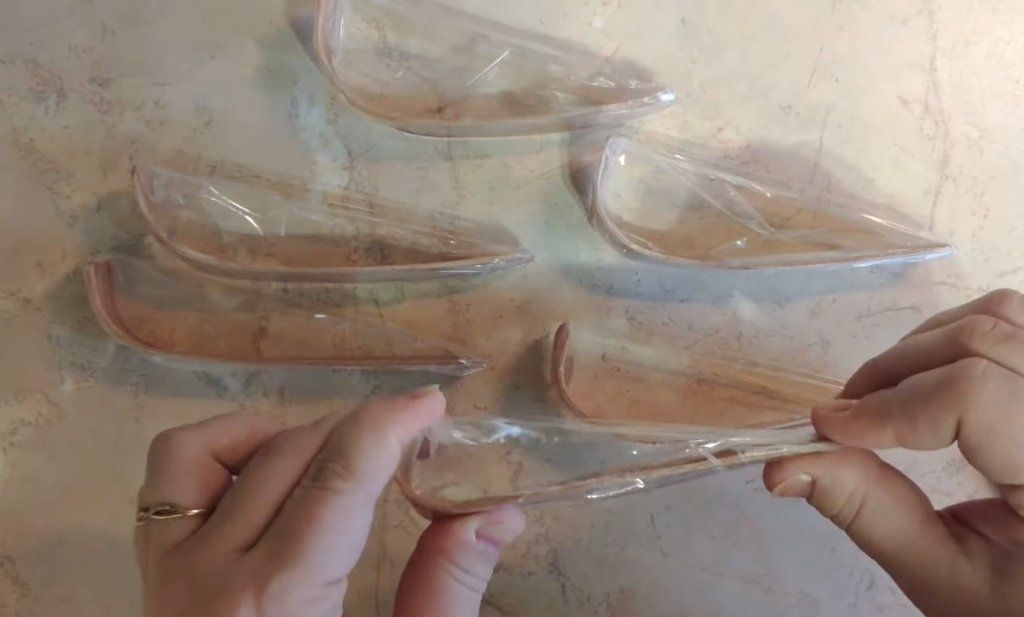
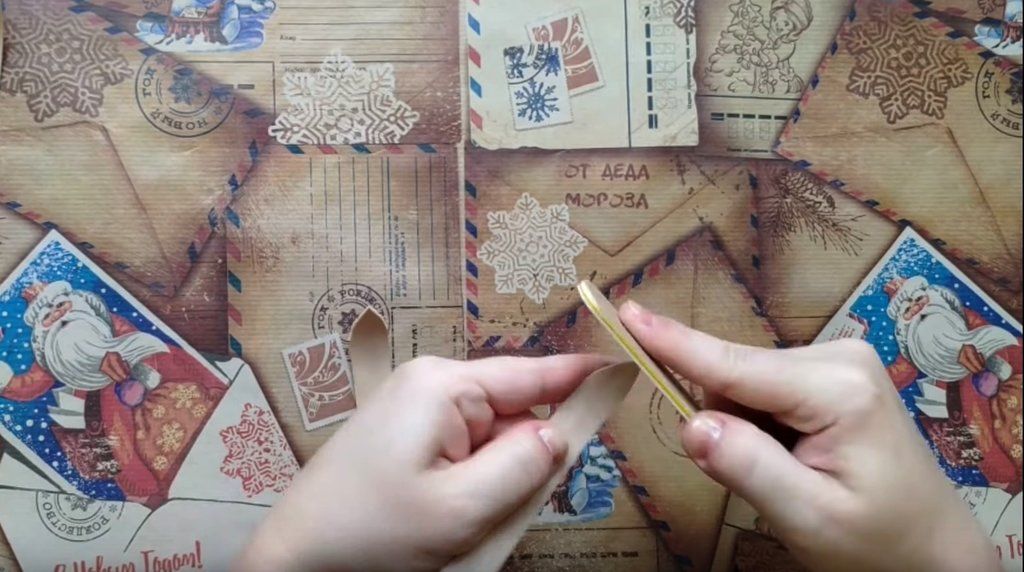
Remove the softened spatulas, carefully bend the front part and hold the curve with tape. Leave the blanks until completely dry so the wood keeps the shape.
Hold the curve with tape and leave it until completely dry.The dried blanks keep the ski-tip shape.
Angle the front edge and sand the blanks
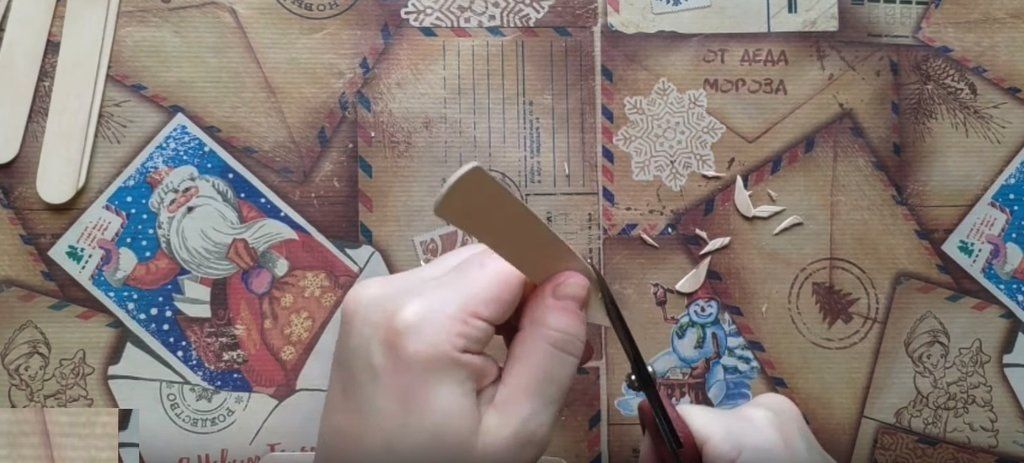
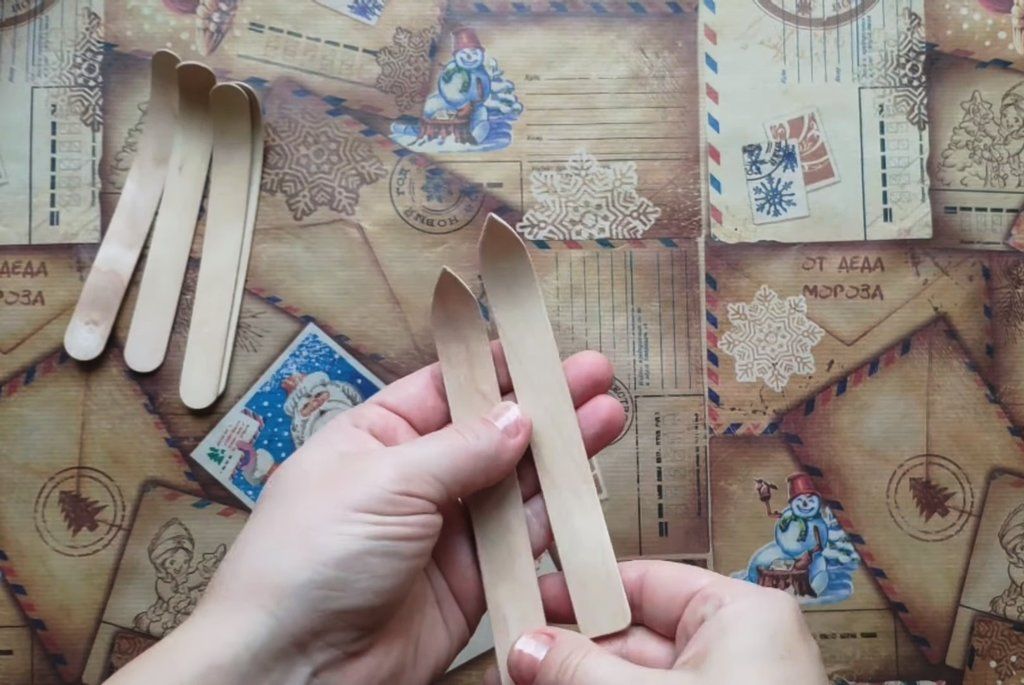
Trim the front ends at an angle, and make the back ends straight by removing the factory-rounded edge. Smooth all rough spots with sandpaper or a sanding nail file.
Trim the front edge at an angle and make the back edge straight.Smooth the cuts and rough spots before painting.
Check the pair
Before painting, place the skis side by side: the length, tip angle and back edge should look the same.
Make the miniature ski poles
The poles are made from wooden skewers, small caps and thin cord. These little details make the ornament look like real skis.
Cut the skewers to length
Take two barbecue skewers and trim them so they are proportional to the skis. It is better to leave a little extra length first, test them against the blanks, and only then trim them to the final size.
The poles are made from ordinary wooden skewers.Choose the pole length in proportion to the skis.
Paint the pieces and add baskets to the poles
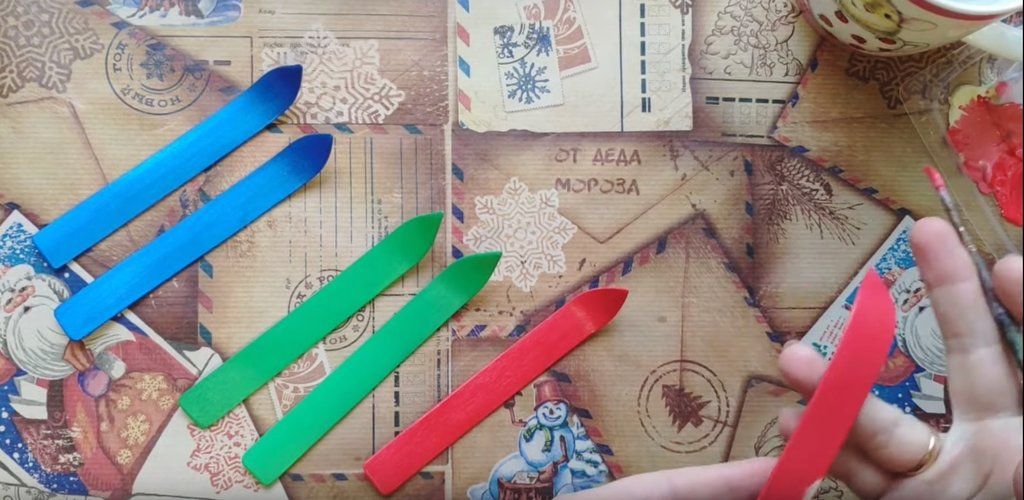
Paint the skis with acrylic paint on one side, let them dry, then paint the other side. The poles can be silver or classic black. Make holes in the furniture caps and slide them onto the lower ends of the poles.
Paint one side of the skis with acrylic, let it dry, then paint the other side.The caps imitate baskets on the ski poles.
Thin coats look cleaner
Two thin coats of acrylic look neater than one thick coat: there are fewer drips and the surface dries faster.
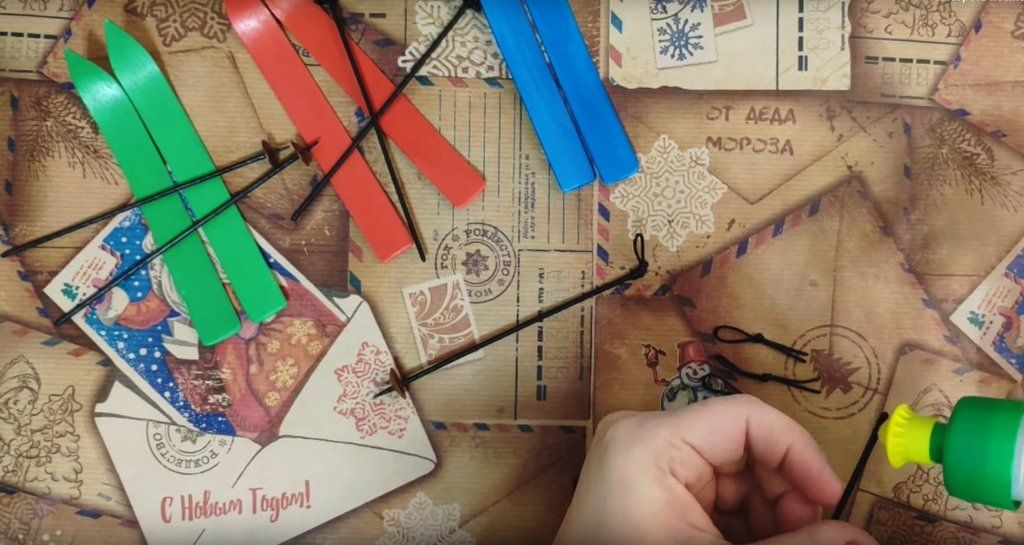
Glue on small cord loops
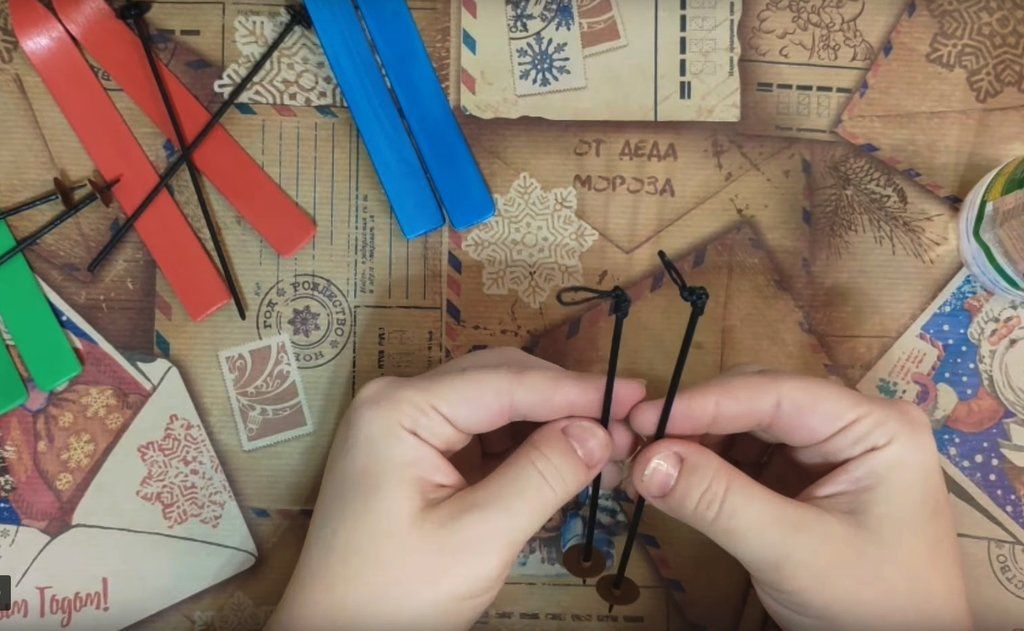
Make small loops from thin black cord and glue them to the upper part of the poles with clear glue. Use as little glue as possible so the attachment point does not look bulky.
Use thin cord to make miniature hand loops.Attach the loops with clear glue so the joint stays neat.
Decorate and assemble the ornament
The final look can be quiet, vintage or bright. The source suggests scuffs, snowflakes, foot bindings, names and a white tint along the edges.
Decorate the ski surfaces
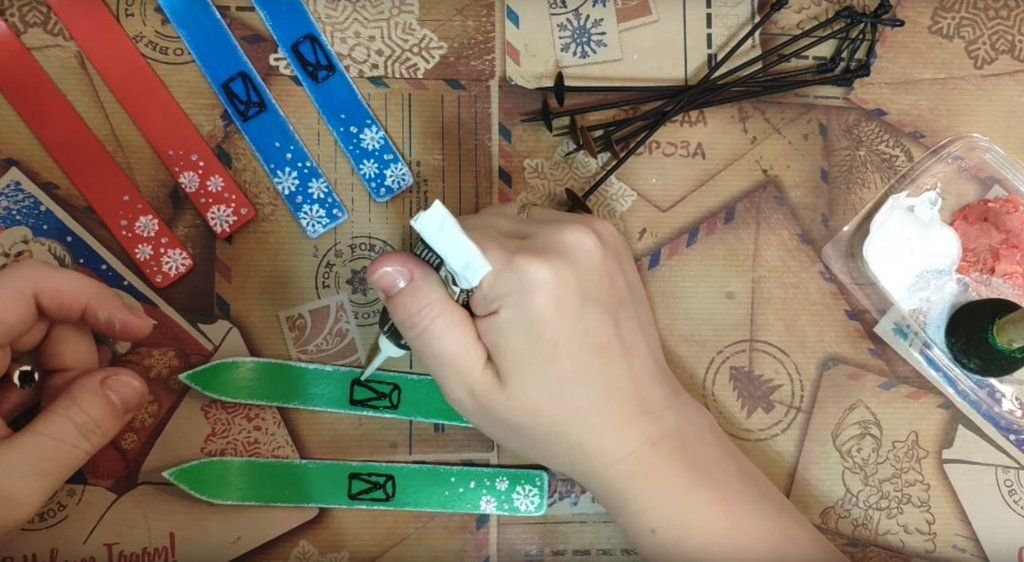
Add light scuffs, draw snowflakes or foot bindings with an outline paint, or write family names. You can lightly tint the edges with white paint to create a snowy effect.
Decorate the surface with snowflakes, bindings, names or white paint along the edges.
Assemble the arrangement with hot glue
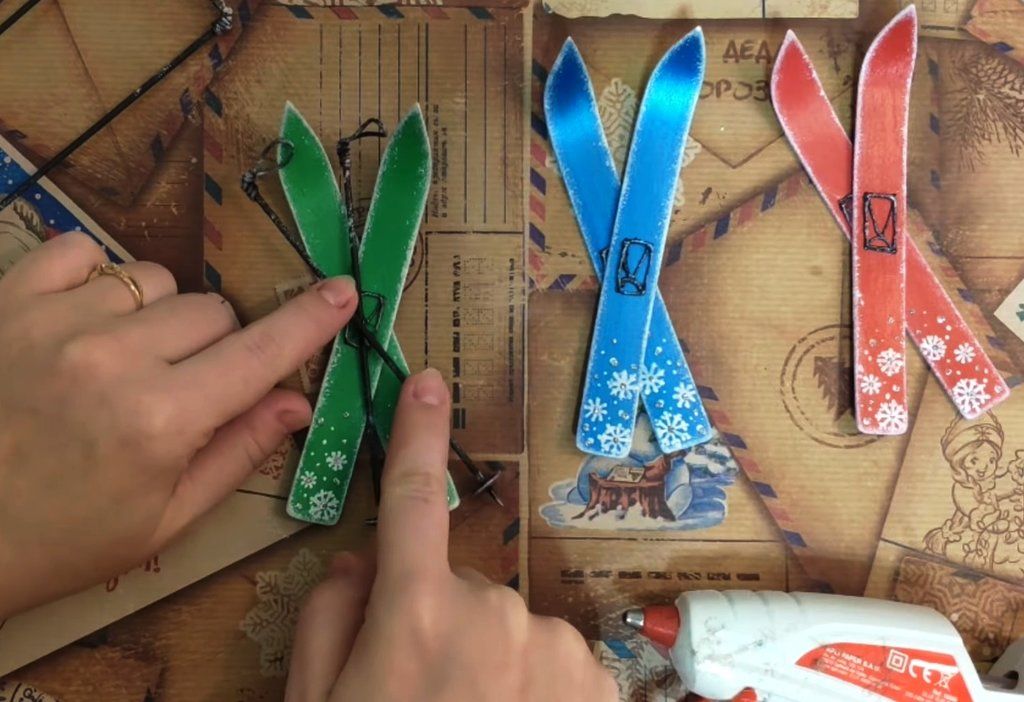
When the paint is dry, join the skis, poles and decorative elements with hot glue. Use small dots of glue and cover the attachment points with sprigs, pinecones or ribbon.
Join the pieces with hot glue and cover the attachment points with winter decor.
Hot glue sets quickly
Lay out the arrangement without glue first, and only then fix the pieces. This helps prevent crooked placement.
Attach the hanging loop
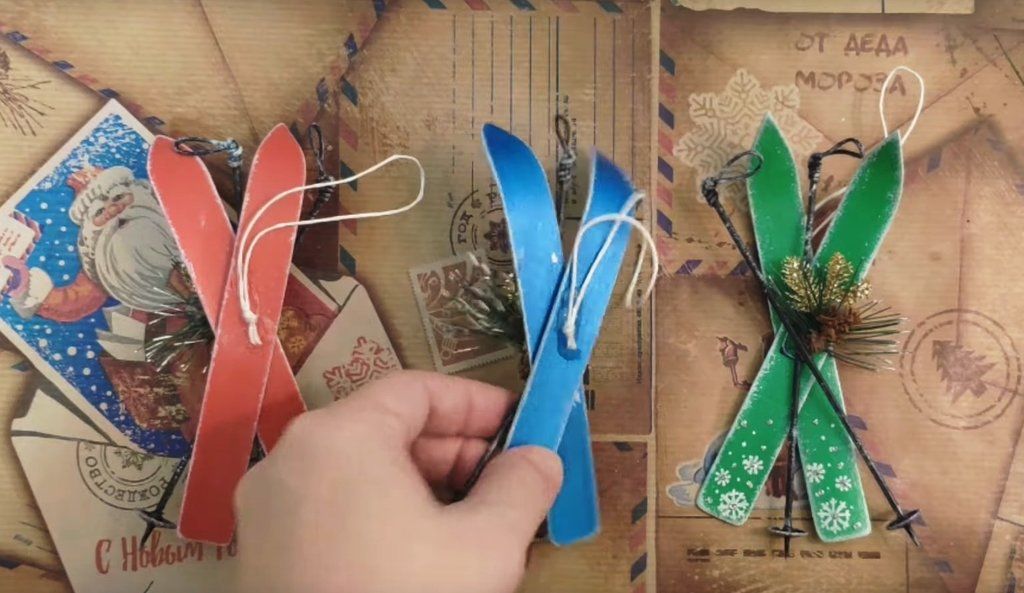
Glue a ribbon, cord or strong thread loop to the back. Check the balance: the ornament should hang straight, not tilt to one side or catch the poles on the branches.
Add a loop to the back so the ornament can hang on the Christmas tree.
Finish and variations
Finish
Check the ornament before hanging it on the tree
Make sure the poles are firmly attached, the hanging loop is glued to the back, and the decorations do not pull one side down. If the ornament tilts, move the loop closer to the center of gravity.
Variations
Personalized family skis
Write a family member’s name on each pair and make a matching set of ornaments in the same color palette.
Vintage or Scandinavian style
Leave some of the wood visible, dry-brush the edges with white paint, and add a jute loop with a small evergreen sprig.
Discussion idea: mini sleds from sticks
In the comments, someone noted that these spatula sticks also make good miniature sleds. That is a separate variation of the same winter idea: instead of hanging it, you can place it under the tree as small decor.
The wood was not softened enough, or the bend was made too sharply.
How to fix it
Boil the spatula longer and bend it gradually. For a child-friendly craft, use only hot water: the ammonia treatment mentioned by the author as a woodworking method is not needed here.
The ski tips straighten after drying
Problem
After the tape is removed, the curve becomes weaker or almost disappears.
Likely cause
The blank did not dry completely while fixed in position.
How to fix it
Soften the front part again, secure the bend more firmly and let it dry longer. Do not remove the tape until the wood feels cool and dry to the touch.
The edges look rough after trimming
Problem
The front or back edge catches, and the paint emphasizes the uneven spots.
Likely cause
The blanks were trimmed but not sanded afterward.
How to fix it
Before painting, sand all cuts with sandpaper or a sanding nail file. Check the tips, the back edge and the areas where decorations will be attached.
Glue is visible on the finished ornament
Problem
Large drops of glue show on the front, or the decoration looks heavy.
Likely cause
Too much hot glue was used, or the pieces were glued without testing the layout first.
How to fix it
Lay out the composition dry first, then fix the pieces with small dots of glue. If an attachment point is still visible, cover it with a sprig, pinecone, bow or snowy white tint.
?FAQ
Can I make these skis with a child?
Yes, but an adult should handle the risky steps: boiling, cutting, making holes in the caps and using hot glue. A child can paint, choose the decorations and finish the skis.
What can I use instead of medical wooden spatulas?
Wide wooden popsicle sticks will work if they are straight enough and not too brittle. Medical wooden spatulas are more convenient because of their width and shape.
What paint should I use?
Acrylic paint is the easiest option: it covers wood well, dries quickly and lets you create either a solid color or a light white tint along the edges.
Do I need ammonia to make the wood flexible?
No. The author mentions ammonia treatment in the discussion as a professional woodworking method, but for this craft — especially with children — boiling water is enough.
Your project
Log in to track your project, attach photos, and publish your result into the shared feed.
😮 I had no idea boiling water could change the shape of wood like that! We’ve made crafts from tongue depressor sticks before, but definitely nothing this realistic. The little sleds turn out especially cute. You don’t even have to hang them — you can just place them under the tree:
I once visited relatives whose upper floor and staircase were almost entirely made from natural wood: the railings, balusters, and the steps themselves. That’s where I saw workers treating the wood in a steam machine and then bending it in the needed direction.
You can also use ammonia impregnation — in that case the bonds between the wood fibers break down and it becomes flexible. But for children’s crafts, of course, that is not an option )
They are adorable! :love: You really surprised me with the boiling of the wooden pieces — I didn’t know about that (y) Usually, when people make something from popsicle sticks, they just assemble them like little logs without changing the shape. And the ski poles look just like real ones! I’m speechless 🙃

 BeginnerFree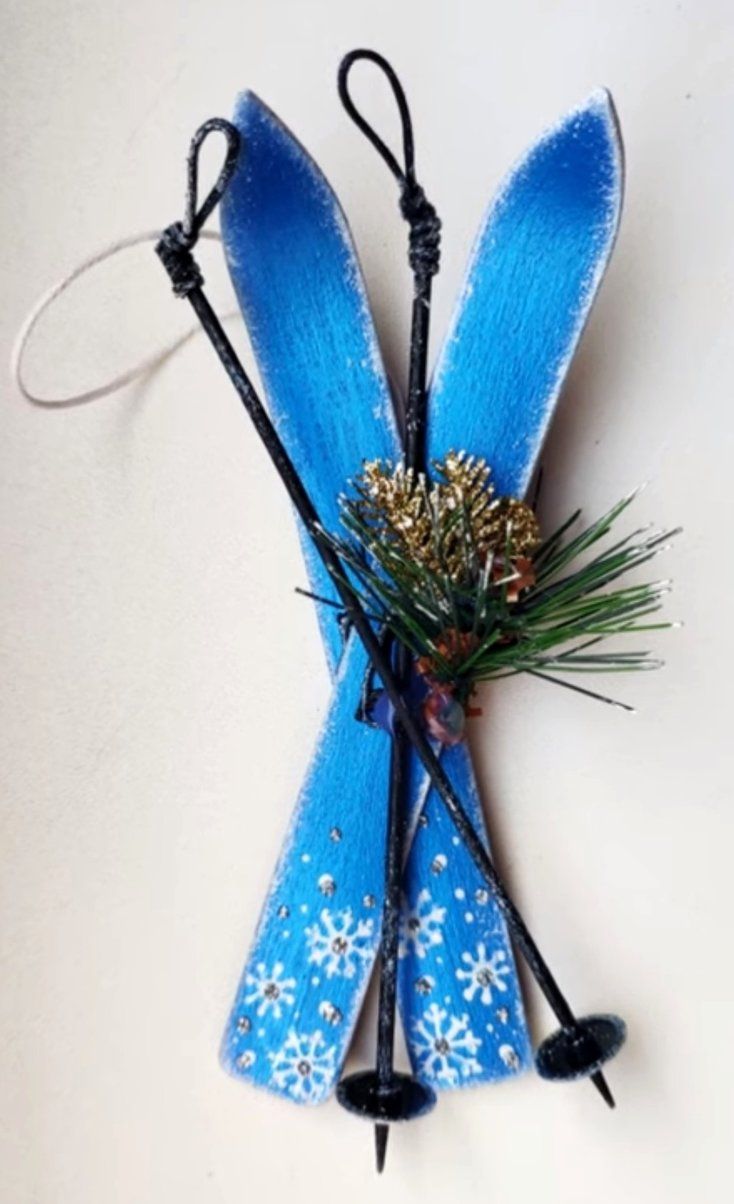


😮 I had no idea boiling water could change the shape of wood like that! We’ve made crafts from tongue depressor sticks before, but definitely nothing this realistic. The little sleds turn out especially cute. You don’t even have to hang them — you can just place them under the tree: