A step-by-step tutorial for sewing a fabric whale: trace the pattern onto the fabric as a mirror image, cut the pieces with a 0.5 cm seam allowance, stitch and set aside the flippers and tail, sew the main body pieces leaving openings for the flippers, insert the flippers and tail, stuff the toy, and sew on bead or button eyes.
Beginner1 hr 30 minFree
Translated
Things you will learn
Any fabric print works for this toy, even a floral one — the main thing is that the colors range from light blue to navy; you can even use thin denim.
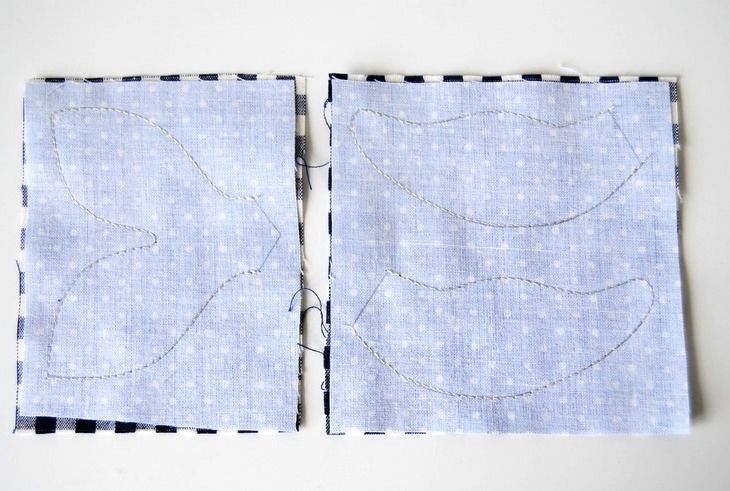
There should be two main body pieces — trace them onto the fabric as mirror images of each other.
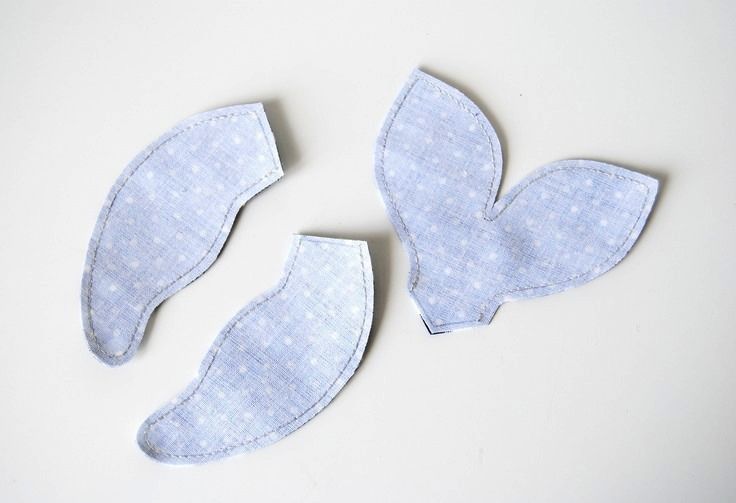
The main pieces are cut with a small 0.5 cm seam allowance; the flippers and tail are stitched ahead of time and set aside until assembly.
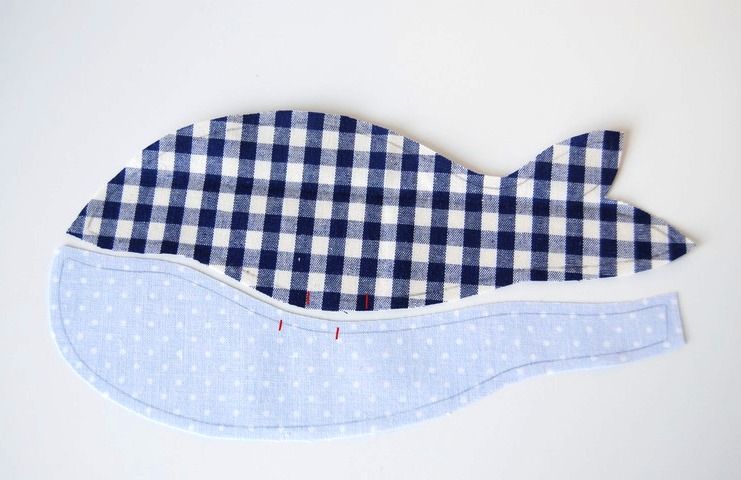
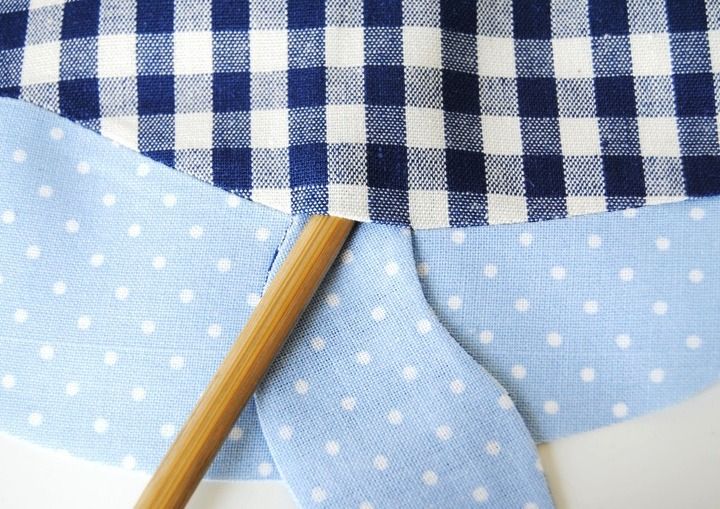
When sewing the main body pieces, leave openings for inserting the flippers later; once turned right side out, the flippers go in through these openings and get caught in the stitching along the main seam.
Fold the tail in half and insert it into the body, stuff the toy with filling, and stitch it closed near the tail; any beads, or even buttons, work well as eyes.
What you'll get
You'll get a soft fabric whale toy in shades of blue, with flippers, a tail, and eyes made from beads or buttons.
Materials and tools
Materials
Fabric in shades of blue (any print), any print works, even a floral one — the main thing is that the colors range from light blue to navy; you can even use thin denim
Sewing thread, used for the machine seams and for decorative stitching on the tail and flippers
Stuffing, used to fill the finished toy
Beads or buttons, used as the whale's eyes
Tools
Whale pattern pieces, included with the tutorial
Scissors, for cutting the pattern pieces and fabric
Pins, for pinning the pieces together before sewing
Sewing machine, for all the machine seams
Iron, for pressing all the pieces before assembly
Preparation
Gather your materials
Gather fabric in shades of blue (any print works), sewing thread, stuffing, beads or buttons for the eyes, the pattern, scissors, pins, a sewing machine, and an iron.
Trace the pattern onto the fabric
Trace the pattern onto the fabric, keeping in mind that there should be two main pieces, traced as mirror images of each other.
Prepare the flippers and tail
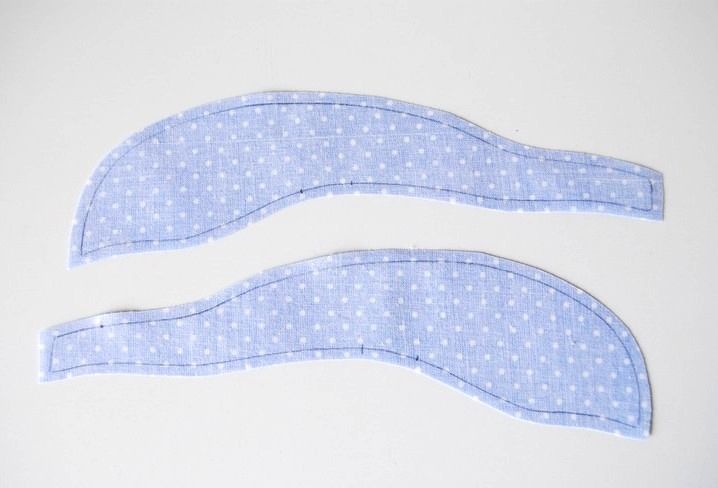
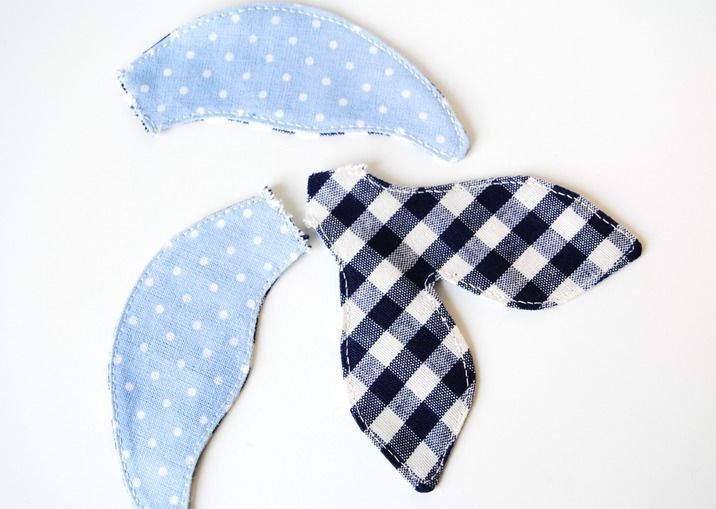
The flippers and tail are prepared ahead of time and set aside until it's time to assemble the main body.
Stitch the flippers and tail
Stitch the flippers and tail, then set them aside until the assembly stage.
Cut the main body pieces
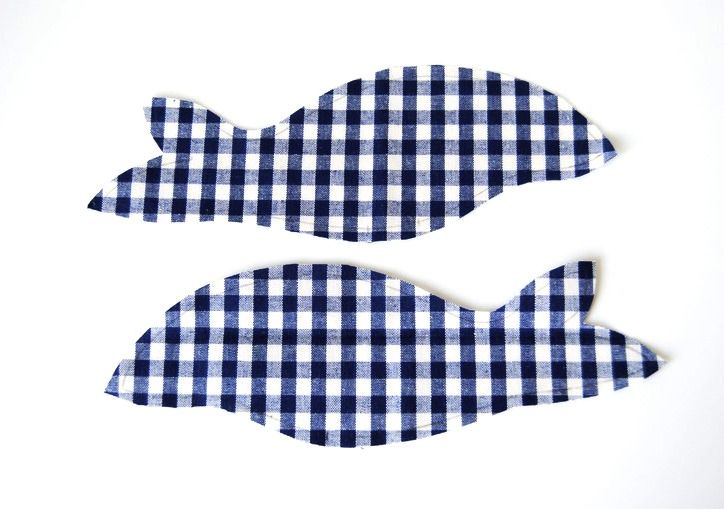
The main whale pieces are cut with a small seam allowance.
Cut the pieces with a seam allowance
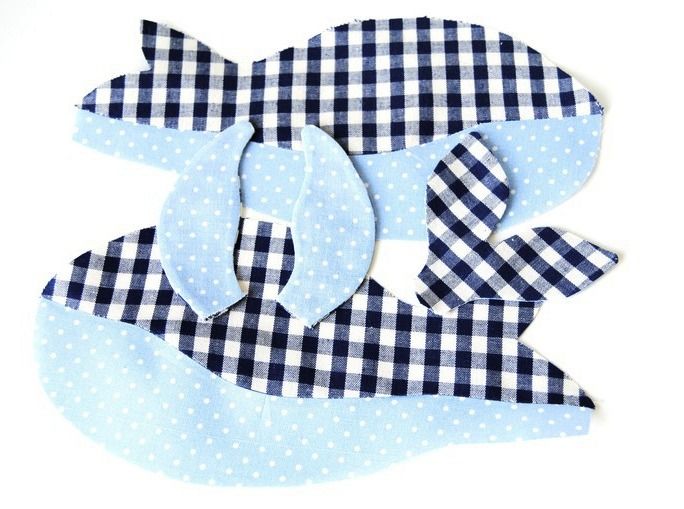
Cut the main whale pieces with a small 0.5 cm seam allowance. This is what they look like once cut out.
Cut-out pieces in blue and checked fabricThe two main body piecesMatching side piecesBody pieces in checked fabric
Sew the main pieces
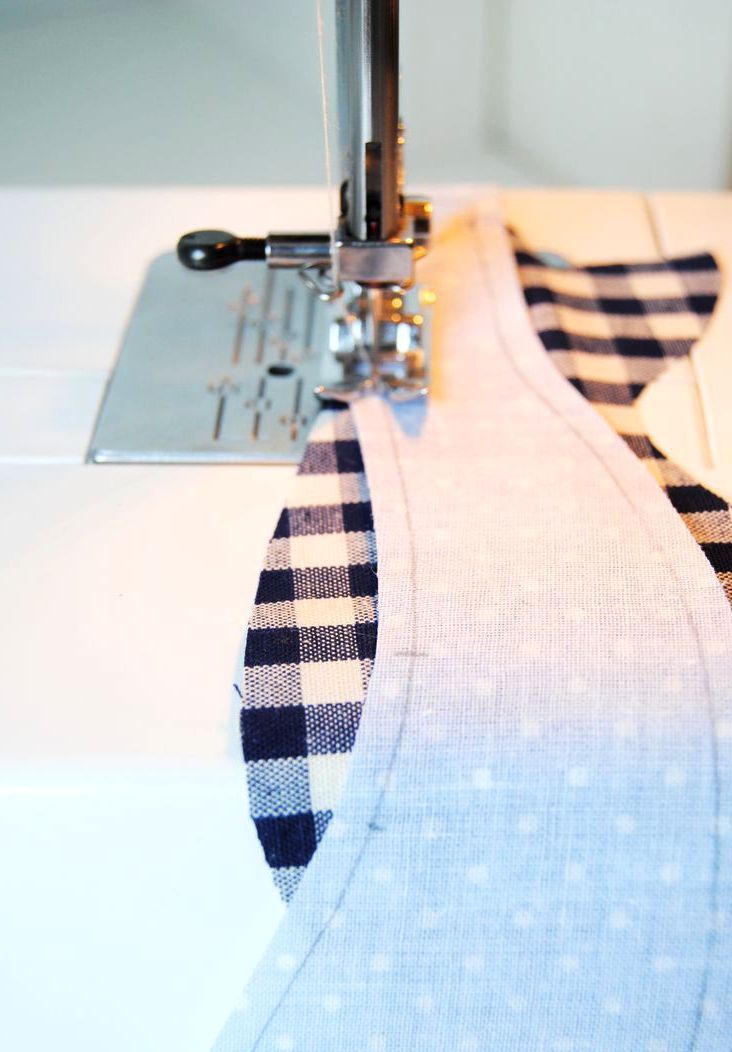
When sewing the main body pieces, leave openings for inserting the flippers later.
Sew the pieces, leaving openings for the flippers
Sew the main pieces together, leaving openings for inserting the flippers.
Joining the body piecesMachine-stitching the pieces
Finish the flippers and tail
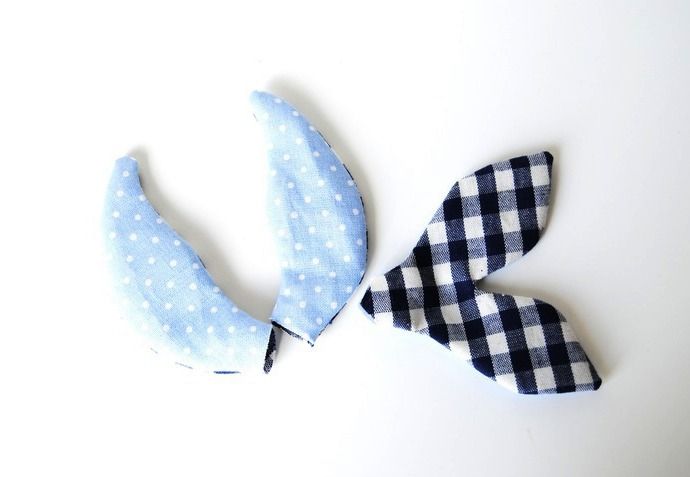
After sewing the main body, go back to the tail and flippers to turn them right side out and press them.
Cut out and turn the tail and flippers
Now go back to the tail and flippers: cut them out and turn them right side out.
The cut-out flippersFlipper and body pieces
Press the pieces and add decorative stitching
Press all the pieces well. You can decorate the tail and flippers with a decorative stitch for extra detail.
Assembled body piecesPreparing the side pieces
Assemble the whale
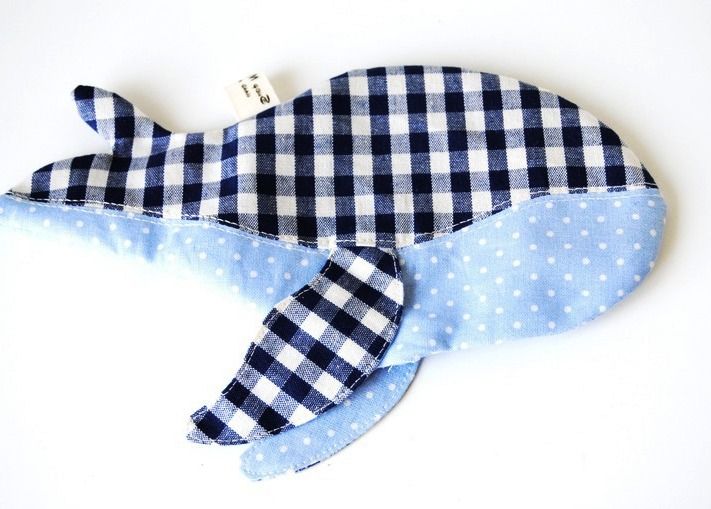
The finished flippers and tail are inserted into the main body, then the toy is turned right side out and stuffed.
Insert the flippers into the belly
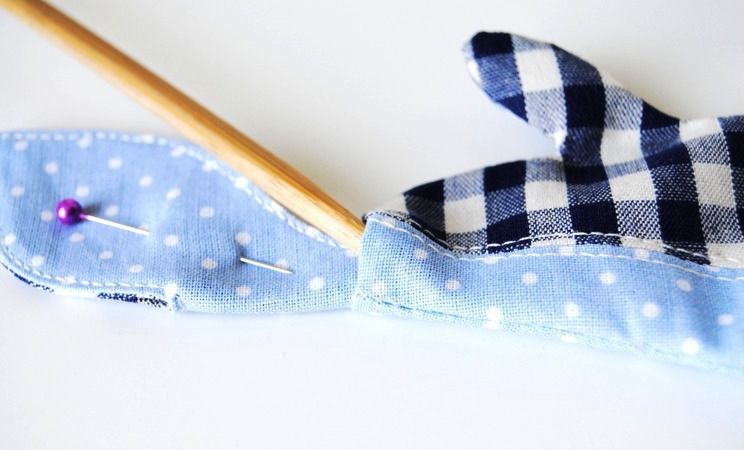
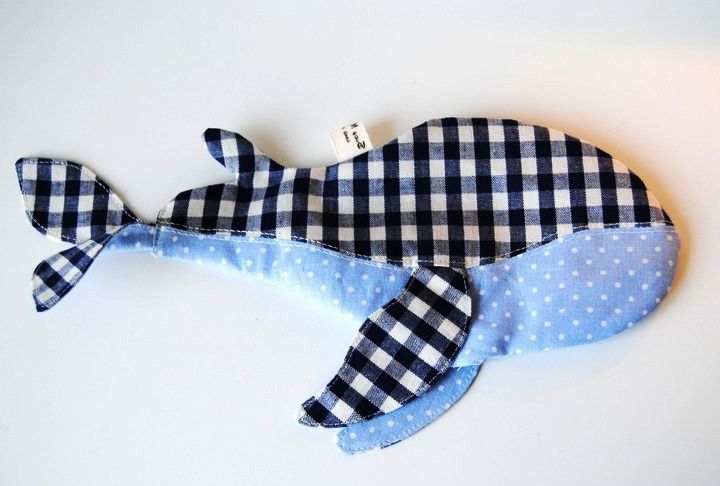
Insert the flippers into the "belly," through the openings you left for them earlier. Stitch along the main piece, catching the flippers in the seam. Once turned right side out, you'll have an almost finished whale.
Close-up of the joined fabricThe sewn whale toy
Insert the tail
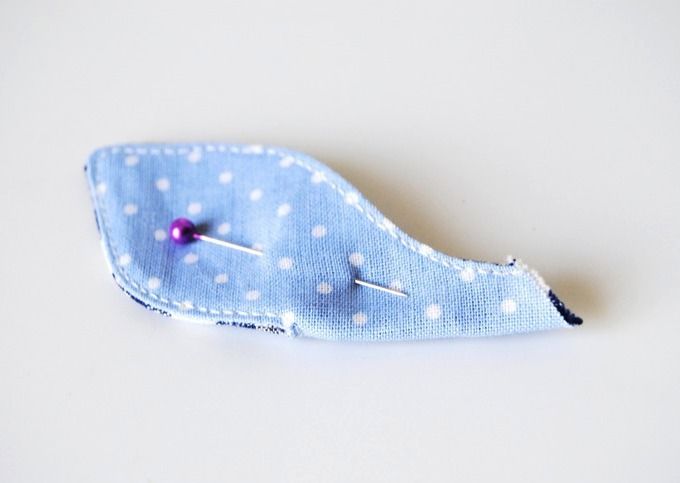
Don't forget the tail: fold it in half and insert it into the body.
Pinning the flipper in placeAssembling the tail section
Stuff the toy and sew on the eyes
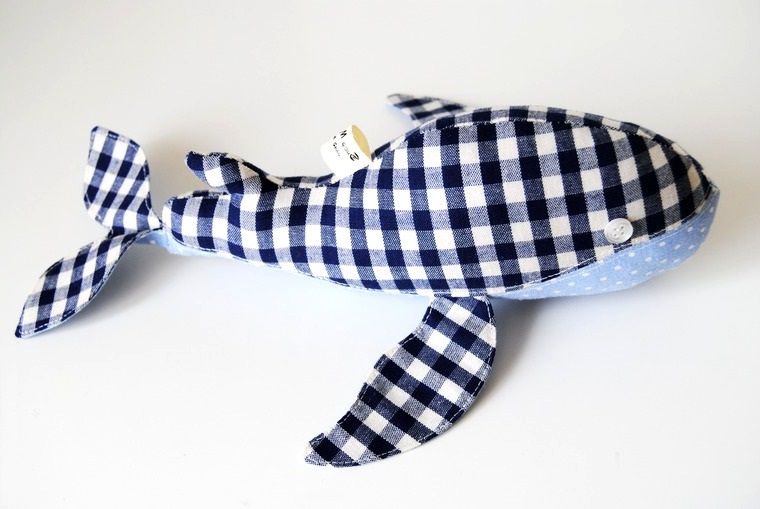
Stuff the toy with filling and stitch it closed near the tail. Any beads, or even buttons, work perfectly as eyes.
The finished whale toyThe finished whale toy
Finish and variations
Finish
Sew a whole pair of whales while you're at it
Be prepared for your child to ask for a friend for the whale, so sew at least a pair right from the start — or, at most, a whole pod of whales.
Variations
Choose whatever print you like
You don't need to overthink the print: any will do, even a floral one — the main thing is that the colors range from light blue to navy. You can even use thin denim as an option.

 Beginner1 hr 30 minFree