How to paint a doll body with acrylic: changing the color
This master class shows how to change a doll body color with acrylic paint: disassemble the joints, mix a generous batch of thick paint, apply thin even layers with a sponge, add blush shading, and seal the result with spray varnish.
IntermediateFree
Translated
Things you will learn
Acrylic works better than pastel for a dramatic color change because it covers the original tone more reliably.
Disassemble the doll at the joints so you can paint curves and hard-to-reach areas.
Apply the paint thinly with a sponge; a brush is more likely to leave streaks.
Spray varnish is easier for the final coat because liquid varnish can leave runs and thick spots.
A doll with a completely changed body color
The final look depends on the shade you choose: acrylic can create a natural new skin tone or a bold fantasy color.
Materials and tools
Materials
Prepared doll body, 1 piece, Before painting, the body should be cleaned, sanded or otherwise prepared, and ready for color.
Thick acrylic paints in the chosen shades, Mix more than you think you need so there is enough for every part.
Regular dish sponge, 1 piece, A sponge makes it easier to apply a thin layer without obvious brush marks.
Pastels for blush shading, Useful if you are not confident blending the shading with acrylic paint.
Acrylic spray varnish, Choose a matte or glossy finish depending on the look you want.
Tools
Palette or disposable mixing surface, Use it to mix a large enough batch of paint at once.
Protective work surface and a well-ventilated workspace, This is especially important when spraying varnish.
Fine brush for small areas, Do not use it for the main coat; keep it for places a sponge cannot easily reach.
Files and resources
How to prepare a doll for paintingThis master class starts after the body has been modified and prepared, so do the preparation step separately first.
Move on to painting only after all modifications, sanding, and cleaning are finished. The surface should be free of dust, grease, and rough unfinished spots.
Set up a safe workspace
Cover the table, work in a ventilated area, and be especially careful with spray varnish. Do not spray near open flame or without ventilation.
Choose the repainting method
Use acrylic when you need a visible color change, not just a soft tint over the original body.
Assess the original body color and condition
First check how much the shade needs to change. If the goal is a dramatic repaint, acrylic will cover the original tone more reliably than pastel.
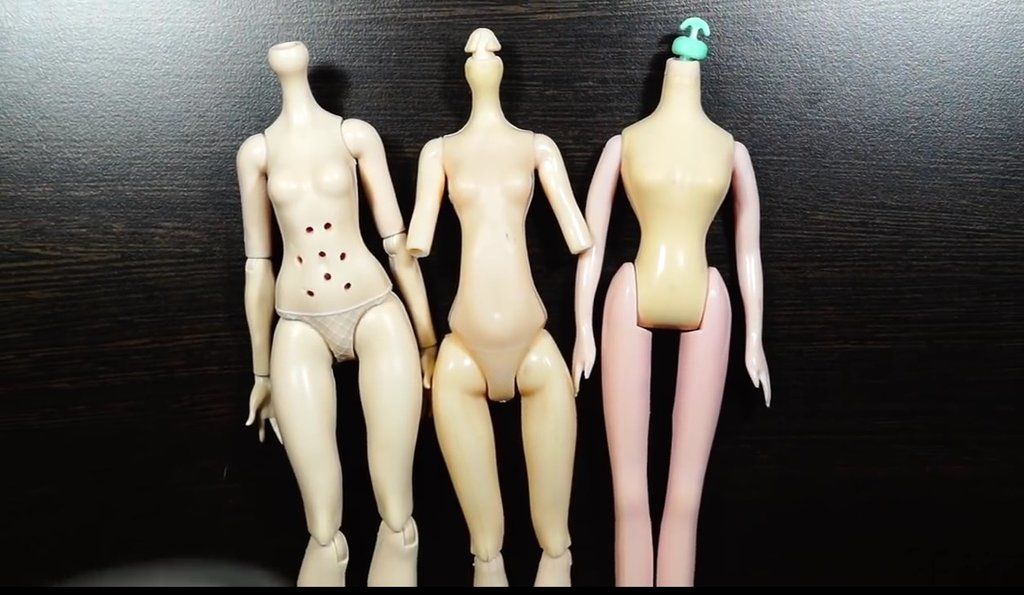
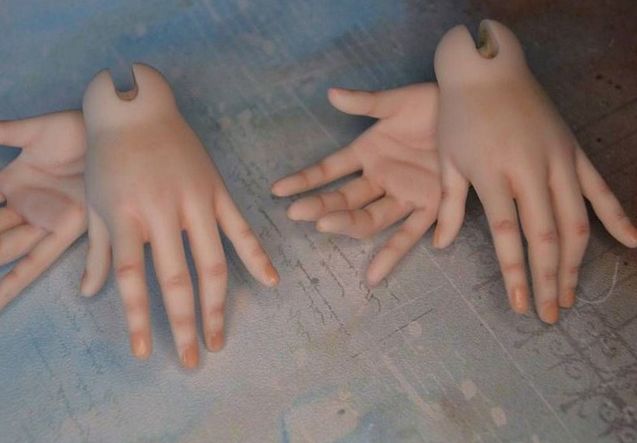
The original doll bodies before the dramatic color change.
Preparation is separate
If the body has not been prepared yet, do the preparation master class first. Paint holds much worse on an unprepared surface.
Use acrylic for a strong color shift
Acrylic works well for fantasy and high-contrast colors: for example, when you want a doll with an unusual blue, pink, or very dark body tone. Pastel or an airbrush can also be used, but acrylic is more practical when you need dense coverage.
When to choose pastel
If you only need soft, natural toning, pastel may look more delicate. For full color coverage, acrylic is the more practical choice.
Apply acrylic in thin layers
The goal is to paint every part evenly without streaks, thick ridges, or unpainted areas around the joints.
Disassemble the doll at the joints
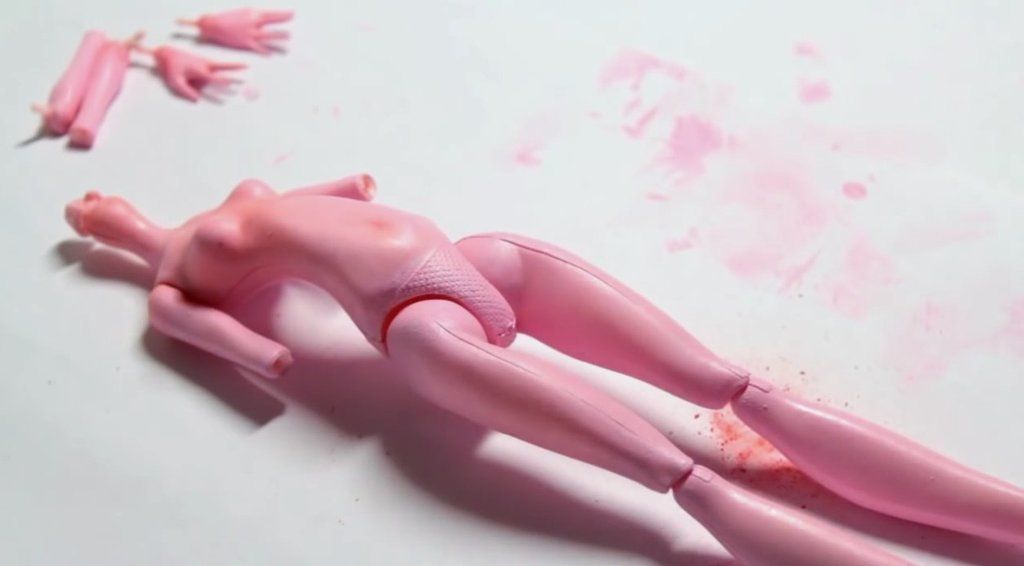
Take apart every joint. This makes it easier to reach curves, fingers, the neckline area, and places that stay hidden when the doll is assembled.
Mix enough paint for the whole doll
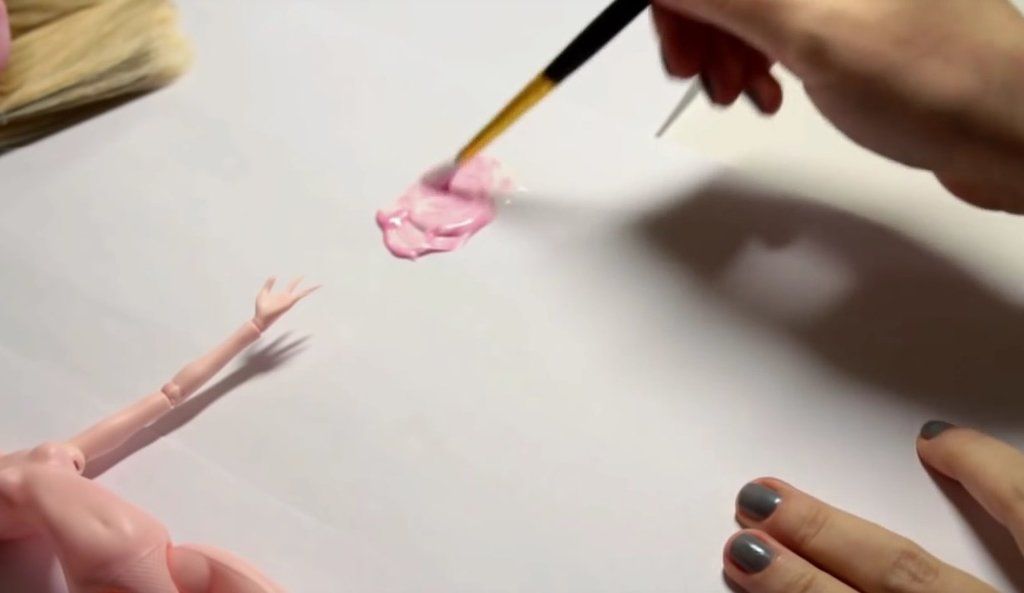
On a palette, mix the thick acrylic paints until you get the shade you want. Make a generous batch right away: if you run out, matching the exact color again will be difficult.
Mix enough acrylic color at once for the whole doll.
Do not rely on a brush
Apply the main coat with a regular dish sponge. A brush can leave streaks. Keep a fine brush only for tiny hard-to-reach spots.
Apply one or two thin sponge layers
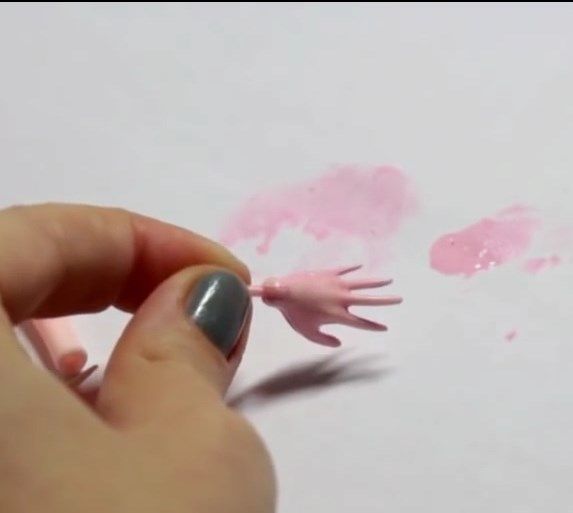
Pick up a small amount of paint with the sponge and spread it in a thin coat over all the parts. Make sure the color is even and reaches curves, folds, and small details.
Paint small parts carefully so the layer does not become too thick.After each acrylic layer, check that the color is even around joints and curves.
Check the joints
After the first layer, inspect the joints and recesses. If the original color still shows through, add a second thin layer instead of one thick coat.
Add blush shading and seal the finish
After the base color, shading and a protective finish make the body look more finished and durable.
Add blush shading to joints and folds
Blush shading means a light darkening around joints, finger folds, and the neckline. If you are comfortable blending acrylic, use acrylic; if not, add pastel after the base layer has fully dried.
Blush shading adds visual depth to finger folds and joints.
Blending matters more than intensity
It is better to keep the shading soft and repeat the layer than to place one dark spot right away.
Seal the work with spray varnish
Finish with acrylic varnish. The author recommends a spray can because liquid varnish is more likely to leave streaks and runs. Choose a matte or glossy finish to match the doll’s look.
Apply varnish carefully
Spray in thin coats from the distance stated on the can. A heavy coat can ruin the smooth paint surface.
Finish and variations
Finish
Let the parts dry completely
Do not assemble the doll immediately after varnishing. Wait until everything is fully dry so the joints do not stick or damage the fresh finish.
Reassemble the doll and check movement
Once the parts are dry, put the doll back together carefully and check whether the paint rubs off where the joints move.
Variations
Fantasy color
Acrylic can be used for unusual characters: an alien, a fantasy figure, or a doll with a radically changed skin color.
A more natural effect
If you want soft natural toning, consider pastel or combine an acrylic base with pastel blush shading.
The paint shows stripes, brush marks, or uneven color transitions.
Likely cause
The paint was applied with a brush or in a layer too thick to spread evenly.
How to fix it
Apply the main color with a sponge and build it up in one or two thin layers. Let each layer dry completely before continuing.
Joints and curves are not fully covered
Problem
The original body color still shows in recesses and bends.
Likely cause
The doll was not taken apart, or hard-to-reach areas were not checked after the first layer.
How to fix it
Disassemble the joints and go over the problem areas with a second thin layer. Do not try to cover gaps with one heavy coat.
The varnish leaves runs
Problem
The finish collects in drops or leaves visible drips.
Likely cause
Liquid varnish was used, or spray varnish was applied too close and too heavily.
How to fix it
Use acrylic spray varnish and apply it thinly. If you need more protection, add another thin layer after the first one dries.
?FAQ
Why is acrylic better for a dramatic color change?
Acrylic covers the original body tone more densely. Pastel gives a softer effect, but it is less suitable when you need a full color change.
Can I apply acrylic with a brush?
It is better to apply the main layer with a regular sponge because a brush can leave streaks. Use a fine brush only for tiny hard-to-reach areas.
What varnish should I use at the end?
The author recommends acrylic spray varnish. Liquid varnish is more likely to leave streaks and runs; choose matte or glossy depending on the doll’s look.
Your project
Log in to track your project, attach photos, and publish your result into the shared feed.

 IntermediateFree