
Pronged Trouser Hooks
I have already described the types of hooks and how to install them in the following topics:
This type of hook is fundamentally different from other trouser hooks—it does not need to be sewn on, as it is attached differently.
You punch holes with the sharp prongs and then bend the prongs over the decorative backing plate.
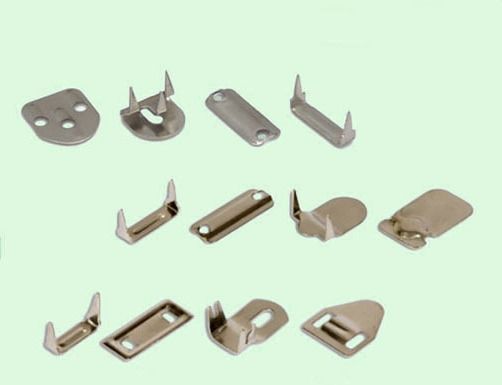
Pronged trouser hooks can have different designs and vary in the number of prongs—two, three, or four.
The set includes four parts (see image):
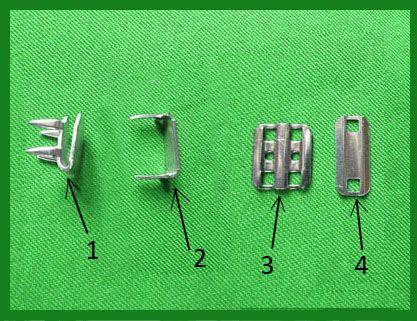
1 - the hook itself;
2 - the loop;
3 - decorative backing plate for the hook;
4 - decorative backing plate for the loop.
If you follow the correct sequence, the hook should be installed before finishing the waistband. Furthermore, after determining the placement for the hook, special reinforcement patches should be installed inside the waistband.
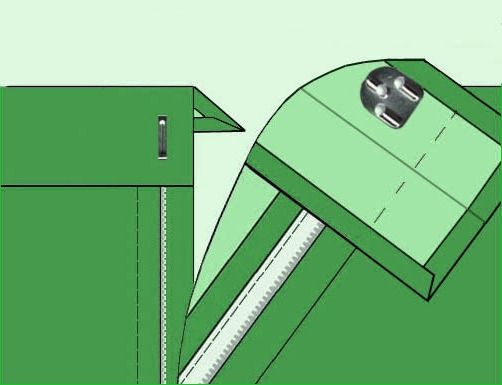
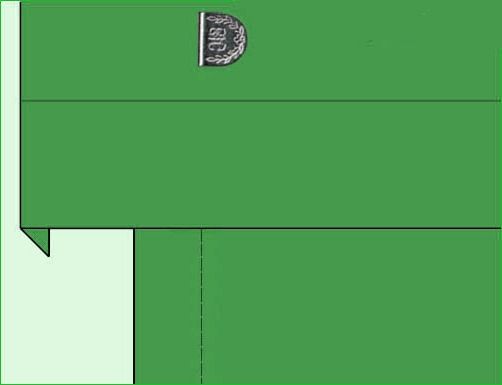
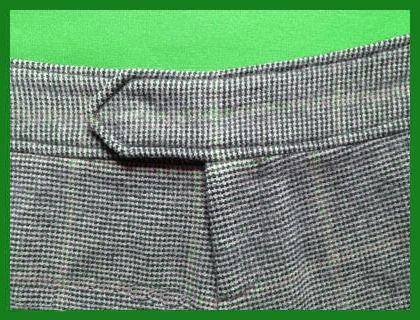
In the finished garment, the hook and loop are located inside and are not visible on the right side of the fabric.
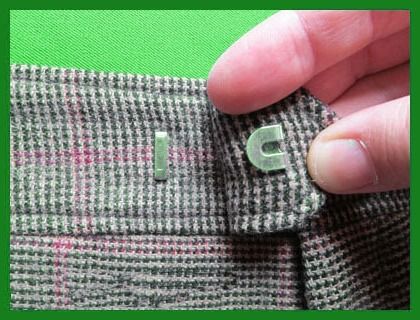
Installing a pronged hook requires certain skills, precision, and care. Mistakes are not allowed, as they will leave holes in the fabric.
As an alternative, you can try installing it so that the backing plate is on the right side of the garment. This method is much simpler and more convenient. Moreover, the decorative backing plates are quite neat and will not spoil the look of the garment.
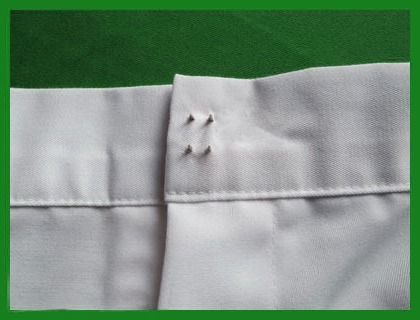
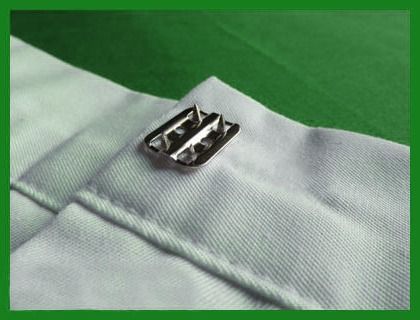
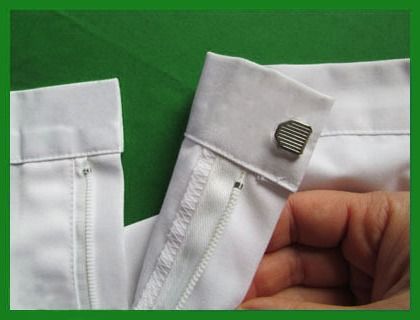
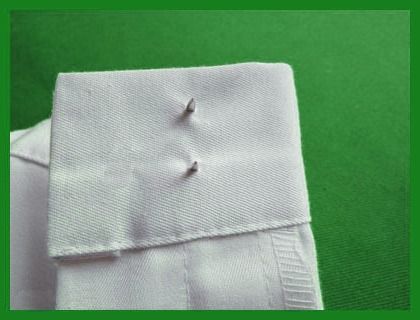
First, place the hook on one side of the closure, then align the loop on the other side under the hook—see photos.
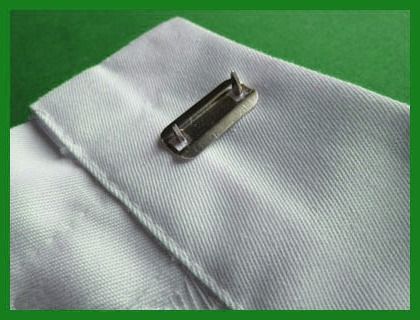
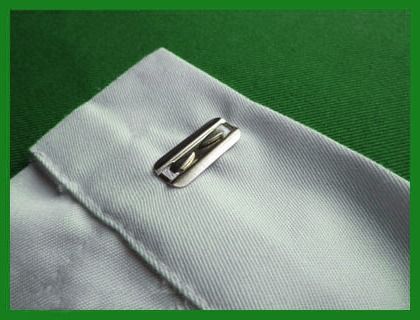
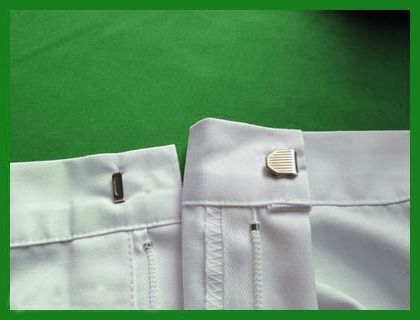
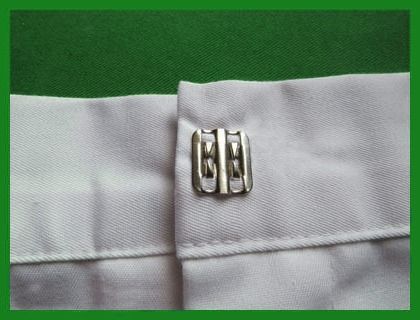
The only thing that requires extra attention is carefully bending the prongs using household tools.
If everything is done neatly, the hooks look quite decent on the right side.


