
How to Sew a "Christmas Gnome" Doll
Around the New Year, many themed interior toys appear in stores. They are all fun and bright, but they aren't cheap. You can easily sew such a cutie yourself. I found a pattern for a Christmas gnome and will share it with you.

The pattern can be scaled as desired. The gnome can be sewn in a "sitting" or "standing" version.
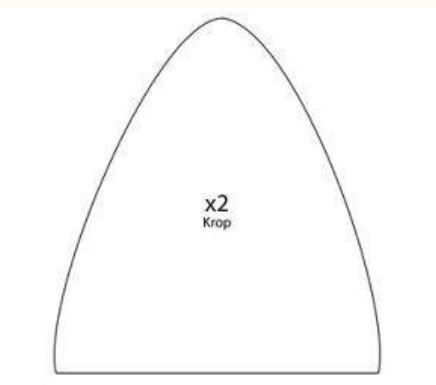
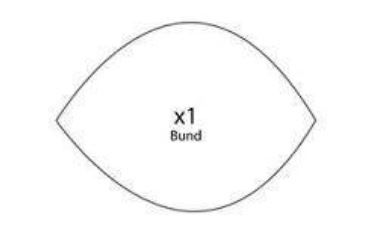
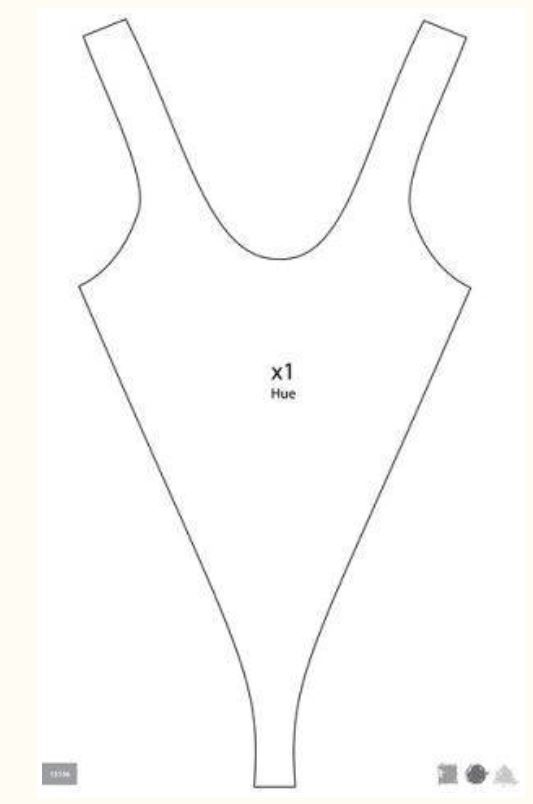
You will need:
- material for the hat - thin red felt or thick wool fabric works best;
- knit fabric - red for the legs and striped for the leg warmers;
- material for the body - thin gray felt or wool fabric;
- some stuffing;
- white embroidery thread;
- a bead for the nose;
- material for the beard;
- ready-made slippers (or you can sew them from fabric);
- if the gnome is to be "standing" - you will also need wire for the legs and cardboard for the base of the body and the soles.
How to sew
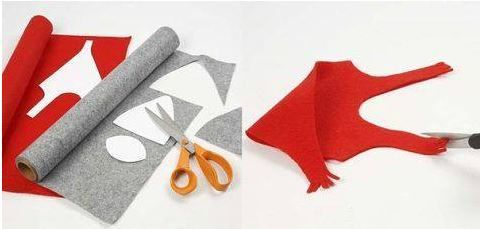
Cut out two body pieces from gray felt, one base piece from gray felt, one hat piece from red felt, and two pieces each for the legs, leg warmers, and slippers. Adjust the length and diameter of the legs yourself - the main thing is that everything looks proportional.
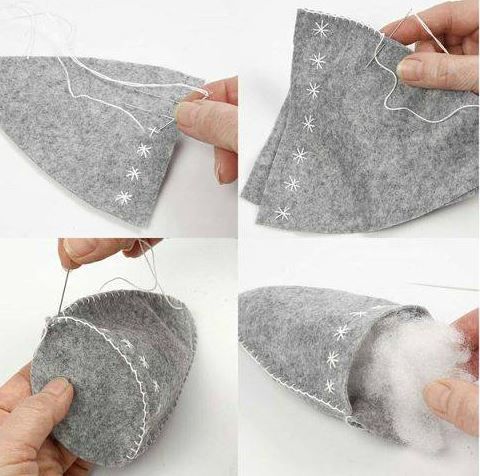
Embroider snowflakes along the bottom of the main body pieces using white thread - make simple stitches at intervals, 8 per snowflake. Then, join the two main pieces with a blanket stitch on the right side. Sew the bottom piece halfway around. Insert the stuffing inside.
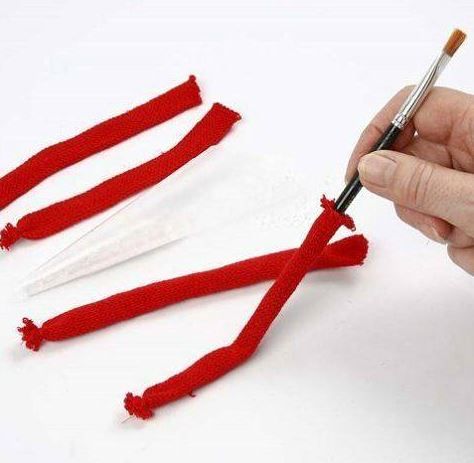
Sew the legs into tubes. Tie off the ends with white thread and secure them so the stuffing doesn't spill out. If the gnome is "standing," insert the wires into the legs immediately so that the ends stick out.
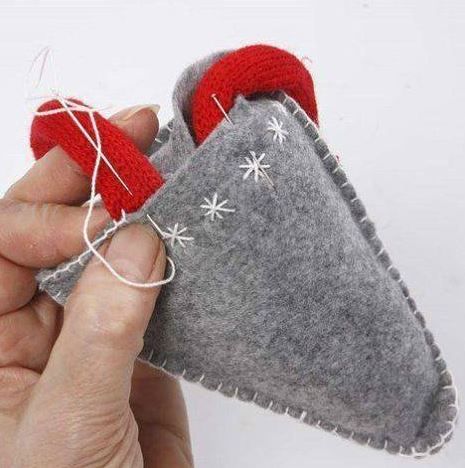
Insert the legs into the body and sew up the remaining part of the seam. If the legs are on wire, secure the wire to the cardboard first, and then sew the bottom.
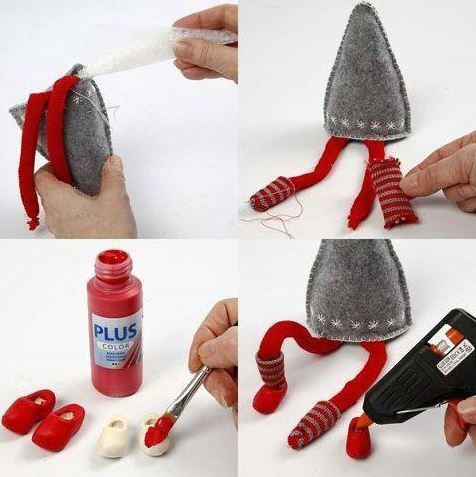
Make slippers for the gnome. If you have ready-made ones, touch them up to match the color of the main outfit if necessary. Use the striped fabric to make leg warmers and sew them to the bottom of the legs. Insert the legs into the shoes and glue them. If the gnome is "standing," secure the wire to the soles.
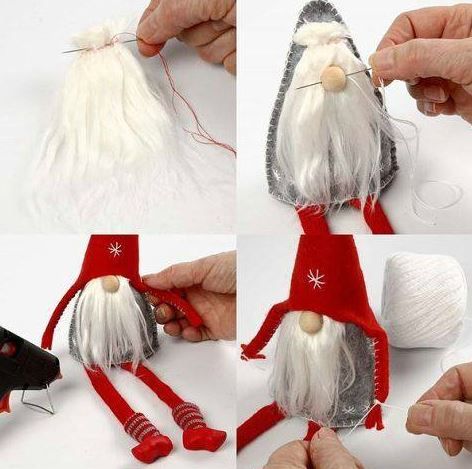
Next, let's decorate the face of the toy. Glue on the beard and sew on the bead nose. On the hat piece, cut the ends of the tails and the cap into tassels. Sew the hat tails into tubes and tie them at the bottom with thread. Sew the back seam of the hat. Put the hat on; if desired, you can secure it with glue or a few stitches.
Another version of a Christmas gnome can be sewn by following this video (https://www.youtube.com/channel/UCnQprauN2pYOiY6T72f29yA). Thanks to the author!
https://youtu.be/EuiapRloP2c


Cute gnome! There are a lot of such toys in stores now, but you can also make one with your own hands. I once sewed one using this tutorial, but this one is even simpler - a gnome made from a sock and materials on hand.