Simple Felt Snowflakes DIY: Beginner Tutorial
You can sew this ornament in literally 15 minutes! A great option for those who enjoy crafting with kids. 😉
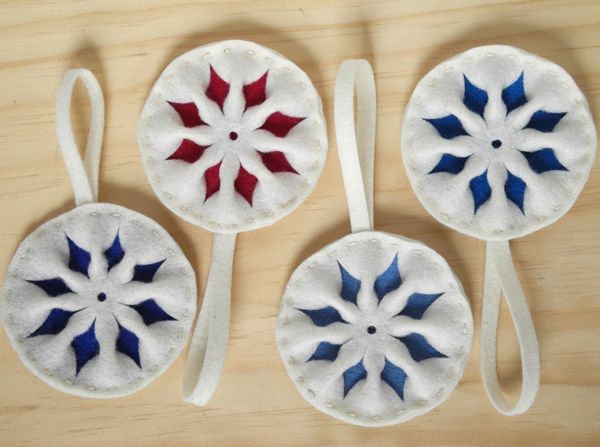
You'll need the following tools and materials:
- white felt;
- colored felt;
- white sewing thread;
- needle;
- round cardboard template (trace a glass and cut it out);
- hole punch;
- scissors;
- disappearing ink pen.
Tutorial
For each ornament you'll need to cut out two identical white circles and one colored circle slightly smaller in diameter.
Divide one white circle into eight equal triangular wedges using a pen.
Mark the center and pierce a hole.
Move a few millimeters away from the hole and make cuts along the lines, stopping a few millimeters short of the outer edge.
Pinch the center of each wedge with your fingers and sew each one through the center.
Stack the layers together – the full white circle, the colored circle, the hanging loop, and the front part of the ornament (with the wedge seams facing inward) – and stitch around the edge.
The ornament is ready!


Great idea, but I think it would be nice to add something contrasting around the edge: a trim, a ribbon, or the same felt that shows through the center of the snowflake. And it's better to sew with a hidden stitch to hide the seams. If you make the pieces with kids, you can use glue — it'll be even easier that way.