
The Steadfast Tin Soldier – crafting a toy from a cork
I'll start by saying that the toy turns out colorful, slightly vintage, and infinitely cute 🥰 And what else do you need for a Christmas tree ornament?
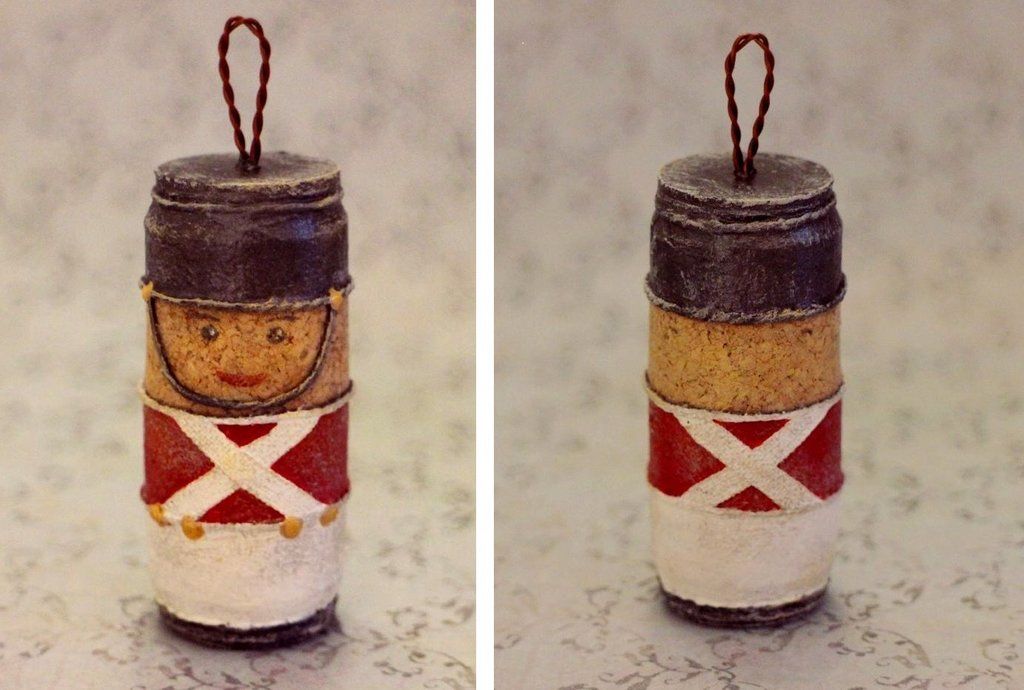
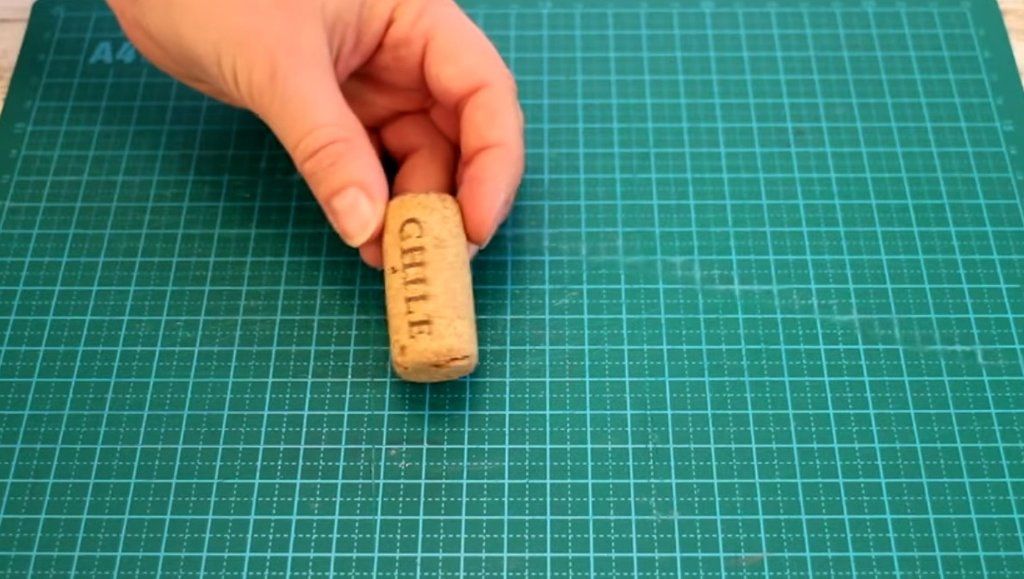
For this wonderful transformation, take a regular cork without any obvious defects. Use a ruler to measure the circumference to cut out cardboard circles for decorating the top and bottom.
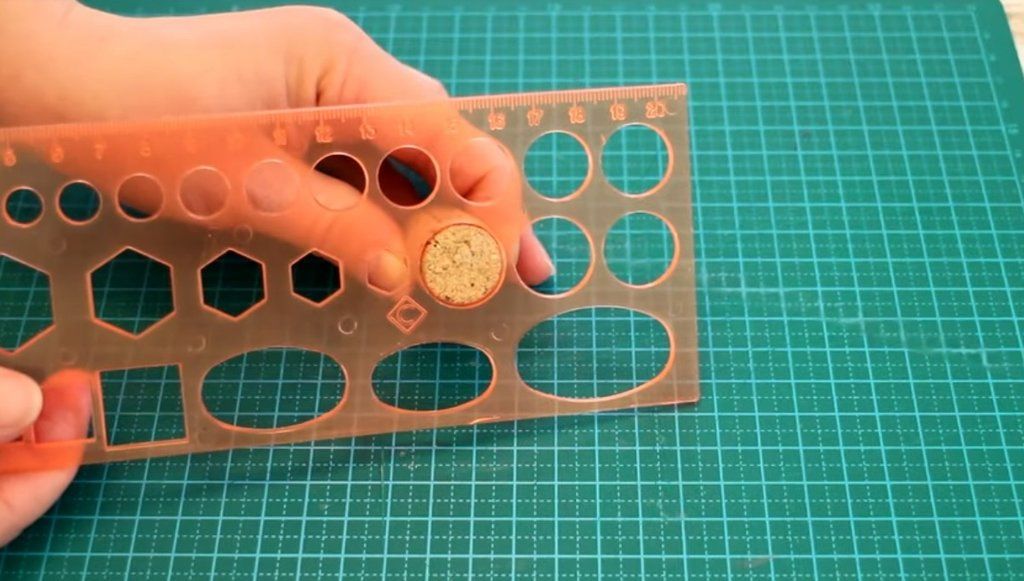
For the cylinder (shako), glue 2 circles together, with the top one being slightly smaller.
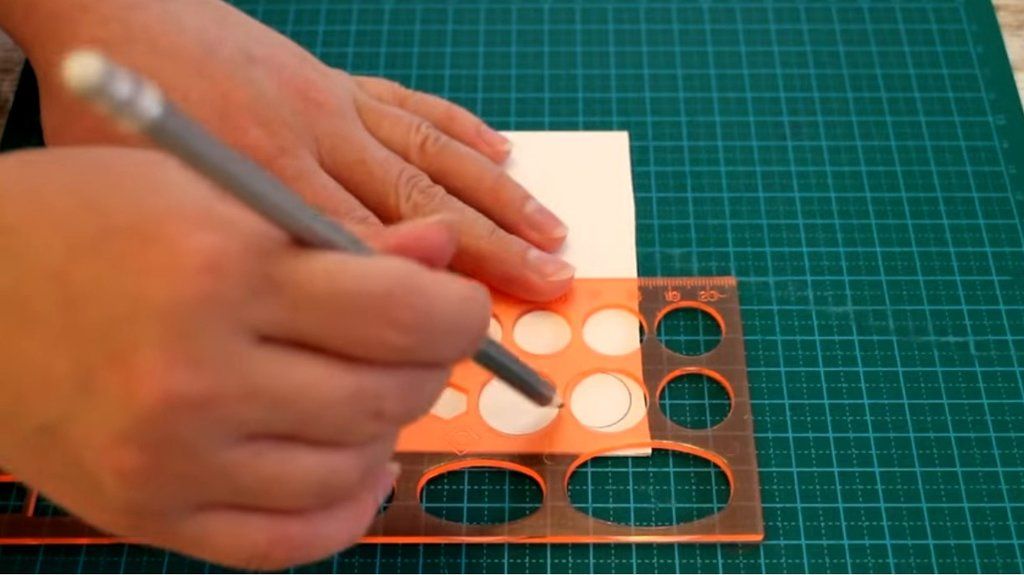
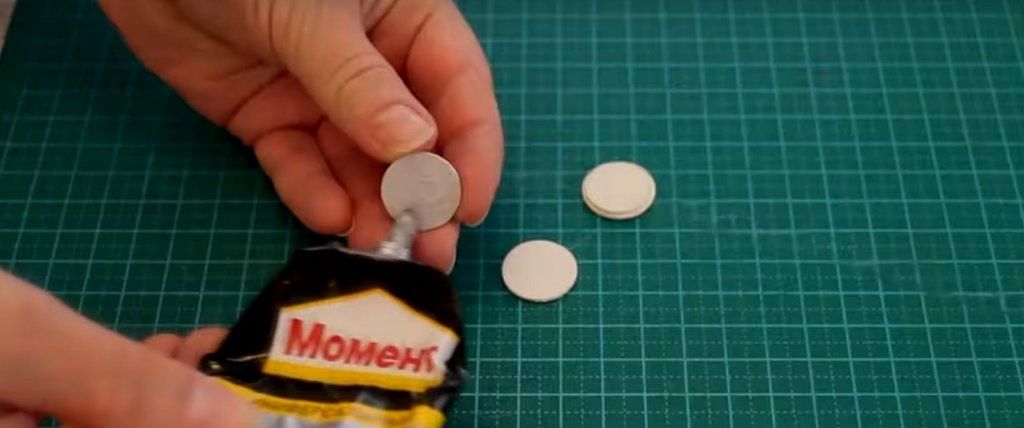
Twist a thin wire into a small loop – this is what the toy will hang from. Use an awl to make a hole in the "lid" of the shako.
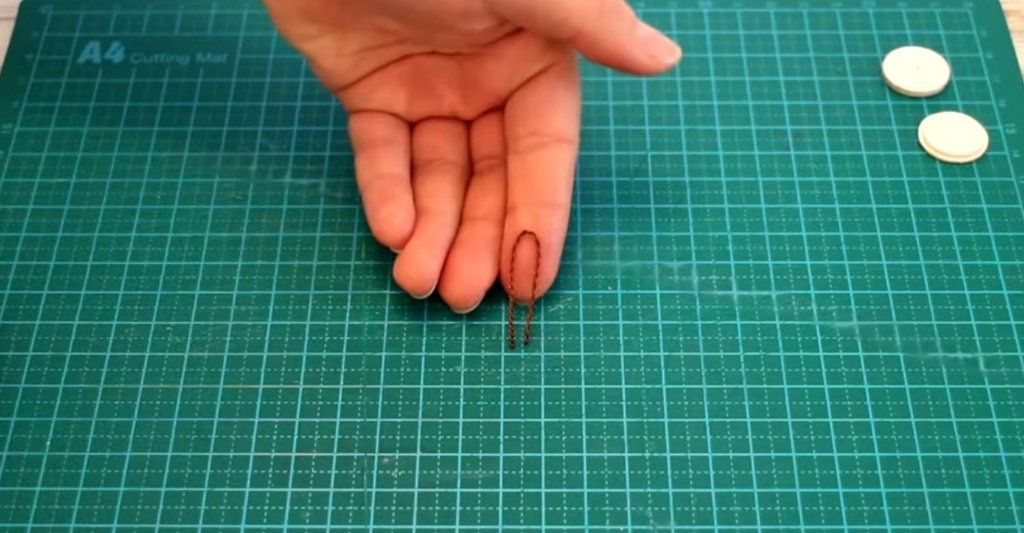
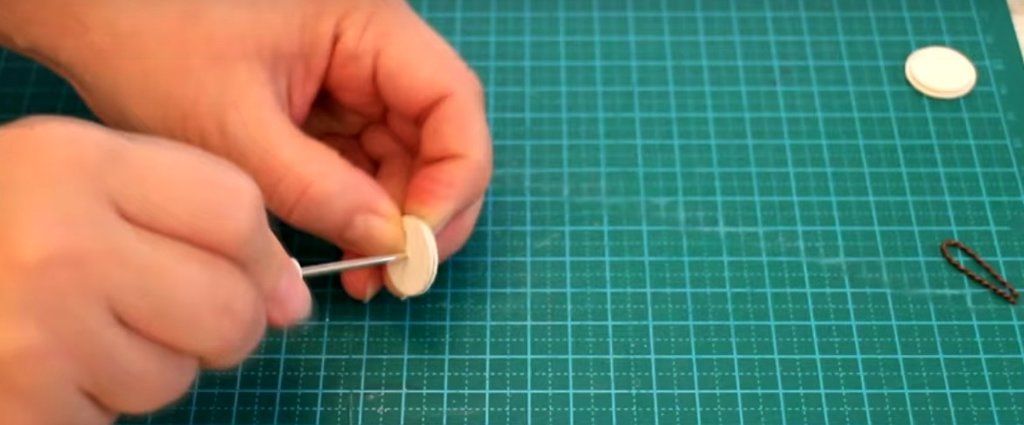
Thread the wire through the circle and bend the ends.
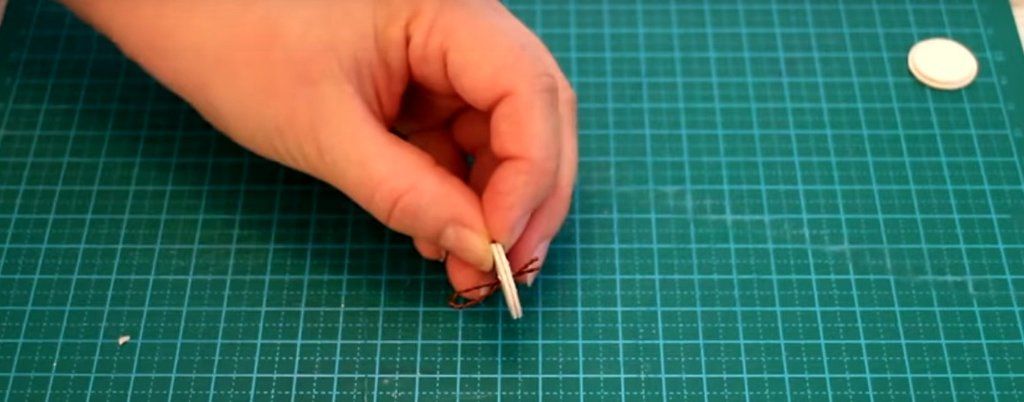
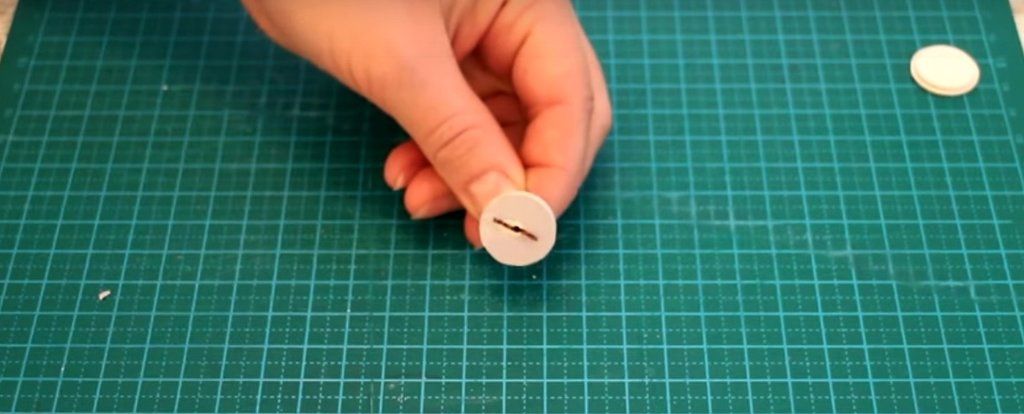
Because of the wire, our headgear won't sit flat, so make a small indentation in the cork to sink the protruding part into it. Glue the top and bottom circles in place.
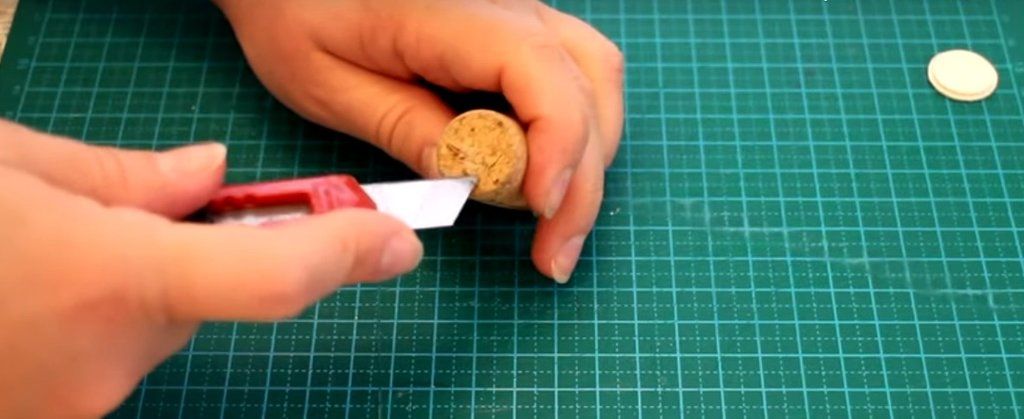
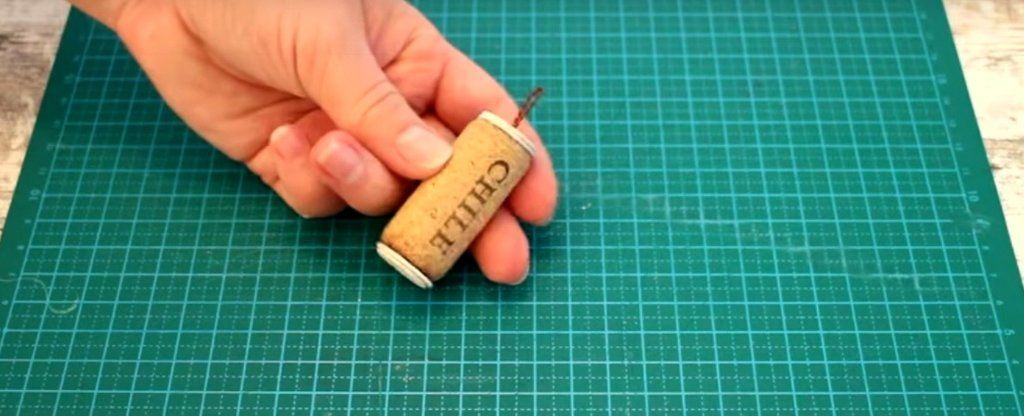
To hide the gap between the circles and the cork, glue thread over the problematic areas – it won't be visible after painting.
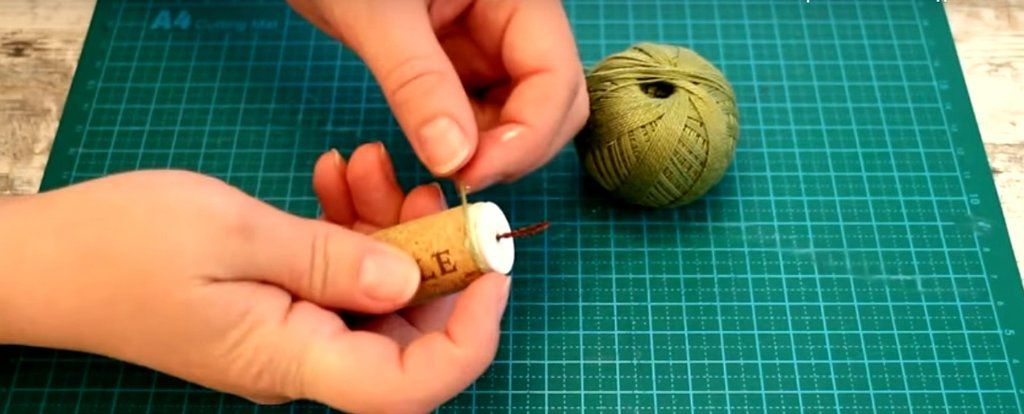
Draw our future hero on the cork, make a binding from strips of white fabric, and separate the face-torso-legs zones with thread – the base for painting is ready!
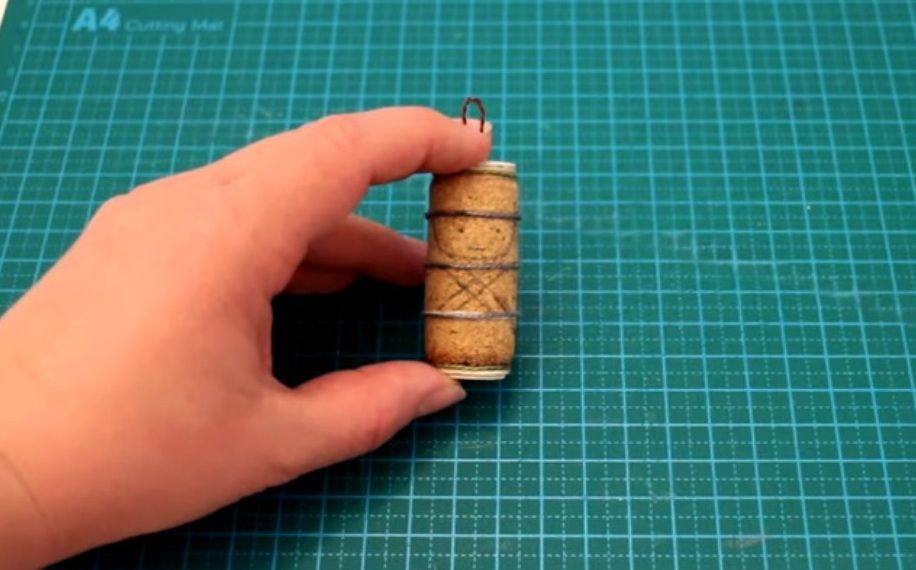
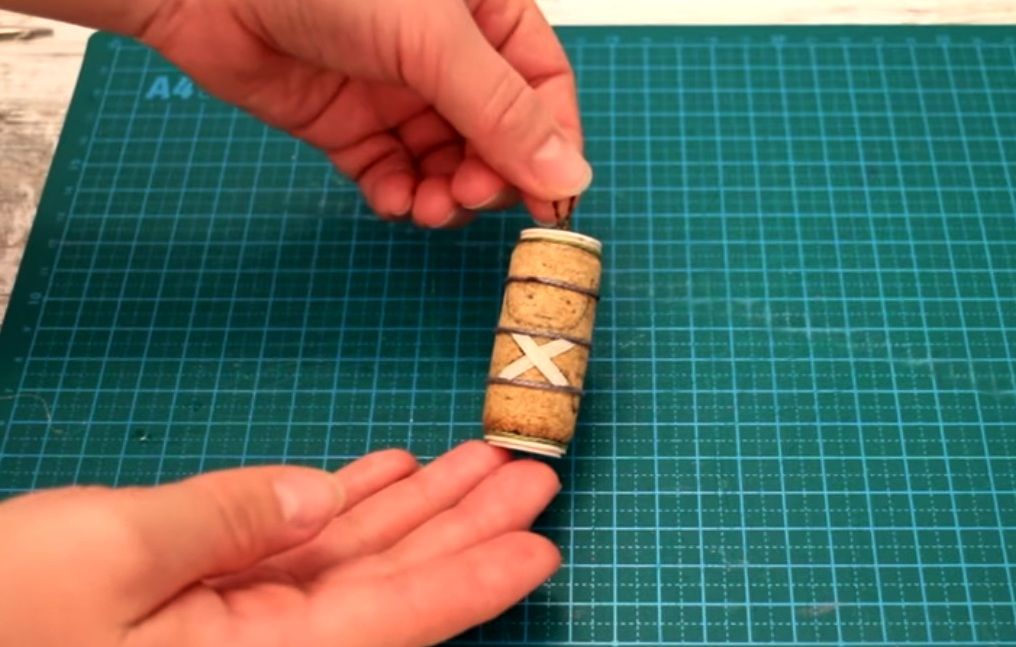
Next, paint the little man: graphite color for the shako (hat), red for the uniform, and white for the trousers.
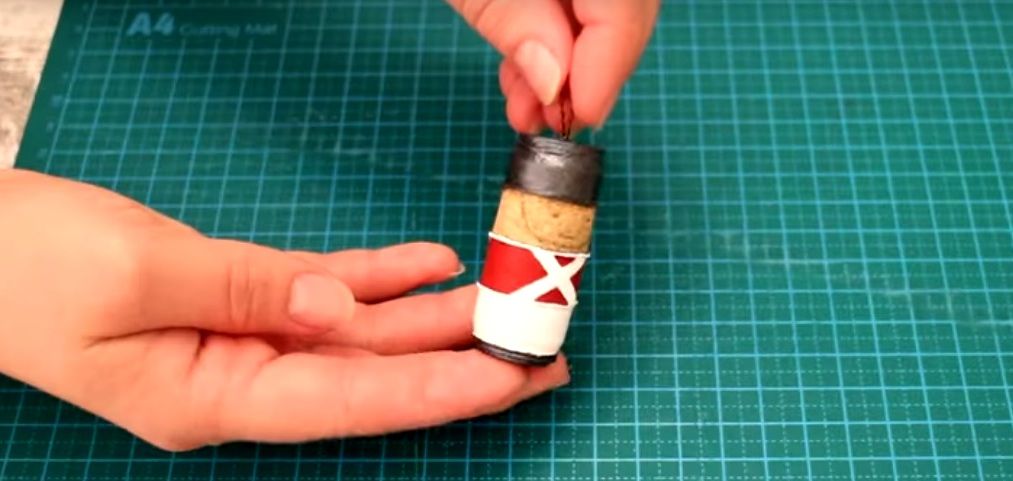
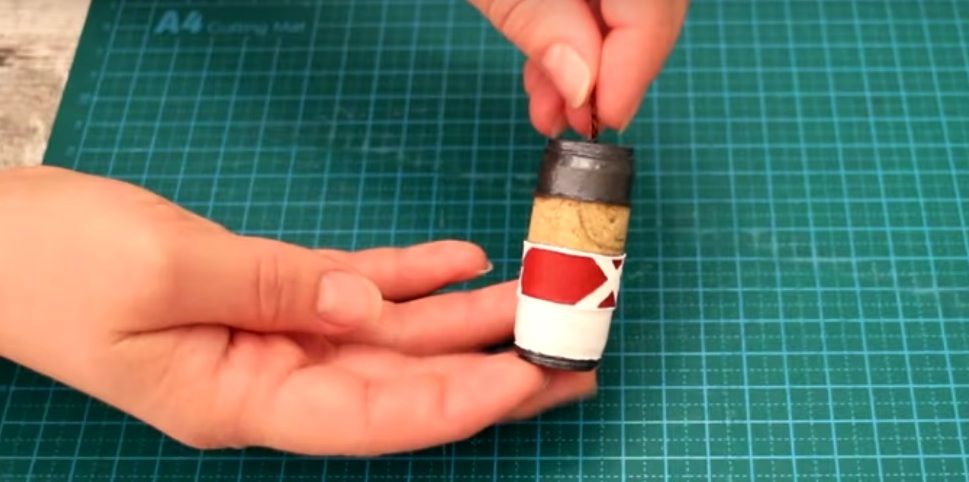
Now for the details: using glue, run a dark thread from the shako to the chin, and use suitable shades to paint the eyes, mouth, rivets, and buttons on the uniform.
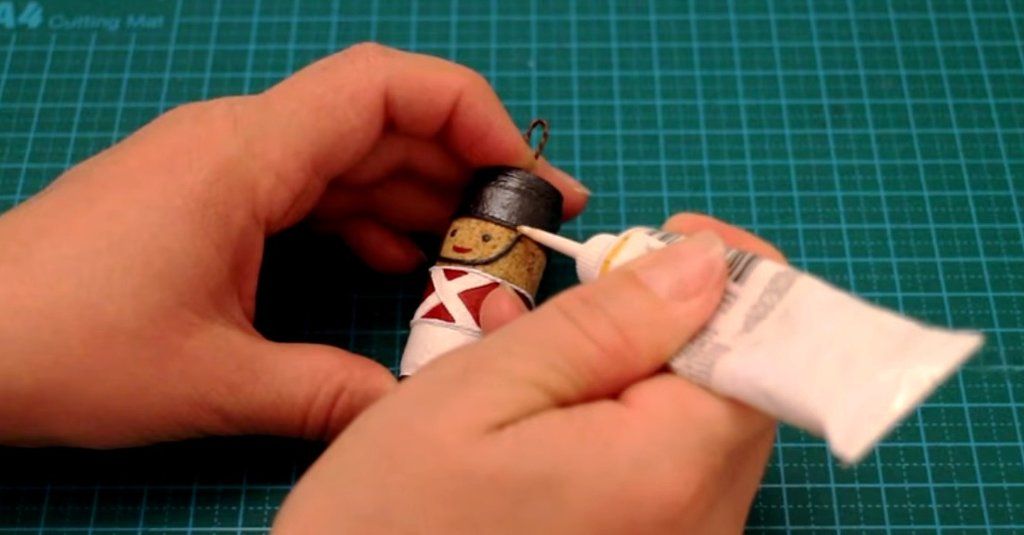
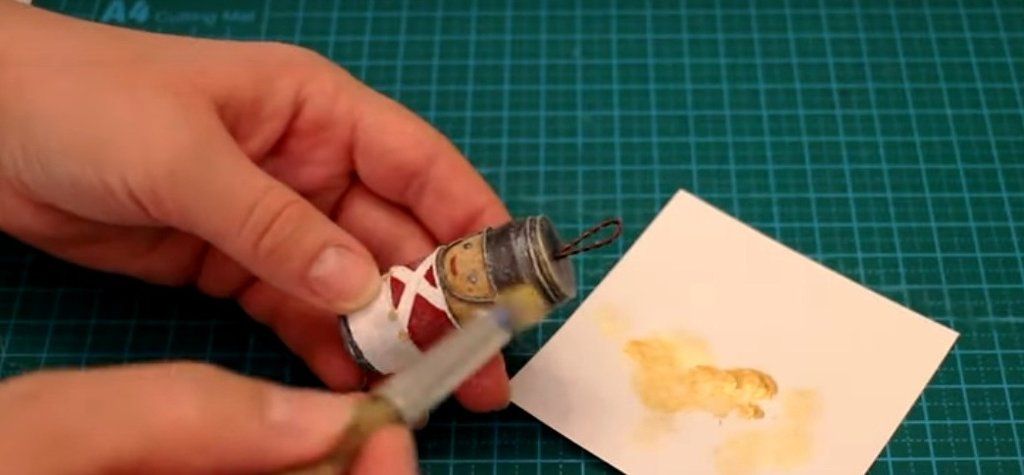
All that remains is to give the valiant tin soldier a vintage touch: use the dry brush method to go over the figure with gray and bronze colors, lightly "dusting" it.
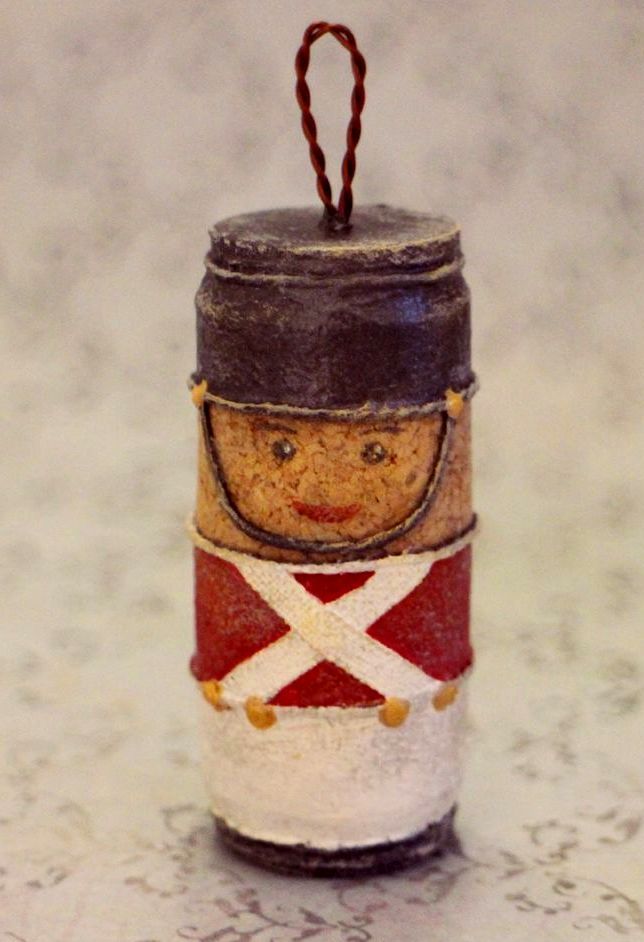
And here is my favorite childhood hero in all his glory 🥰
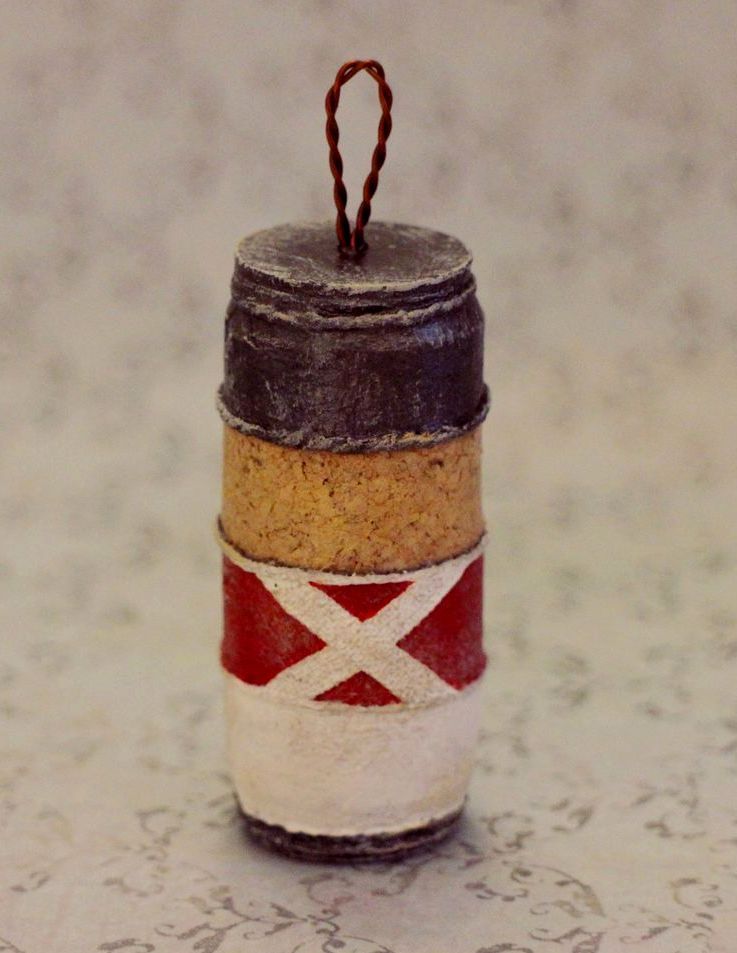


Oh, that's my mistake: I forgot to write it! If the inscription isn't hidden by the paint and ends up on the surface of the face, for example, then it needs to be sanded down. This can be done with a soft nail file or fine-grit sandpaper 😉