
How to Sew a Travel Neck Pillow
A travel neck pillow is an accessory for supporting your head on a bus, in a car, or on a plane. It is not a medical or orthopaedic device and does not replace treatment or professional advice for neck pain or other neck problems. Choose its thickness, firmness, and filling for your own comfort. This version uses fabric scraps, including denim. For fabric that will touch the skin or for a child’s pillow, flannel, linen, sturdy cotton, or velour are possible choices.

Pattern
The pillow is sewn from two matching pieces. Use the pattern as a guide:

This is the adult version. In the child’s version, the centre diameter is 11 cm, while the pillow’s other dimensions are 12 cm and 13 cm respectively.
Cut the lower piece from sturdy fabric. You can topstitch it to a backing to help the pillow hold its shape. In this example, the lower piece is made from old jeans and backed with calico.

Cut the top piece from non-slip fabric, then cover it with patchwork. You can simply stitch down the scraps or arrange them into a design.
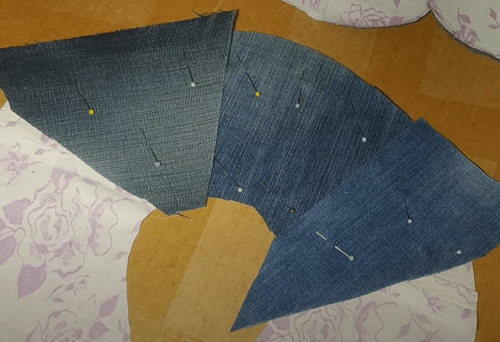
Once the top piece is sewn and the excess fabric is trimmed away, finish the seams. Bias tape or trim works well, provided it is not too coarse or bulky.

Sew the two finished halves together, leaving an opening at the top. Fill the pillow through the opening with polyester batting or another suitable filling, then hand-stitch it closed. The same pattern can be used with colourful scraps.

Tip
For travel, sew two ties onto the front so the pillow can be secured and is less likely to slip from under your head.


A useful thing. For air travel, I would choose a very light filling such as hollow-fibre polyester. That way, the pillow can be rolled up in a bag, takes little space, and springs back quickly. It also keeps luggage weight down—a large pillow weighs about 400 g. An eye mask would be a useful companion too.