
How to Refresh Children's Furniture: DIY Makeover
Children often inherit furniture from older siblings, complete with stickers, drawings, writing or everyday wear. If a dresser or bedside table is still structurally sound, a simple paint-and-tape update can give it a new look without requiring decoupage or detailed drawing skills.
Before starting, anchor tall or heavy furniture to the wall with appropriate hardware. Choose coatings labelled for the intended indoor use and follow every product instruction. Let the finish cure fully before returning the piece to a child's room. Work with good ventilation, control sanding dust, and keep children away from tools, paint, solvents and the work area.

Prepare the furniture
Remove the handles. Clean the surface and prepare it as directed for the chosen finish. If sanding is required, use suitable protection and remove the dust before painting. Mark a grid of puzzle-like sections with a ruler and pencil.
Paint the geometric design
Apply narrow painter's tape along the marked lines. Paint the sections one at a time with compatible colours, allowing the finish to dry between coats as the label directs.
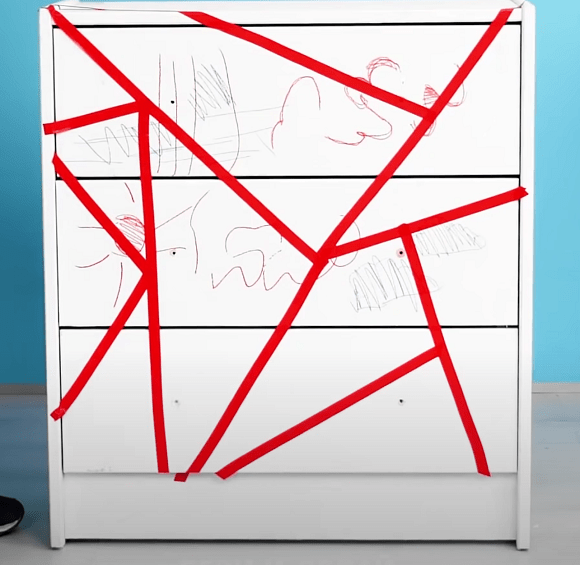
Use a paint suitable for the surface and the room. If the chosen paint requires a protective topcoat, use a compatible furniture finish and follow its label.

After the finish has dried and cured as directed, remove the tape and reinstall the handles.

The refreshed dresser or bedside table is ready for a child's room once it is stable, fully cured and free of loose hardware or sharp edges.


Oh, this is my favourite kind of project 😍 Sometimes all it takes is a little colour and ready-made stencils—there are so many to choose from, especially for children’s rooms.
You can also make your own stencil by downloading and cutting out a suitable design.