
How to sew a napkin organizer
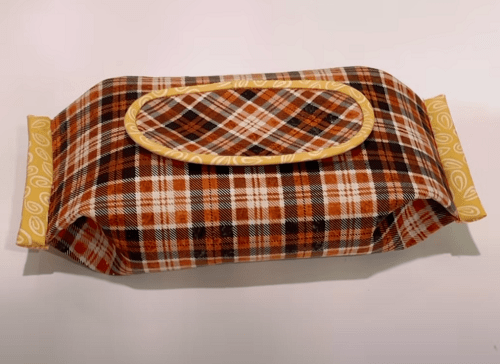
Where do you store your cleaning cloths and pot holders so they are always at hand without taking up much space? If kitchen organization is important to you, you can sew a fabric organizer for these essentials. Using scrap fabric, you can create a reusable storage system that even beginners can make.
## Things to consider when sewing
Choose a sturdy, preferably natural fabric; thinner fabrics should be reinforced with fusible interfacing. You can use cleaning cloths or thin batting as a stabilizer. You can adjust the size of the organizer as you wish.
## Cutting
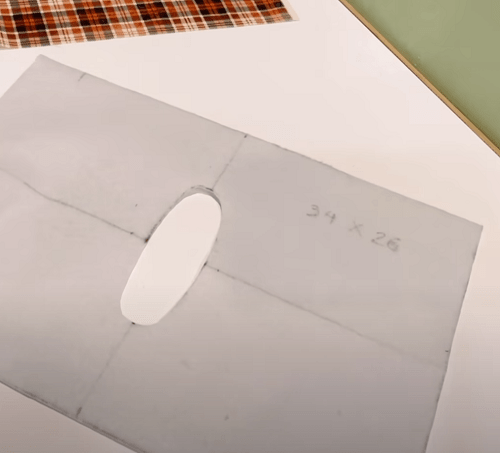
Cut out the stabilizer piece. The size is 34 by 26 cm. Mark the center lines and draw a 4 by 12 cm opening. Cut it out with sharp scissors.
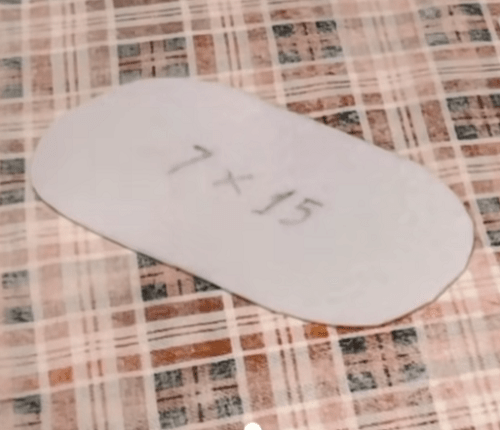
Cut the flap. It should be larger than the opening; in our case, 7 by 15 cm. Use fusible web to attach the stabilizer to the fabric and cut the piece to the required size.
Assemble the sandwich: top fabric with 1.5 cm seam allowances, lining fabric also with allowances, and the stabilizer on top. Pin and stitch as close to the opening as possible FROM THE INSIDE.
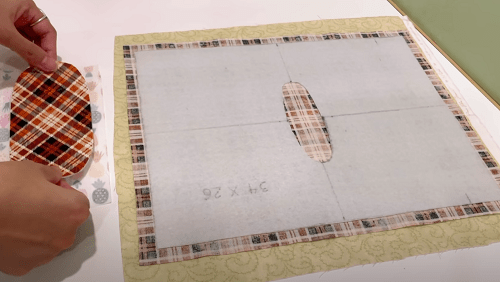
Make cuts with scissors and turn the fabric right side out. You will get a neat slot for inserting napkins.

## Flap
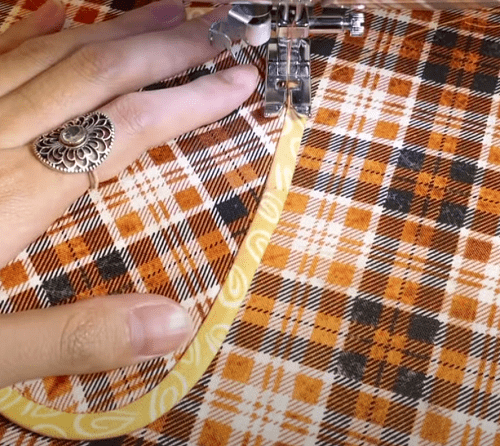
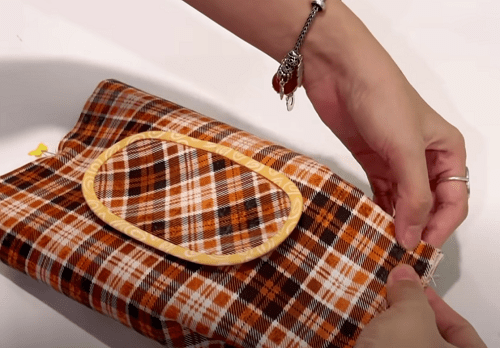
Finish the perimeter of the flap with bias tape. Pin it in place, 0.5 cm away from the opening. Stitch it down and make secure backstitches.
Turn the organizer inside out and sew it into a "tube." Make 3 cm deep tucks on the sides to add volume. Pin and stitch ON THE RIGHT SIDE.
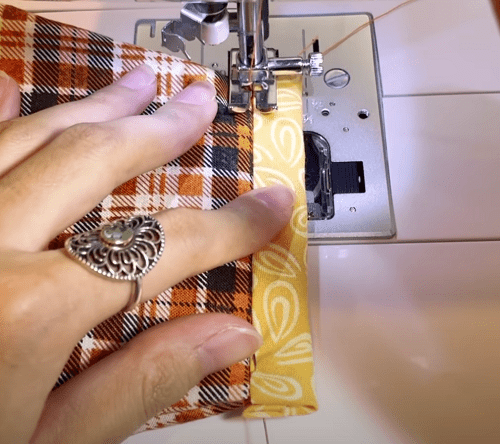
The final step is finishing the side seams with bias tape.
Our organizer is ready. Thanks to P&N Homemade for the tips and photos.


