
Sewing a Practical Belt Bag for Summer
You can never have too many bags, right girls! We go to work, to the store, for a walk, and we always have a lot of trinkets and essentials with us that we can't do without. And at such moments, the flip side of the coin arises: you need everything, and you want your hands to be free. That's why smart people invented the belt bag. You can wear it over your shoulder, on your waist, or just in your hands. In short, experiment as much as your heart desires)

To sew such a bag, you will need:
- two pieces of fabric (one for the front, one for the lining);
- soft, thin batting;
- sewing supplies;
- zipper;
- webbing strap;
- buckle.
First of all, prepare the fabric. To do this, mark the places for the future quilting on the fabric piece. I advise using a disappearing marker so you can draw directly on the front side without worrying about leaving marks.

Cut out the soft batting to the size of the fabric. Quilt both materials together on the sewing machine.

Transfer the pattern pieces to the fabric, keeping in mind that the pattern itself does not include seam allowances, so mark the offset manually.


Fold the future pocket in half and stitch along the side edges.
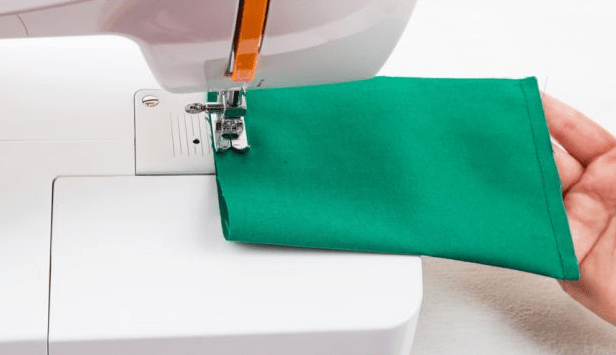
Turn it right side out and topstitch one edge, 0.5 cm from the seam. On the back part of the lining, mark a center line and measure 4 cm up from the bottom.

Try the pocket on the piece and sew it in place.

Fold the pocket back and stitch along three sides. Place the "sandwich" with the front fabric against the lining piece and sew them together as close to the edge as possible.

In the upper part of the piece, sew in one half of the zipper, placing it between the two halves of the fabric.

Sew the second half into the top flap of the future bag.

Topstitch along the front side.

Sew the side pieces to the bag. Trim any excess zipper length.

Place the front piece against the back and sew them together. Remember to leave the zipper open!

Finish the remaining exposed edges with bias tape.

Insert the ends of the webbing straps into the side seams and secure them firmly. Finish the seam allowances and edges with a zigzag stitch.


Thread the strap through the buckle slots and sew. Finish the loose ends with a stitch as well.

That's it, the belt bag is ready and can go for a walk or shopping)


I'm sorry to hear that, I hope all your valuables stayed in place? My younger brother just couldn't part with backpacks and tried to secure his things in every way possible, wearing the backpack in front like a kangaroo. But even that didn't help, and the most annoying thing is that they only took his passport and driver's license from the backpack (I wish they'd taken the wallet instead), and it took a lot of effort and money to replace them. Now he only uses fanny packs in the metro; he bought a miniature one andShow full quoteCollapse