
Sew a Baby Wrap Shirt: Archive Pattern Notes
Baby clothes should be comfortable, safe and attractive. This archive explains how to sew a simple baby wrap shirt by hand or machine. Check handmade garments before every use; they are clothing, not sleep-safety products. Do not use loose, damaged or overheating layers for sleep.
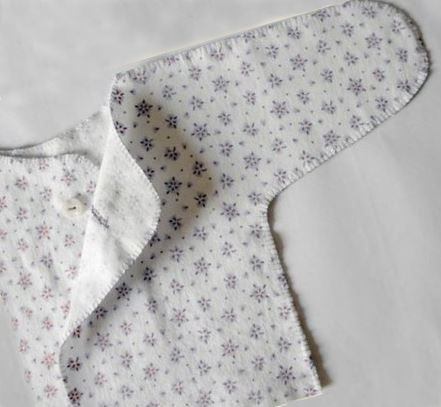
You need fabric—brushed cotton for a warm version or cotton for summer—two buttons, thread and sewing tools. A shirt can be sewn by hand. Keep needles, pins, buttons, snaps and cut thread out of reach of children, and make every fastening secure.
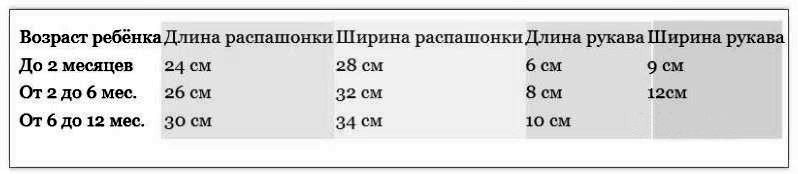
The patterns offer different sleeve lengths, front or back openings, and straight or fold-over sleeve ends. Use the measurement table to adjust a pattern to the baby.
The finished patterns have a front fastening or a kimono-style upper tie.
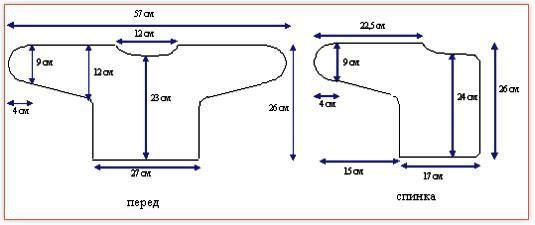
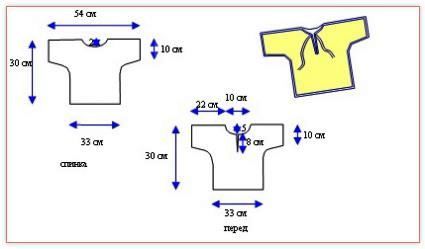
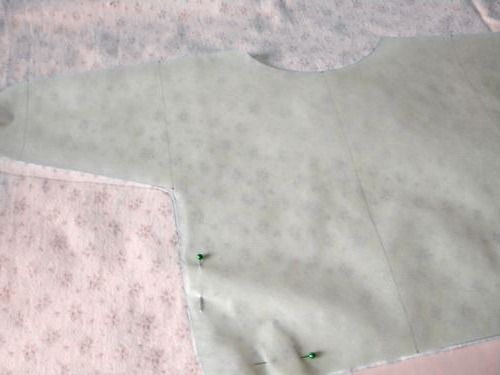
Choose the size and cut all pieces, remembering that the front pieces are mirror images.
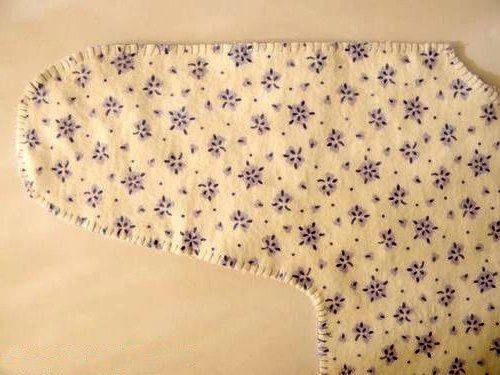
Finish the edges with a blanket stitch along the neckline and lower back edge, and along the neckline and side edges of the front.
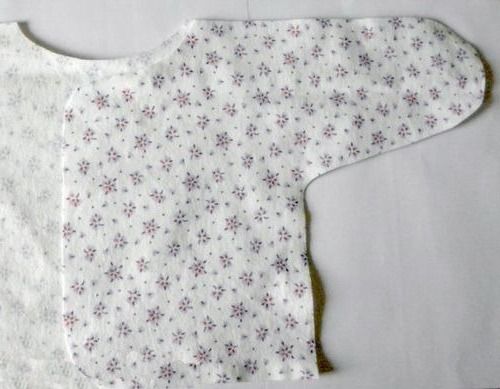
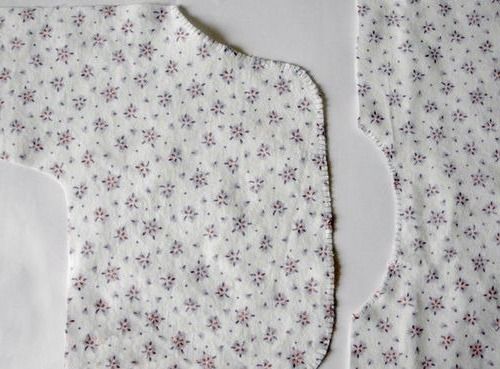
Join the pieces with seams on the outside so the inside is smooth against the baby's skin. Sew the shoulders into the sleeve seams, then the lower sleeves into the side seams.
Make a buttonhole in the upper corner of one front piece, sized for the button, finish the opening, then make a second buttonhole 5 cm below it and sew on the buttons.
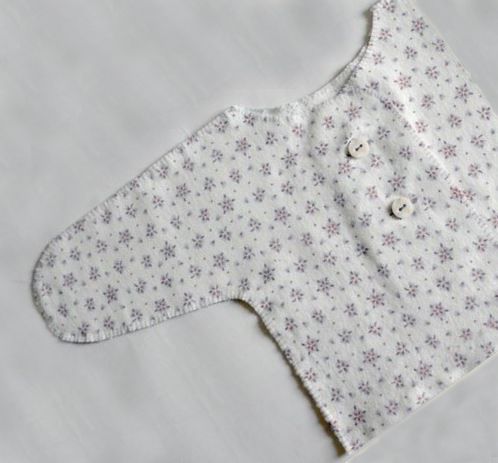
If sewing several, cutting and finishing them together can save fabric and time. Before use, check sizing, seams, buttons or snaps, and decorations; avoid loose trims or detachable small parts. Dress the baby for the room temperature and follow current safe-sleep guidance rather than treating this garment as bedding or a wrap.


Thank you! Today I found out that I will soon become a grandmother!!! These patterns are just what I need!!!