
Leather Embossing at Home
Leatherworking can be challenging, and embossing adds another technique to learn. With patience and a few test pieces, however, you can practice it at home.
Embossing creates a raised or recessed design on a leather item such as a wallet or belt. Professional stamps are often made from metal with specialized equipment, but for a simple experiment you can try a clean coin, pendant, or another solid object that has a clear relief pattern. Avoid objects with sharp edges, burrs, fragile parts, or finishes that could transfer to the leather. Larger, well-defined details usually produce a clearer impression.
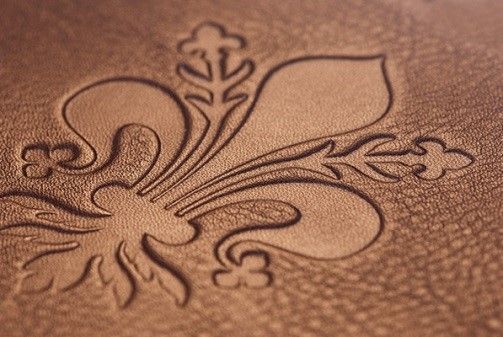
To try a pendant design, use a scrap of unfinished vegetable-tanned leather, or another leather that its manufacturer says is suitable for wet forming or embossing. Lightly dampen the scrap with water, place the pendant against the grain side, and position the layers in a stable workbench vise. Keep fingers away from the jaws and pinch points. Wear eye protection, make sure the object cannot slip, and increase pressure gradually; children should work only with close adult supervision.
If the design is wider than the vise jaws, place a flat piece of plywood or metal on each side to spread the pressure evenly. Make sure every layer is stable before tightening. The source suggests leaving the assembly clamped for up to 30 minutes, although five minutes may be enough; the result depends more on controlled, even pressure than on time. Stop if any layer shifts, bends, cracks, or begins to cut into the leather. Release the vise slowly, then inspect the impression.
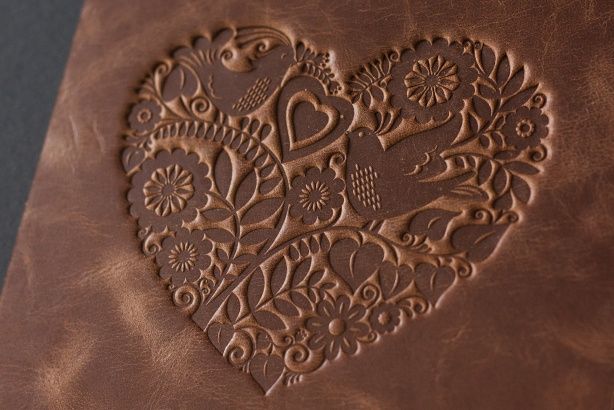
The same approach can be tested with other suitable objects. You can also design lettering, emblems, or patterns for a 3D-printed stamp, either on your own printer or through a printing service. Cost and durability vary, so compare the option with a professionally made stamp and test every prototype on scrap leather before using it on a finished item.
A 3D-printed stamp is not automatically unbreakable: strength depends on the material, design, print quality, and clamping force. Discard a stamp that cracks or deforms. To add contrast after embossing, use a product specifically labeled for leather, such as a suitable dye, stain, or wax, and follow its instructions for ventilation, skin protection, drying, and cleanup.
If you have tried a similar method, share your results in the comments.


