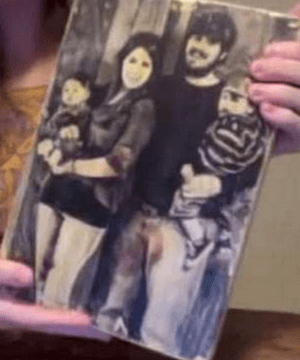
Make original photo panels on wood
Everyone has phones and tablets with cameras, so the photos we treasured and carefully kept 5–7 years ago now lie unused and few people take them out to view. In the past such photo prints were hung on walls in frames, but nowadays these elements are rarely used in interior design. However, there is a great way to transfer a photo onto a wooden surface at home. With this technique you can create interesting décor pieces to replace classic framed photos.
You will need:
- sanded wooden board;
- a photo print;
- decoupage glue (can be substituted with regular PVA diluted 1:2 with water);
- brushes, sponge;
- acrylic gel medium (Liquitex Gloss gel Medium).
Spread gel over the board surface and place the photo face down.

Smooth the photo paper surface to push out air bubbles. Leave to dry for 10–12 hours (to avoid slowing your workflow, it’s best to leave the piece to dry overnight).

After the gel has dried, thoroughly wet the paper surface. Then gently rub off the paper layer. Remove any remaining paper with a wet sponge.


Let it dry, then coat with decoupage glue. Our photo on wood is ready!