
Decorative Feather – Macramé Tutorial
Have you noticed that the art of macramé is making a comeback in the crafting world? Having woven items at home has become a sign of style and comfort. I was deeply involved in macramé back in my school years, so for a gentle return to the craft, I chose a very simple yet striking project: a fluffy feather. Both a single feather and a "flock" look absolutely gorgeous in any interior. And yes, size does matter in this case :))
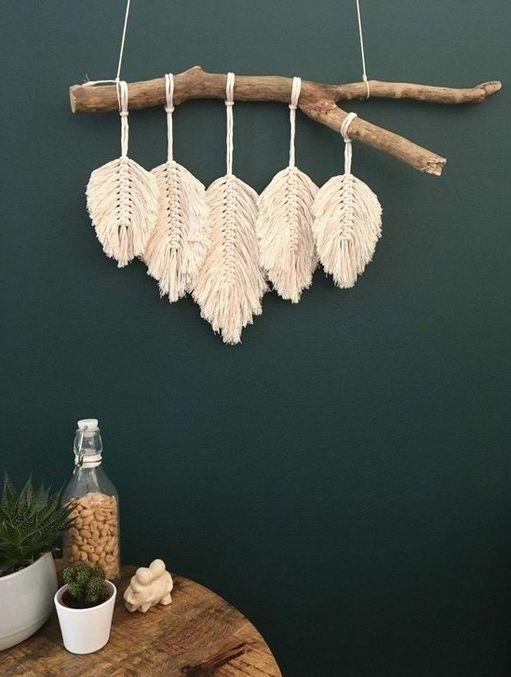
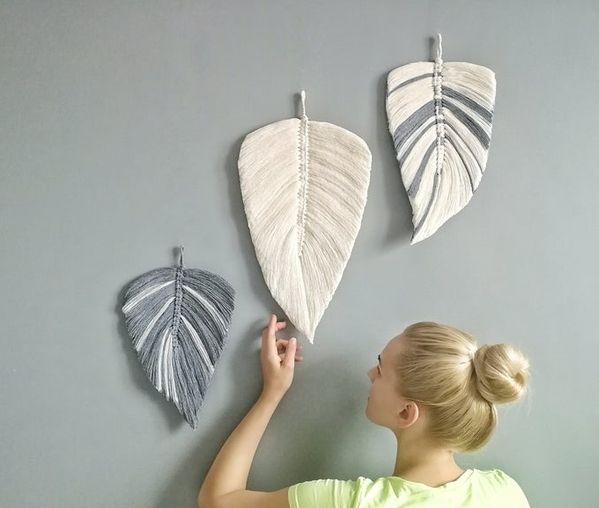
For this project, you will need thick cotton cord: the denser it is, the fluffier your finished piece will be. Cut a base cord (about 20-25 cm for a small feather) and cut the pieces that will form the feather itself (16-17 cm long).
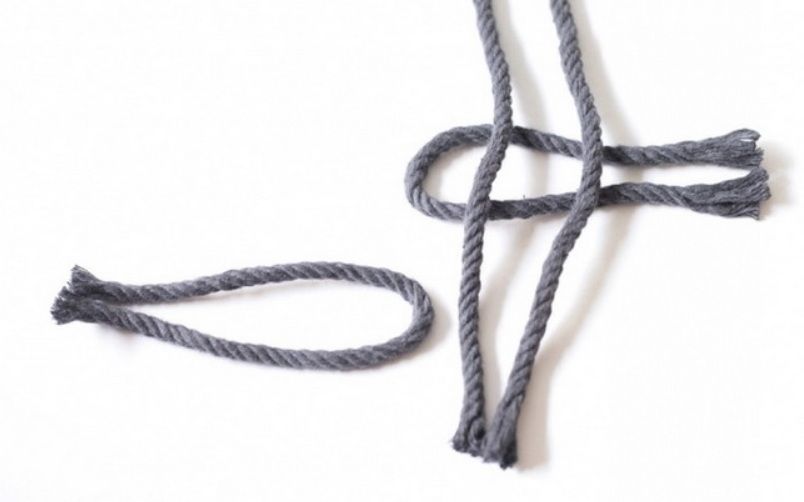
Secure the base cord in any convenient way: with a binder clip, tape, or a paperclip, and start attaching the threads in pairs using a simple lark's head knot.
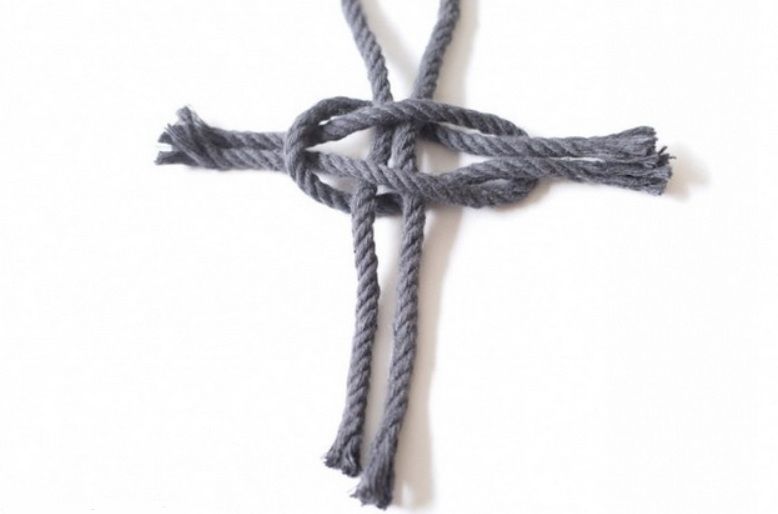
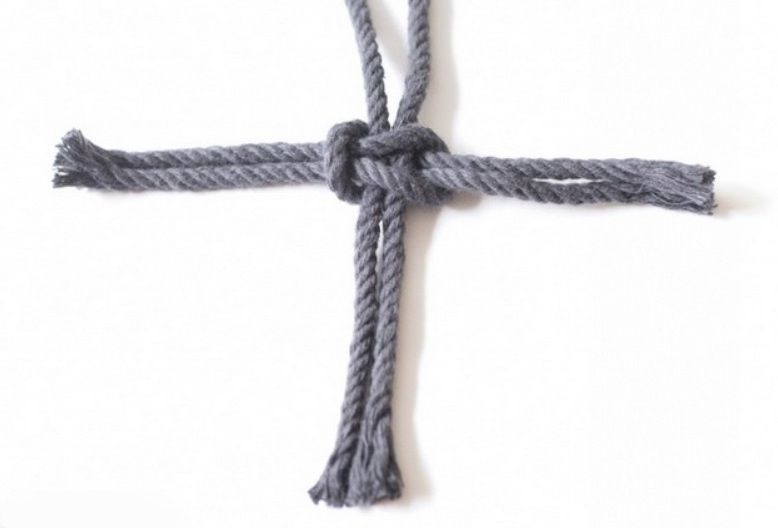
The more threads you use, the denser and thicker the feather will be, but you don't necessarily need to add too many: a thin, semi-transparent piece has its own charm. You'll have to find the right density through trial and error.
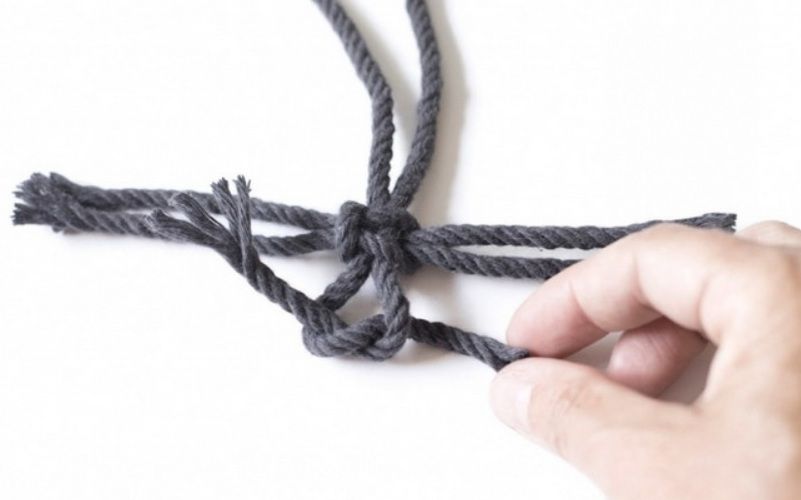
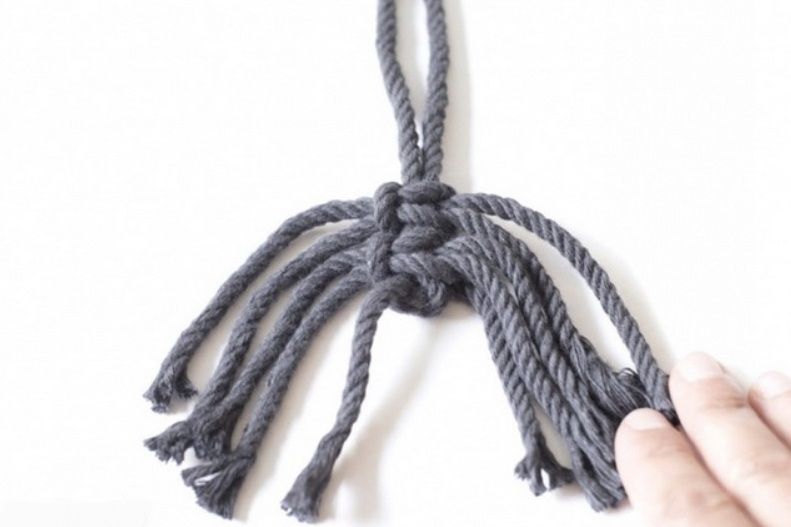
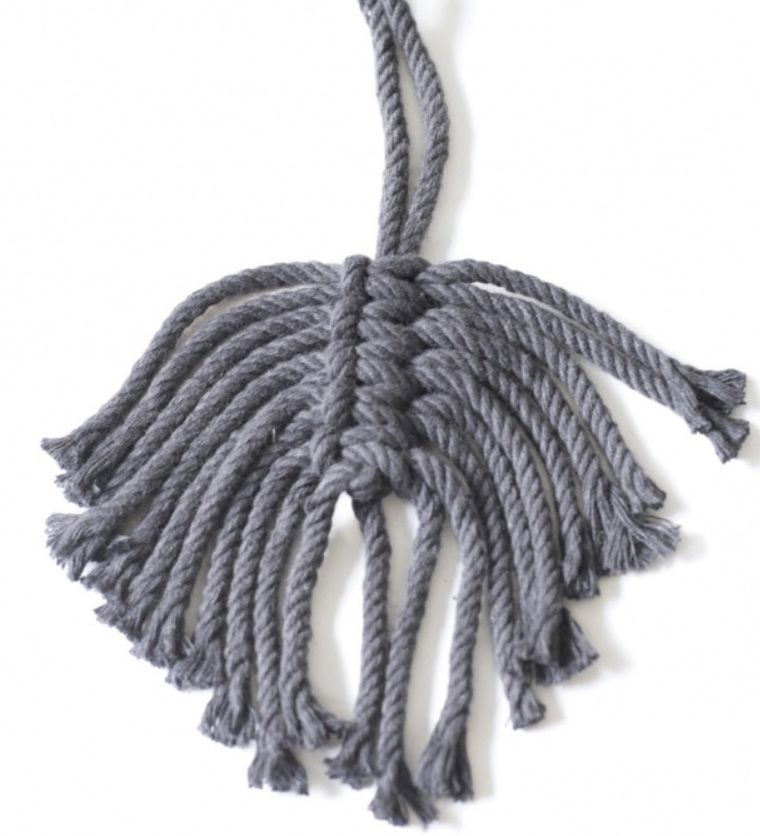
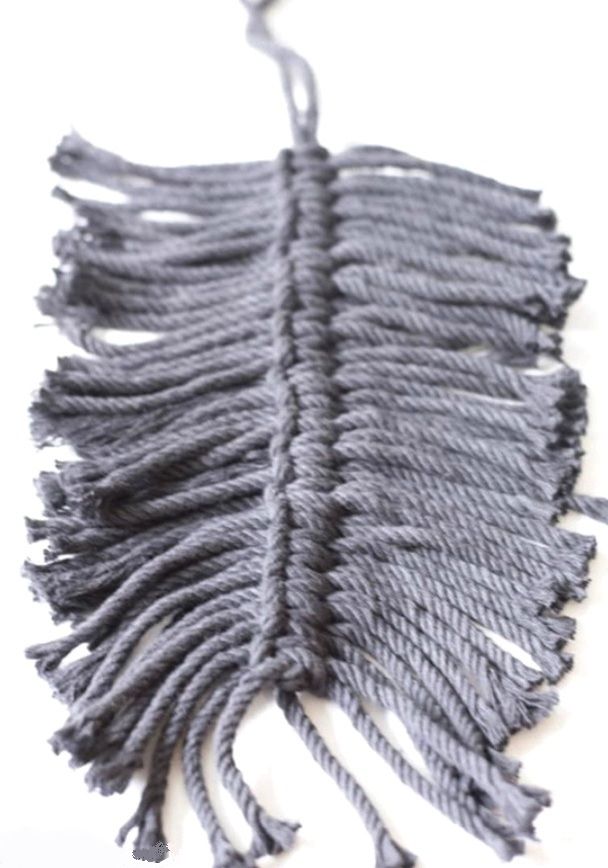
Once all the threads are attached, untwist each "strand" and comb both sides thoroughly with a fine-toothed comb to achieve a uniform, fluffy texture. Use scissors to trim your feather into the desired shape: for example, you can make the tip pointed or rounded.
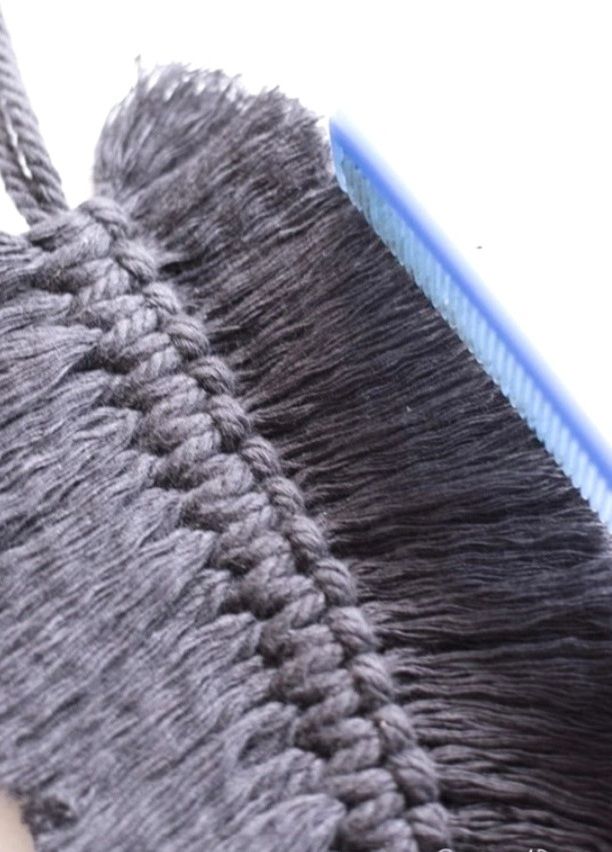
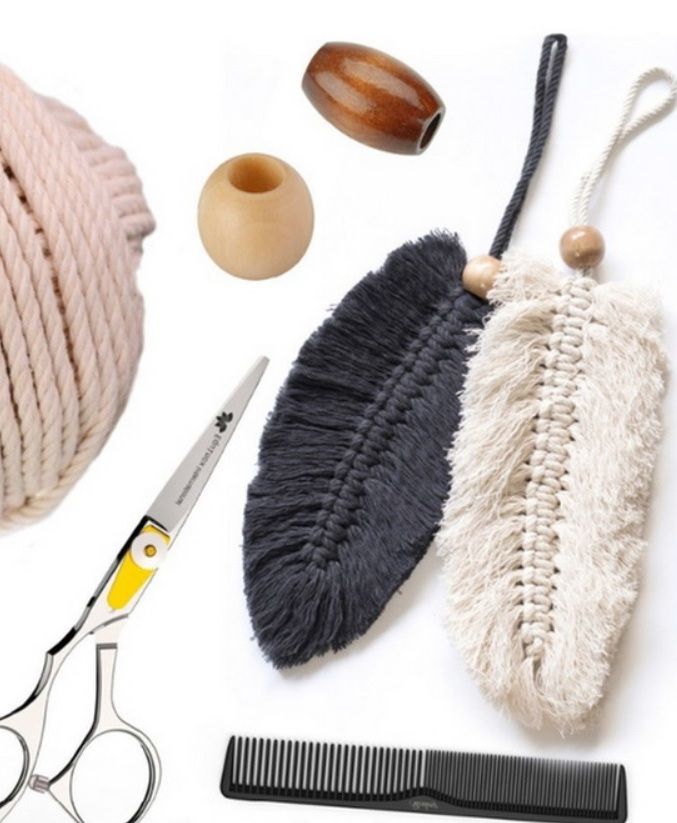
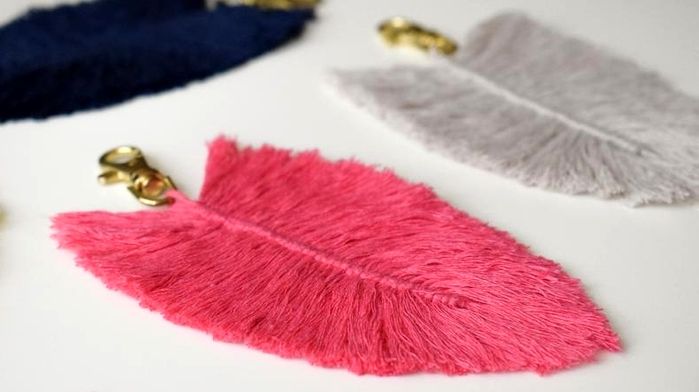
You will have a loop left at the top of the base cord – use it to hang the feather in your home or attach it to a clasp as a stylish charm.
A few final photos for inspiration 🥰
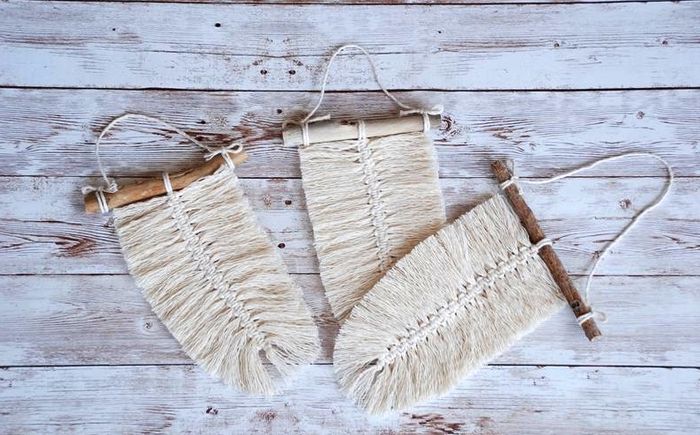
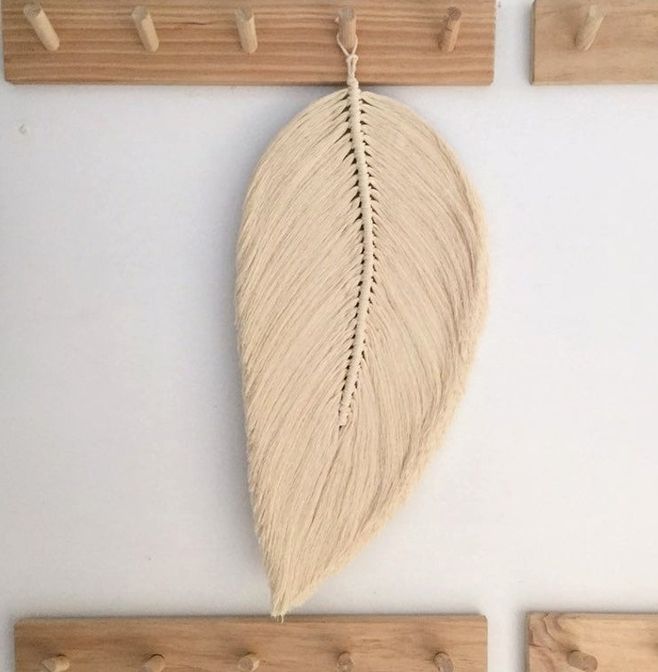


I just realized I didn't write about the final finishing of the piece, sorry ))
Threads really are different. For soft, low-density threads, you'll need a starch solution: submerge the feather in it for a while (20 minutes will be enough), squeeze it out well with a paper towel, and let it dry in a horizontal position. After it's completely dry, comb it out thoroughly again. It will hold its shape perfectly 👍
For large feathers, you can use regular strong-hold hairspray.