
How to make a small ironing board for patchwork
Patchwork requires careful pressing of seams during the process. To make your work easier and avoid getting up from your sewing machine, you need a compact ironing board. Commercial versions are quite expensive, so it is much easier and cheaper to make a mini ironing board from materials on hand. It is also useful for sewists working with small details. Such an accessory has a removable cover and does not take up much space, as it can be hung on a hook.
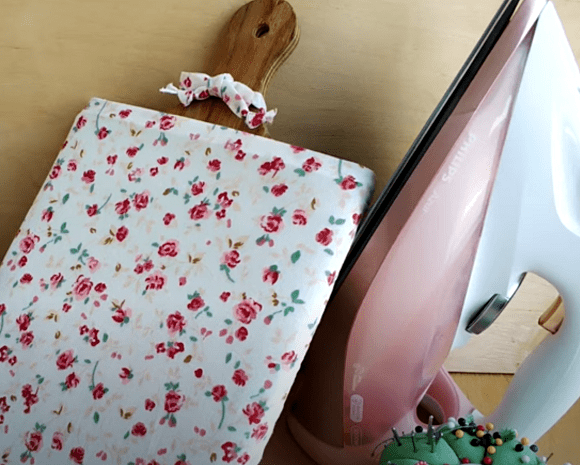
## What you need to make a small ironing board
We will use what is available at home and avoid unnecessary expenses:
- A wooden cutting board. The size depends on your preference.
- Corrugated and regular cardboard from packaging or boxes.
- Fabric: ticking (or similar), cotton for the cover and ties.
- Padding: A thick terry towel, non-woven fabric (lining from an old jacket), batting (150-200 gsm), etc.
- Flat elastic band.
- Hot glue.
- Furniture stapler.
## How to make a mini board for patchwork
Making the base.
In factory-made items, it is wooden; you can also screw or glue furniture knobs on as feet.
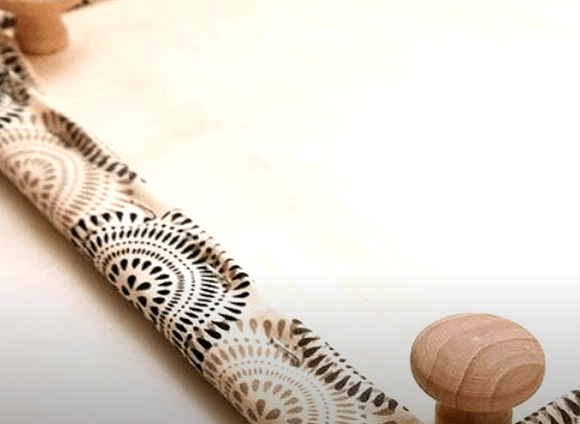
If you don't have those, we will use cardboard. Cut 4 rectangles 2 cm shorter than the board and glue them together. The corrugated part remains inside.
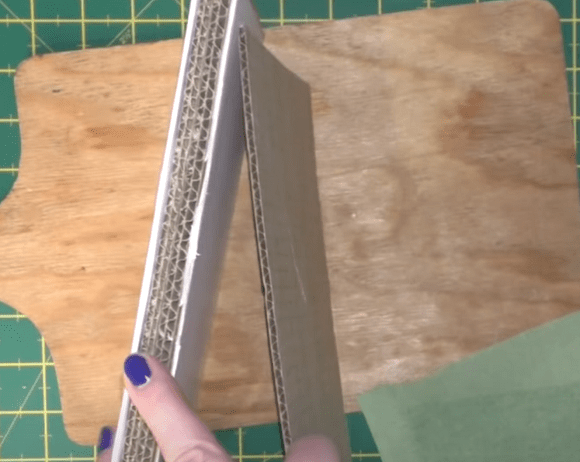
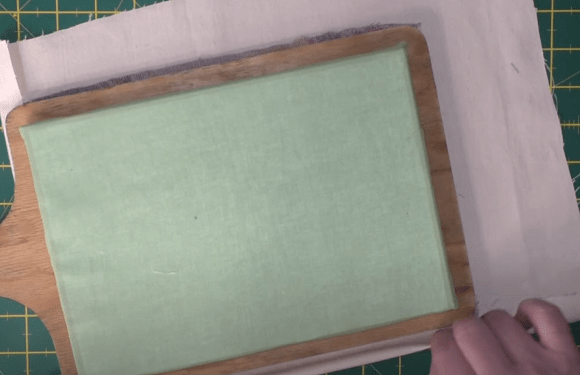
"Cover" the base. Cover it with fabric, fold the edges to the back, and secure with a stapler. Apply hot glue around the perimeter.
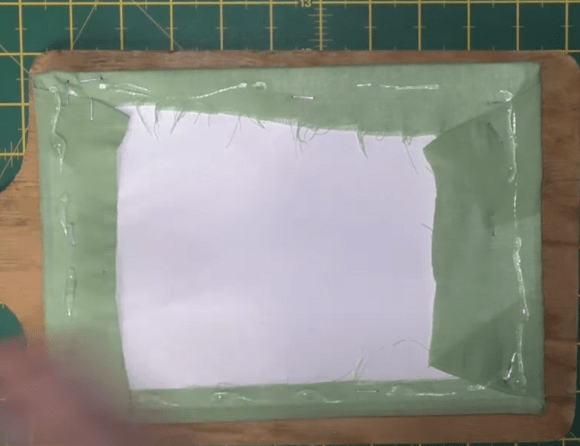
Glue it to our board.
## Upholstering
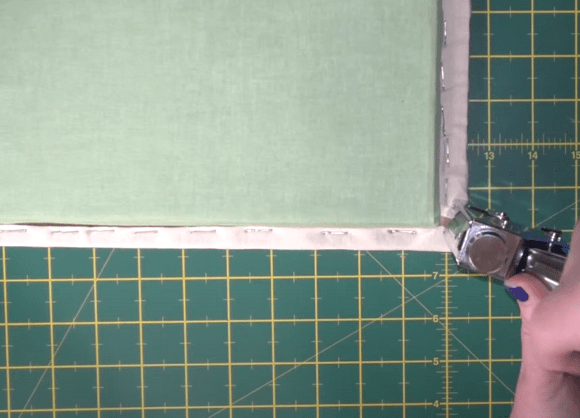
Flip the board over and lay the materials in layers: the padding (cut to the size of the board) and the ticking (with a 6 cm seam allowance on all sides). Fold the edges and secure with a stapler.
## Ironing board cover
Cut a rectangle from cotton, 5 cm wider than the board. You will also need 2 strips of cotton measuring 20 by 3 cm.
Make a double hem on one of the short sides and stitch it.
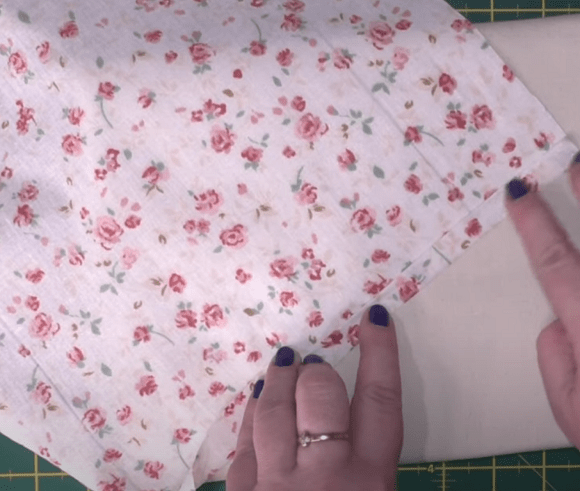
Fold the fabric strips for the ties in half, stitch them, and turn them right side out.
Fold the fabric on the three remaining sides so that the elastic can pass through the casing. Stitch, and fold the corners to round them off. Sew on the ties at the same time.
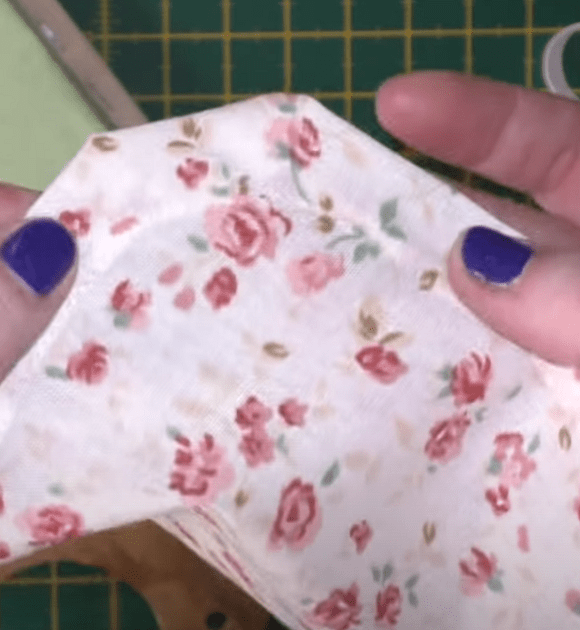
Thread the elastic (the size should be 5 cm shorter than the length of the board, measured along three sides). Try it on, and securely fasten the ends of the elastic with a needle and thread.
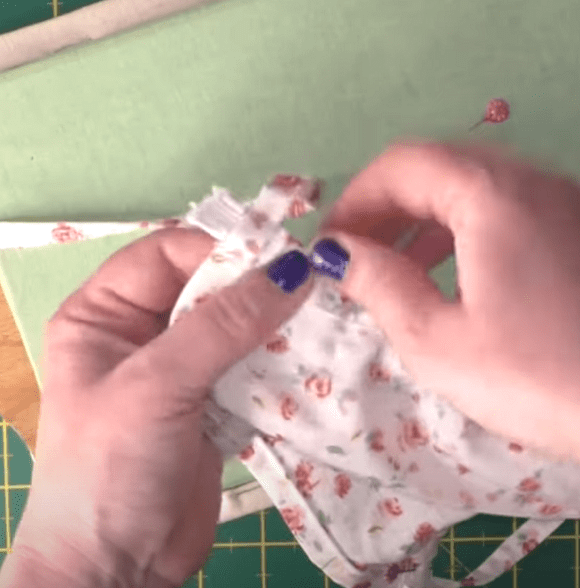
All that's left is to put the cover on the board and tie a pretty knot.
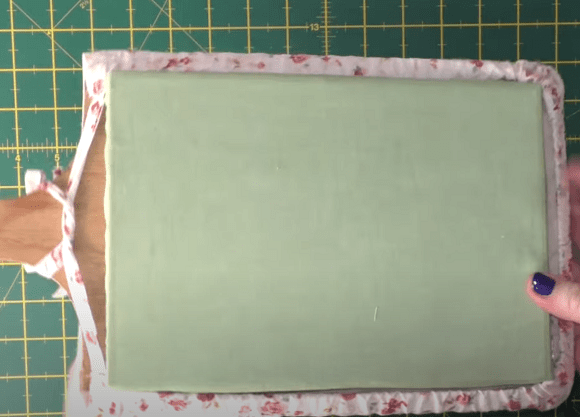
Our accessory for pressing details and patchwork is ready!


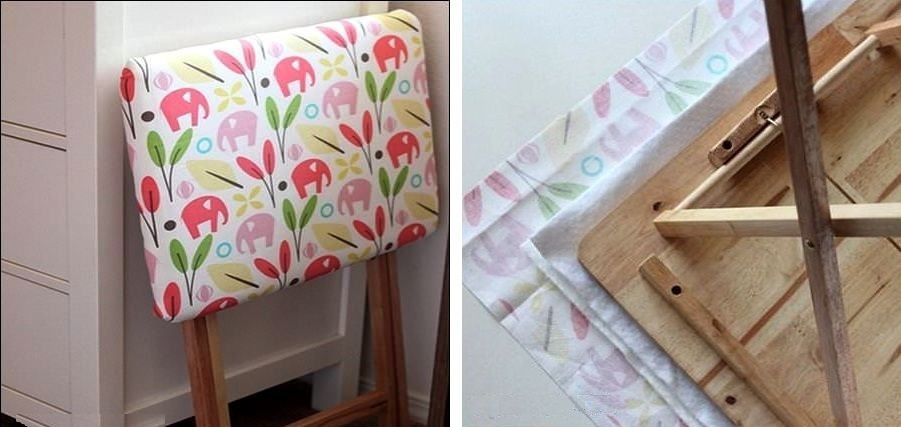
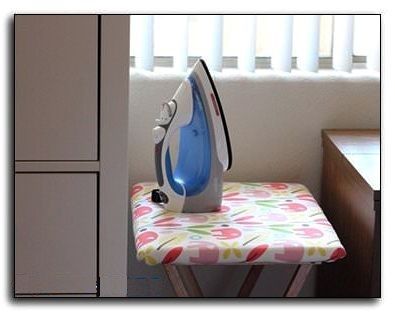
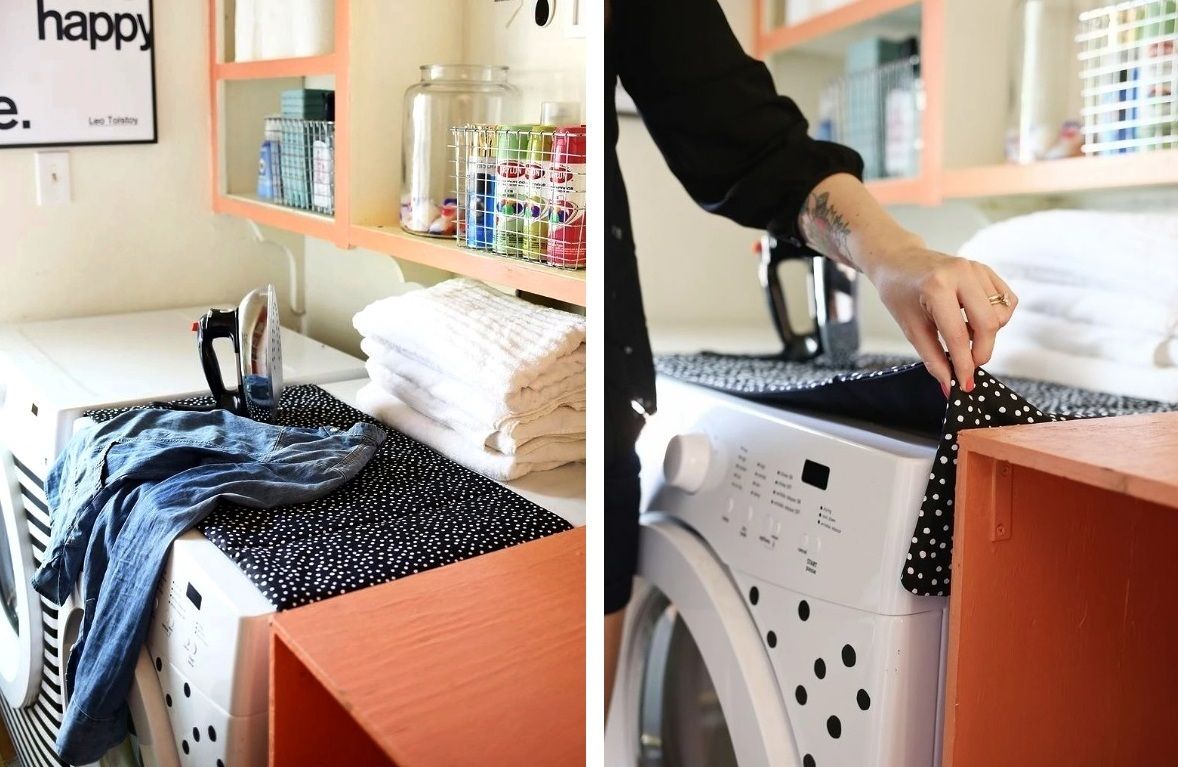


I once saw a brilliant idea for a mobile ironing board with no base at all. Basically, you make a simple mat of a convenient size out of any fabric and batting, which you can throw onto any suitable surface if needed. Some people sew a rubberized mesh to the underside so the mat doesn't slide on the table, others attach ties to secure it to legs. In short, every homemaker has their own tricks ))