Sew an Easy Shoulder Bag with a Ready-Made Pattern
A step-by-step shoulder-bag project: prepare two fabrics, cut from a ready-made pattern, assemble the outer bag and lining, then finish the handles and snap.
BeginnerFree
Translated
Things you will learn
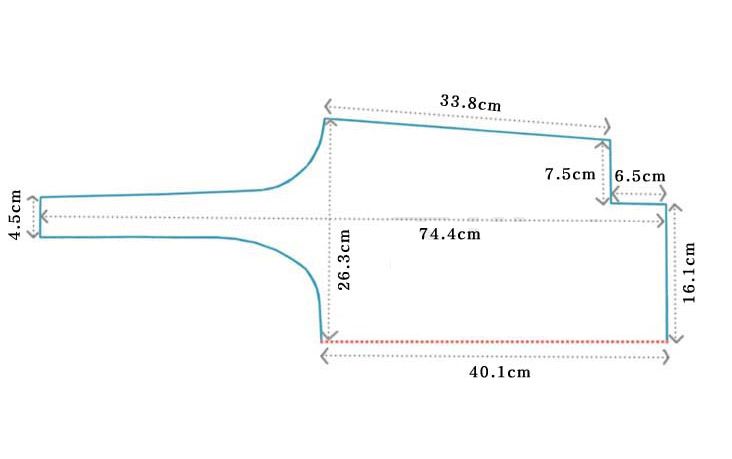
The pattern shows only half the draft; make the other half as a mirror image.
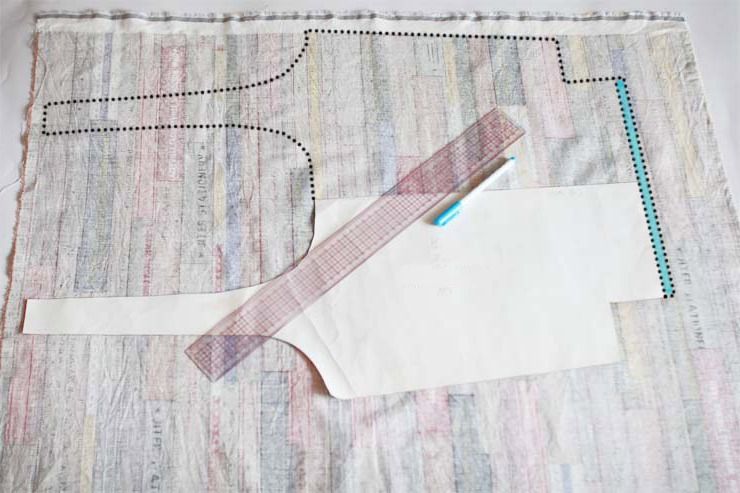
Add a 15 mm seam allowance only at the bottom edge; all other seam allowances are already included in the pattern.
Turn the lining through an unstitched opening in the bottom.
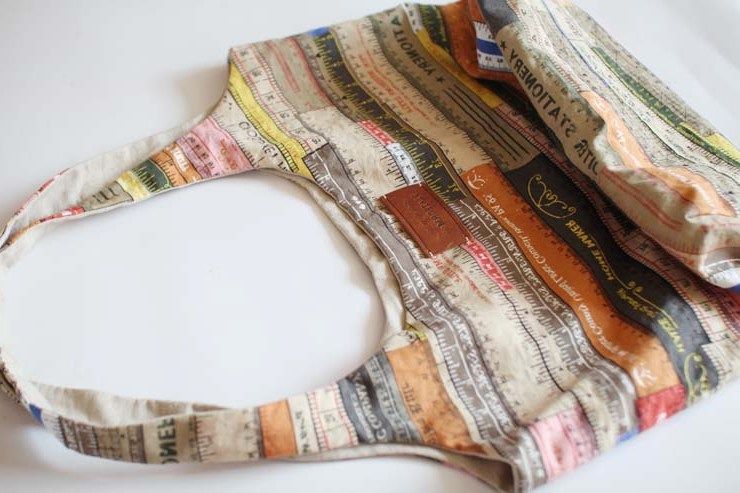
Finished bag
A finished shoulder bag with lining, handles, and a snap.
Materials and tools
Materials
Outer fabric, Pre-shrink the fabric before cutting.
Durable lining fabric, Pre-shrink the fabric before cutting.
Snap fastener, One piece.
Label or other embellishment, Optional.
Tools
Sewing machine
Pins or clips
Hand-sewing needle, For blind stitches.
Iron
Cut and assemble the bag
Step 1
A comfortable shoulder bag is not a luxury but a real necessity. Here is a short tutorial for sewing this accessory.
Step 2
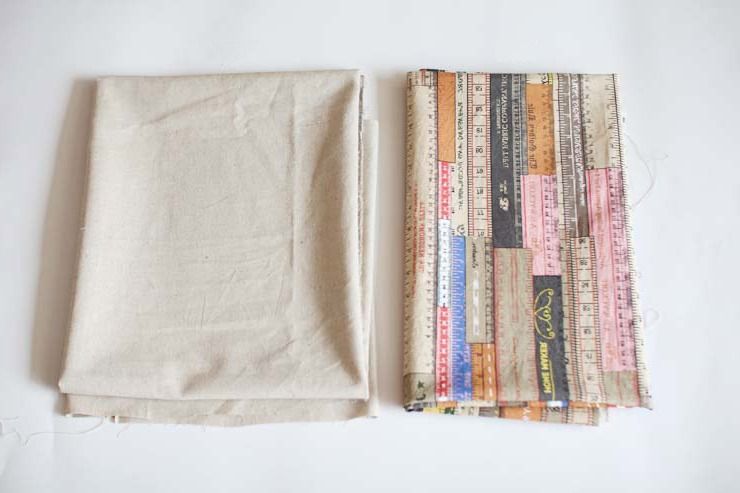
Start with two types of fabric: a dressier one for the outer bag and a simpler but durable one for the lining. Pre-shrink both fabrics to avoid uneven shrinkage after the first wash. You will also need one snap.
Pattern
Step 3
The pattern gives average dimensions for a versatile bag. Note that it shows half the draft. Make the other half as a mirror image.
Sewing
Step 4
Mark the pieces on the outer fabric. Add a 15 mm seam allowance only at the bottom edge. Do not add allowances to the other edges; they are already included in the pattern.
Step 5
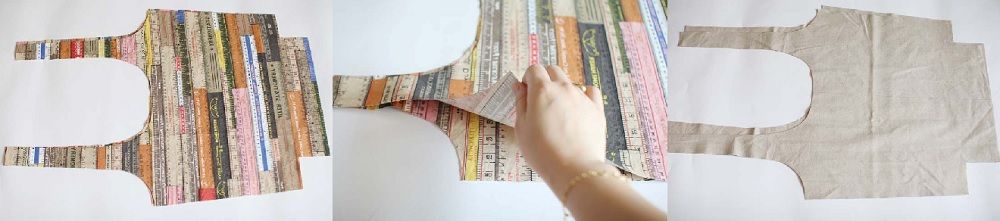
Cut the same pieces from the lining fabric.
Step 6
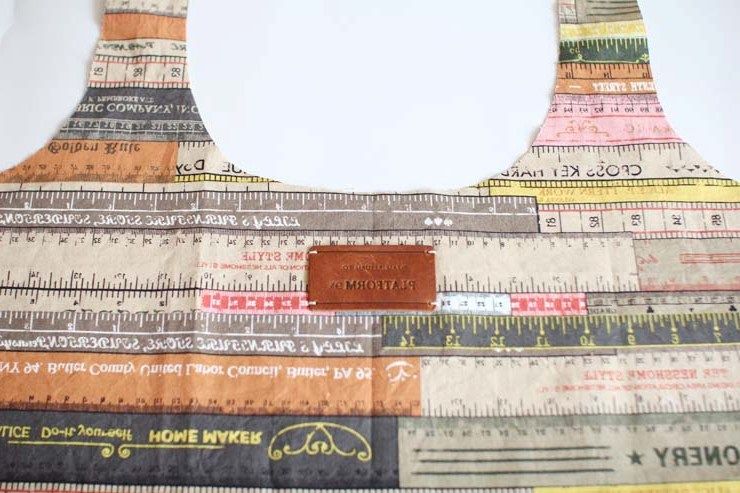
If you have a pretty label or other embellishment, sew it centered on one outer piece, set slightly below the top edge.
Step 7
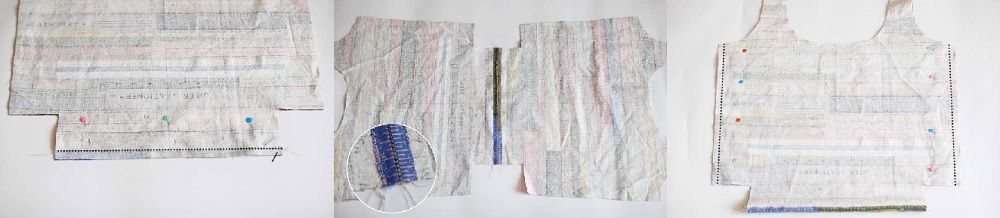
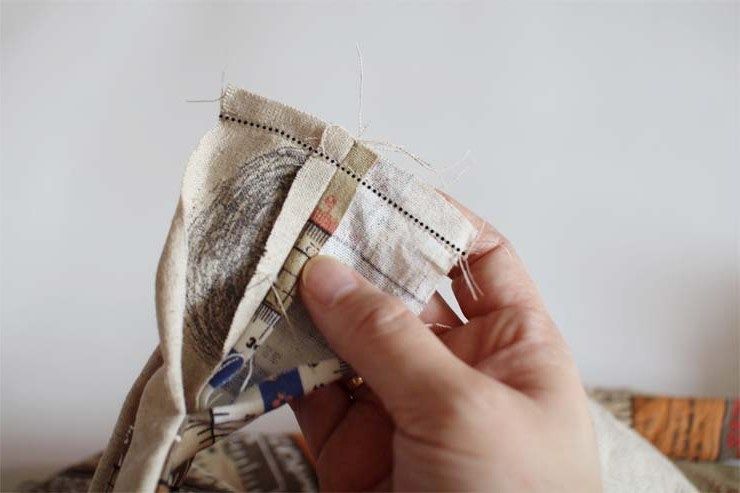
Place the outer pieces right sides together and stitch the bottom edges. Press the seam allowances open, then topstitch 10 mm from the joining seam.
Step 8
Then stitch the side seams.
Step 9
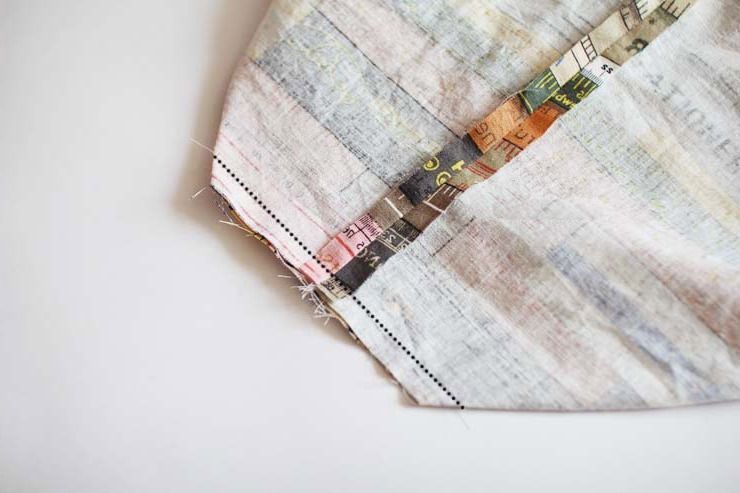
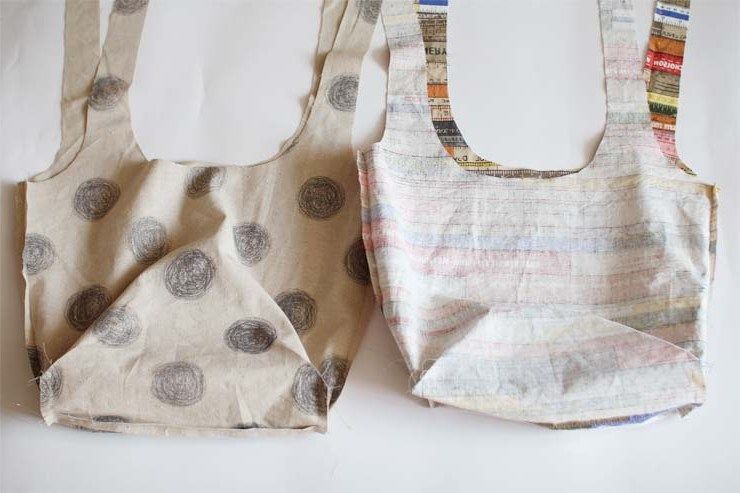
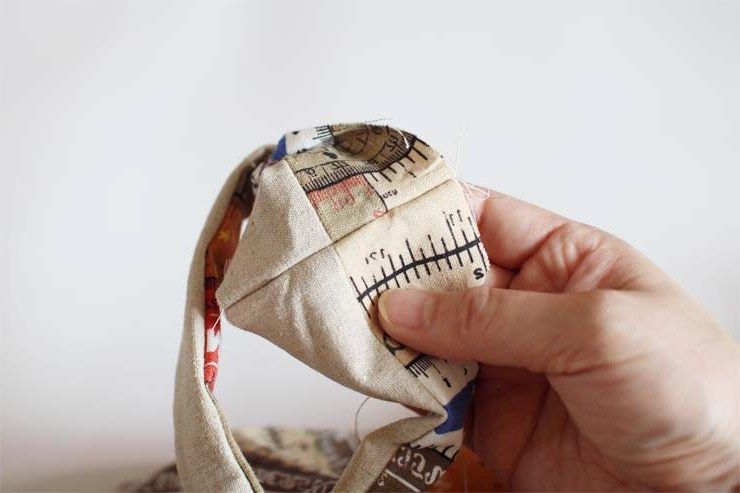
Open out the bottom corners, align them in a straight line, and sew them by machine.
Step 10
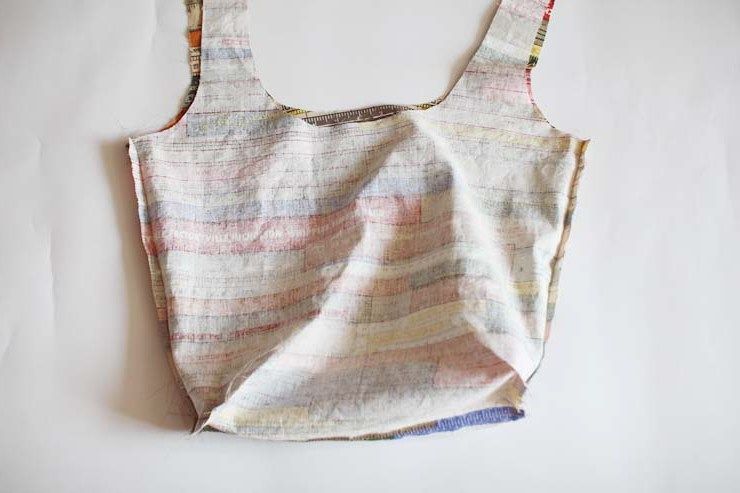
Repeat all the listed seams on the lining. Leave a small opening in the lining bottom.
Step 11
You will have two matching bag pieces.
Step 12
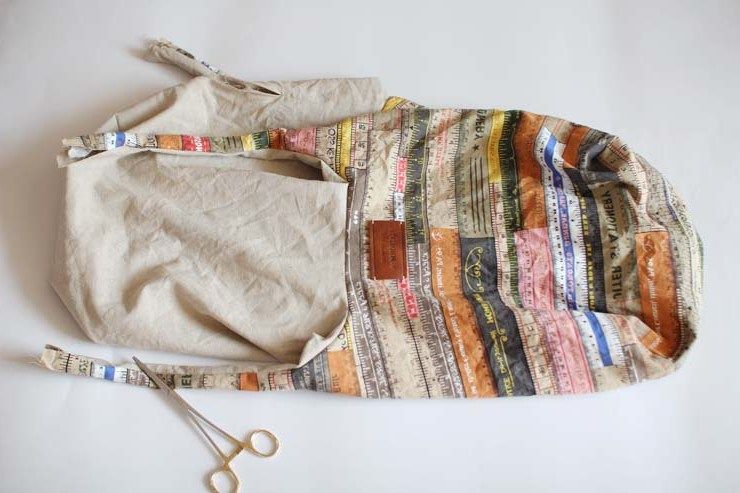
Insert the lining piece into the outer piece, right sides together.
Step 13
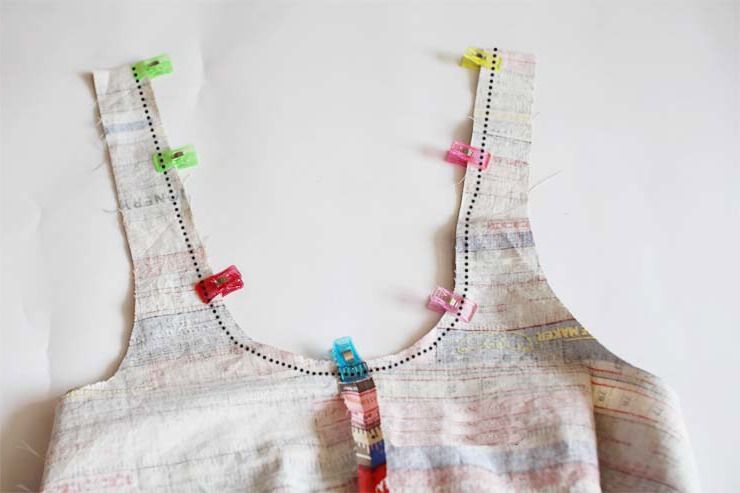
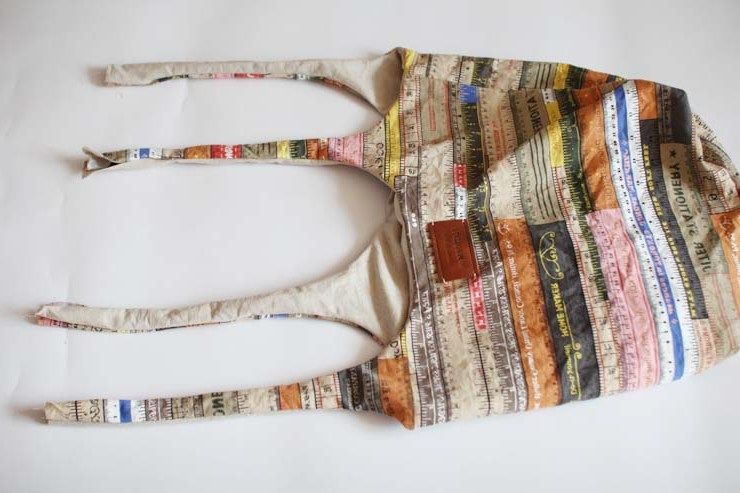
Pin or clip the side edges of the handles as shown in the photo. Stitch the handles along these sections.
Step 14
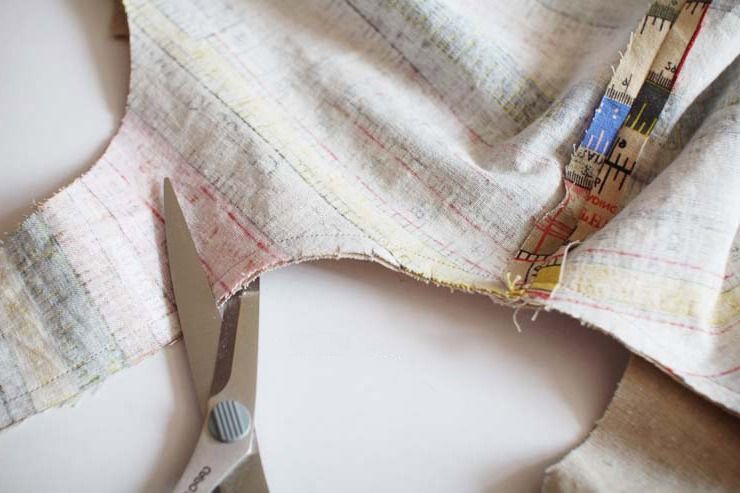
Clip the seam allowances so the fabric will not pull after turning.
Step 15
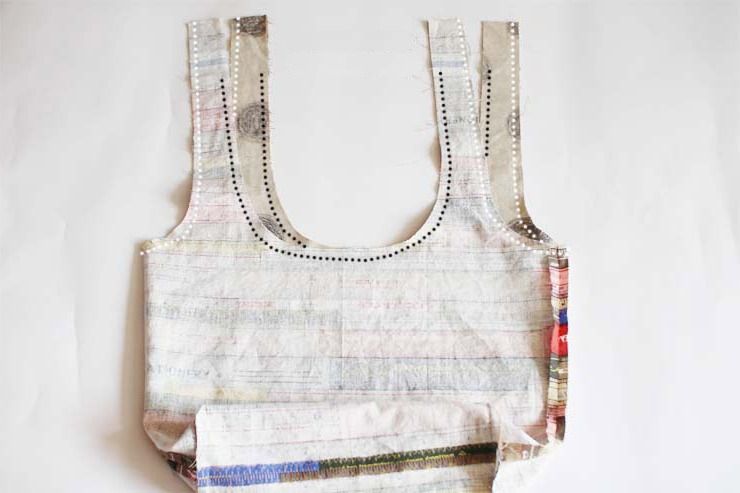
Now align the inner handle edges and stitch them, but not along the full length. Leave open sections at the top; see the photo.
Step 16
Turn the bag through the open section in the bottom.
Step 17
Place the short handle ends right sides together and stitch them.
Step 18
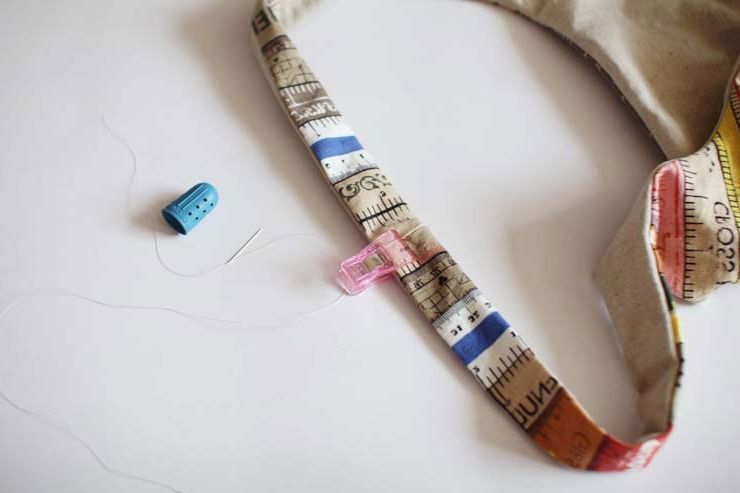
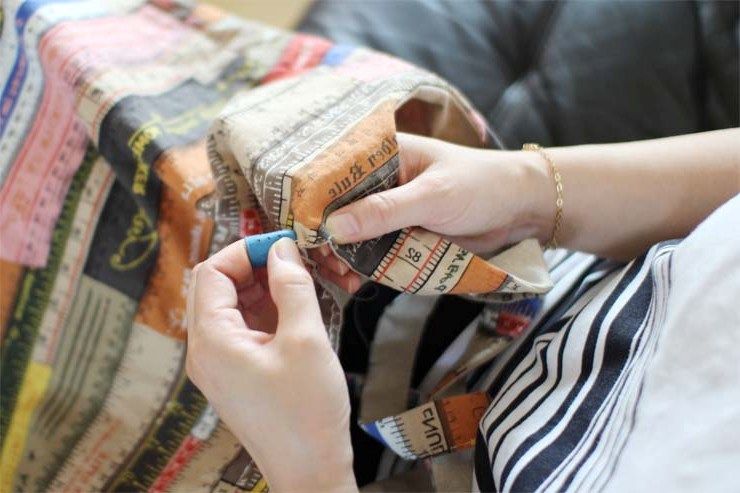
Turn the seam allowances of the open sections to the inside and secure them with pins or clips.
Step 19
Close the open sections by hand with blind stitches.
Step 20
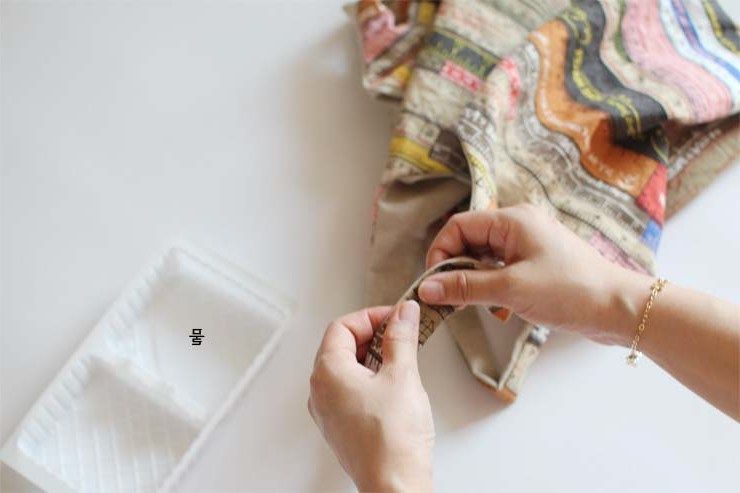
Smooth and press the handles well, then topstitch 3–5 mm from the edge.
Step 21
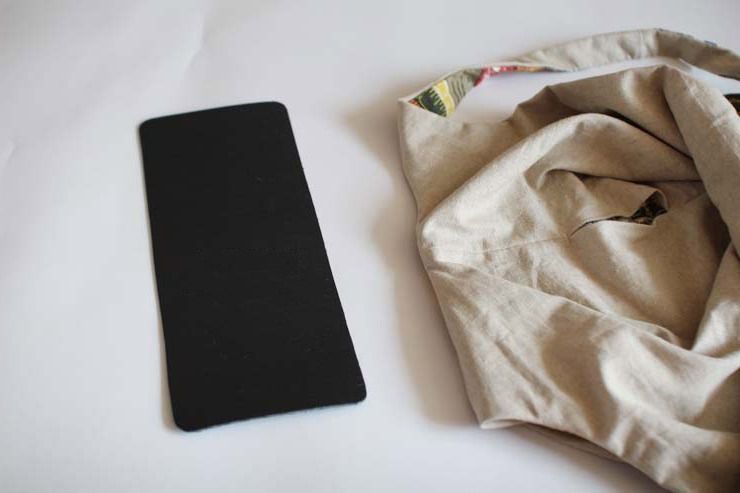
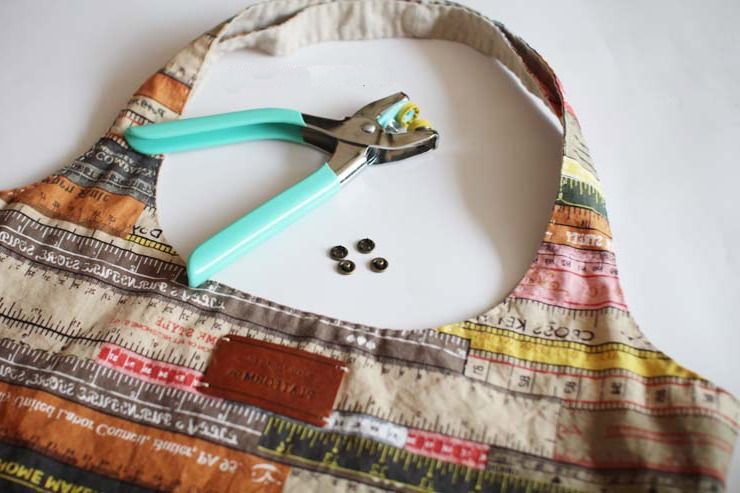
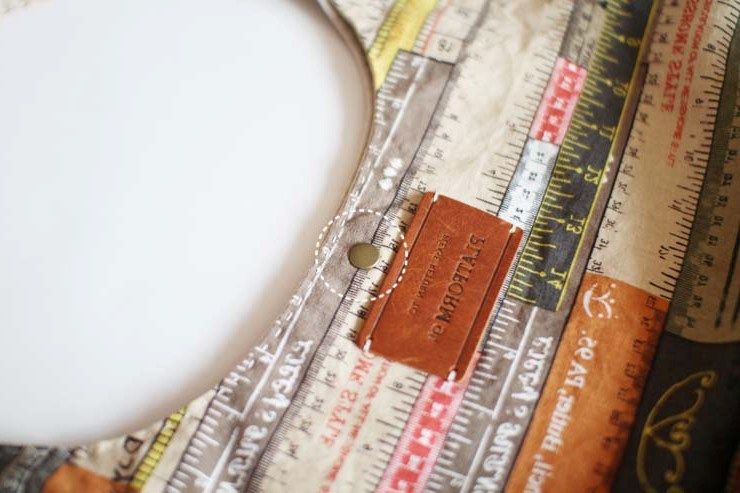
Install the snap in the center of the bag, 15–20 mm below the top edge.

 BeginnerFree