Satin pajama camisole: pattern and sewing tutorial
This step-by-step tutorial shows how to sew a satin camisole for a pajama set: prepare the pattern, cut the pieces with seam allowances, sew the darts, interface the front facing, insert the straps, and assemble the top.
IntermediateFree
Translated
Things you will learn
The pattern is marked as size 40–42, but it fit the author at size 46; check fit and ease before cutting.
The camisole is built with darts, a front facing, and thin straps, so accurate marking and symmetry matter.
Interface the front facing before assembly so the upper edge keeps its shape and does not stretch out.
Satin camisole with thin straps
The result is the top part of a pajama set: a soft satin camisole with bust darts, a finished upper facing, and thin straps. You can sew it as a separate piece or as a match for satin shorts.
Materials and tools
Materials
Satin fabric, Allow extra fabric for seam allowances and a test stitch setup.
Camisole pattern, 1 set, The author used a ready pattern found through open search.
Interfacing for the facing, Used to stabilise the upper front piece before assembly.
Ready-made or self-made straps, 2 pieces, Make them from the same fabric or use ready lingerie-style hardware.
Thread matching the fabric, Test the thread tension on a satin scrap before sewing the garment.
Tools
Sewing machine, For satin, test stitch length and thread tension in advance.
Scissors, pins, or clips, Clips help hold slippery satin without adding extra punctures.
Tailor’s chalk, marker, or basting thread, Needed for accurate dart and stitching-line marks.
Iron, Use a delicate setting and a pressing cloth so the satin does not get marks.
The author did not alter the pattern: it is marked as 40–42, but it fit size 46 closely without restricting movement. Before cutting, hold the pieces against yourself or a finished camisole and decide whether you need extra ease.
Prepare satin for neat stitching
Satin slips and shows uneven stitching, so test your machine settings on a scrap first. Lay the fabric without distortion and secure the pieces more often than you would with cotton.
Prepare the pattern and pieces
First identify the pattern pieces: the main camisole parts, the upper front facing, and the strap areas.
Lay out the camisole pattern
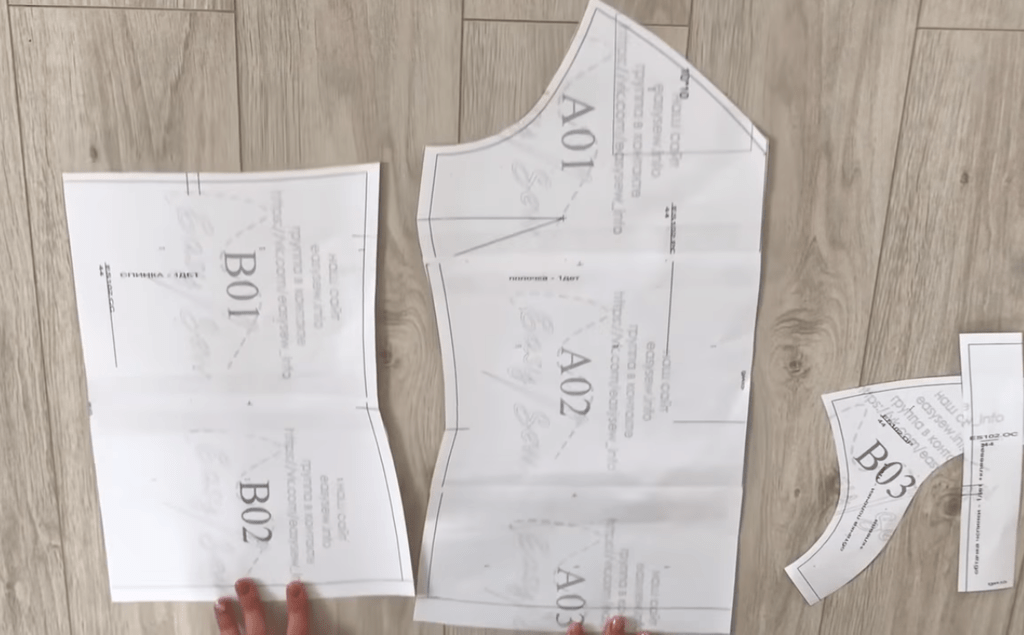
Check all pattern sheets and match the pieces to each other. Separately mark the main front/back pieces and the small upper facing pieces.
Camisole pattern sheets laid out before cutting.Small pattern pieces for finishing the top edge.
Do not rely only on the stated size
Even if the pattern is marked 40–42, the final fit depends on the fabric, seam allowances, and desired ease. Before cutting, compare the width with a finished camisole.
Cut the main pieces
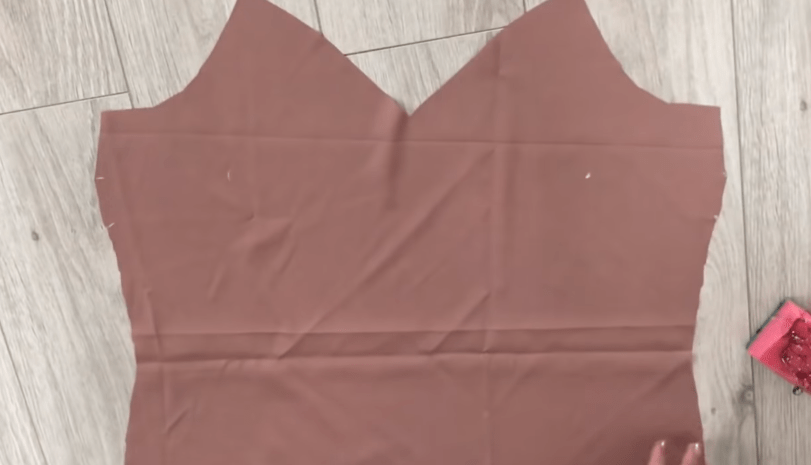
Transfer the pattern to satin and cut the camisole pieces. Add regular seam allowances and decide separately whether you need extra wearing ease.
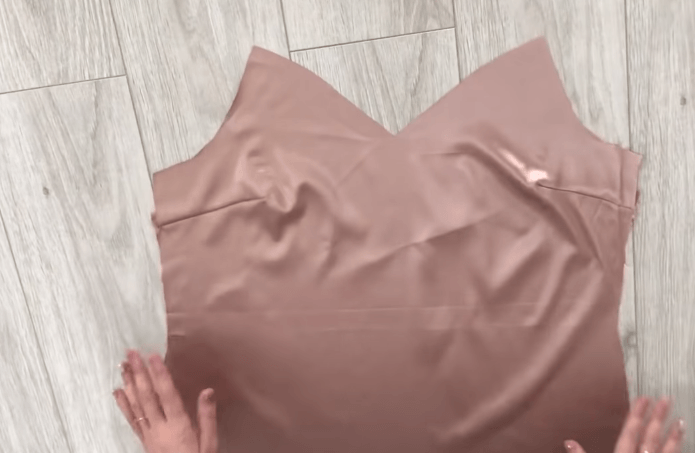
Main camisole piece after cutting.
Slippery satin shifts easily
Secure the fabric around the edges and do not pull it while cutting, otherwise the pieces may become asymmetrical.
Size reference
Author’s reference: the 40–42 pattern fit size 46 closely; for size 44 no extra ease was needed, and for 40–42 the pattern was reduced.
Sew the darts
Darts shape the bust area, so symmetry and accurate marking are especially important here.
Mark the dart lines
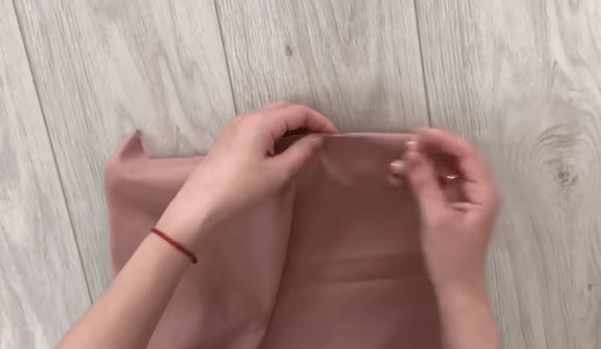
Fold the fabric along the marked line, transfer the dart markings, and secure the area before stitching.
Forming the dart along the marked line.
Stitch the darts with small stitches
Sew the darts neatly without stretching the fabric. After stitching, lay the piece flat and check that both sides look the same.
Checking dart symmetry before further assembly.
Check before assembly
If the darts are different lengths or tilt differently, fix them now, before the top is assembled.
Assemble the top and straps
After the darts, the camisole is assembled through the upper facing: it finishes the edge, holds the straps, and makes the top neater.
Join the main camisole pieces
Place the two garment pieces right sides together and stitch the main seams. Check that the upper edge is still ready for the facing.
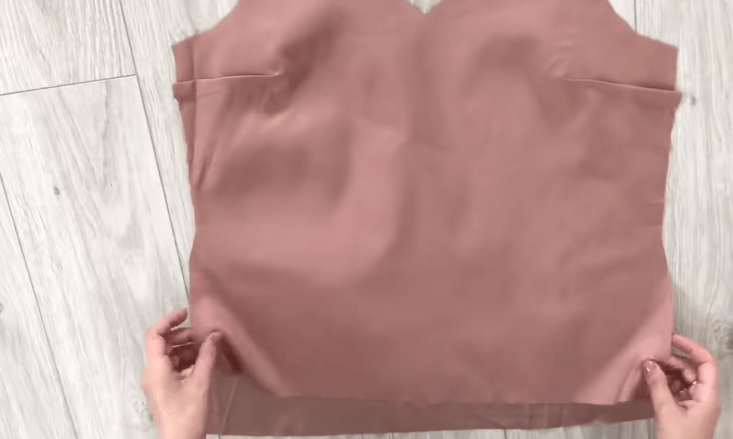
Sewing the main garment pieces together.
Interface the facing
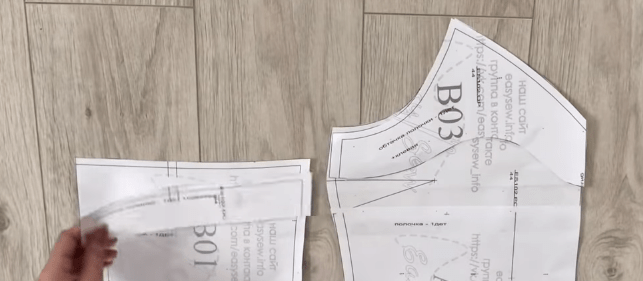
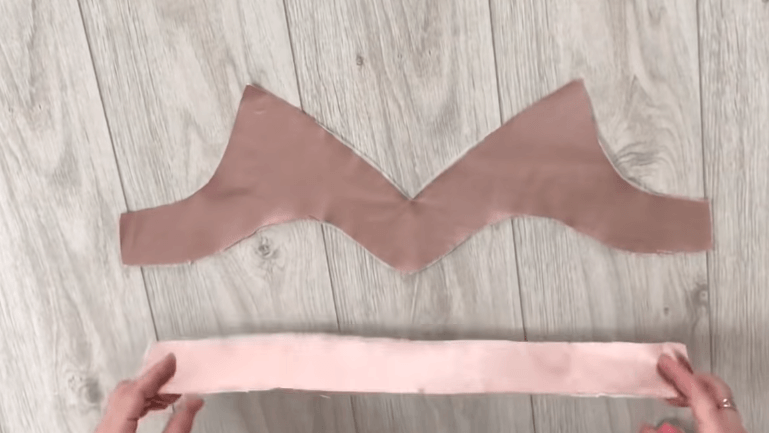
Before working with the upper facing, fuse interfacing to it. This helps the camisole edge keep its shape and prevents the straps from pulling thin satin out of shape.
Pieces for finishing the upper edge and attaching the straps.
Interfacing must suit the fabric
Use a thin fusible material and test it on a scrap first so the satin does not become stiff or get iron marks.
Place the straps between the layers
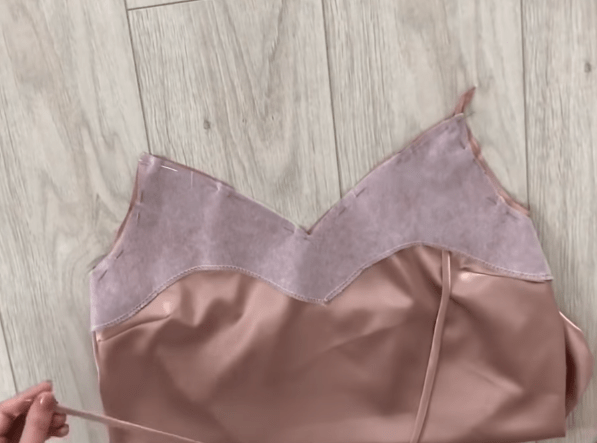
Position the straps between the facing and the camisole top, then stitch from the wrong side. The strap should sit inside the seam and not rub during wear.
The straps are placed between the layers so they do not rub during wear.
Straps can be made in different ways
The author made the straps herself, but you can also use thin ready-made straps or hook-on straps.
Finish assembling the camisole
Sew the second side of the straps
Secure the straps on the other side, try the camisole on, and check that the top does not pull and the straps sit symmetrically.
Finished top part of the satin pajama set.
Final fitting
If the camisole is close-fitting but does not restrict movement, the fit is right. If it pulls across the bust or armholes, check seam allowances and strap length.
Finish and variations
Finish
Complete the set with shorts
This camisole is intended as the top for satin pajama shorts. If you want a matching set, use the same satin and similar seam finishing so the top and bottom look like one project.
Check the fit after assembly
The camisole may be close-fitting, but it should not tighten across the bust, armholes, or back. Pay special attention to strap length and the softness of the upper facing.
Variations
Use ready-made straps
If you do not want to make satin straps, use thin ready-made straps or hook-on hardware.
Make a test version from simpler fabric
Before sewing the final satin version, test the pattern on a less slippery fabric, especially if you are unsure about the size.
During fitting, the fabric pulls across the bust or sides.
Likely cause
The pattern and allowances did not provide enough ease for your size or chosen satin.
How to fix it
Before cutting, increase the allowances for wearing ease. If the piece is already cut, check whether you can reduce the side seam allowances or make the straps slightly looser.
The darts are uneven
Problem
The bust line looks crooked, or one dart is longer than the other.
Likely cause
The markings were transferred inaccurately, or the fabric shifted during stitching.
How to fix it
Compare both sides before assembling the top. If the difference is visible, unpick one dart, transfer the markings again, and stitch with small stitches without stretching the fabric.
The straps twist or rub
Problem
After assembly, a strap lies unevenly or feels uncomfortable inside the seam.
Likely cause
The strap was not placed between the correct layers or was fixed without checking its direction.
How to fix it
Before the final seam, lay the strap in its wearing position and secure it. It should sit between the facing and the camisole top so it does not cause discomfort.
?FAQ
What size is the camisole pattern for?
The author notes that the pattern is marked as 40–42, but it fit size 46 without changes: close-fitting, but not tight. For size 44, extra ease was not needed; for 40–42, the pattern was reduced.
Do I have to interface the facing?
For thin satin, it is useful: interfacing stabilises the upper edge and strap attachment area. Use a thin material and test the iron on a scrap first.
Can I use ready-made straps?
Yes. The author made the straps herself, but also allows ready-made straps or hook-on straps.
Your project
Log in to track your project, attach photos, and publish your result into the shared feed.

 IntermediateFree