Oxford Pillowcase with a Flange for Standard and Euro Pillows
This master class shows how to sew an Oxford pillowcase with a flange: choose 220 cm wide fabric, calculate fabric length for 70 × 70 and 50 × 70 cm pillows, double-hem the short edges, fold the pillowcase according to the pattern, sew the side seams, turn and press it, then topstitch the flange from the right side.
BeginnerFree
Translated
Things you will learn
An Oxford pillowcase differs from a plain pillowcase by its decorative topstitched flange edges.
To keep seams to a minimum, use 220 cm wide bedding fabric such as sateen or firm cotton.
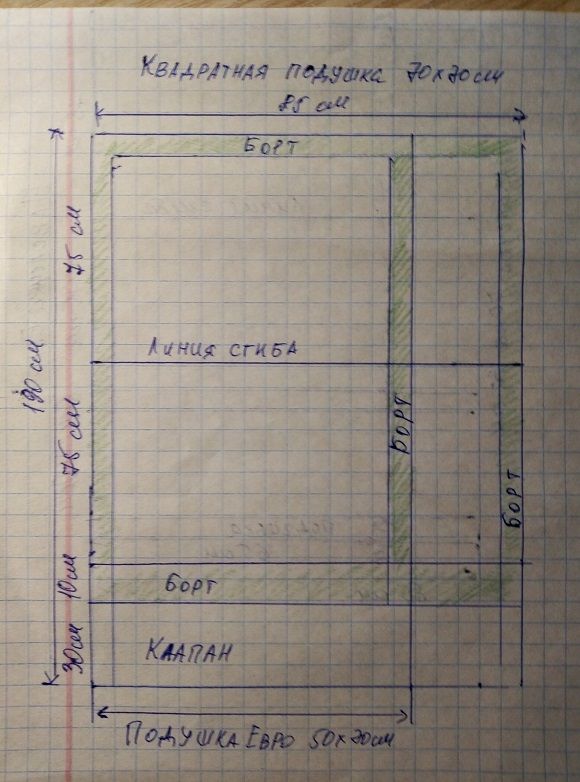
For a 70 × 70 cm square pillow, cut an 85 cm length of fabric; for a 50 × 70 cm Euro pillow, cut 65 cm.
The flange is marked 5 cm from each edge after the pillowcase is turned and pressed.
The lower topstitching line must follow the inner edge of the pillowcase so the flap does not twist.
Oxford pillowcase with flange edges
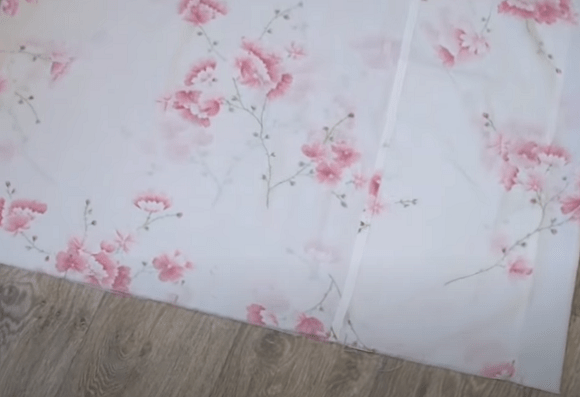
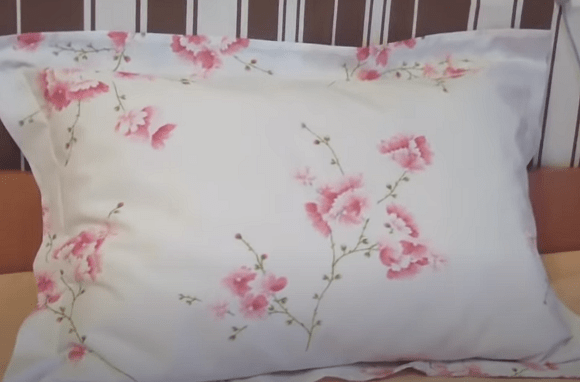
The finished pillowcase looks polished and dimensional: the decorative flange frames the pillow, and the deep inner flap holds it in place without a zipper.
Materials and tools
Materials
220 cm wide fabric, Sateen or firm cotton works best. Cut an 85 cm length for a 70 × 70 cm pillow, or 65 cm for a 50 × 70 cm pillow.
Thread, Choose thread matching the fabric.
Tools
Sewing machine, For hems, side seams, and flange topstitching.
Serger or zigzag stitch, For finishing the side seam allowances.
Measuring tape, For marking length, folds, and flange width.
Pins, For holding the folded pillowcase before sewing.
Tailor's chalk or soap sliver, For marking the flange lines on the right side.
Iron, For pressing before topstitching the flange.
Preparation
Choose the fabric
To sew the pillowcase with as few seams as possible, use 220 cm wide fabric. Sateen is ideal, but firm cotton also works.
Choose the size
For a 70 × 70 cm square pillow, prepare an 85 cm fabric length. For a 50 × 70 cm Euro pillow, 65 cm is enough.
Cutting the flanged pillowcase
The pattern already includes allowances for the side seams and for hemming the top and bottom edges.
Read the pattern
Use the pattern for the size you need: a 70 × 70 cm square pillow or a 50 × 70 cm Euro pillow.
Measure the fabric length
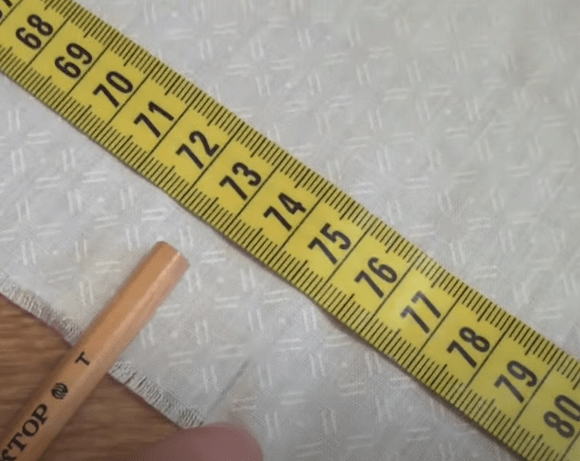
Mark the required fabric length: 85 cm for the square pillow or 65 cm for the Euro pillow.
Cut or tear along the grain
Cut the fabric along the mark, or carefully tear it along the thread so the edge stays straight.
Assembling the pillowcase
First form the pillowcase with the inner flap; the decorative flange is topstitched later.
Hem the short edges
Make a double hem on both short edges of the fabric and stitch them down.
Mark the folds
Measure two lengths of 75 cm and mark them on the fabric. The first line marks the pillowcase fold.
Mark the future flange
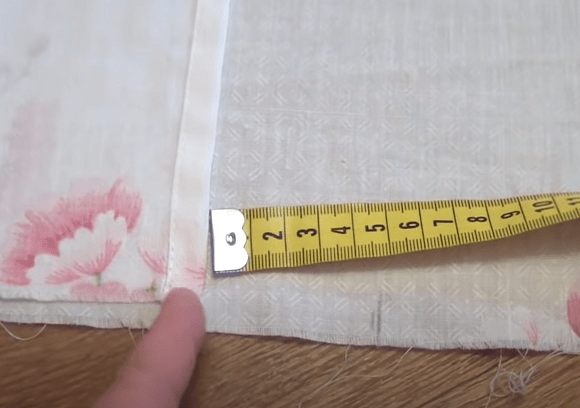
Place the fabric wrong side up and measure 5 cm from the future pillowcase edge; this will be the flange width.
Fold the lower edge
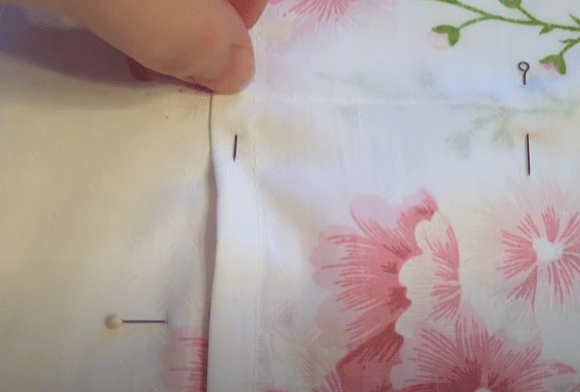
Fold the lower edge of the fabric upward exactly along the mark, allowing for the future flange, and pin the pillowcase layers together.
Fold exactly on the mark
If the fold shifts, the flange and inner flap can twist.
Sew the side seams
Sew the side seams, then finish the raw edges with a zigzag stitch or serger.
Topstitching the flange
After turning, the pillowcase already looks like a classic pillowcase; the topstitching turns it into an Oxford style.
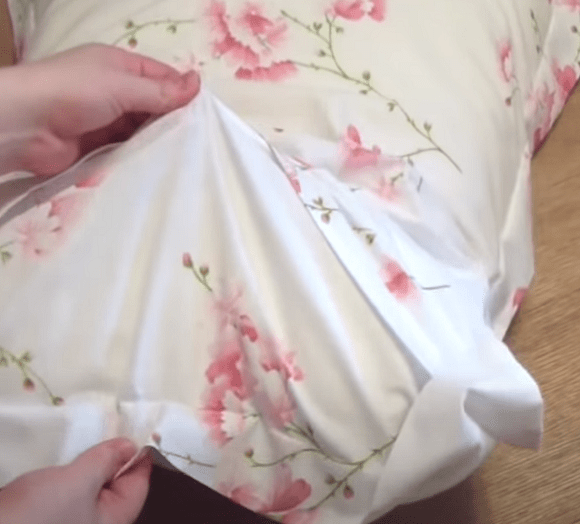
Turn and press
Turn the pillowcase right side out and press it well before marking the flange.
Mark the flange lines
With tailor's chalk or a soap sliver, mark 5 cm from every edge of the pillowcase.
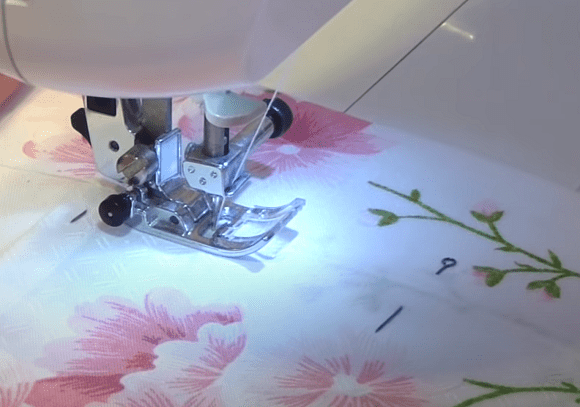
Topstitch the flange
From the right side, sew a straight stitch along the marked lines. Keep the lower stitching line exactly on the inner pillowcase edge; backstitch where the flap meets the flange.
Watch the lower seam
If the lower topstitching shifts away from the inner edge, the pillowcase shape and flap can twist.
Check the finished pillowcase
The finished pillowcase should have even flange edges, a deep inner flap, and a snug fit around the pillow.
Finish and variations
Finish
Final check
Check the flange width, side seams, inner flap depth, and how the pillowcase sits on the pillow.
Variations
Square pillow
For a 70 × 70 cm pillow, use the fabric length and fold lines for the square pattern.
Euro pillow
For a 50 × 70 cm pillow, sew the same way but follow the rectangular pattern measurements.

 BeginnerFree