The New Year holidays are just around the corner, and I came up with an idea for how to treat my little godchildren and nieces and nephews. In all my life, I've never met a child who doesn't love bunnies. So, I decided to sew cute and sweet bunnies for my little ones
BeginnerFree
Translated
How to Sew Cute Bunnies for Kids
The New Year holidays are just around the corner, and I came up with an idea for how to treat my little godchildren and nieces and nephews. In all my life, I've never met a child who doesn't love bunnies. So, I decided to sew cute and sweet bunnies for my little ones
Main Steps
Step 1
The New Year holidays are just around the corner, and I came up with an idea for how to treat my little godchildren and nieces and nephews. In all my life, I've never met a child who doesn't love bunnies. So, I decided to sew cute and gentle little bunnies for my little ones for St. Nicholas Day .
To sew them, we will need: • fabric in assorted colors; • sewing supplies; • small buttons; • a pencil, glue; • beads, ribbons; • white fleece; • stuffing.
Since I'll be making 5 of these bunnies at once, I'll have a lot of pieces and quite a bit of fabric. For you, of course, it will all depend on how many toys you make 🙂 ).
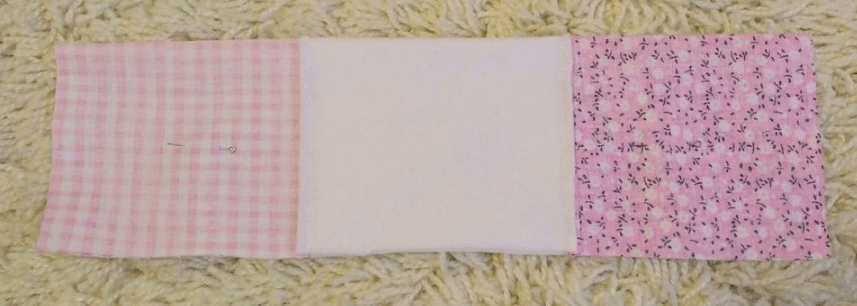
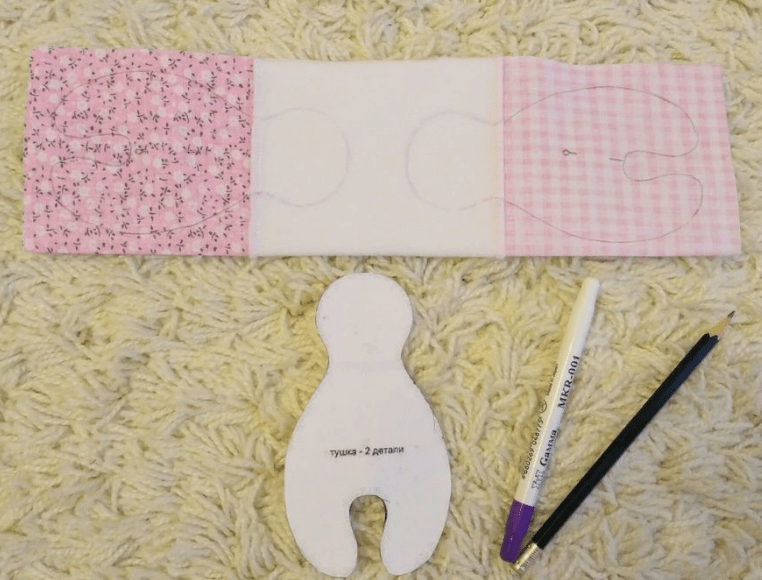
The pattern template for the body needs to be visually divided into two parts; if that's tricky, you can cut the pattern in half. This way, we'll separate the head and the overalls. In terms of fabric size, it works out approximately like this: fleece - 6/16 cm, colorful fabric - 11/16 cm. To make it faster, I'll be sewing two bunnies at a time, so that's why mine is set up like this
Step 2
Fold the fabric in half and pin in place.
Step 3
Transfer the pattern onto the fabric.
😉
Step 4
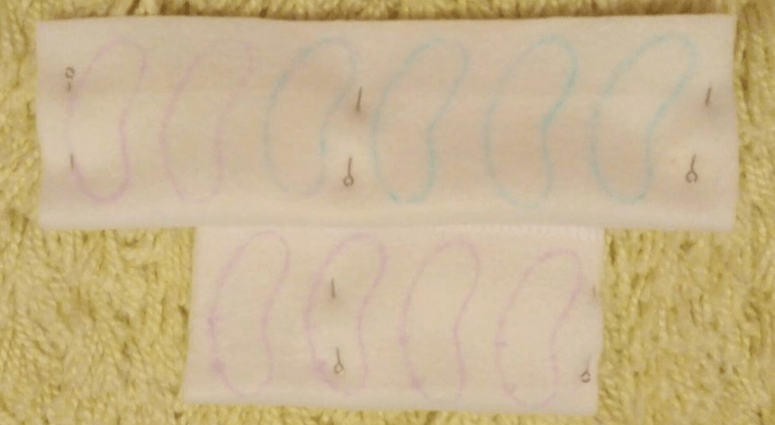
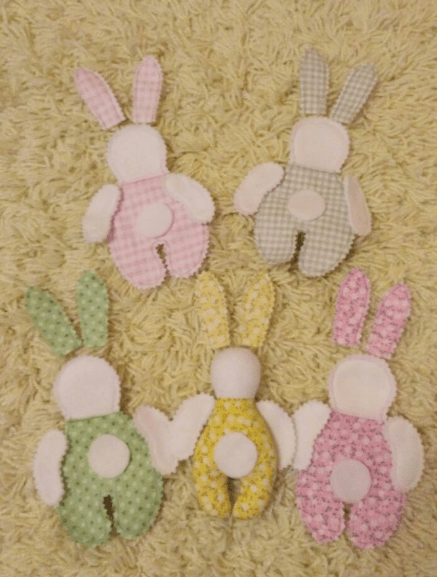
Transfer our arms onto the fleece. I have 5 bunnies, so there will be 10 paws 😉.
Step 5
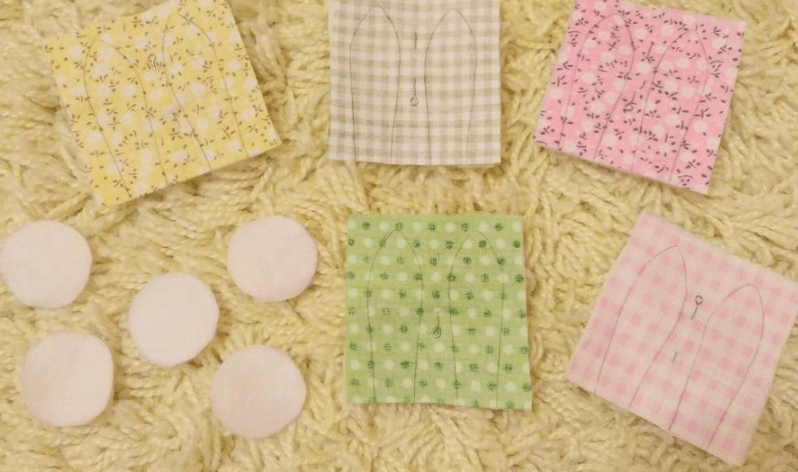
In addition, we need the fleece for the tails—we'll cut them out as circles—and for the ears. We'll also need colorful fabric for the ears (approximately 6/7 cm for each pair). Place the fabric scraps right sides together, pin them, and transfer the pattern.
Step 6
Sew all the pieces along the wrong side and turn them right side out.
Step 7
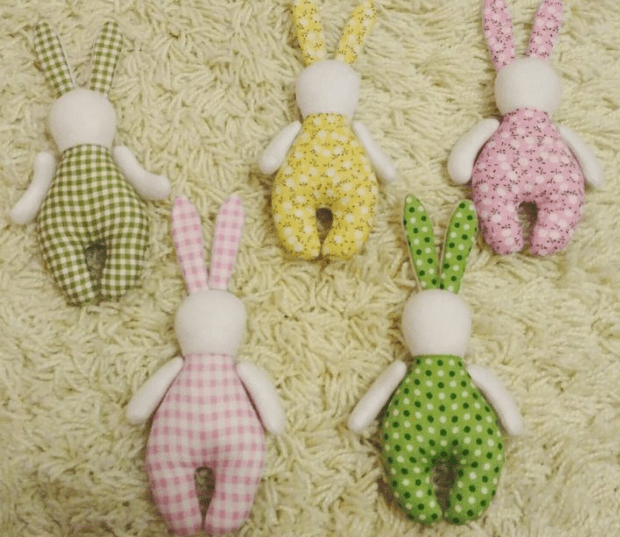
Stuff the bunnies' arms and bodies with stuffing. We'll finish the ears and tails a little later)).
Step 8
Sew on the arms. I decided to attach them with buttons, but you can also do this with a simple blind stitch. Position the ears, pinning them in place first.
Step 9
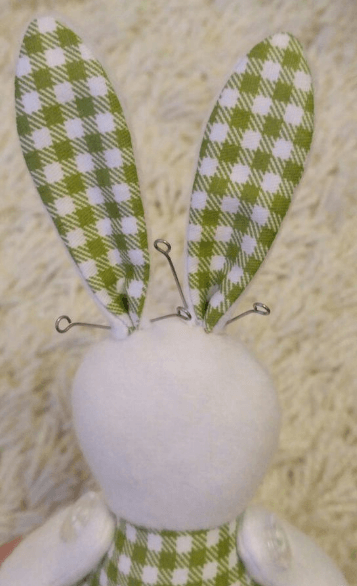
Check that the ears are sitting straight; adjust and even them out if needed, then sew them on with a blind stitch. Take the circles cut out of fleece for the tails and work a running stitch along the very edge. Pull the stitch to gather it into soft little tail balls, then sew them into place.
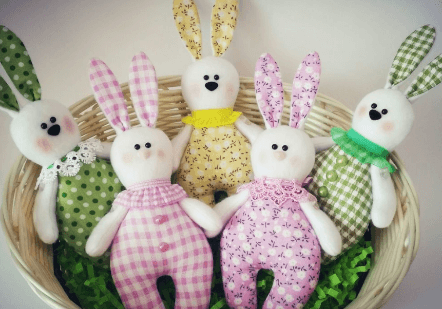
Decorate the bunnies with beads for eyes, ribbons for scarves, and paint the face a little. You can also sew decorative bead buttons onto the overalls. The result is these absolute cuties.

 BeginnerFree