For any sewist, it is important to prepare a workspace and keep all the necessary tools close at hand. I want to show beginner crafters how to sew a simple wrist pincushion to safely store pins...
BeginnerFree
Translated
Instructions
Step 1
For any sewist, it is important to prepare a workspace and keep all the necessary tools close at hand. I want to show beginner crafters how to sew a simple wrist pincushion to safely store pins and needles. This accessory is extremely useful because needles tend to fall under the table, get lost among scraps, and can even \"hide\" in a finished project. A wrist pincushion solves these problems, especially since it takes no more than 10 minutes of free time to make.
Illustration 2
Step 3
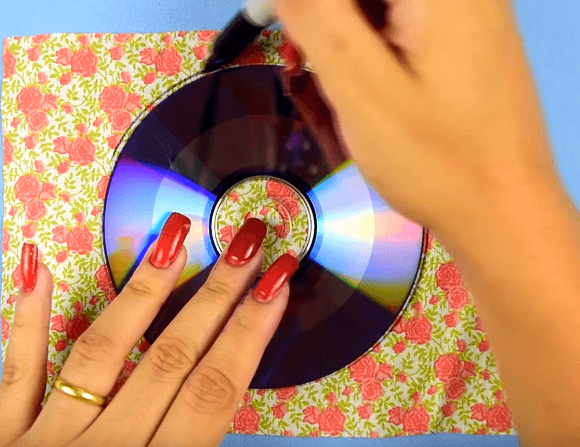
What you need for sewing: 1. Fabric in any color—sturdy cotton, sateen, or linen works best. 2. Stuffing: polyester fiberfill or cotton wool. 3. 1 cm wide elastic. 4. Needle and thread. 5. Hot glue. The sewing process includes a few simple steps: Cut a neat circle out of the fabric; it is convenient to trace an old CD for this.
Illustration 4
Step 5
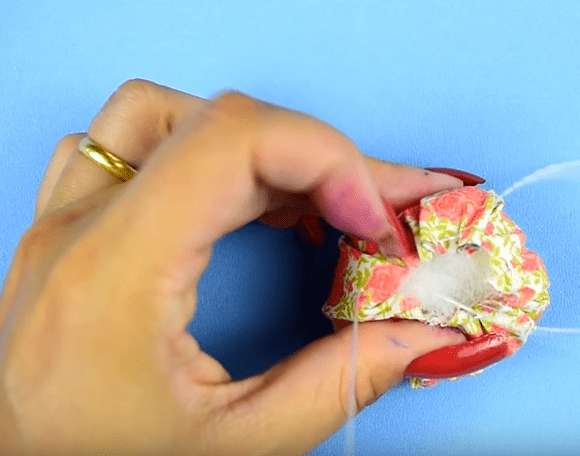
Using a doubled thread, sew a running stitch around the edge of the circle by hand and gather the piece. Stuff it with polyester batting, fiberfill, or cotton wool.
Illustration 6
Step 7
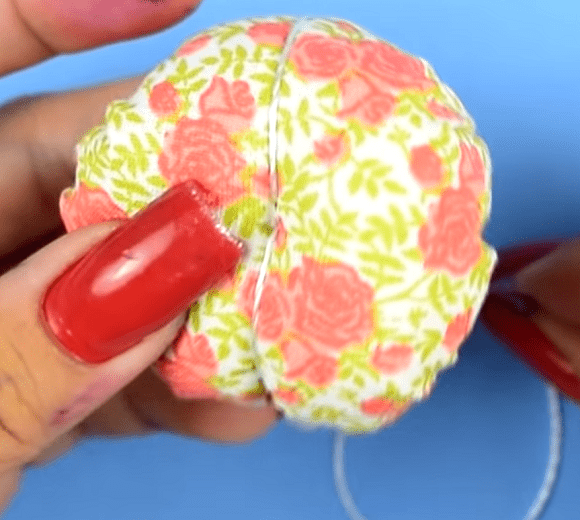
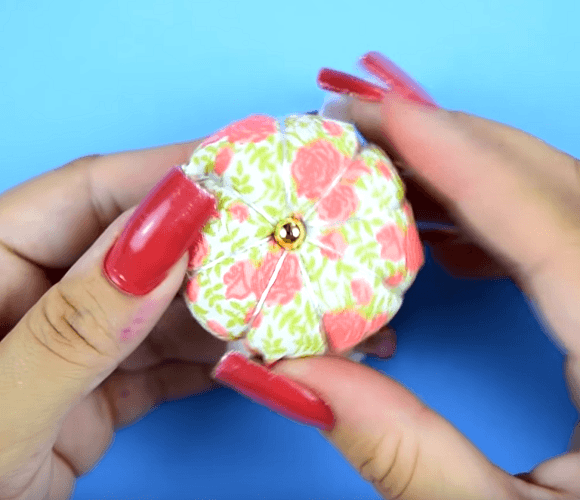
Insert the needle from the underside into the center of the pincushion, secure a bead, and take 4 stitches through the entire piece to shape it.
Illustration 8
Step 9
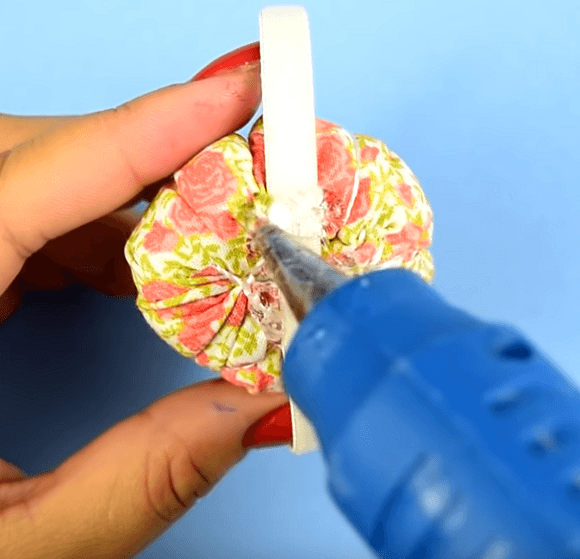
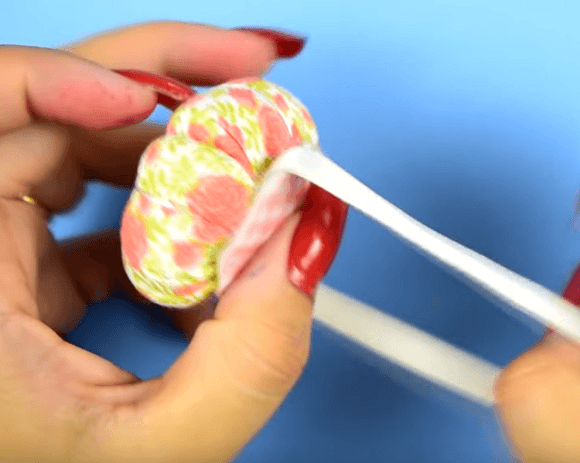
Measure your wrist, cut the elastic to size, and glue it to the pincushion using hot glue.
Illustration 10
Step 11
Cover the attachment point by hand using a small circle cut from fabric.
Illustration 12
Step 13
You can now try on the pincushion.
Illustration 14
Step 15
This stylish, cute piece makes a great gift for a friend or for girls to take to school for craft class.

 BeginnerFree