A step-by-step tutorial for sewing a lingerie-style top: fabric choice, base pattern, cutting, darts, French side seams, straps, facing, and a narrow rolled hem finish.
IntermediateFree
Translated
Things you will learn
Silk, satin, crepe satin, or another thin fluid fabric with a soft sheen works best for this top.
Finish the side seams as French seams: first wrong sides together, then a second seam with the allowances enclosed inside.
Interface the facing with thin fusible interfacing so the upper edge keeps its shape and does not roll outward.
Check the final strap length before stitching the upper edge.
Light silk top with thin straps
The finished top has a soft lingerie-style silhouette, thin straps, bust darts, an enclosed facing, French side seams, and a delicate narrow hem. It can be worn on its own or layered under a shirt, jacket, or cardigan.
Materials and tools
Materials
Silk, satin, crepe satin, or thin fluid fabric with sheen, Before cutting, pre-treat the fabric and check whether the edge frays.
Thread matching the fabric, For thin fabric, use a fine needle and a stitch that is not too dense.
Thin fusible interfacing for the facing, about 20 cm, It stabilises the upper edge and helps the facing keep its shape.
Top pattern or a basic T-shirt for drafting, Use a ready diagram or draft the base from a T-shirt using the video reference.
Tools
Sewing machine, For straight stitching darts, seams, facing, and straps.
Overlocker, Optional: side allowances can be enclosed with French seams.
Scissors, pins or clips, chalk/marker, Clips are useful if the fabric slips or pin holes remain visible.
Iron, Press every seam; on thin fabric this strongly affects the finish.
Hairpin or needle, Helps turn narrow straps right side out.
Thin silk and satin shift easily and can snag. Before sewing the top, test the needle, stitch length, and thread tension on a small scrap.
Check the pattern on your body
Before cutting, check the top width, V-neck depth, dart position, and approximate strap length. The exact strap length is best adjusted during upper-edge assembly.
Pattern and cutting
First decide the top shape and prepare the main pieces.
Use the finished silhouette as a guide
A lingerie-style top should sit softly on the body, without pulling across the bust or creating extra volume under the armhole.
The finished top can be worn on its own or as a base layer.
Check the ease
If the fabric has almost no stretch, add ease at the side seams before cutting.
Prepare the front and back pattern
Use a ready top diagram or draft a base from a T-shirt. The diagram shows separate back and front pieces; the front has a V-neck and space for bust darts.
Base diagram with back, V-neck front, and allowances.
Transfer the pattern to fabric
Cut one front piece, one back piece, and two straps. Mark carefully so the V-neck line and side edges do not stretch out.
For slippery fabric
Cut in a single layer and secure the fabric more often with pins or pattern weights.
Darts and side seams
These steps define the fit and make the inside of the top neat.
Mark and stitch the darts
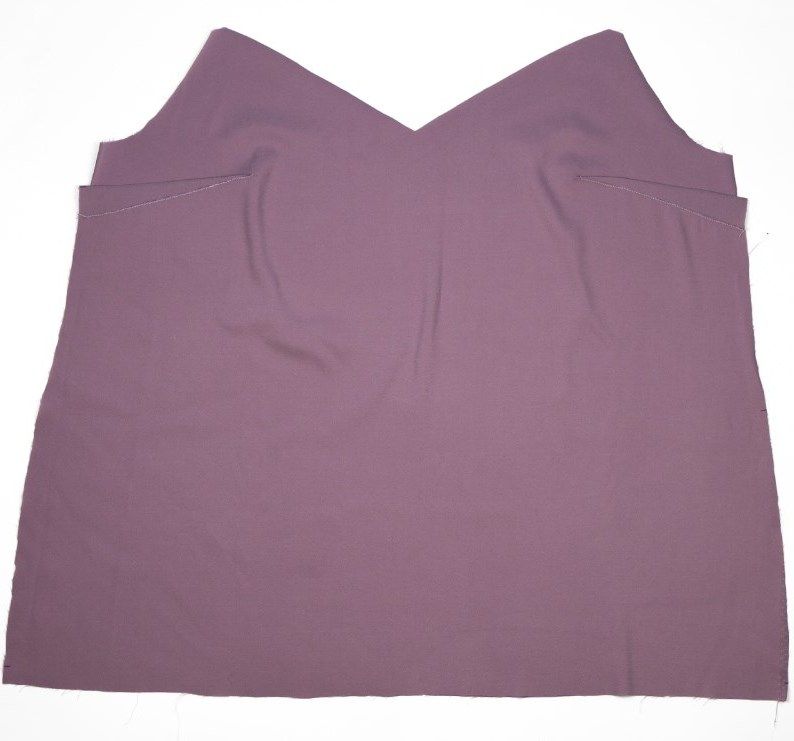
Hold the front pattern piece against your body and adjust dart position and depth. Tie a small knot at the dart point, hide the thread tail in the fabric thickness, then stitch and press the darts upward.
The darts shape the top across the bust.
Compare both sides
Before pressing, make sure the left and right darts sit at the same height.
Sew the side seams first pass
Place the front and back wrong sides together. Stitch the side seams about 0.5 cm from the edge, then press and press the seams to one side.
Enclose the allowances with a French seam
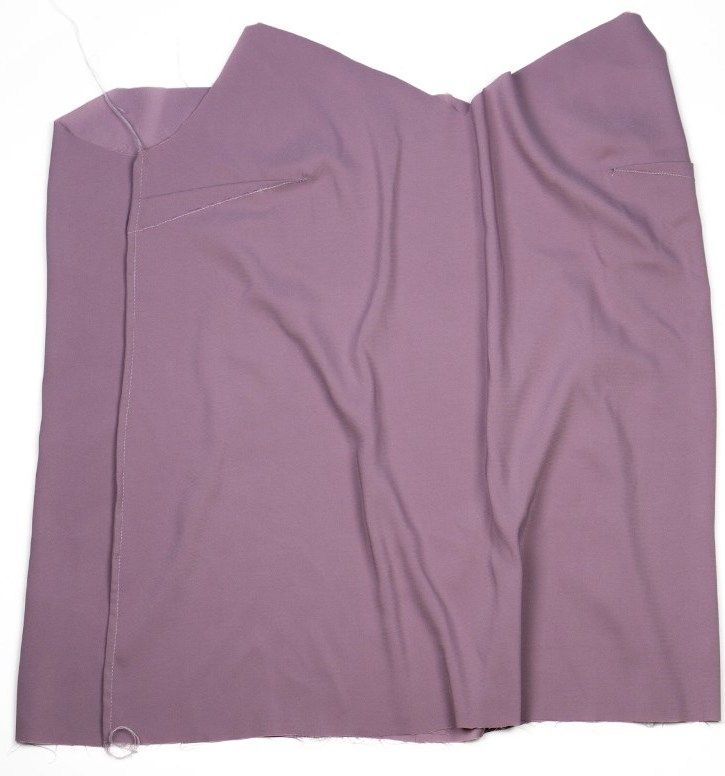
Trim the allowances to about 0.3 cm, turn the top, and sew the side seam again. The allowances will be enclosed inside the fabric, making the wrong side neat without an overlocker.
A French seam hides the allowances inside thin fabric.
Do not leave a wide allowance
If the allowance is not trimmed, it may show through the finished French seam.
Facing, straps, and upper edge
The facing stabilises the V-neck and armholes; adjust the straps before the final upper-edge seam.
Interface the facing pieces
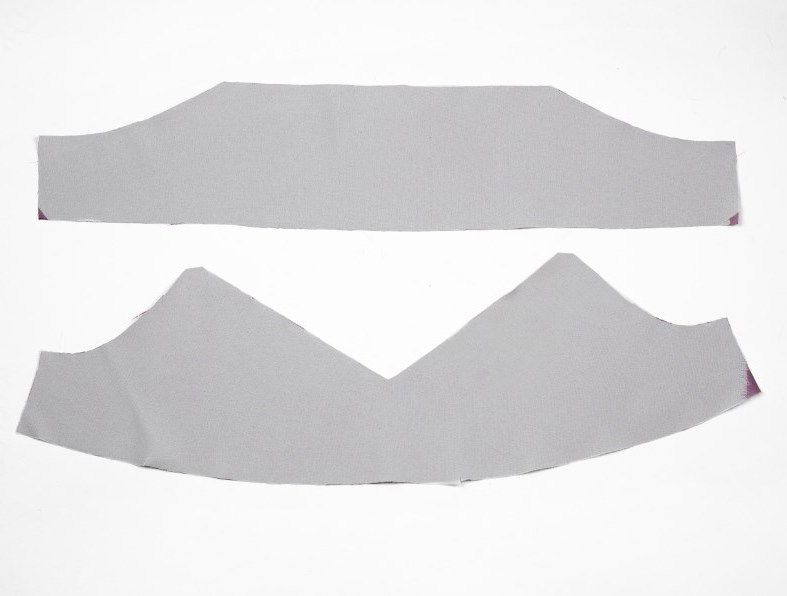
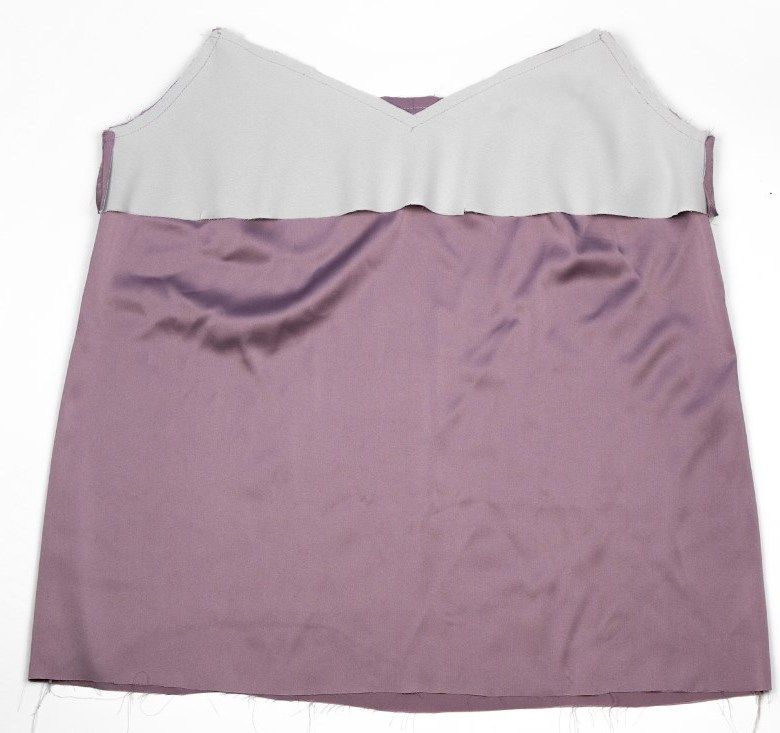
Cut the facing and fuse it with thin interfacing. Do not use material that is too stiff; it can make the top edge bulky.
The facing strengthens the upper edge and V-neck.
Sew the facing into a ring
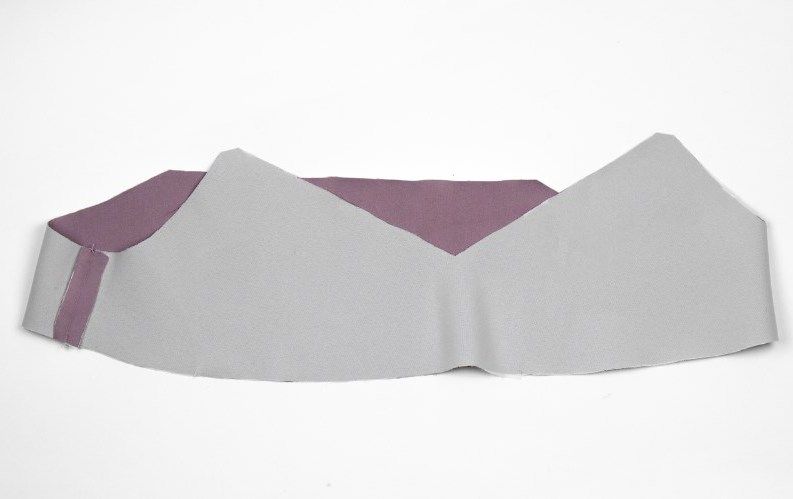
Join the facing pieces together and press the seams. The piece should match the shape of the top edge.
Join the facing pieces before attaching them to the top.
Sew and turn the straps
Fold each strap right sides together, sew along the long edge, turn with a hairpin or needle, and press.
Adjust length before stitching the top
Place the straps between the facing and the top, pin, and try on: after stitching, strap length is harder to fix.
Join the top, straps, and facing
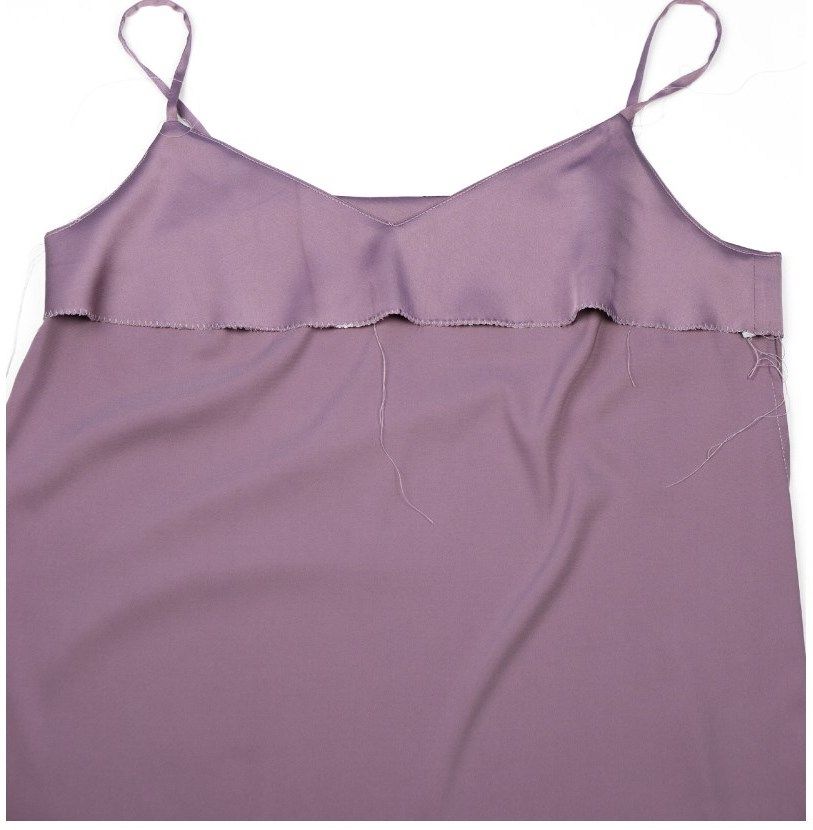
Place the facing and top right sides together, insert the straps between the layers, and pin. Sew a straight seam around the entire upper edge.
The straps are placed between the top and the facing.
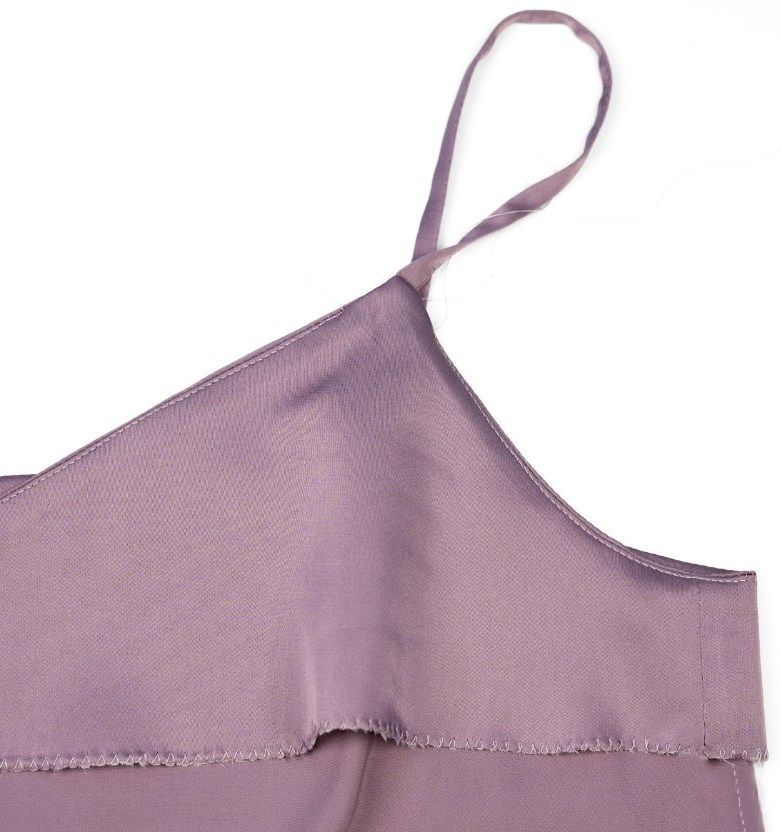
Clip the allowances and turn the top
Make small clips in the allowances around the armholes and V-neck. This helps the edge lie flat after turning.
Clips help the V-neck and armholes lie flat.
Understitch the facing
Press the allowances toward the facing and stitch on the facing about 1 mm from the seam. This helps keep the facing from rolling outward.
Understitching keeps the facing inside the garment.
Final finishing
On thin fabric, final pressing and a neat hem are more visible than on heavier materials.
Press and tack the facing
Press the facing to the inside of the top. Hand-tack it near the side seam so it does not roll outward during wear.
Hand tacking keeps the facing from rolling outward.
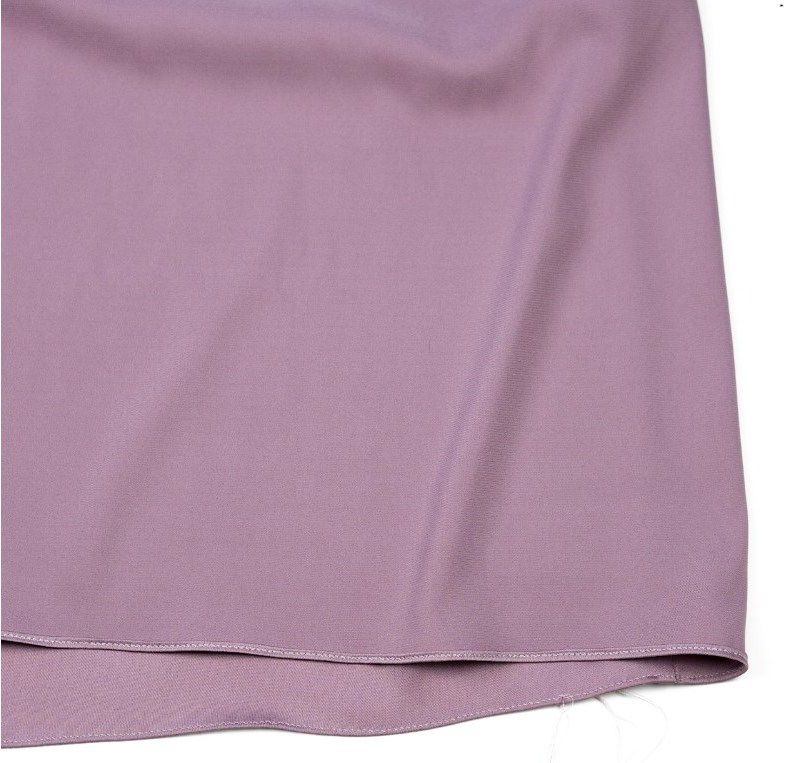
Finish the bottom with a narrow rolled hem
Fold the hem narrowly and stitch carefully. This finish is suitable for thin fabrics and creates a light, almost invisible edge.
A narrow rolled hem gives thin fabric a light neat edge.
Final press
After hemming, press the top again through a pressing cloth and check strap symmetry.
Finish and variations
Finish
How to wear the finished top
Wear it with jeans, trousers, a skirt, shorts, under a shirt, with a blazer, or with a leather jacket.
What to check before wearing
Check that the V-neck does not pull, the straps sit evenly, the facing does not roll outward, and the hem is even.
Variations
Version without darts
If you use a pattern without darts, check the bust and armhole fit especially carefully: extra volume is immediately visible on thin fabric.
Fabric substitution
Instead of natural silk, use quality satin, crepe satin, or another thin material that drapes well.
Cut in a single layer, secure the fabric more often, do not pull it under the presser foot, and test stitching on a scrap first.
The darts are at different heights
Problem
The front of the top looks asymmetrical.
Likely cause
Dart position was not checked on the body, or markings were transferred inaccurately.
How to fix it
Before stitching, hold the front pattern against yourself, mark the dart depth and point, then compare left and right sides.
The French seam looks bulky
Problem
The side seam is visible and does not press well.
Likely cause
The allowance after the first seam was left too wide.
How to fix it
After the first pass, trim allowances to about 0.3 cm, press, then sew the second pass.
The facing rolls outward
Problem
The top edge looks untidy during wear.
Likely cause
The facing was not understitched and secured.
How to fix it
Press allowances toward the facing, understitch 1 mm from the seam, and hand-tack the facing near the side seam.
The hem becomes wavy
Problem
The narrow hem stretches the thin fabric.
Likely cause
The fabric was pulled while stitching or the fold was too wide.
How to fix it
Make a narrow fold, press before stitching, and guide the fabric without tension. Test the setting on a scrap first.
?FAQ
Is this tutorial suitable for a beginner?
Yes, if you can already sew straight seams and are ready to work carefully with thin fabric. Complete beginners should practise first on an inexpensive silk-like fabric.
What fabric should I choose?
Silk, satin, crepe satin, or a thin fluid fabric with a soft sheen works best. Fabric that is too stiff will not give the right drape.
Do I need an overlocker?
No. The side seams can be finished as French seams, and the bottom can be finished with a narrow rolled hem. An overlocker is useful but not required.
What if I cannot draft the pattern from scratch?
Use a basic T-shirt and the video reference from the tutorial. The key is to check the neckline depth, armhole, and side ease.
Why use interfacing for the facing?
Thin interfacing stabilises the facing and upper edge. Without it, the V-neck and armholes may hold shape worse and roll outward more easily.
Your project
Log in to track your project, attach photos, and publish your result into the shared feed.
 IntermediateFree