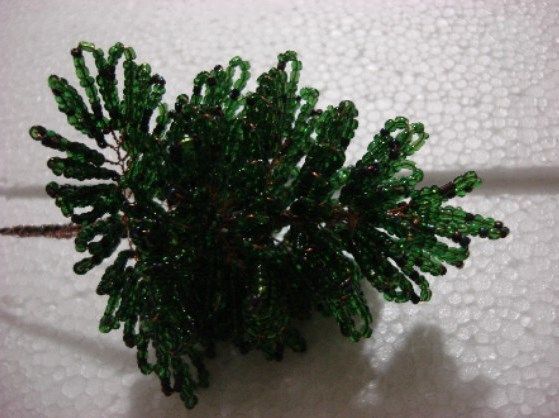
A lovely gift idea for colleagues and friends! This tiny 15 cm mini Christmas tree takes little time to make and can last for years. 😉 You will need small green beads—about 200 g;
BeginnerFree
Translated
DIY Mini Beaded Christmas Tree
A lovely gift idea for colleagues and friends! This tiny 15 cm mini Christmas tree takes little time to make and can last for years. 😉 You will need small green beads—about 200 g;
Main Steps
Step 1
A lovely gift idea for colleagues and friends! This tiny 15 cm mini Christmas tree takes little time to make and can last for years. 😉
Step 2
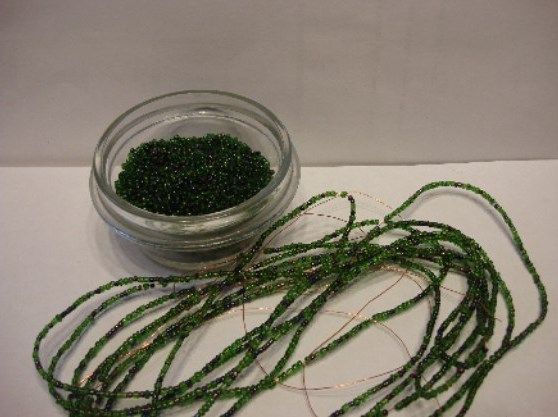
You will need: • small green beads — about 200 g; • thick and thin wire; • wire cutters; • pliers; • plaster (you can substitute alabaster); • foil; • toilet paper; • PVA glue; • a brush; • acrylic paints (brown, black, and white).
Tutorial
String beads onto thin wire until it is half full.
Step 3
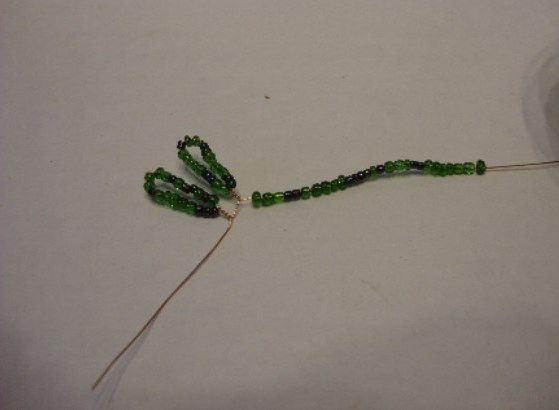
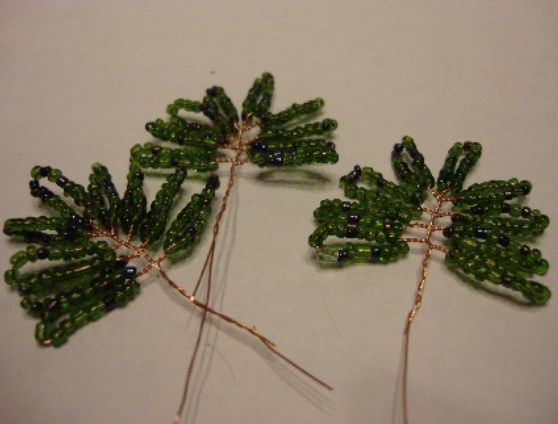
Leave a 5 cm free end of wire, count 22 beads, make a loop, and secure it. Make the second and all subsequent loops in exactly the same way, as close together as possible.
Step 4
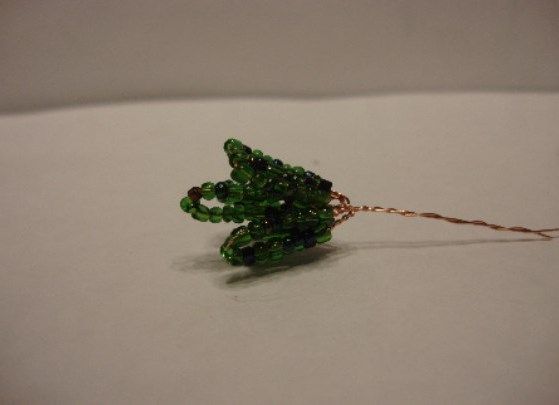
For one branch, make 6 loops, plus 3 branches with 5 loops each for the top.
Shape the treetop.
Step 5
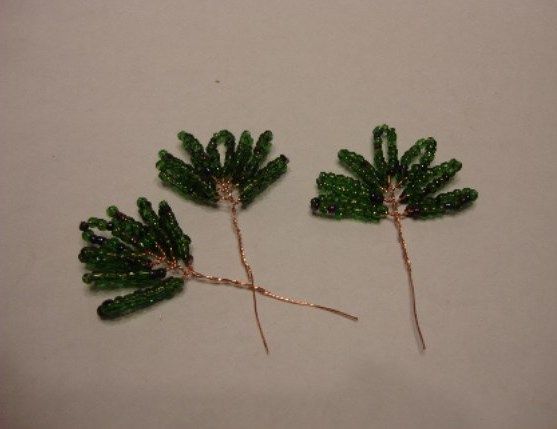
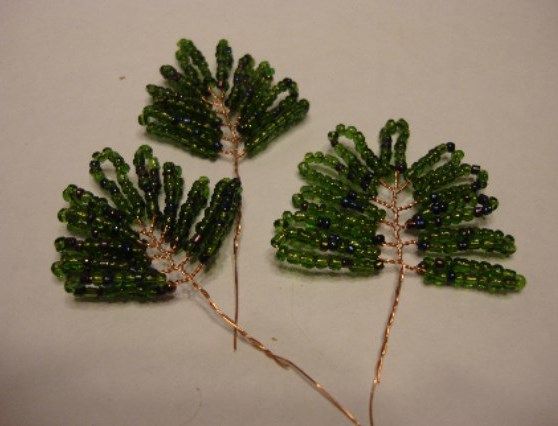
For the second tier, make 3 pieces with 7 loops each.
Step 6
For the next row, make three branches with 9 loops, using 26 beads in each loop.
Step 7
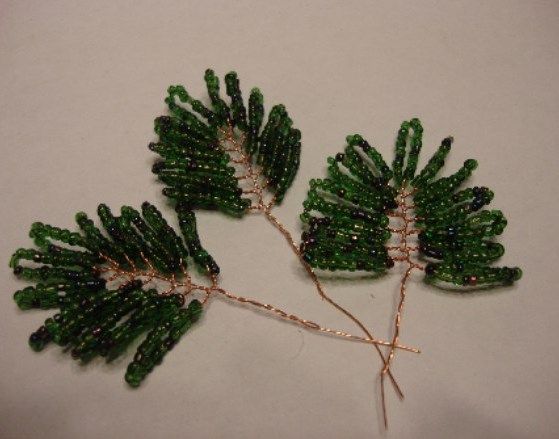
Each following row of branches becomes larger. Next, make 11 loops per branch and 30 beads in each loop.
Step 8
For the bottom row, make three branches with 13 loops and 34 beads in each loop.
Step 9
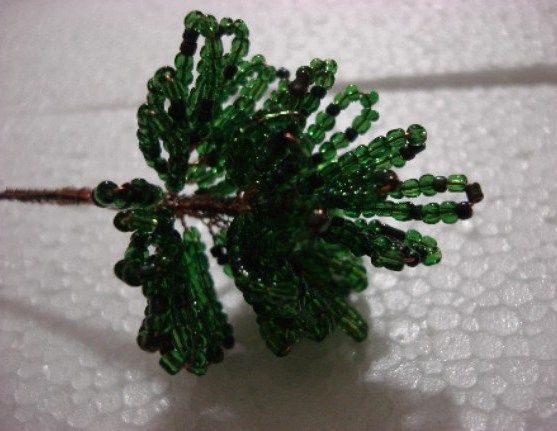
Next, assemble the beaded Christmas tree. Attach the treetop to the thick wire.
Measure 1 cm down from it and attach the first row of 5-loop branches.
The second row has 7 loops.
The third row has 3 branches with 9 loops.
The fourth row has 11-loop branches.
The fifth and final row has 13-loop branches.
Step 10
Step 11
Wrap the tree trunk tightly with toilet paper cut into thin, long strips. Paint it dark (instead of acrylic paint, you can use gouache mixed half and half with PVA glue).
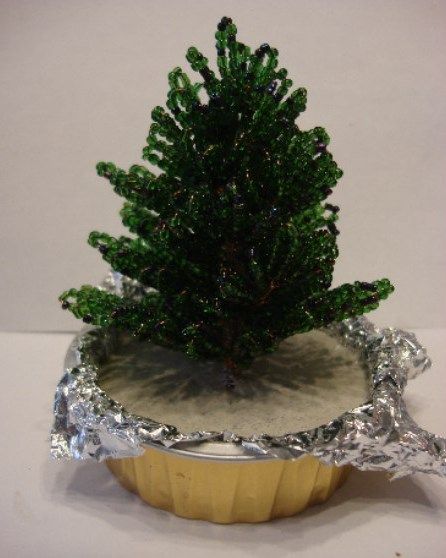
For the base, take a small mold, line it with foil, and pour in plaster. Before it sets, place the tree trunk in the center and let the plaster dry completely. Cover the base with toilet paper and paint it with acrylic paints.
Step 12
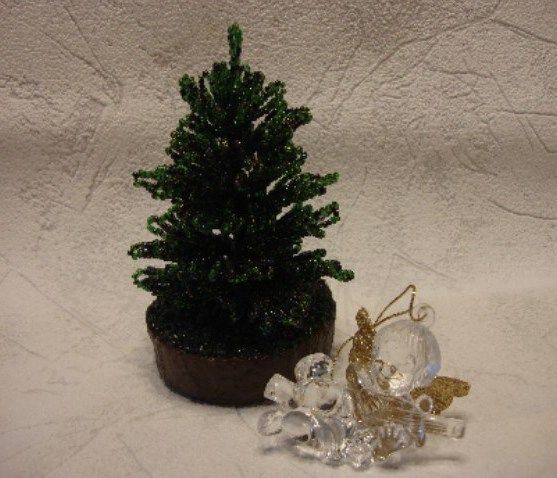
The tree is ready!
If you like, decorate it with snow by splattering white acrylic paint onto it with a brush. 😉

 BeginnerFree