
String and Nail Wall Art on Cutting Boards
To get started, you will need a wooden rectangular, round, or shaped cutting board (or a piece of laminated chipboard), small nails (decorative ones with embossed or enameled heads work well), and knitting yarn (choose a color that contrasts with the board).


- Choose a beautiful design and lightly sketch the main outlines onto the board with a pencil.
- Carefully hammer the nails along the outline at equal intervals, ensuring they all stand at the same height.
- Tie the yarn to one nail, then carefully stretch it to an adjacent nail and wrap it around. Continue to the next nails in sequence (don't forget to wrap the yarn around each nail). Change the direction of the yarn, stretching it to nails on the opposite side of the design to create a web-like effect. Continue weaving until the entire area is filled.
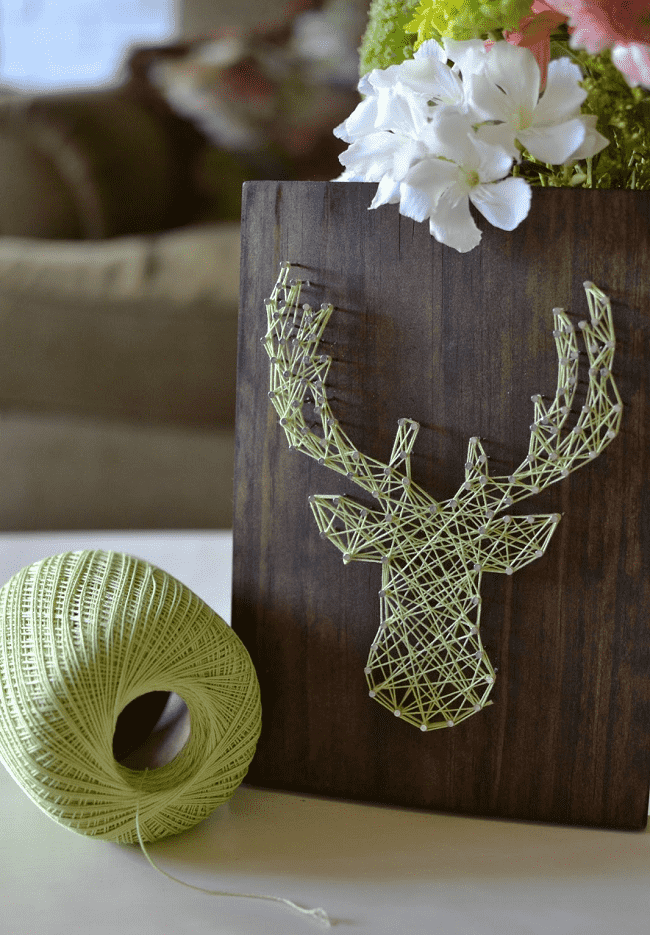
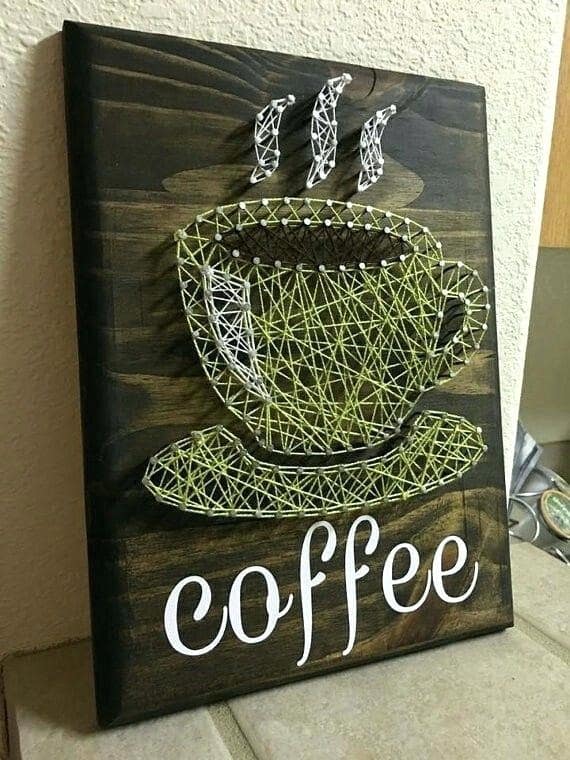


My sister saw this method online the other day and assigned tasks to everyone. Dad had to hammer in the nails, Mom had to share some yarn, and I had to make a drawing so Dad would know where to hammer. Usually, she doesn't manage to replicate things because she picks techniques that are too complex, but this time it turned out gorgeous. This is the most original piece of decor I've ever seen. Now I want to try it too.