
Taming of the Shrew, or How to Take a Great Embroidery Photo
Stitching is no problem! Photographing the result—that is the real challenge. 😛 Every stitcher knows the situation: how do you capture finished embroidery so it looks as good in a photo as it does in person? Here are the main points:
- Do not reach for the camera immediately after removing the fabric from the hoop. Prepare the piece using care methods appropriate to its materials—wash and press it only when safe—and remove wrinkles and lint.
- Avoid harsh direct sunlight and mixed or poorly color-balanced artificial light, which can distort colors or add a yellow cast. Soft indirect daylight is often easiest; properly balanced lamps can also work.
- Take several photos from different angles so you can choose the strongest image later. Macro or close-up shots of individual sections can help viewers appreciate the details.
- Check the background before shooting. Stray clothes, laundry, toys, or other clutter can distract attention from the embroidery.
- Edit a copy rather than your only original. Crop as needed, then adjust exposure, white balance, contrast, and saturation sparingly in any photo editor.
Wishing everyone beautiful embroidery photos! 🥰
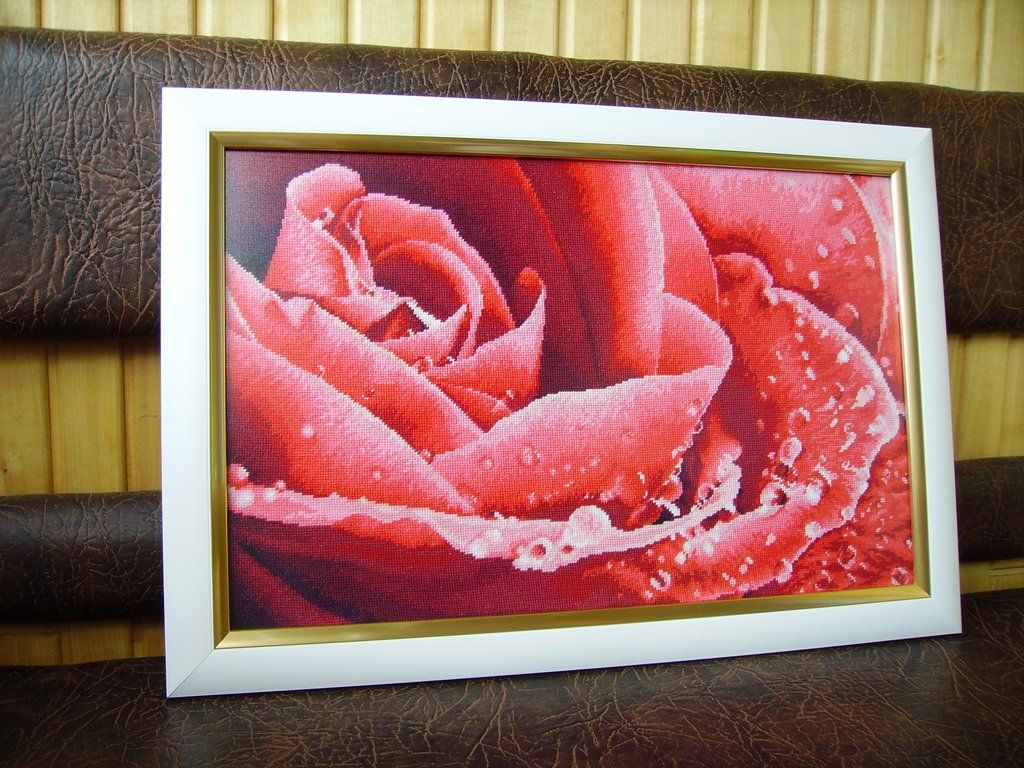
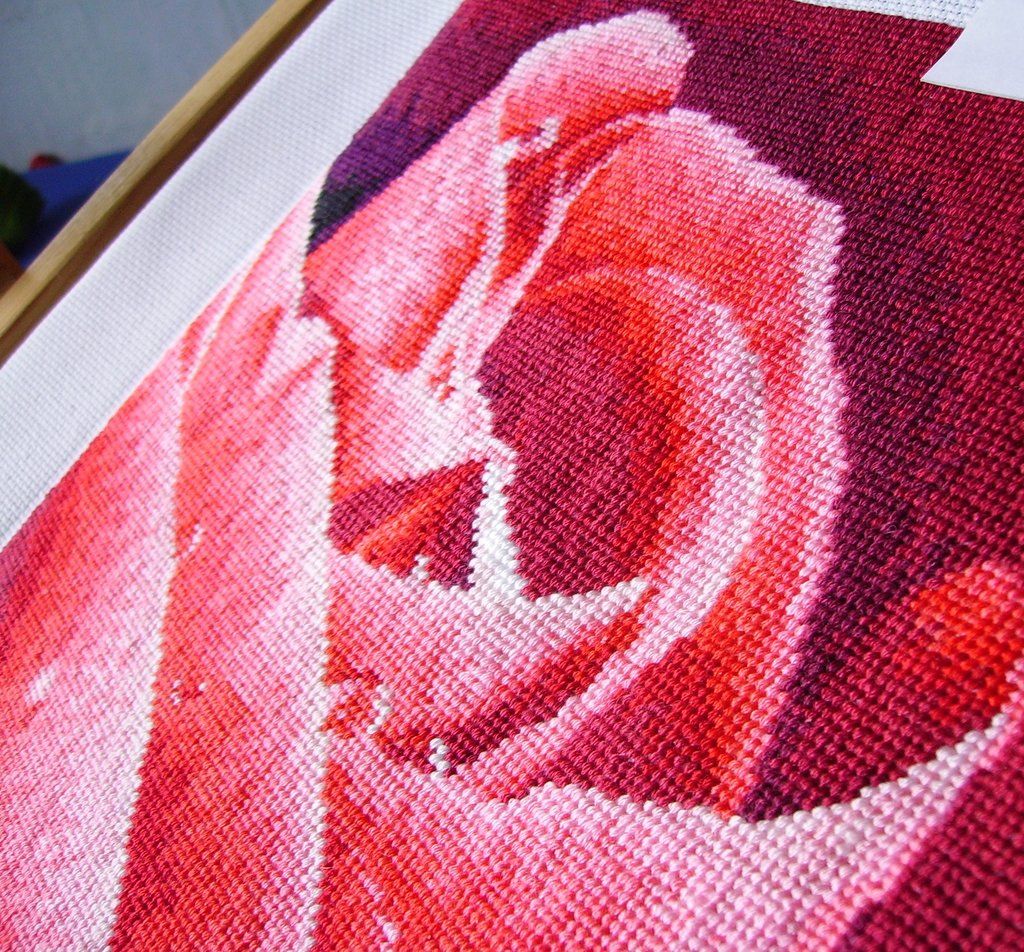
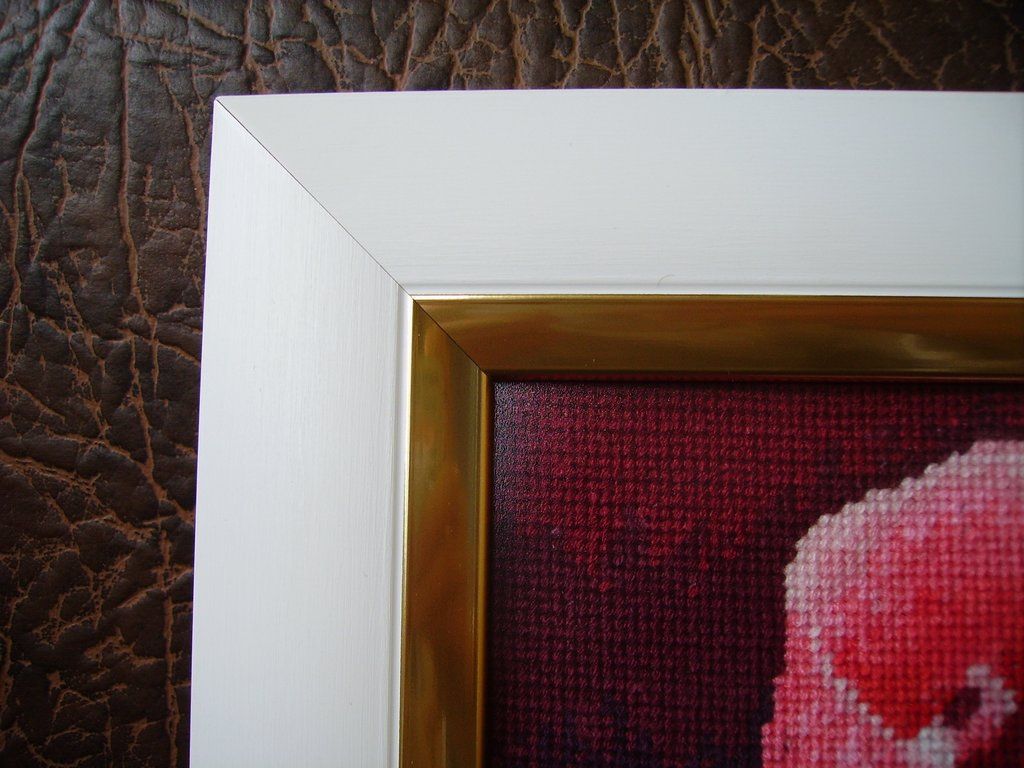


Oh yes, getting a good photo can be really difficult. I made myself a tiny light box of sorts: I covered the corner of the windowsill with sheets of white poster board. The main thing is to keep the windows perfectly clean, and then the background stays white. I do use lamps for lighting, although I usually rely on daylight and make a few edits afterward.