
DIY Blanket: 8 Ways to Finish the Edges
Making a blanket itself is no problem: it is enough to cut a rectangle or square out of a warm, dense material like flannel or fleece. But how to finish the edges beautifully – that is the question 😕
With plaid flannel fabric, for example, cutting is a pleasure – you don't even need to mark it.

Then, separate the first thread from the edge to make it "shaggy."

Using a seam ripper makes this even easier and faster.

You get this fringe and enjoy the result 😍

Those who are especially patient can braid the fringe into little braids or twists 😉
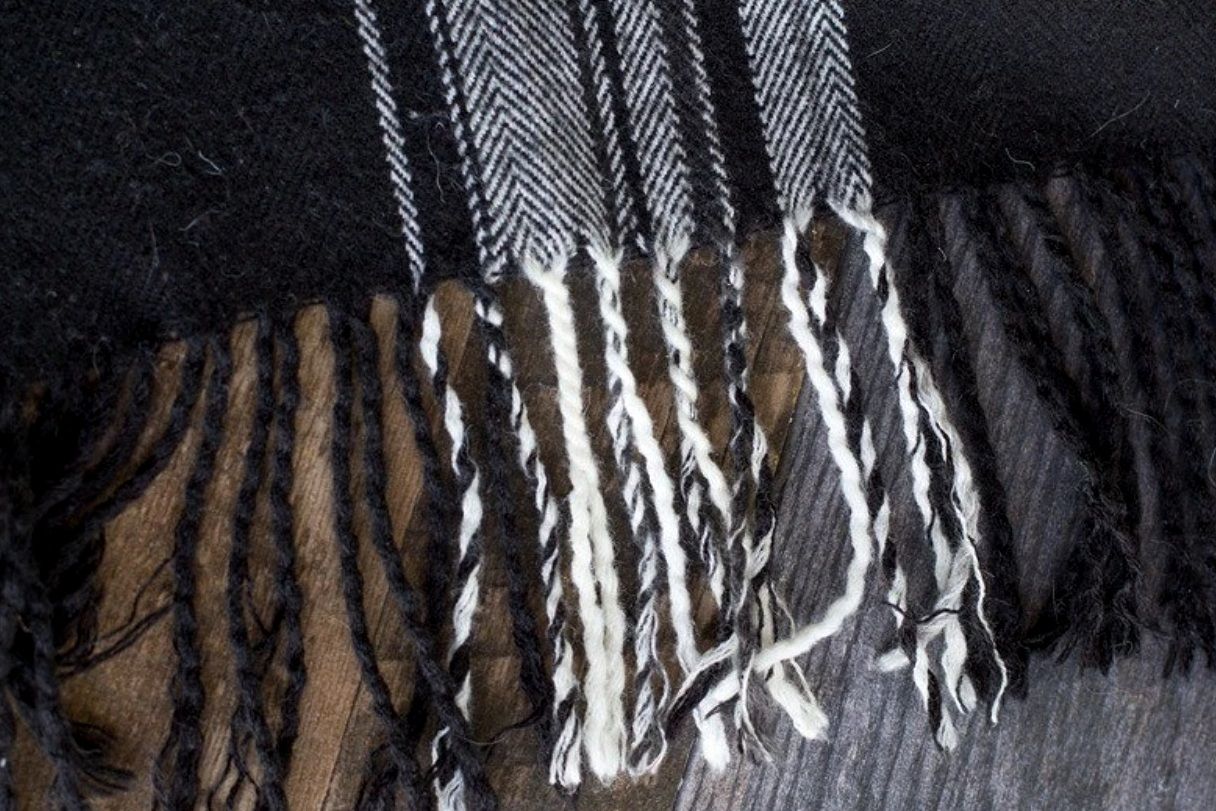
You can also make fringe the "quick way" by simply cutting the edge into strips.

However, on flannel, such fringe can quickly fray and look a bit unpresentable:

Therefore, it makes sense to cut such a blanket from fleece and tie the fringe strips into voluminous tassels.

For those who aren't afraid of a sewing machine, you can work with ready-made fringe trim. Stitch it along the entire perimeter of the blanket using a zigzag stitch.

And you get a cozy finish with a fair amount of flair ))

You can work with decorative trim like rickrack in the same way: the main thing here is to think about the color scheme – contrast or tone-on-tone.

For lovers of minimalism, there is a simple and elegant solution using bias tape.

The result is a neat, smooth edge 👌

To make an extra-warm blanket, you can make it double-layered. In this case, it is very easy to finish the edge by hand by simply tying the "tails" of the fringe from the top and bottom layers together step by step.


I hope these ideas will be useful to anyone dreaming of making a blanket with their own hands 😉


I like tassels! On the corners. It looks very flirty and is simple as can be to make. Or faux fur pom-poms, but not all the way around, just on the corners. I really liked the trim with little bells! I saw throws like that at Zara Home, only they were for kids and square.
And for knitted fabrics, there's a "simplest ever" option, for the really lazy ones)) Scissors, thread, a crochet hook, and a little patience. Just regular pulled-through loops.