Swedish Embroidery: Simple Stitches for Striking Patterns
Swedish embroidery, also called Swedish weaving, is a simple counted technique based on running stitch. This tutorial explains choosing evenweave fabric, a needle, and threads, then shows how to begin a symmetrical pattern at the center, work without knots, and secure the thread with reverse stitches.
BeginnerFree
Translated
Things you will learn
This technique uses only running stitch, but you must continually count the fabric threads within and between stitches.
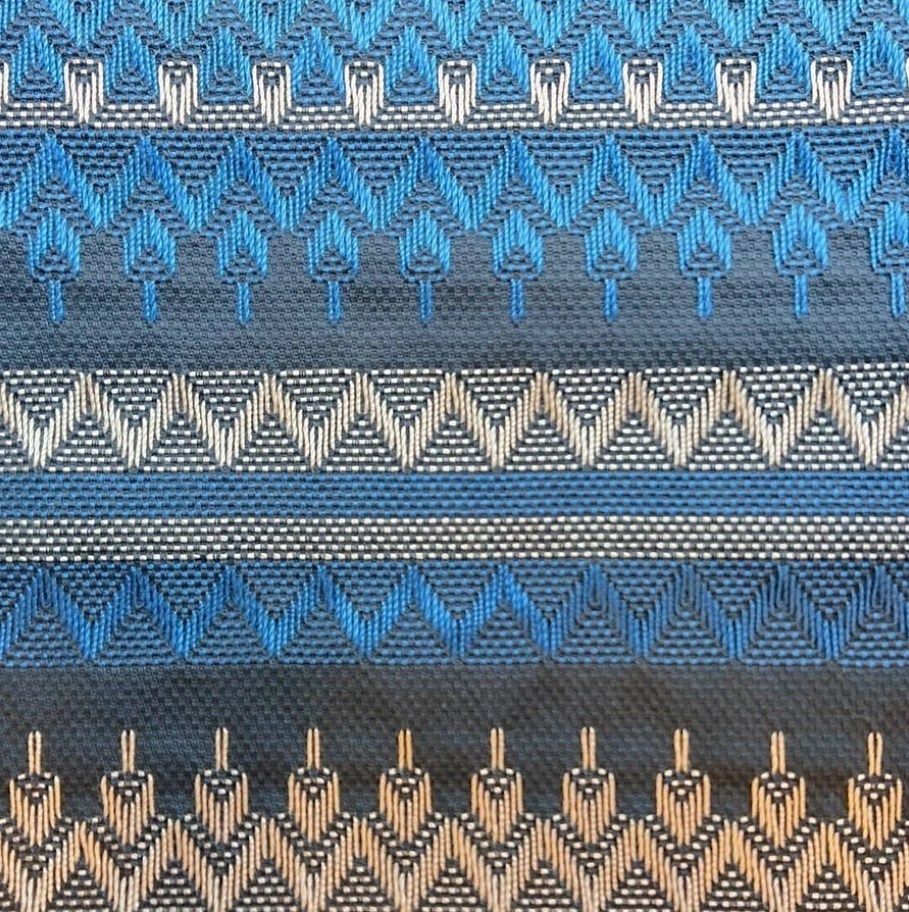
Patterns can be one color or worked with threads in two or three colors.
Traditional Swedish embroidery uses no knots: secure the thread with 2–5 reverse stitches or tuck it under the embroidery or between the fabric threads.
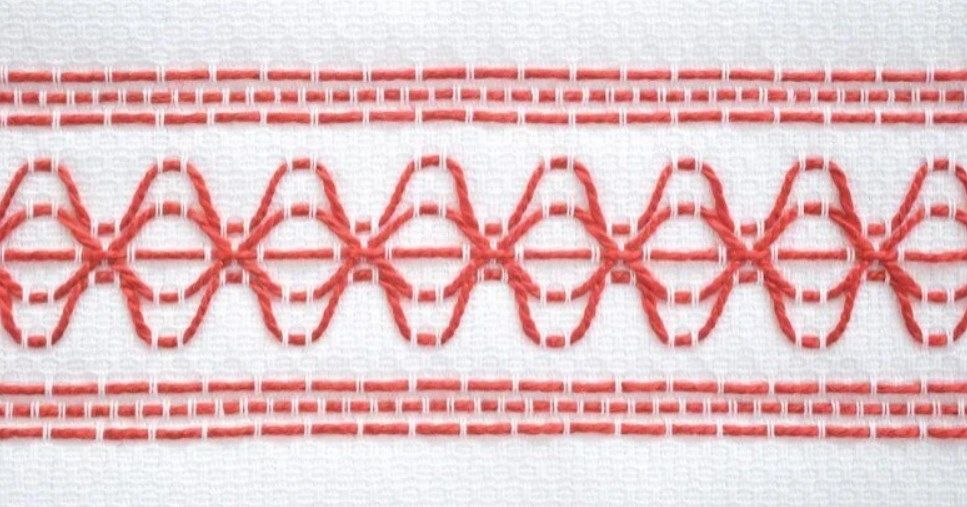
Swedish Embroidery Ornament
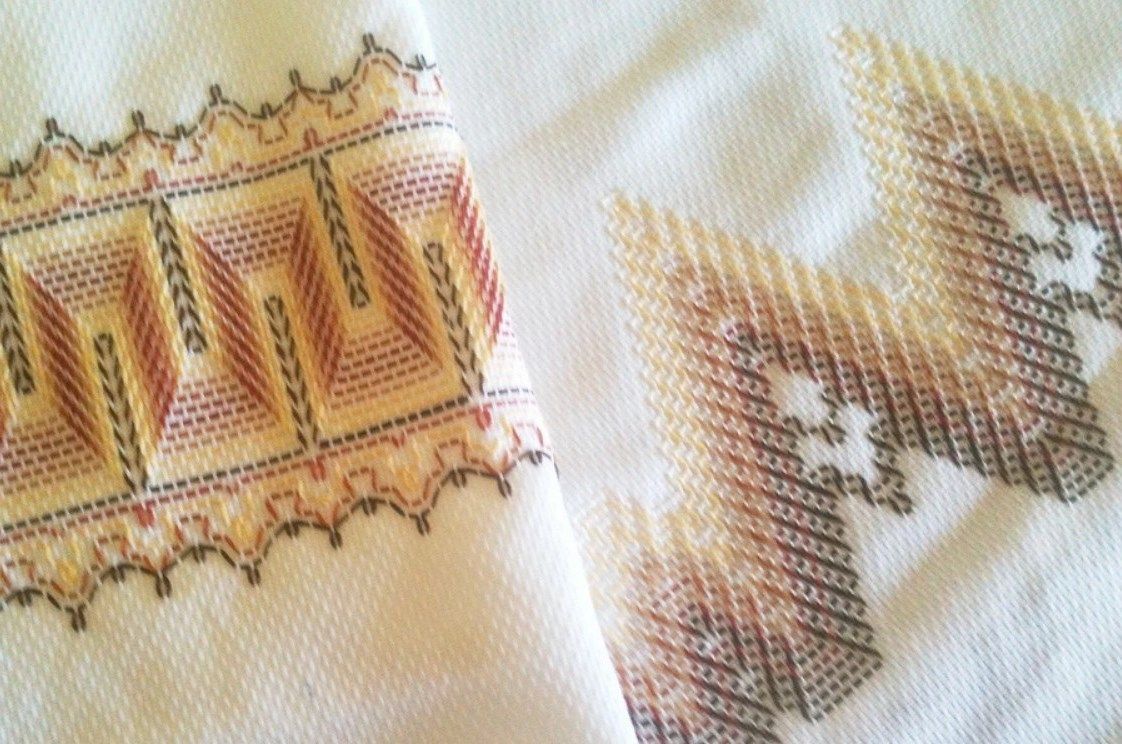
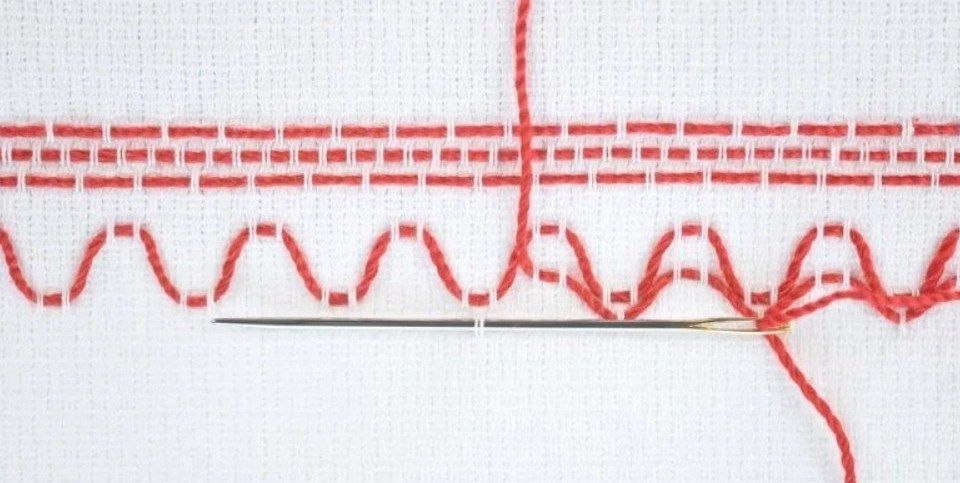
A geometric ornament on evenweave fabric worked with simple counted stitches.
Materials and tools
Materials
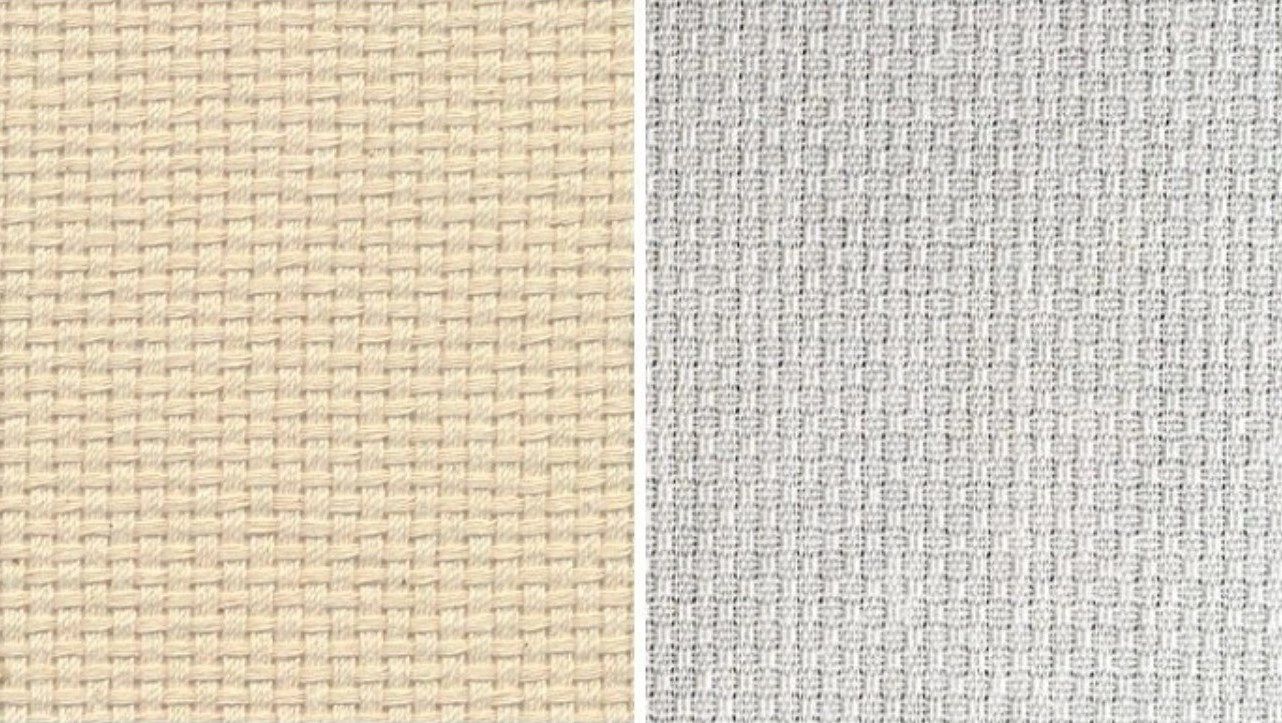
Canvas or evenweave fabric, For beginners, the source recommends a fabric with a dense, very distinct weave or a special fabric/canvas for Swedish embroidery, commonly called huck fabric.
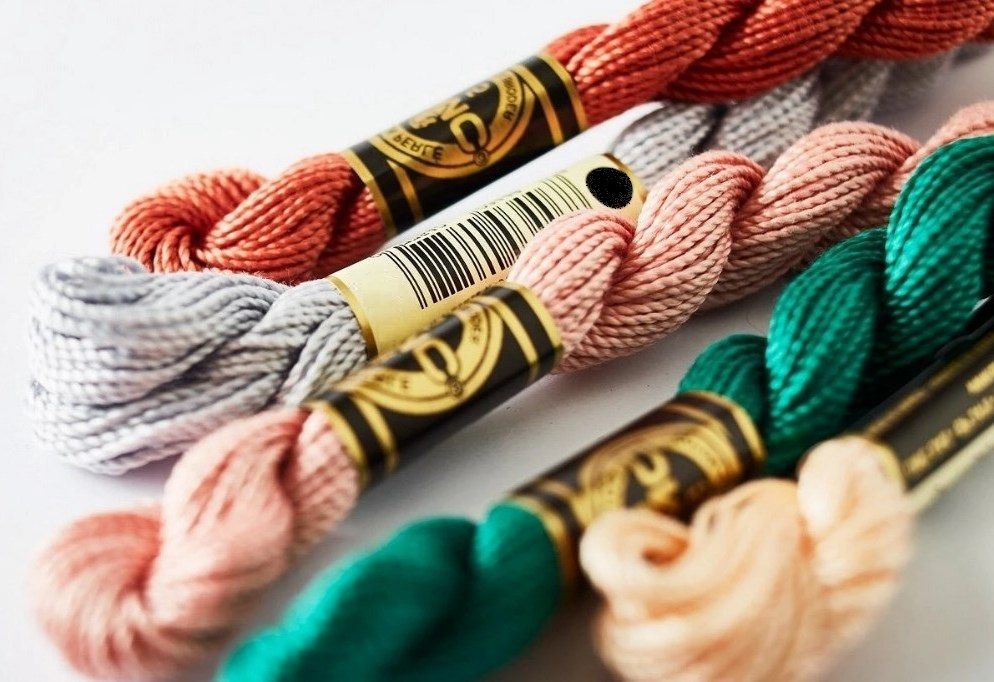
Embroidery thread, Floss, pearl cotton, or other smooth, medium-weight threads work well.
Tools
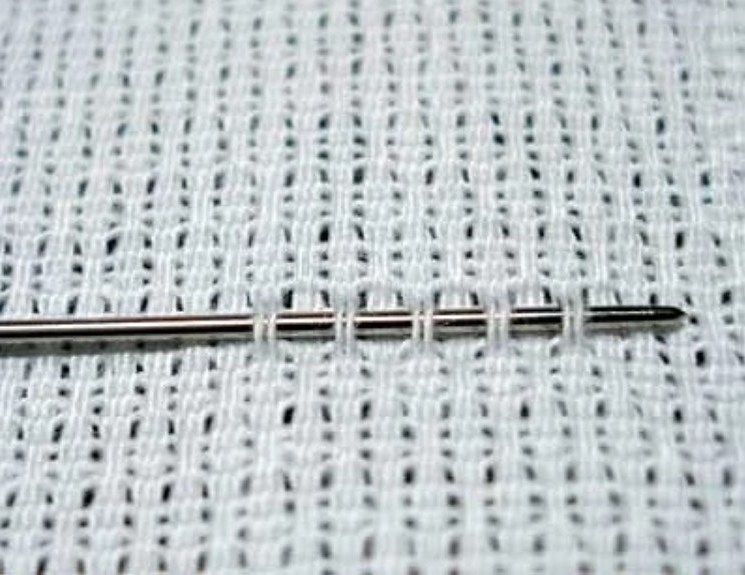
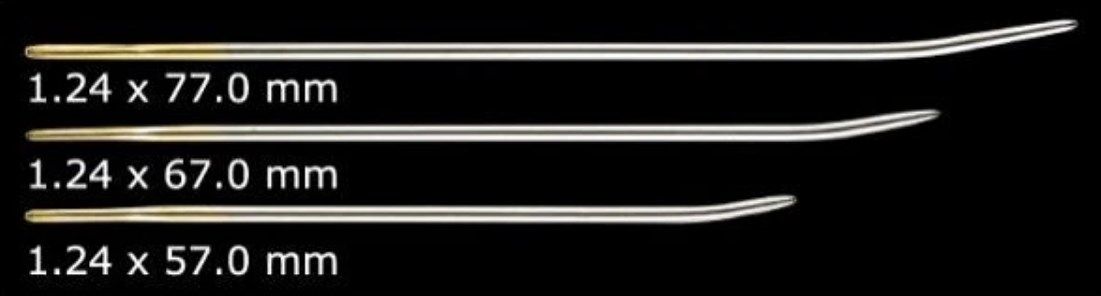
Swedish embroidery needle, A thick needle with a slightly raised, blunt tip for lifting the fabric threads.
Thick straight needle with a blunt tip, The source allows it as a substitute for a special needle: it should spread the fibers rather than pierce or tear them.
Embroidery hoop, Optional; working without one can be more convenient along the edge of a napkin or tablecloth, while it helps with a small pattern that fits within the hoop diameter.
Straight pin, For marking the center of a symmetrical ornament.
Preparation
Choose fabric with a clear weave
Because the threads are counted continually, use an even, very distinct weave. On the right side of huck fabric, a pattern woven from pairs of threads helps guide the embroidery.
Start with a simple pattern
For first practice, the source recommends a small, simple one-color pattern.
Understand the technique
Use running stitch
Swedish embroidery, also called Swedish weaving, is a counted technique worked only in running stitch. Carefully count the fabric threads covered by each stitch and the threads between stitches.
Choose a color plan
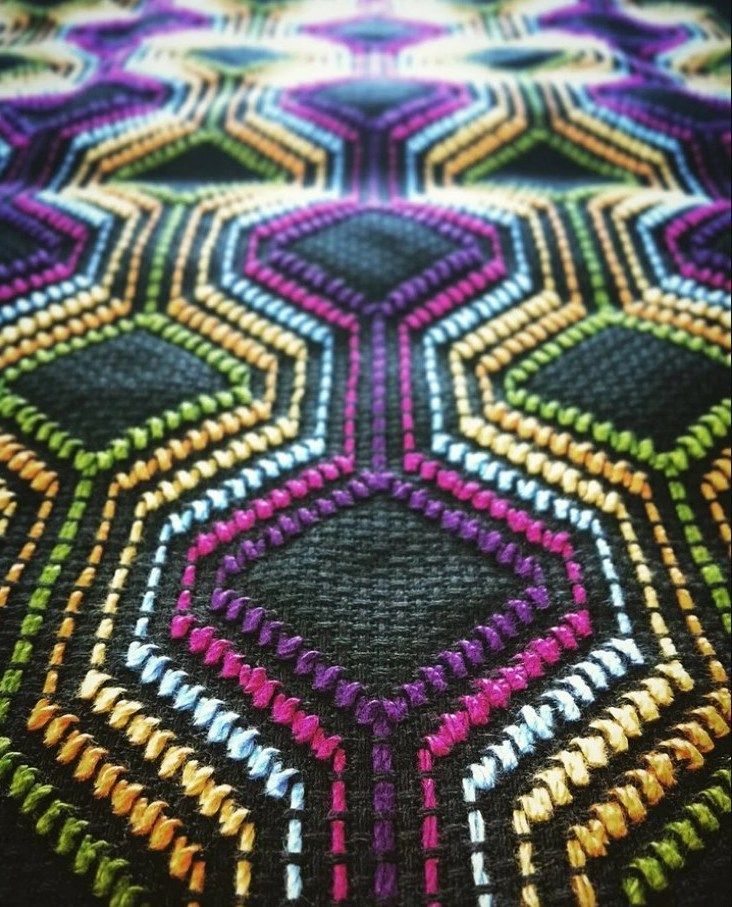
Patterns may be one color or worked with threads in two or three colors. Traditionally, this technique decorated towels, tablecloths, runners, bedspreads, and clothing.
Prepare the materials and tools
Choose canvas or fabric
Use canvas or fabric with an even, very distinct, dense weave. The special fabric/canvas for Swedish embroidery is commonly called huck fabric; its face-side pattern of paired threads makes the work easier.
Choose the needle and thread
Use a special thick needle with a slightly raised, blunt tip for lifting fabric threads. You may substitute a thick straight needle with a blunt tip. Use floss, pearl cotton, or other smooth, medium-weight threads.
Decide whether you need a hoop
A hoop is optional. It may be more convenient to work without one along the edge of a napkin or tablecloth because the patterns are worked in rows; a hoop is useful for a small pattern that fits within its diameter.
Embroider the first symmetrical row
Mark the center and thread the needle
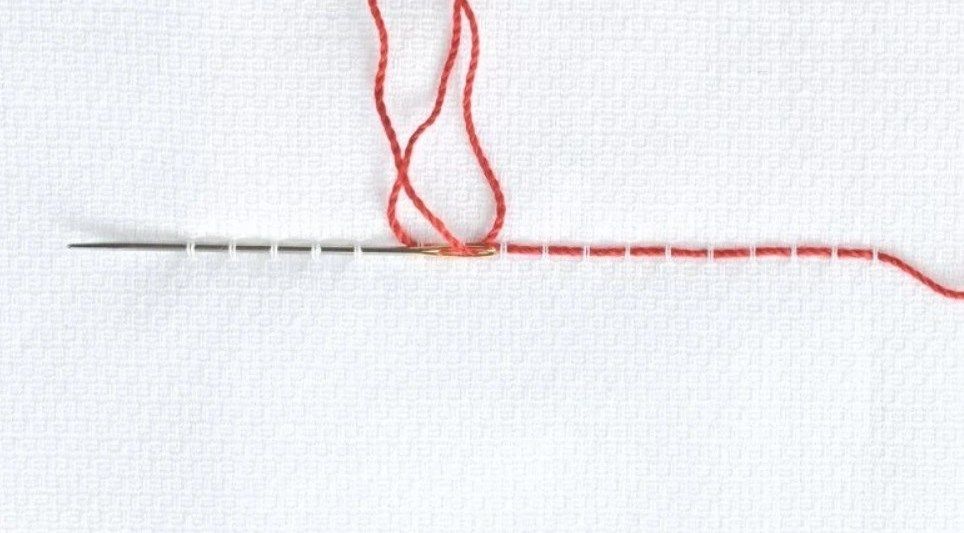
If the ornament is symmetrical, begin at the center. Find and mark it with a straight pin; on canvas, you can make a small fold. Cut a length of thread long enough for at least one row, thread the needle without a knot, and begin at the marked center.
Work both sides of the row
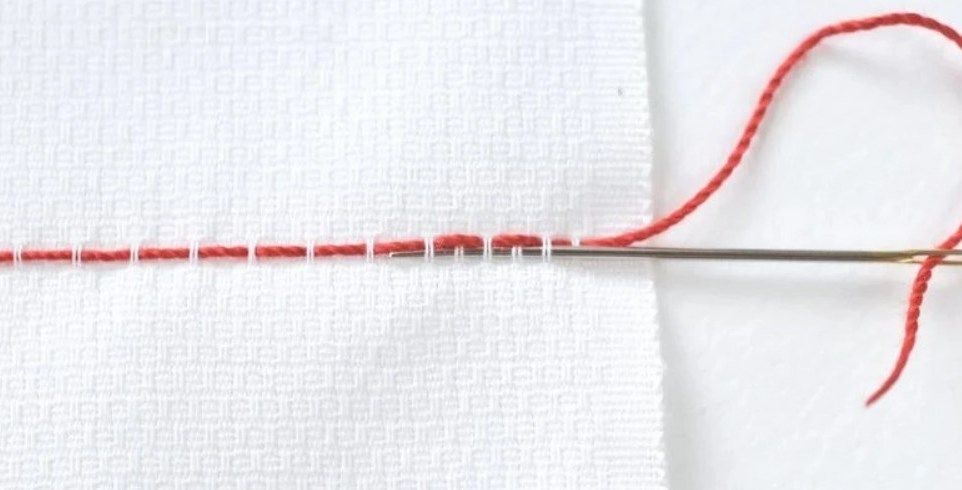
Make the first stitch and pull the thread through so that half of the length remains free. Stitch to the end of the row, return to the center, thread the reserved end, and finish the row in the opposite direction.
Continue and secure the thread
If the second row uses the same thread and there is enough for another row, turn the work and continue. Traditional technique uses no knots: when the thread ends, secure it with 2–5 reverse stitches and trim the excess, or tuck the end under the embroidery or between the fabric threads. Secure a new length the same way.
Finish and variations
Variations
Number of colors
The source allows one-color patterns and versions worked with threads in two or three colors.
The source states that this technique uses only running stitch.
How do I secure the thread without a knot?
When the thread ends, the author suggests securing it with 2–5 reverse stitches, trimming the excess, or tucking the end under the embroidery or between the fabric threads.
Your project
Log in to track your project, attach photos, and publish your result into the shared feed.
 BeginnerFree