Sewing the "Spring Garden" Scarf in the Double-Sided Chenille Technique
A beautiful multicolored wrap or scarf doesn't have to be bought at an expensive boutique—you can sew one yourself. You won't even need to buy fabric for this; it's enough to check your closet, where you might find a silk scarf, a thin
BeginnerFree
Translated
Sewing the "Spring Garden" Scarf in the Double-Sided Chenille Technique
A beautiful multicolored wrap or scarf doesn't have to be bought at an expensive boutique—you can sew one yourself. You won't even need to buy fabric for this; it's enough to check your closet, where you might find a silk scarf, a thin
Main Steps
Step 1
A beautiful multicolored wrap or scarf doesn't have to be bought at an expensive boutique—you can sew one yourself. You won't even need to buy fabric for this; it's enough to check your closet, where you might find a silk scarf, a sheer chiffon blouse, or a long-forgotten kerchief made of organza or "gauze." Using fabrics you already have, you can sew a scarf in the double-sided chenille technique.
Step 2
This accessory can be solid-colored or multicolored. I prefer the second option, as it reminds me that real spring is just around the corner. Lightweight, soft, and very pleasant to the touch, this scarf will make a wonderful addition to your spring wardrobe.
What You'll Need
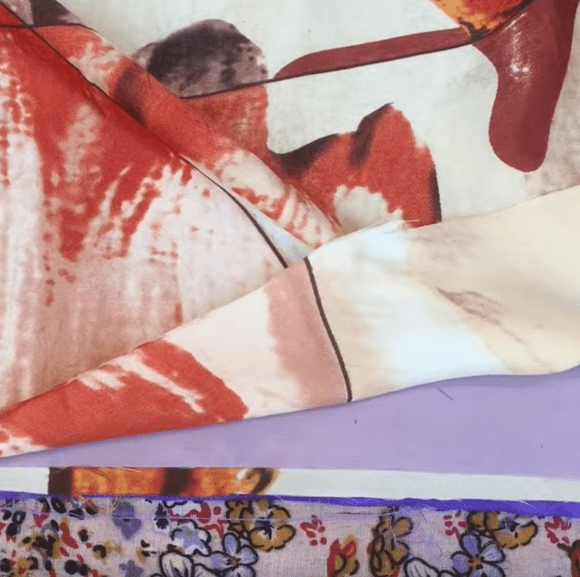
For the scarf, it is enough to select cuts of fabric measuring 30-50 by 80-100 cm. Choose fabric in 4 colors; this will provide the necessary number of layers to create volume. You will also need binding to finish the piece—a 3 cm wide strip of fabric, best cut on the bias.
To see how to sew a "fluffy" scarf, check out the step-by-step instructions with tips below.
Step 1
Stack the fabrics in the following order: first the top layer, then the second and third layers of fabric with different textures and shades. It is important that they are lightweight and thin. Then cover them with fabrics in reverse order so that the piece with your desired color ends up on top. This gives us a blank with 7 layers of fabric.
Step 3
The fourth (middle) layer serves as the base, which we will not cut or turn into fringed strips.
Step 2
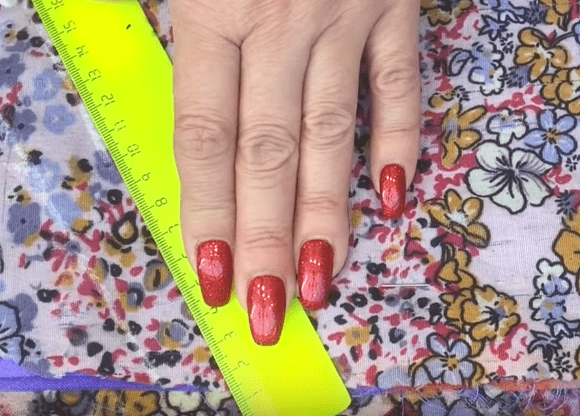
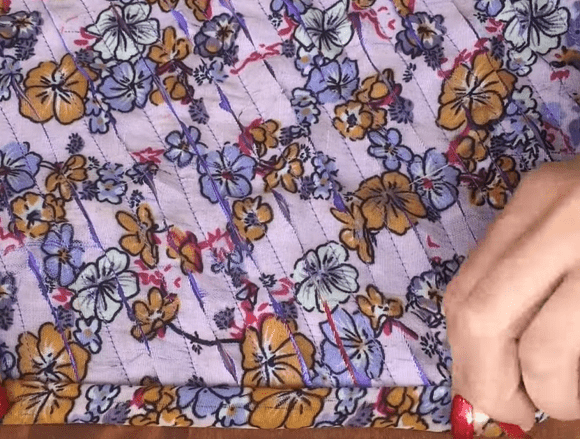
Pin the fabrics around the perimeter or baste them together so they do not shift during processing. Next, using a ruler and tailor's chalk (you can also use a disappearing fabric marker or a sliver of soap), mark lines at a 45-degree angle spaced 2 cm apart.
Step 4
Step 3
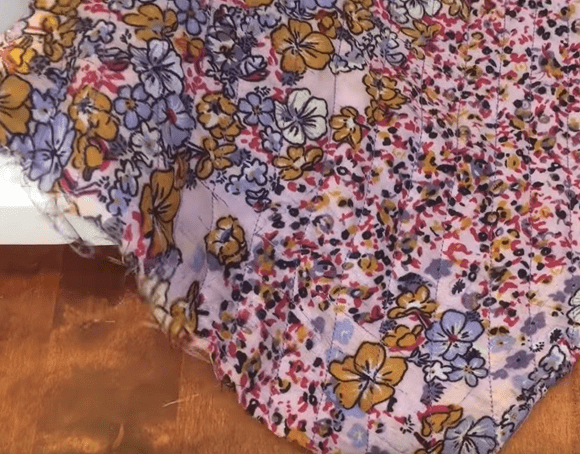
Stitch along the marked lines. Sew in alternating back-and-forth directions so the fabric doesn't skew.
Step 5
Step 4
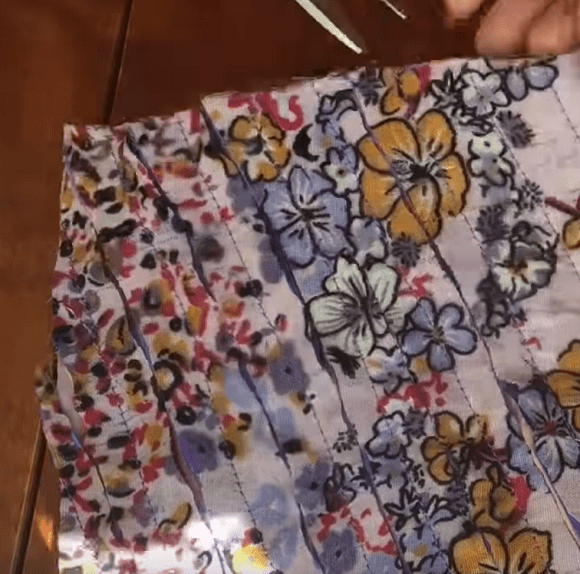
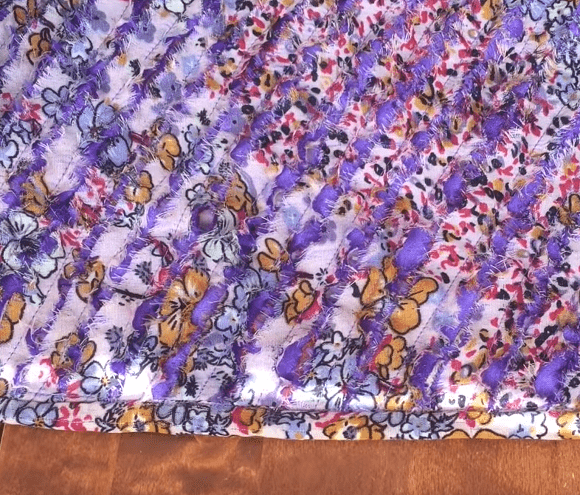
Carefully cut the fabric between the stitched channels, WITHOUT CUTTING INTO THE MIDDLE LAYER. Do this on both the front and back sides.
Step 6
This completes the main part of the work.
To finish the edges, use a strip of fabric or bias binding: stitch it around the perimeter, fold it over, and sew it in place by hand or by machine.
Step 7
To fluff up the scarf properly, you can rub it between your palms, brush along the strips with a soft clothes brush, or wash it in the washing machine.
Using this same technique with single-sided chenille, you can also make handbags and unique garments.

 BeginnerFree