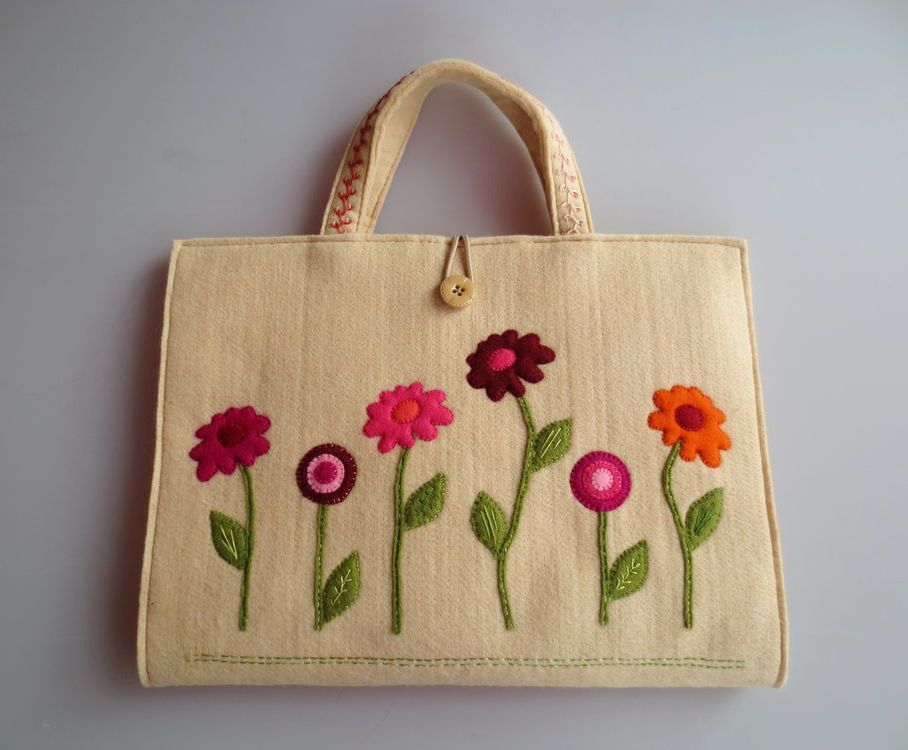
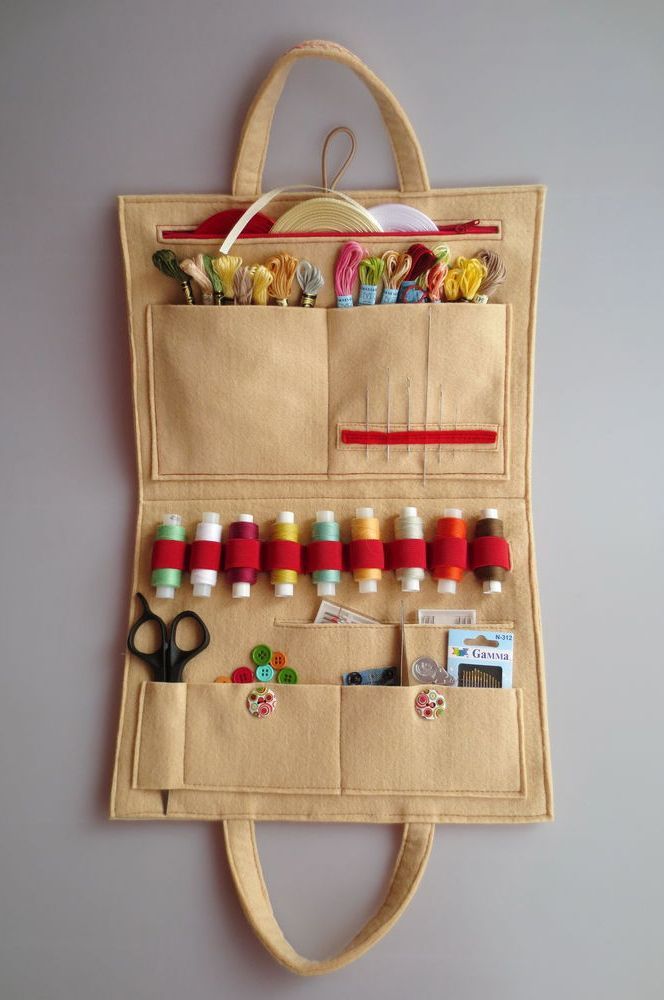
Even though I absolutely love embroidery and have tried most techniques, sewing and I have never quite clicked. I sew rarely and only make simple, straightforward things. Recently, I set my sights on a wonderful felt organizer—it can definitely be recreated
BeginnerFree
Translated
Sewing a Craft Organizer
Even though I absolutely love embroidery and have tried most techniques, sewing and I have never quite clicked. I sew rarely and only make simple, straightforward things. Recently, I set my sights on a wonderful felt organizer—it can definitely be recreated
Main Steps
Step 1
Even though I absolutely love embroidery and have tried most techniques, sewing and I have never quite clicked. I sew rarely and only make simple, straightforward things. Recently, I set my sights on a wonderful felt organizer—even a beginner sewist can definitely make it.
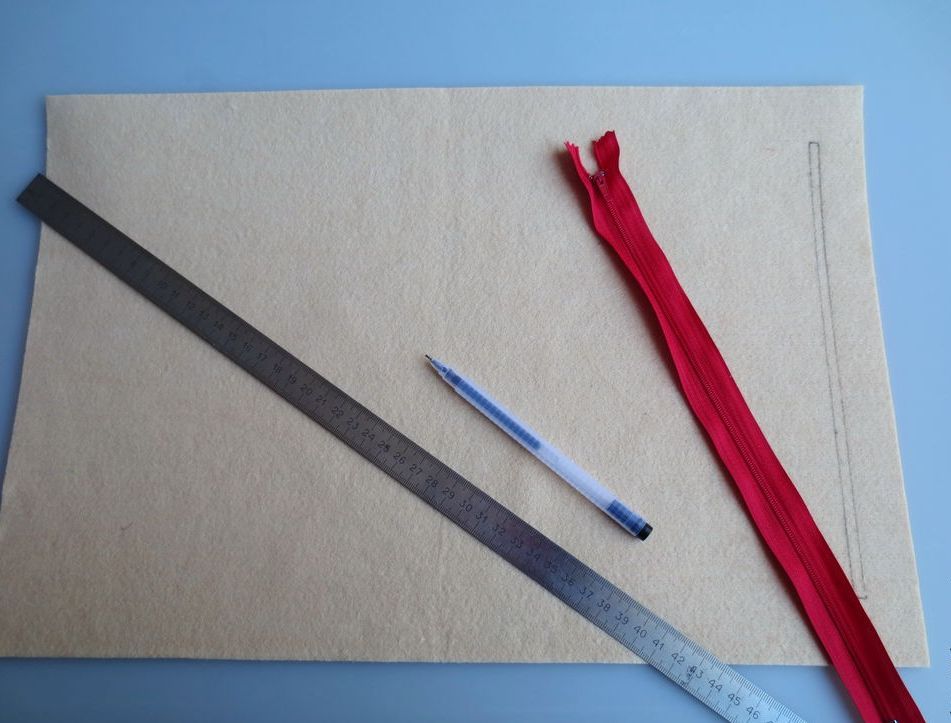
We will need 3 felt cuts measuring 30x45 cm: 1 sheet of thick 4 mm felt and 2 sheets of 2 mm felt. For decoration, felt scraps in any shades, buttons, and variegated thread will come in handy. A zipper (30 cm), a 0.5 m elastic band, and an elastic cord will provide the organizer's functionality.
Step 2
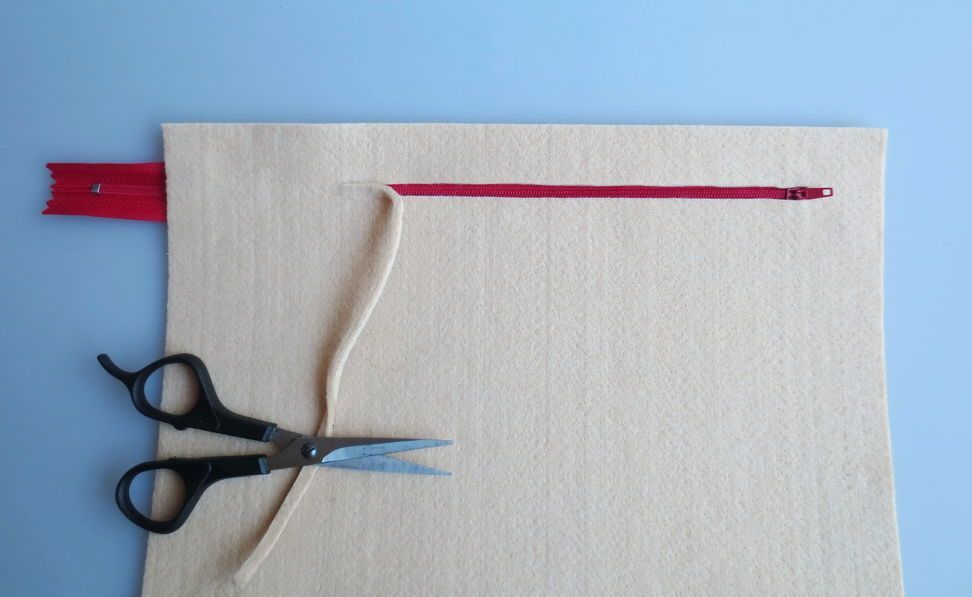
On the thin felt (2 mm), draw a rectangle 0.5 cm wide for the zipper. Measure 2-3 cm down from the top and 2.5 cm in from the sides. Cut out the narrow rectangle to insert the zipper.
Step 3
Step 4
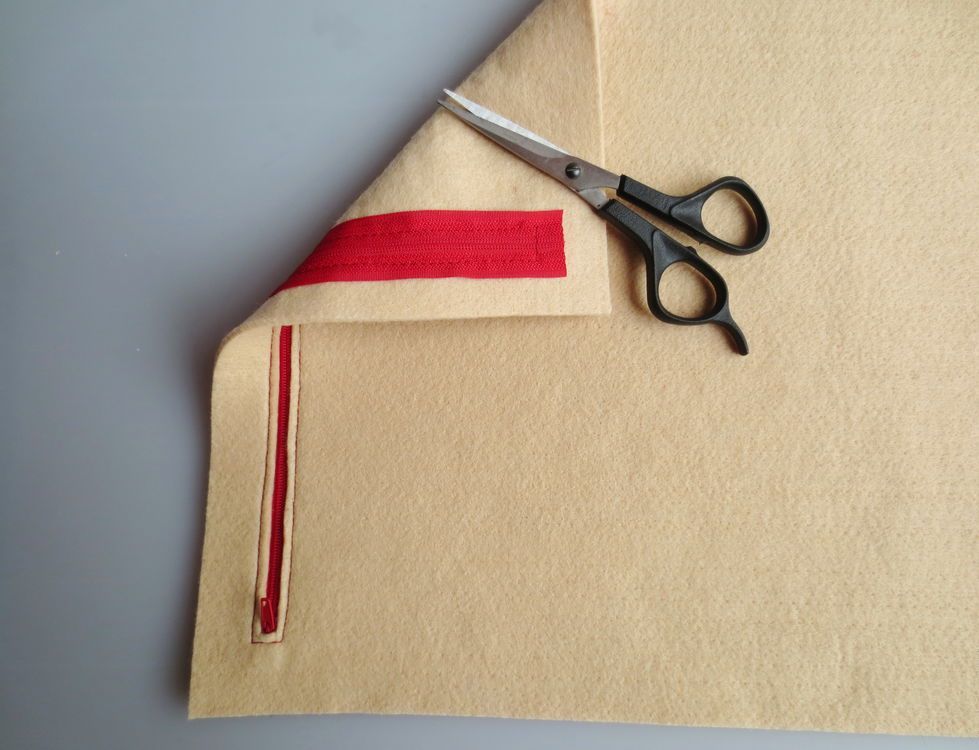
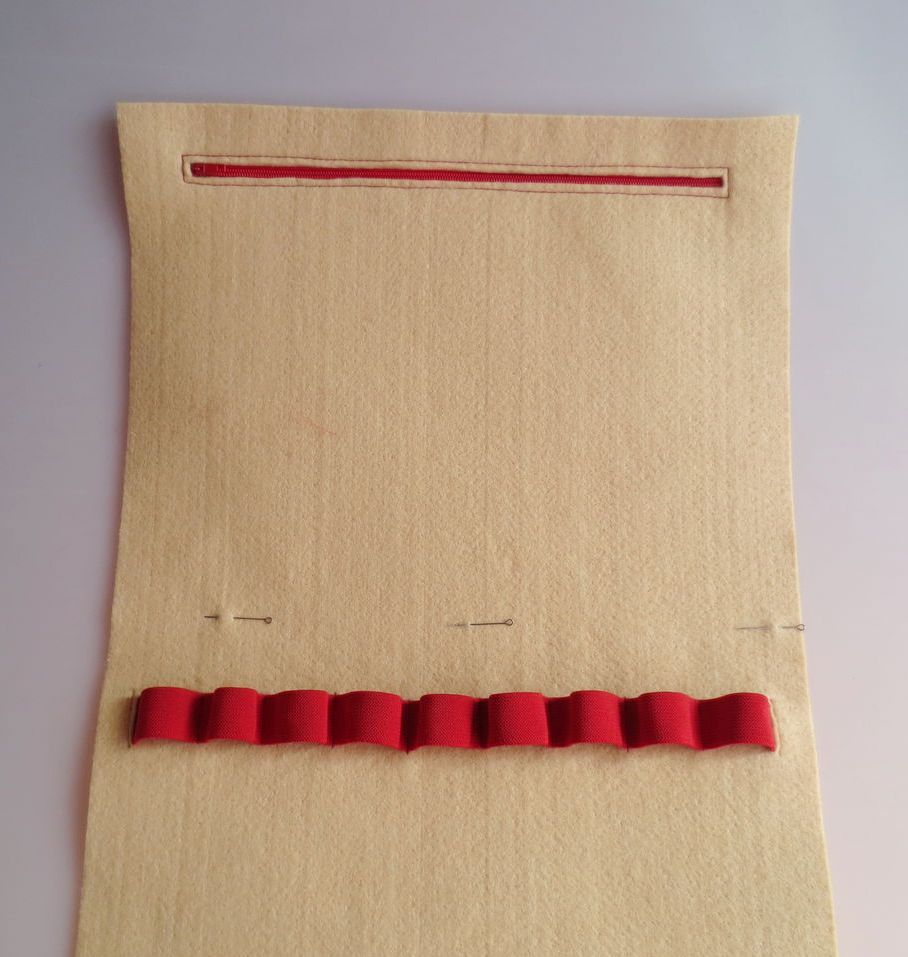
Stitch the zipper in place and trim off the excess tail.
Step 5
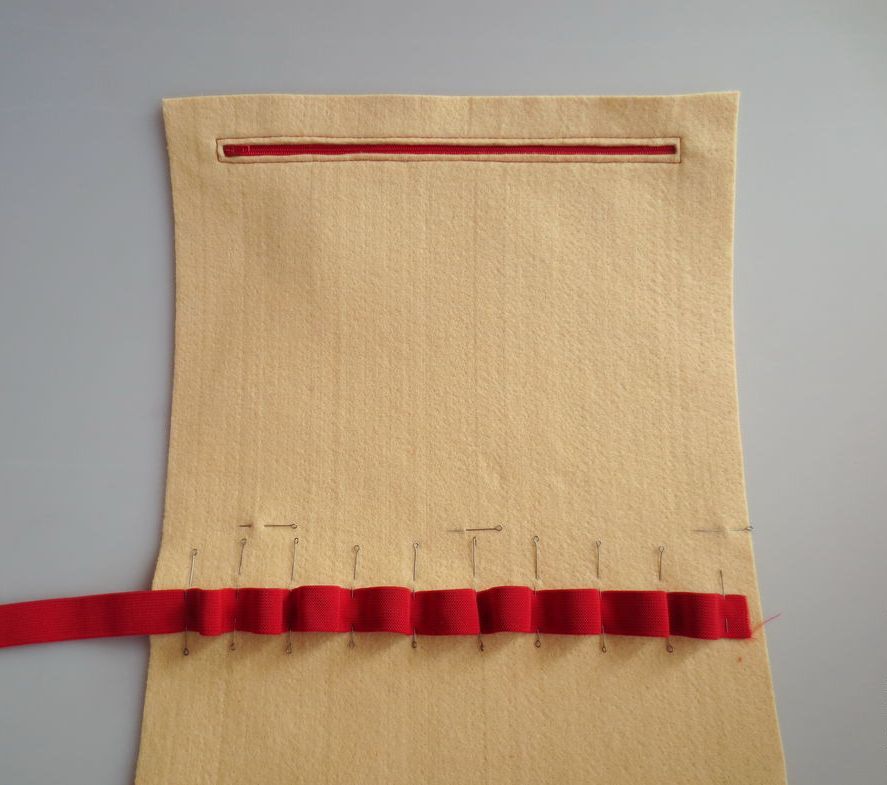
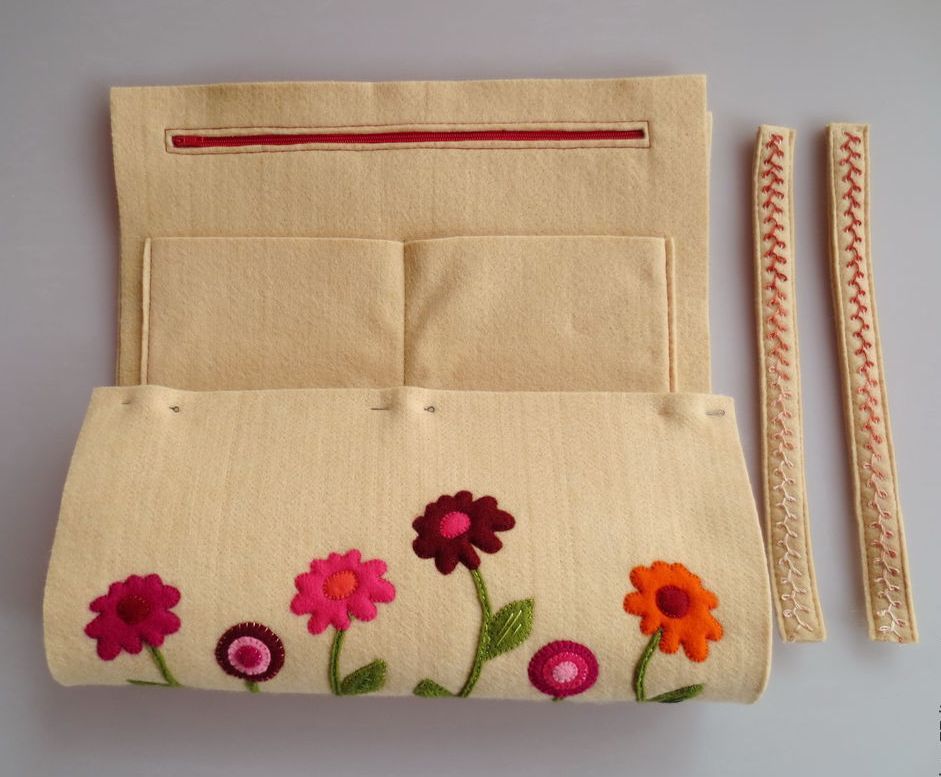
Mentally divide the sheet of felt in half—in the lower section, mark the placement for the ribbon. Allocate 3 cm for each slot. Stitch the ribbon down, tucking the ends into the side slits.
Step 6
Step 7
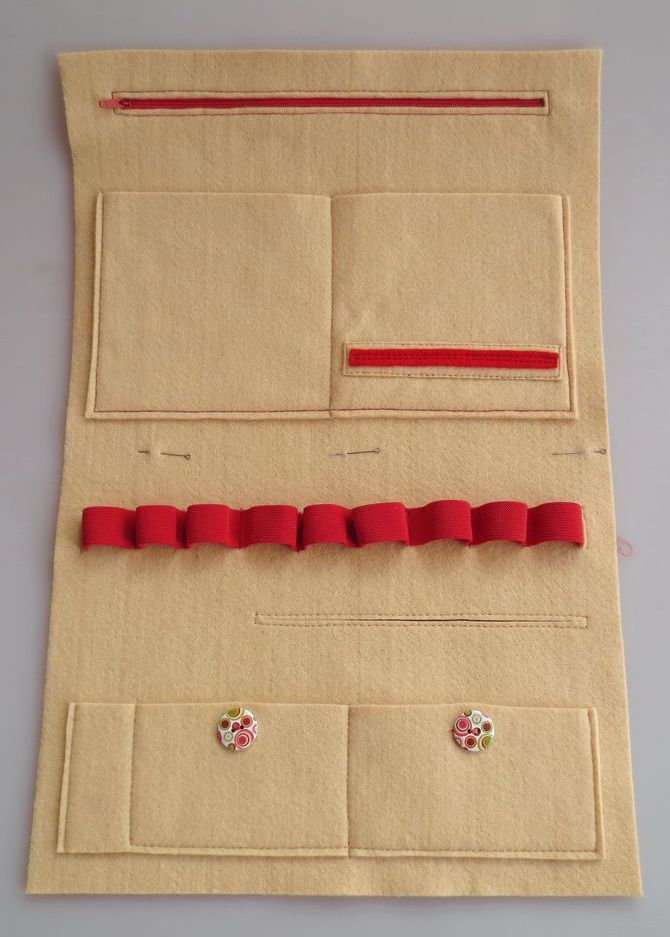
Make patch pockets at the top (open) and at the bottom (with buttons), a slit pocket, and a pass-through holder for scissors.
Step 8
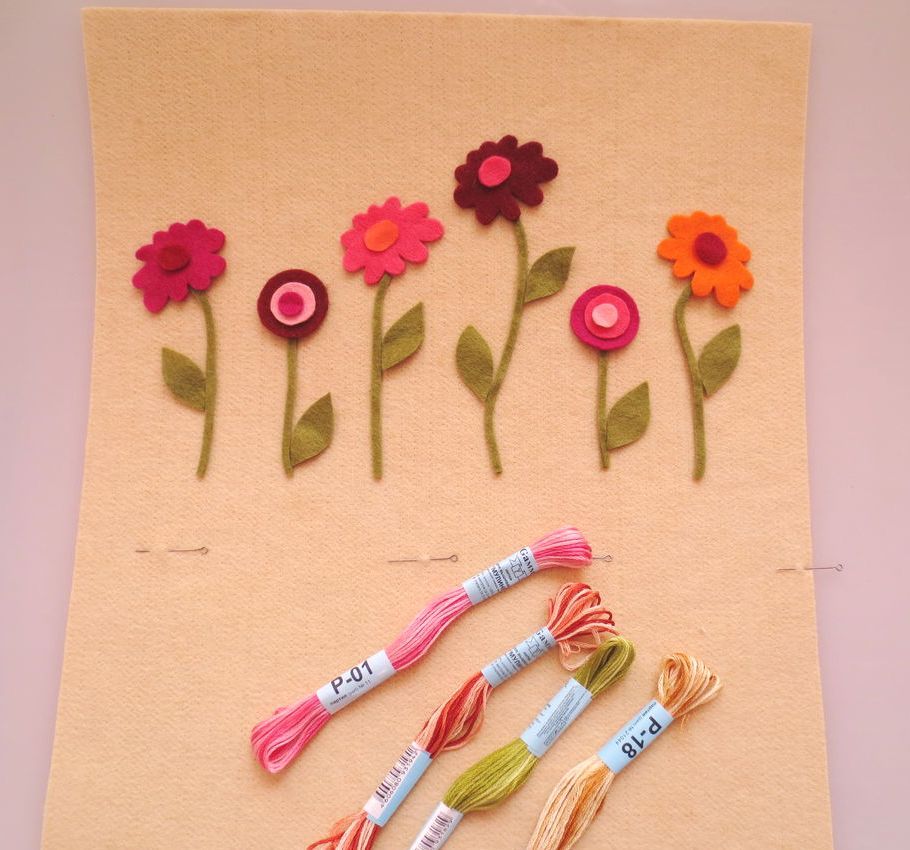
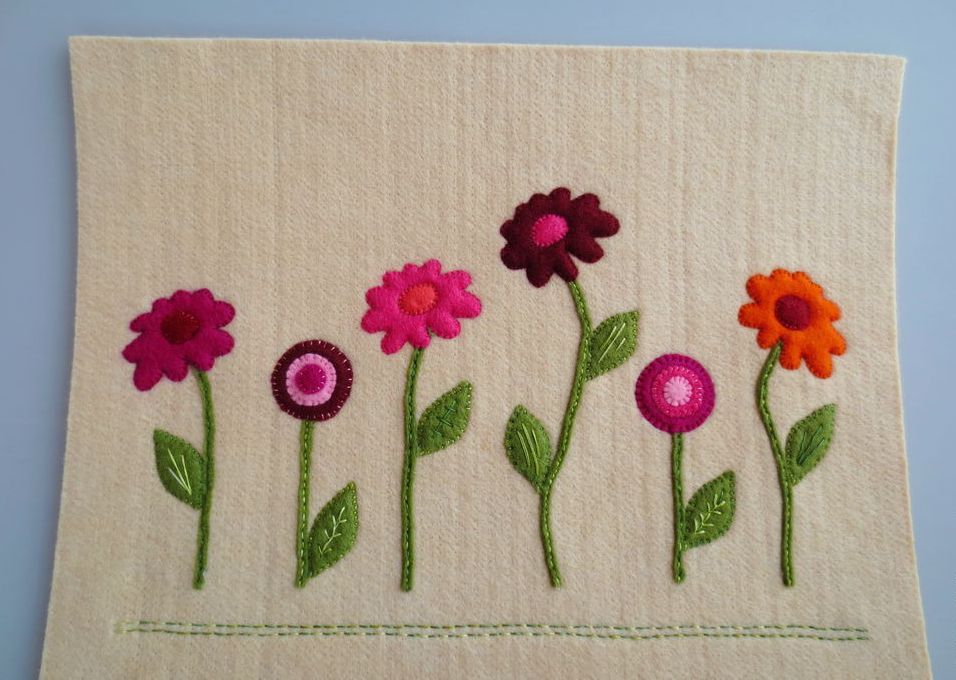
Now let's work on the front cover: cut out any colorful shapes and arrange them on the 4 mm thick sheet of felt. You can secure the appliqué with glue so nothing shifts, and then stitch it with variegated thread.
Step 9
Step 10
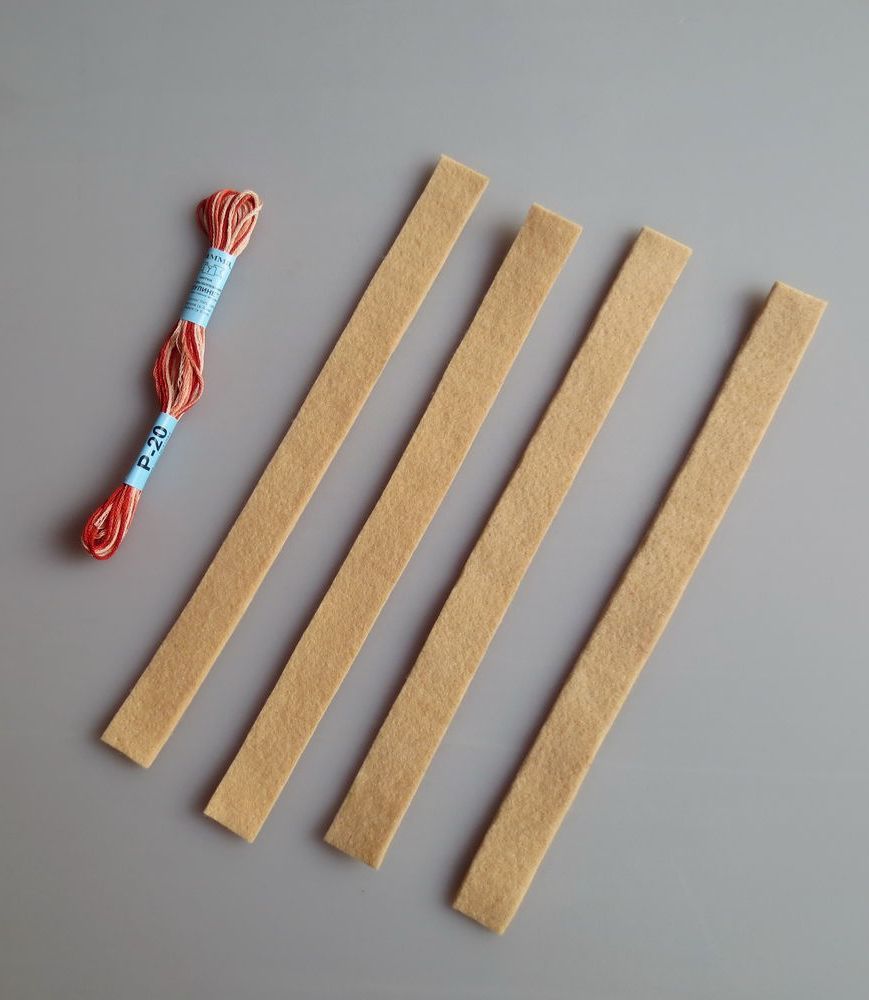
Make the handles: cut them from felt (4 mm): length 26 cm, width 2 cm.
Step 11
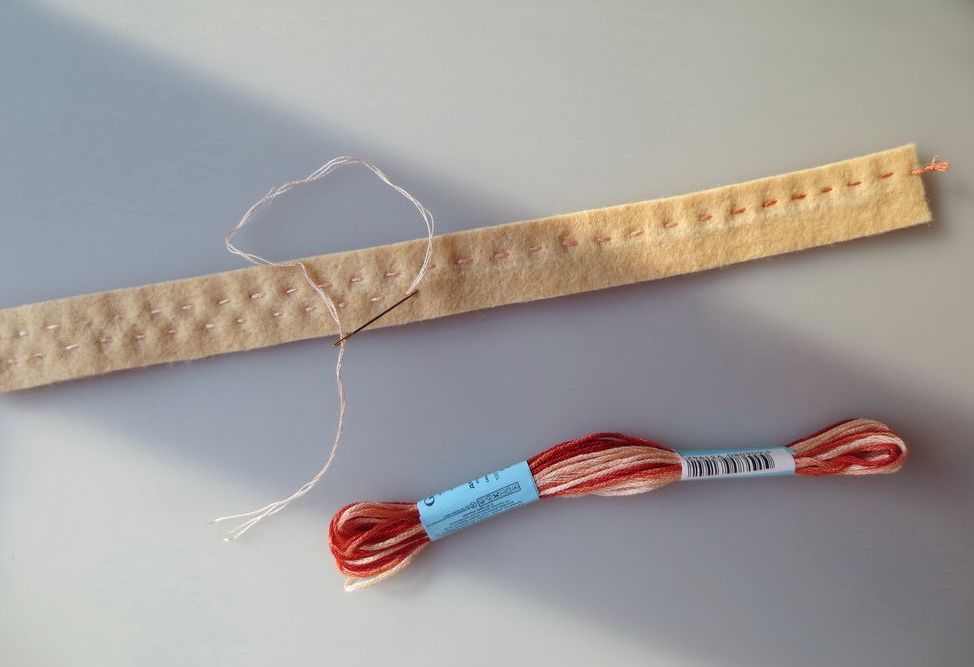
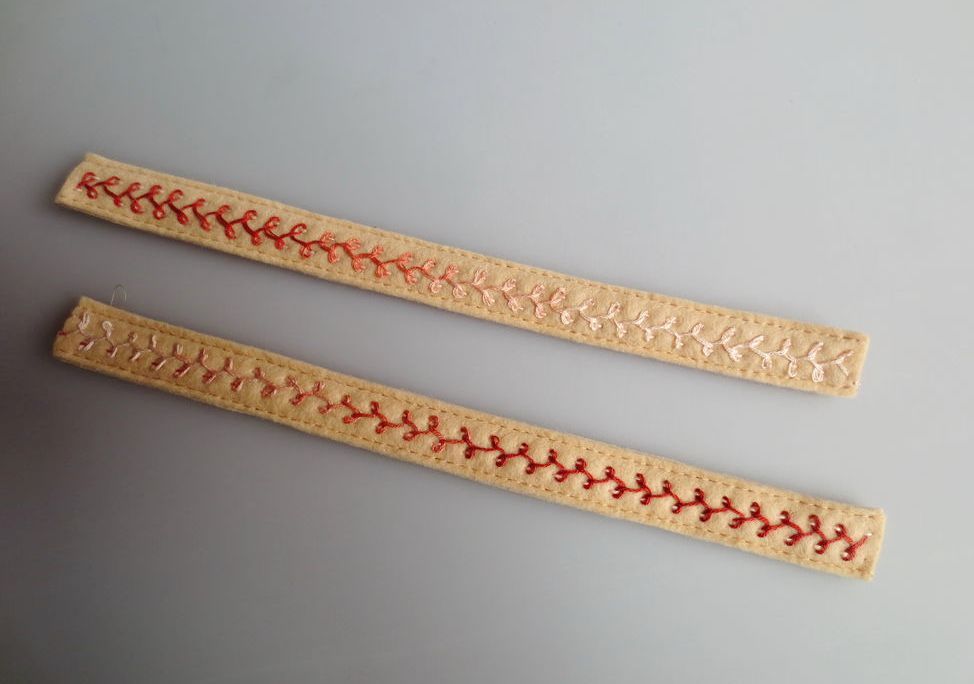
Optionally, you can decorate the handles with simple embroidery. Work a backstitch, laying down 2 parallel lines of stitching.
Step 12
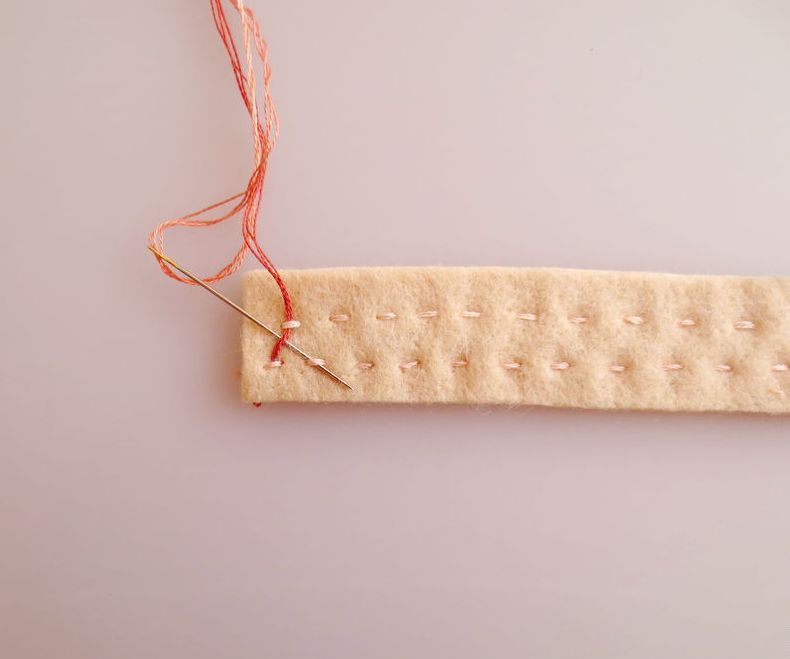
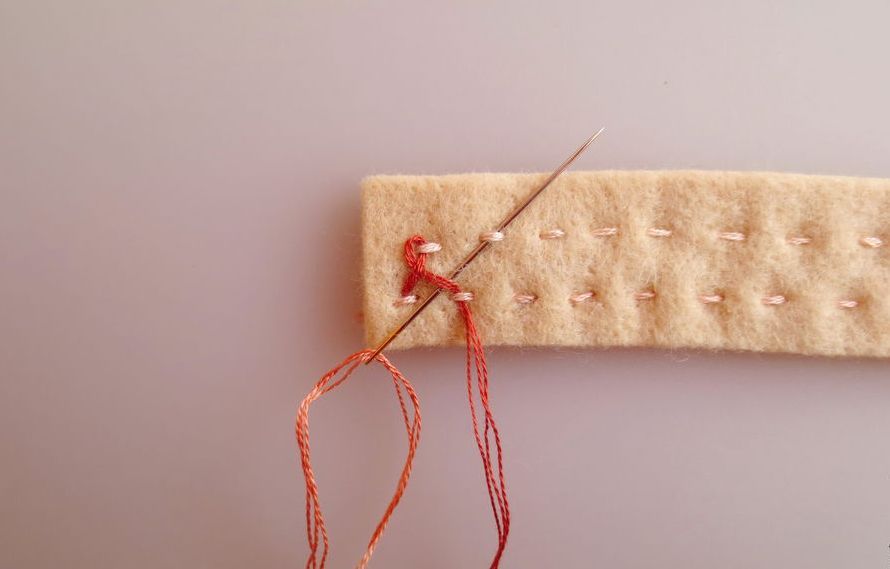
Now begin making loops, moving progressively between the stitches.
Step 13
Step 14
Thanks to the variegated thread, we get an interesting color transition. Pair up the handles and stitch them together.
Step 15
Time for assembly: pin both sides together.
Step 16
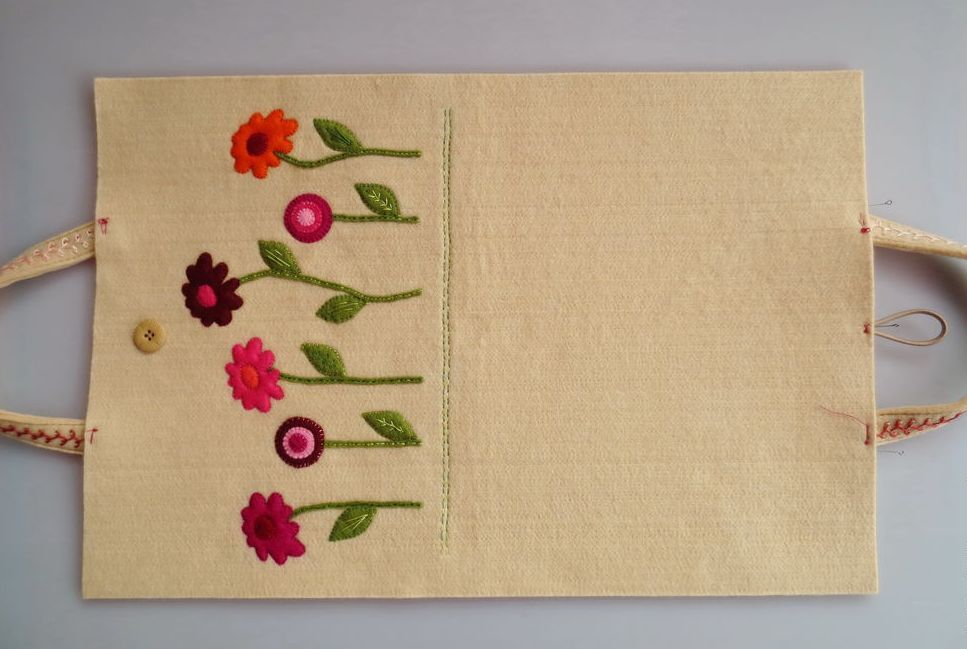
Insert the handles and an elastic loop between the sheets of felt—sew a button opposite the loop.
Step 17
Topstitch around the entire perimeter, joining the front and back together. Sew a seam across the middle of the organizer—this will allow the two halves to fold together.

 BeginnerFree