This winter tote is sewn from water-resistant outer fabric or Dewspo, lining, polyester batting, and a zipper. The finished size is 51 × 37 cm with a 25 cm handle drop; quilt the body, then add the zipper, lining, pocket, and padded handles.
BeginnerFree
Translated
Things you will learn
The finished tote measures 51 × 37 cm and has a 25 cm handle drop.
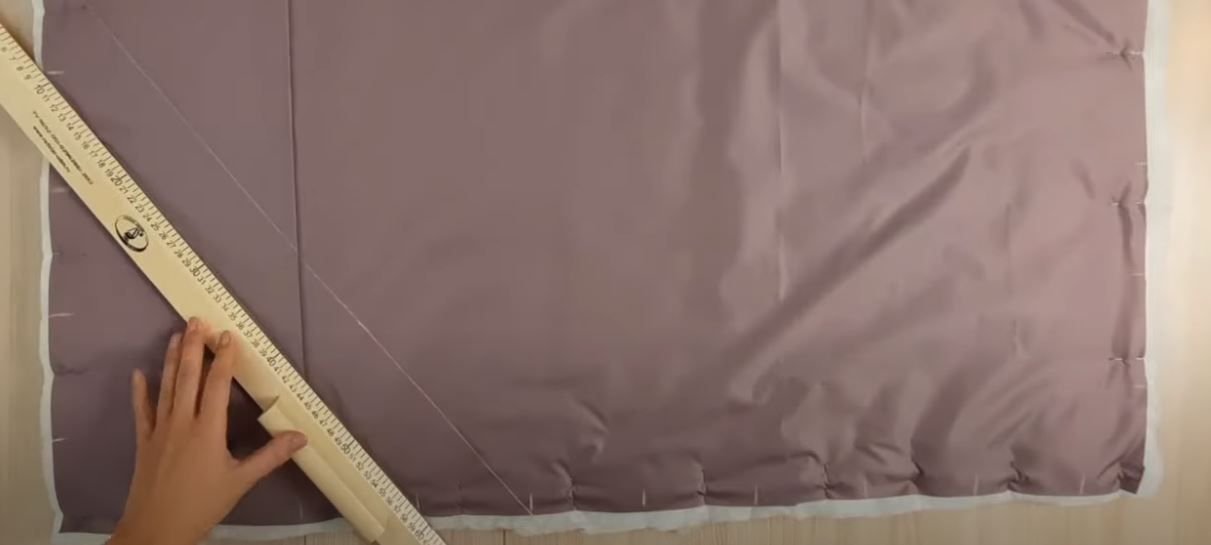
Start the body with 54 × 48 cm rectangles of outer fabric and insulation; mark quilting lines 10 cm apart.
The lining uses two 37 × 53 cm pieces, the pocket is 18 × 36 cm, and the handles are made from two 12 × 70 cm strips.
Finished winter tote
A 51 × 37 cm winter tote with 25 cm handle drop, insulation, a zipper, lining, and an interior pocket.
Materials and tools
Materials
Water-resistant outer fabric or Dewspo, 60 cm, The source requires waterproof or water-resistant fabric but does not state the fabric width.
Lining fabric, 40 cm, The source does not state the fabric width.
Zipper, 45 cm
Polyester batting (Thermofin No. 200), 60 cm, The source specifies a width of 1.5 m.
Narrow elastic, For the pocket; cut it 5–6 cm shorter than the side of the pocket.
Tools
Sewing machine, You will need a zipper foot.
Size 90 or 100 sewing machine needle, Choose the size according to the thickness of the insulation.
Serger, The source finishes the pocket edges with a serger.
Scissors, pins, and a hand-sewing needle, For cutting, securing layers, and hand basting.
Ruler, square, and tailor's chalk, For quilting lines, cutouts, fold lines, and handles.
Files and resources
Winter tote sewing videoThe author's external YouTube video cited in the source.Winter tote sewing video
Preparation
Check the layout
The outer fabric and insulation are given as 60 cm lengths, but the outer fabric width is not stated. Before cutting, check that the 54 × 48 cm body, two 12 × 70 cm handles, and 5 × 9 cm zipper-end tabs will fit. The source specifies a 1 cm allowance only for the body side seams; verify every other seam and fold against the photos or the linked video instead of assuming an allowance.
Quilt and mark the body
Prepare the body
Cut 54 × 48 cm rectangles from the outer fabric and insulation, and pin them together. The finished tote in the example measures 51 × 37 cm and has a 25 cm handle drop.
Quilt the layers
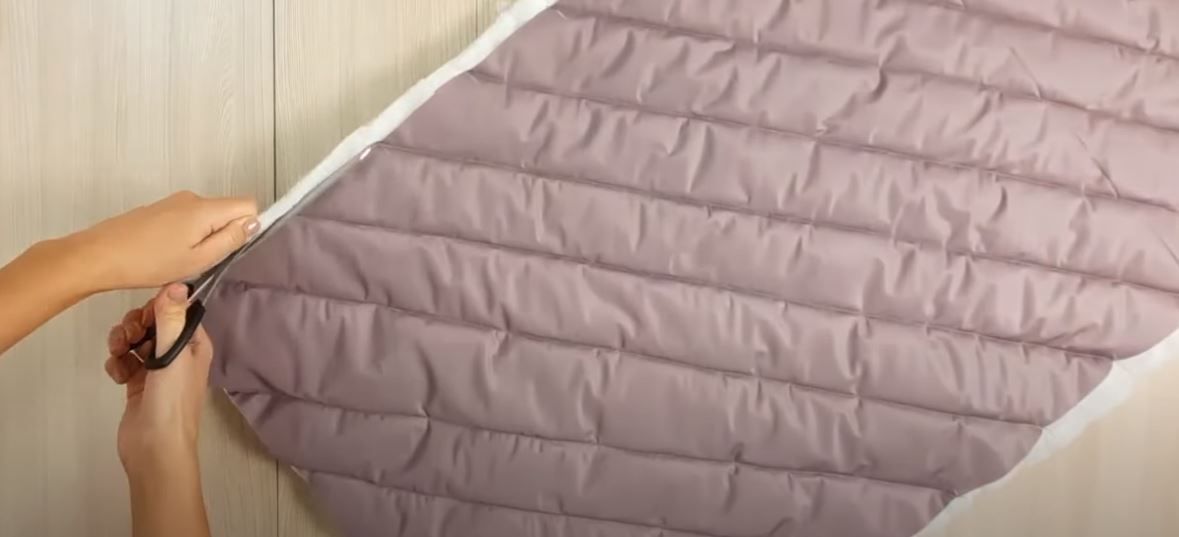
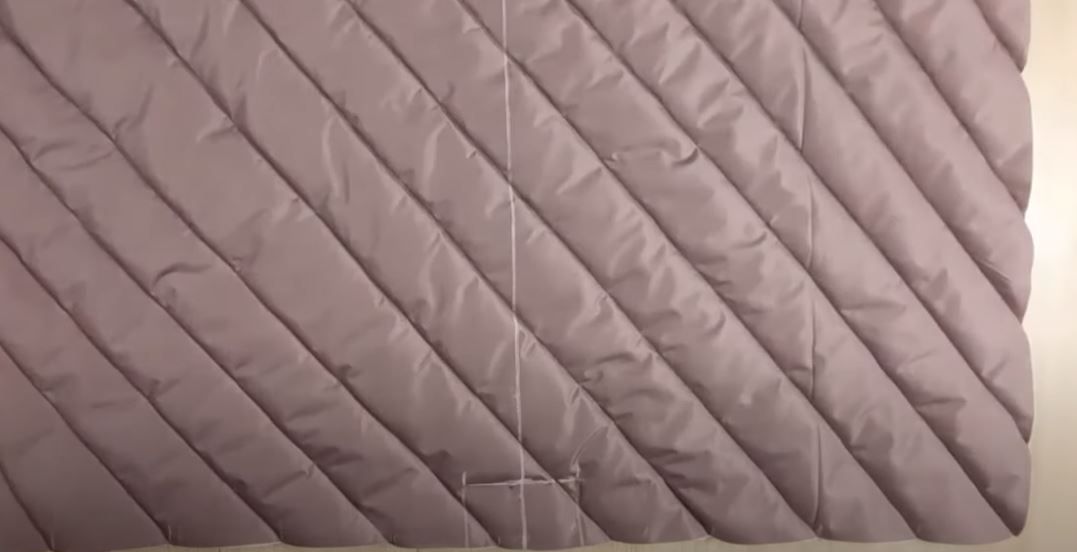
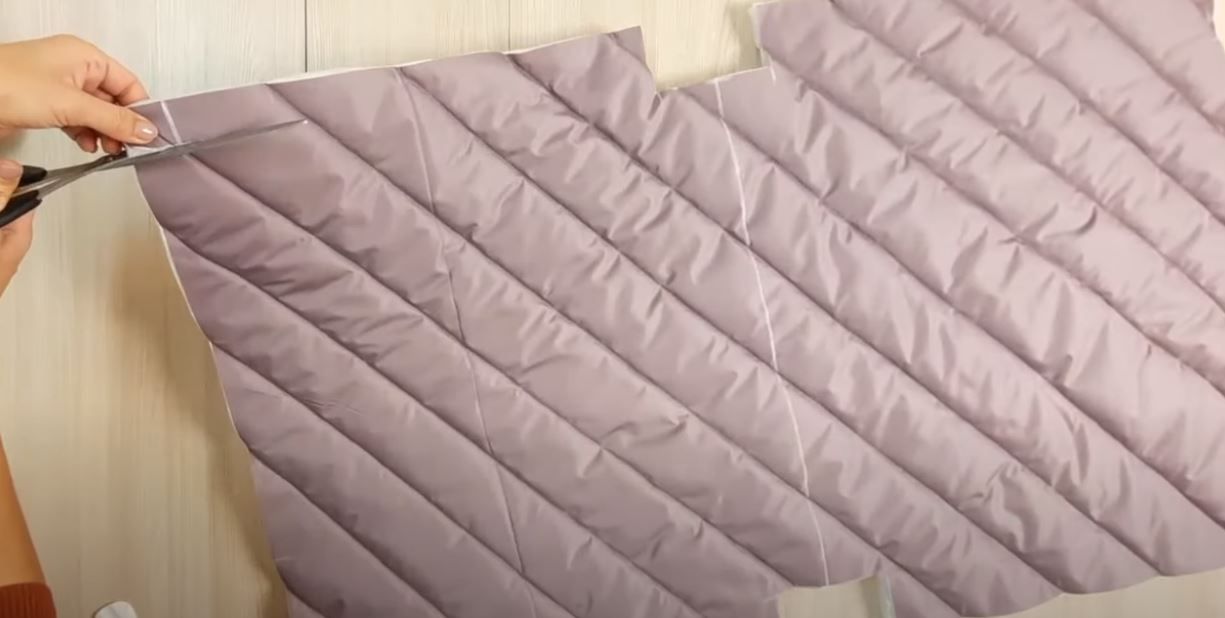
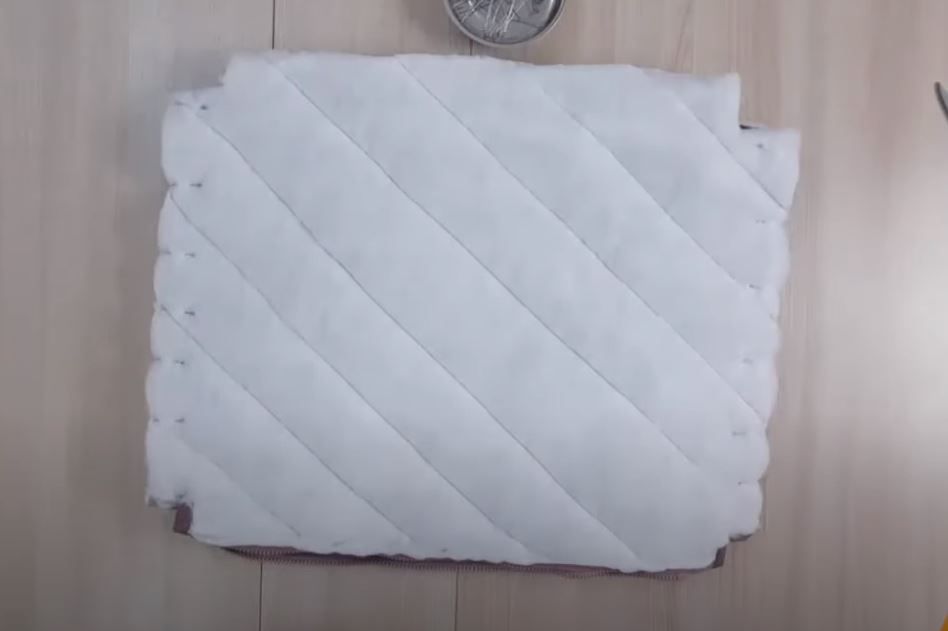
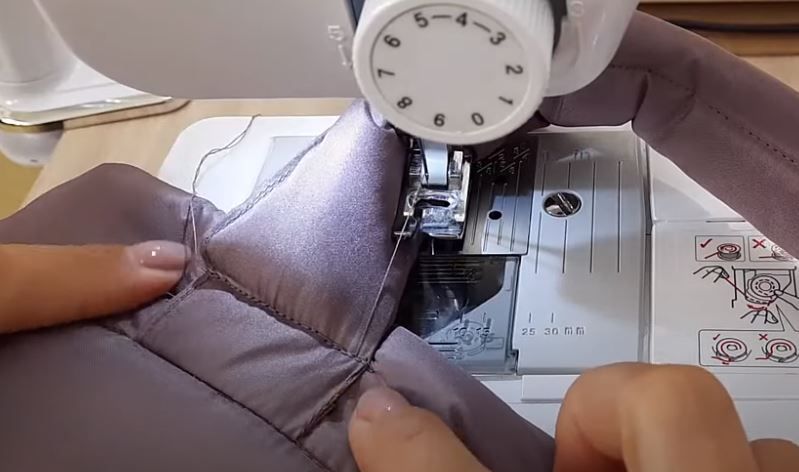
Mark the perimeter at 10 cm intervals with tailor’s chalk and draw diagonal lines. Pin the layers along the markings, stitch with a size 90 or 100 needle, then remove the pins and trim away excess insulation at the edges.
Mark the cutouts
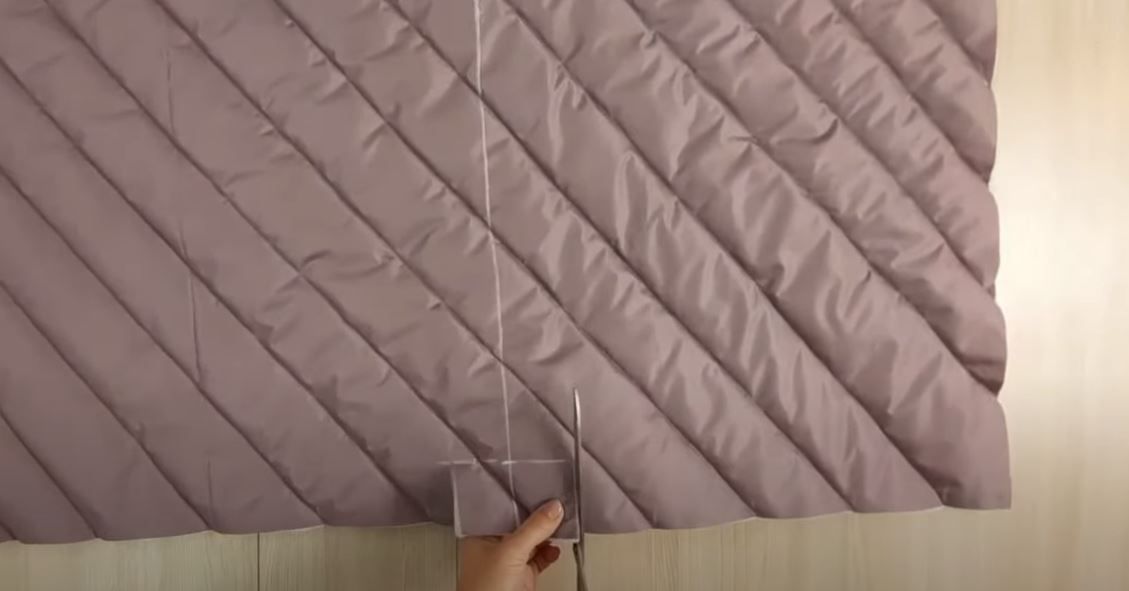
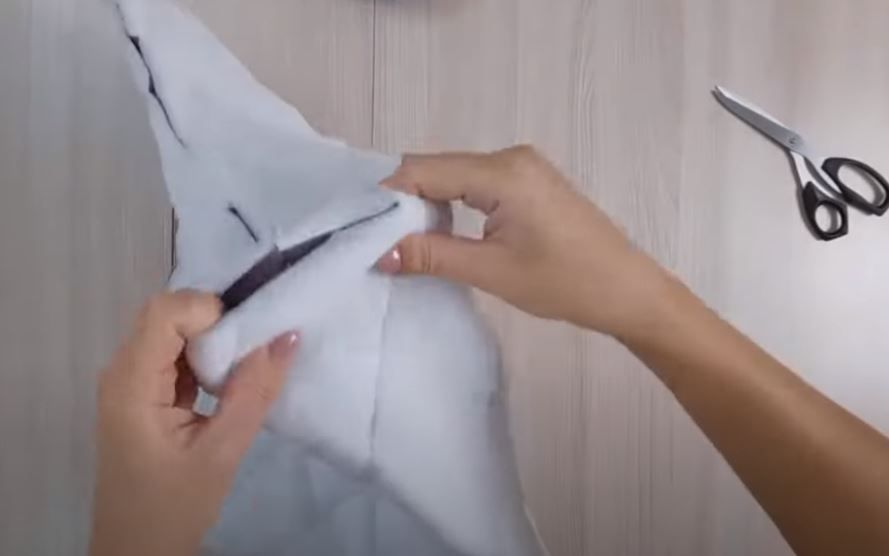
Find the center of the rectangle and draw the future bottom line. Measure 6 cm to each side along this line; draw perpendiculars through those points and measure 5 cm in each direction. Cut out two 6 × 10 cm rectangles. Then mark and cut 3 × 3 cm squares from all four corners.
Install the zipper and assemble the body
Sew in the zipper
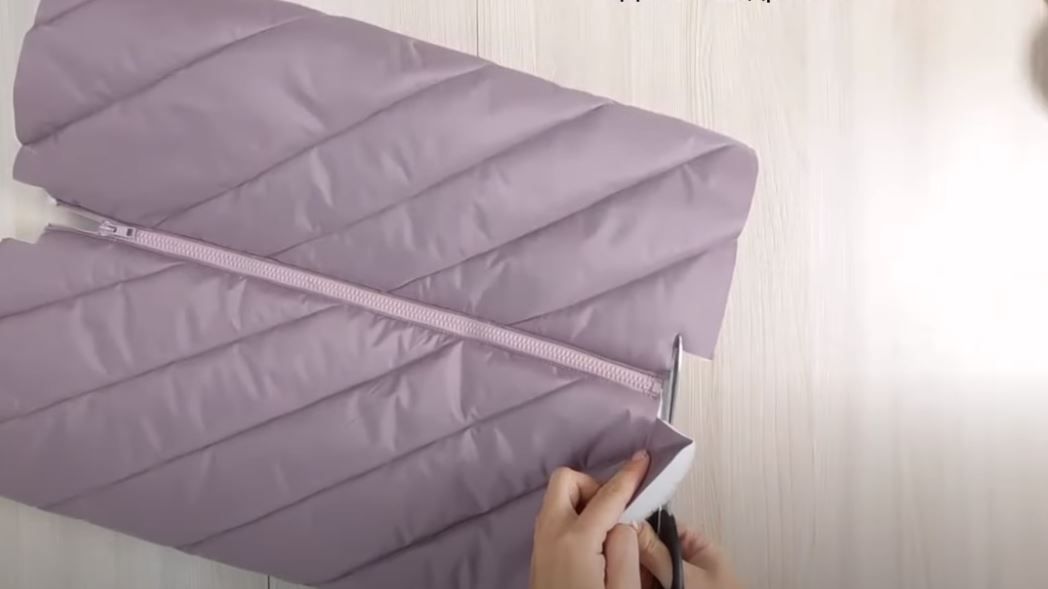
Unzip the zipper and place one tape right side to right side with the outer fabric. Pin it, then position the second tape on the opposite side in the same way, taking care not to reverse the halves. Stitch with a zipper foot and backstitch at the ends. Turn the zipper to the right side and topstitch the seam allowance.
Finish the zipper ends
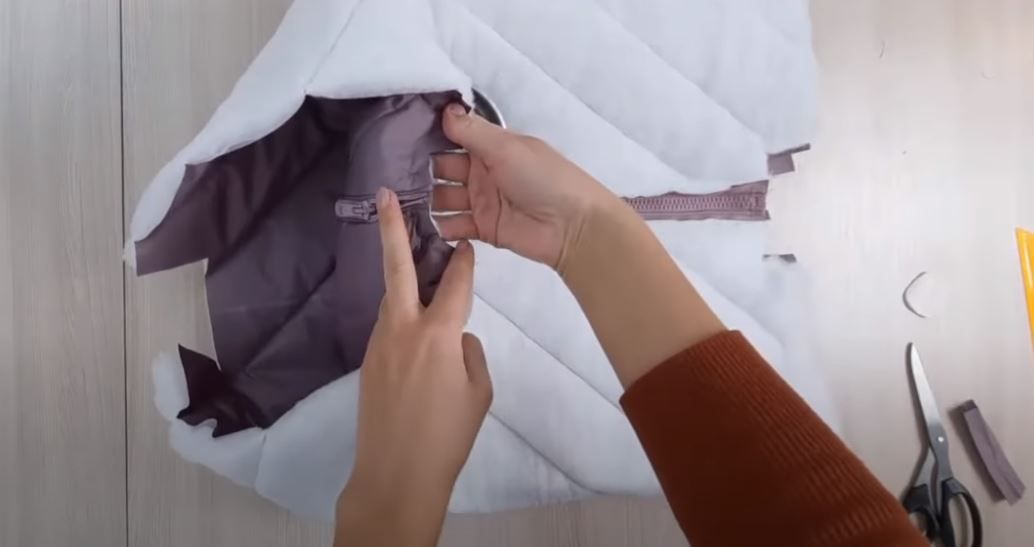
Close the zipper, leaving the piece right side out. At the corners of the previously cut rectangles, make 1 cm clips perpendicular to the zipper. Turn the side raw edges to the wrong side and stitch. Cut two 5 × 9 cm rectangles of outer fabric, wrap them around the zipper ends, and secure with stitching.
Sew the sides and bottom
Pin and sew the side seams with a 1 cm seam allowance. To make the bottom, align the edges of the previously cut rectangles, pin, and stitch. Turn the body right side out and shape the corners.
Form the top fold
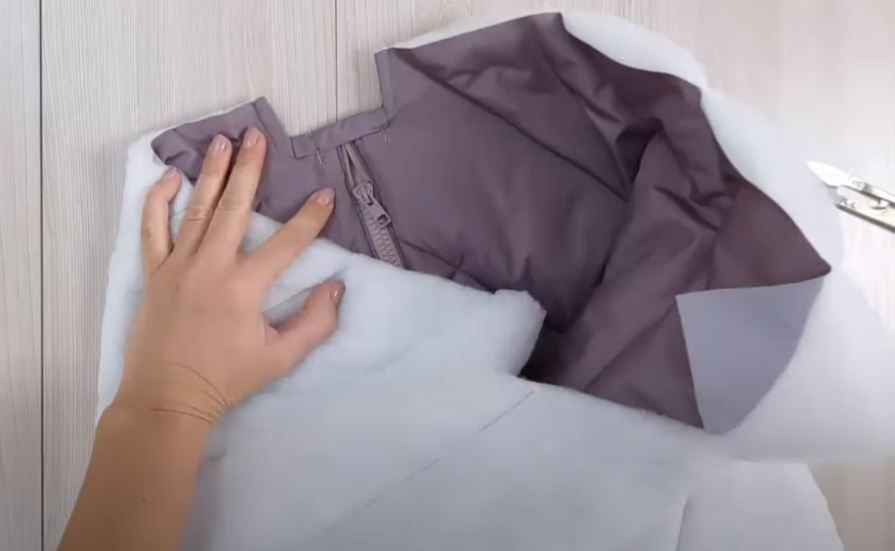
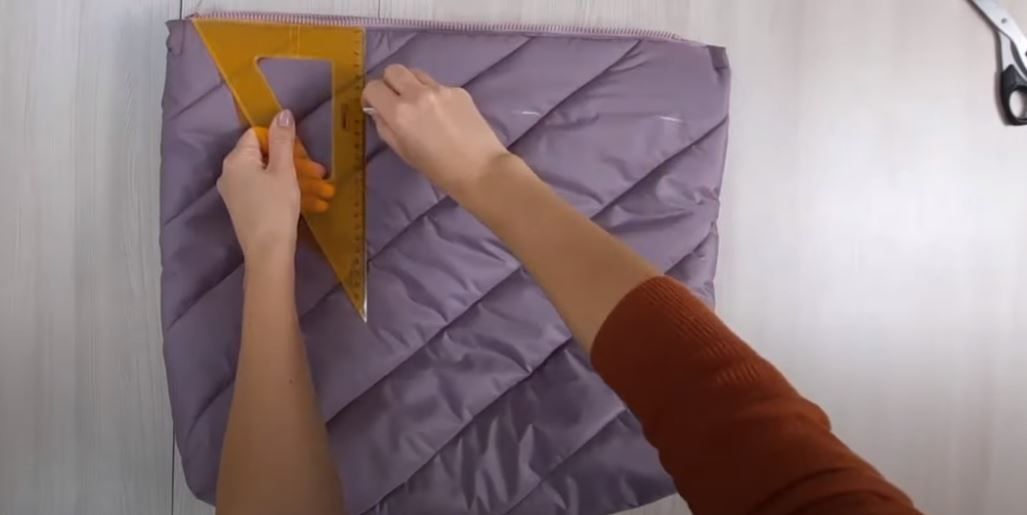
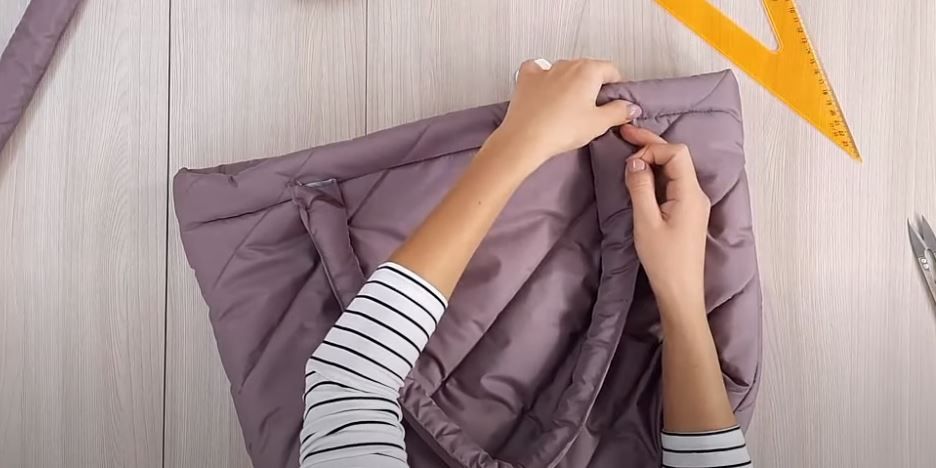
Measure 7 cm from the zipper seam and draw a fold line. From that line, measure 4 cm upward and draw a second line. At the lower line, turn the top edge to the inside, secure it with pins, and baste.
Sew the lining and pocket
Cut the pieces
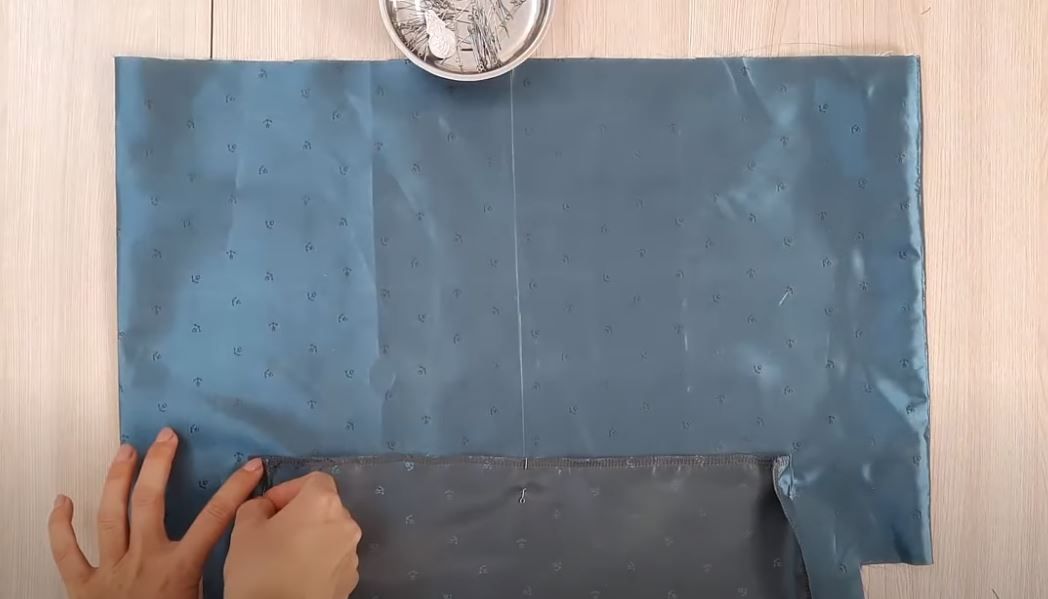
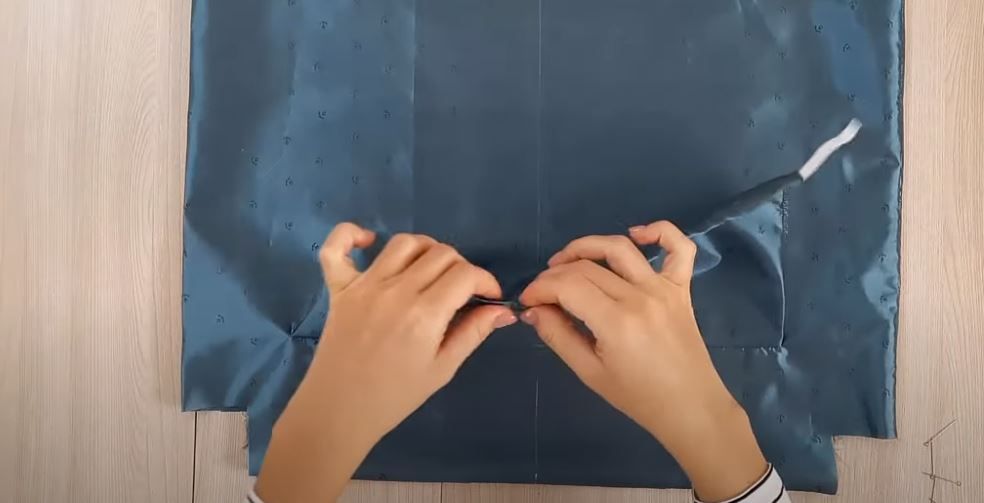
Cut two lining pieces measuring 37 × 53 cm and cut 6 × 6 cm rectangles from their corners. Cut an 18 × 36 cm pocket piece and serge it around the perimeter.
Make the elasticized pocket
Turn one pocket edge 1.5 cm to the wrong side and stitch. Center the pocket on the long side of the lining; choose the height yourself. Cut the narrow elastic 5–6 cm shorter than the side of the pocket, thread it through the turned edge, and stitch the pocket along three sides.
Assemble and secure the lining
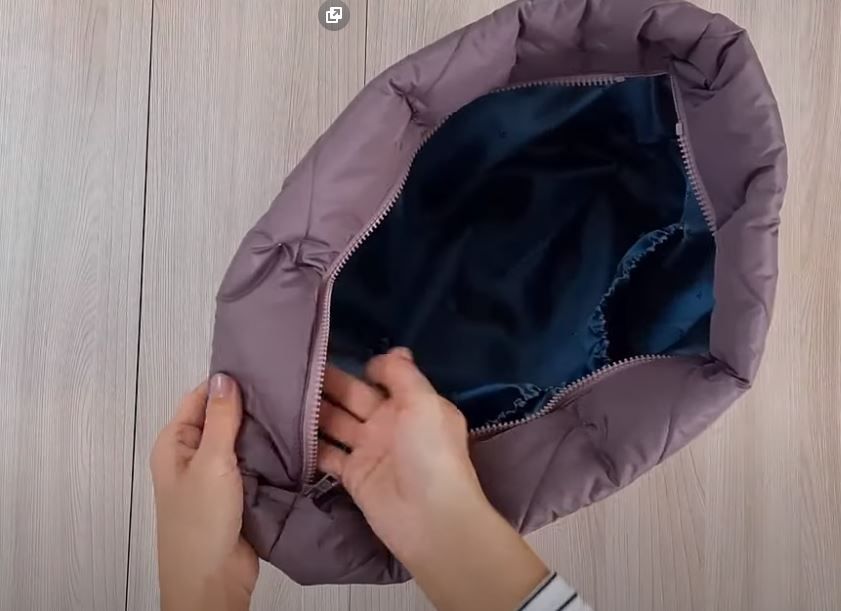
Sew the lining side seams and bottom. Insert it into the tote, matching the side seams, and tuck the top of the lining inside the body fold. Secure it with stitching along the second chalk line, 4 cm above the fold line.
Make and attach the handles
Prepare the strips
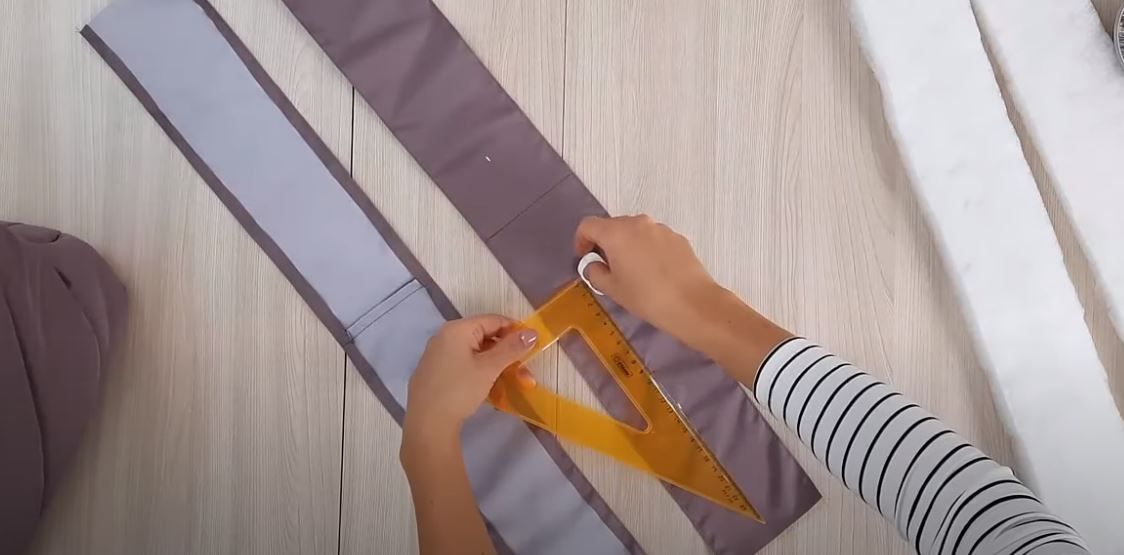
Cut two 12 × 70 cm rectangles from the outer fabric. Turn both long edges of each piece 1 cm to the wrong side, stitch, and mark the center line.
Add insulation
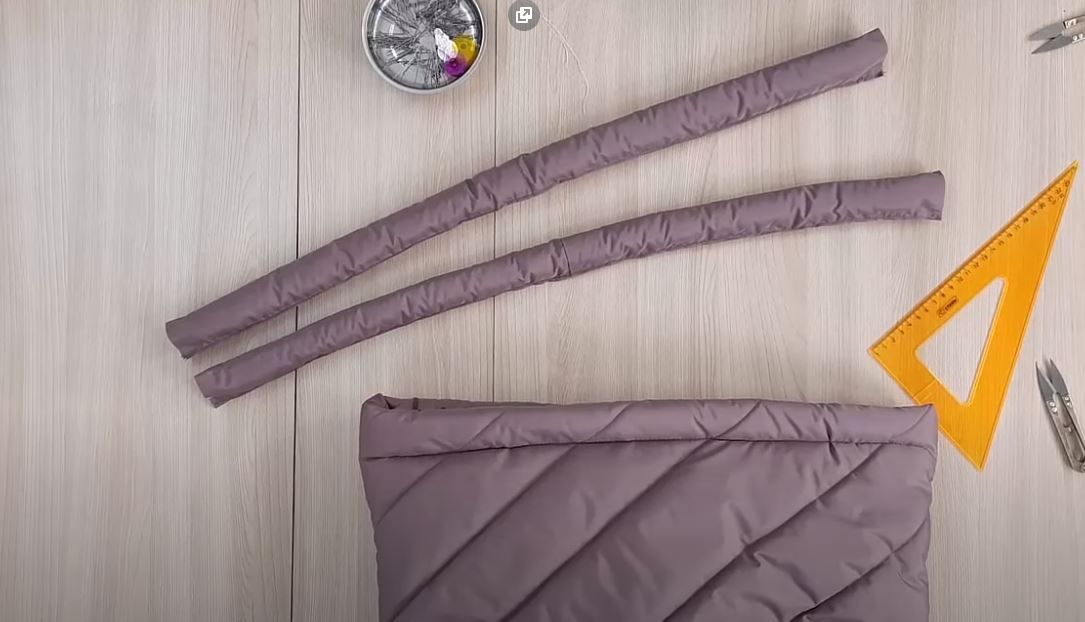
Cut insulation strips slightly narrower than the handle pieces. Pin them to the outer fabric and stitch down the center. Join the long handle edges first with hand-basting stitches, then with machine stitching.
Attach the handles
Measure 11 cm from each tote side seam and attach the handles at the marks. Sew two lines: one in the fold seam and the other 2 cm from the edge.

 BeginnerFree