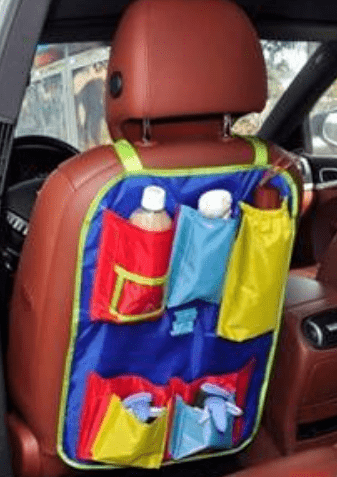
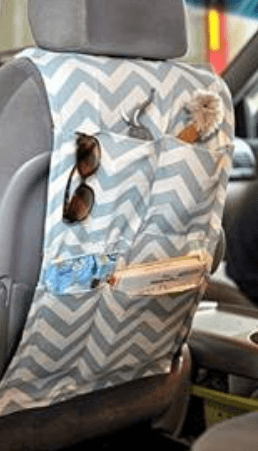
For many of us, a car is an important part of life, but a car glove box cannot hold everything needed for a trip. Endless clutter and long searches for tissues, a comb, a road map...
BeginnerFree
Translated
Sew a Practical, Roomy Car Organizer
For many of us, a car is an important part of life, but a car glove box cannot hold everything needed for a trip. Endless clutter and long searches for tissues, a comb, a road map...
Main Steps
Step 1
For many of us, a car is an important part of life, but a car glove box cannot hold everything needed for a trip. There is endless clutter and long searches for tissues, a comb, a road map (yes, many drivers still use maps rather than navigation), and other useful little things. That is why car organizers were created.
Step 2
Step 3
Step 4
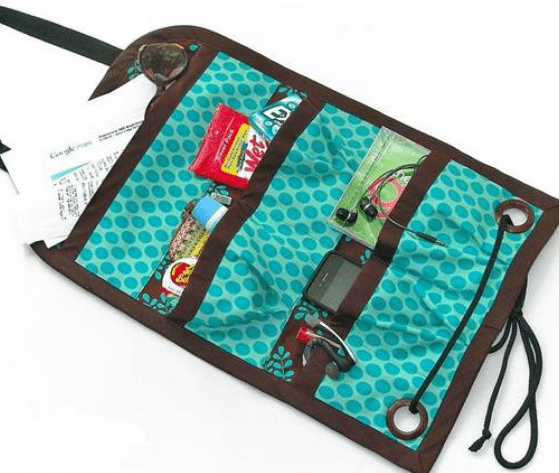
These organizers are very easy to sew. Let us look at the process step by step using an accessory like this as an example.
Step 5
For this project use: • sewing supplies; • a piece of sturdy fabric (about 1 meter); • fabric for the backing (it is important that the material is elastic); • fabric for the pockets; • strong cord for fastening; • 1 m of webbing; • about 3 m of piping for trim; • cord locks.
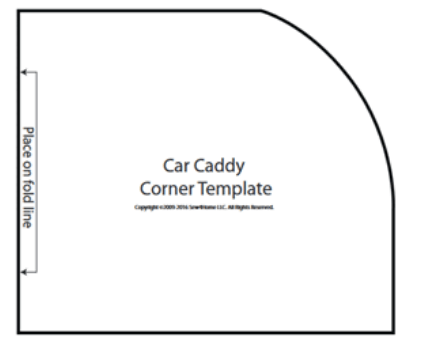
Prepare the organizer base. Fold a piece of sturdy fabric that is twice the size of the planned organizer right sides together and press the fold. The organizer corners may be square or slightly rounded. Use a template like this, or draw the shape directly on the fabric.
Step 6
To help the organizer hold its shape in use, insert nonwoven interfacing or fusible stabilizer inside the piece. Sew the halves around the edge and finish with decorative piping. Pocket sizes and quantities may vary. In this case the pockets were sewn in these sizes: • upper pocket: 20/33 cm; • middle row of pockets: 23/43 cm; • lower pockets: 30/43 cm.
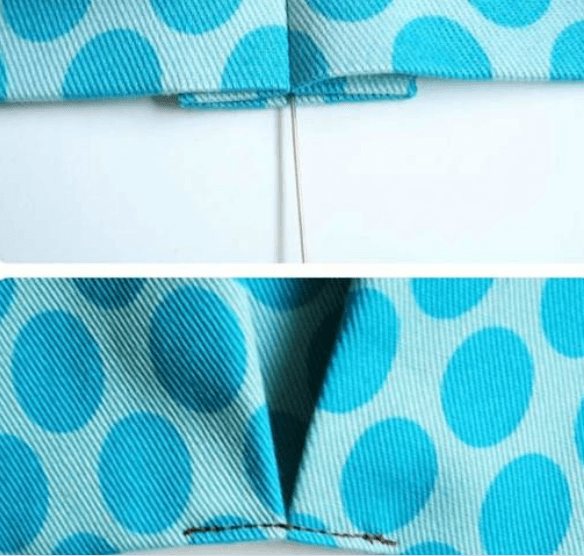
Remember that these sizes allow for the fabric to be folded in half, just as for the base. So if you want to stiffen the pockets, the lining material should be twice as small as the pocket fabric. Sew the pockets separately in the same way as the base, then sew them onto it. To give a pocket volume, make a fold like this in the middle of the piece.
Step 7
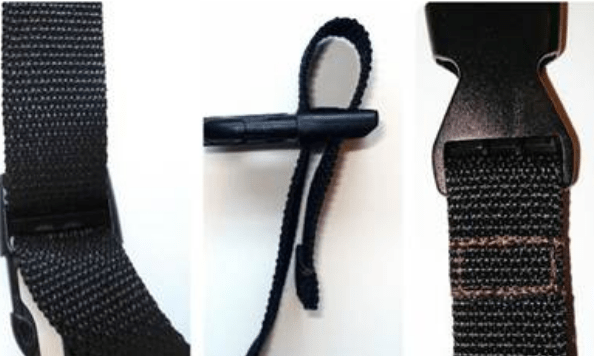
Decorate the pockets and organizer edges in any way you like: ribbons, embroidery, beads, or seed beads. If you do not plan decoration, make the fastening. Sew a cord with an adjuster to the upper part of the organizer so you can regulate its tension.
Step 8
Step 9
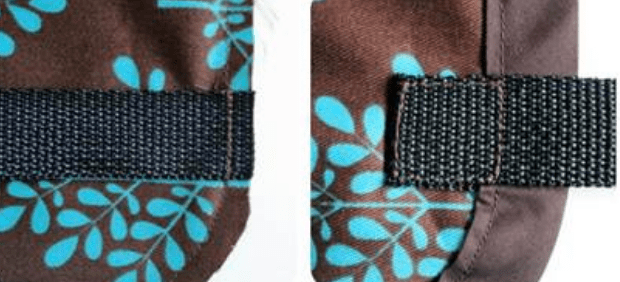
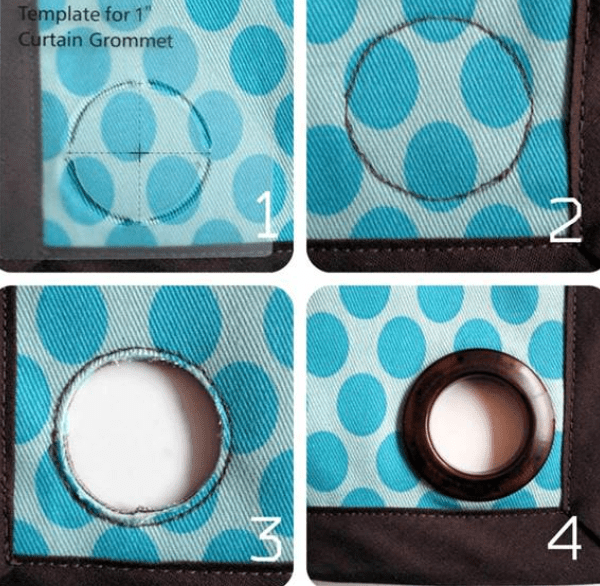
Install grommets in the lower part of the organizer. Thread cord through them and tie it around the seat. If you do not have grommets or do not want to install them, sew small webbing loops instead and thread the cord through those.

 BeginnerFree