Sea Memories: A Bead-Embroidered Seashell Ornament Tutorial
A step-by-step tutorial for bead-embroidering a seashell: fill the cavity with silicone glue, mount the shell on felt, bead the edge in four rows alternating bead sizes, trim the base, glue it onto leather, and close the side seam with large beads.
IntermediateFree
Translated
Things you will learn
The shell's cavity is filled with silicone glue first, to create a sturdy base for mounting it on felt.
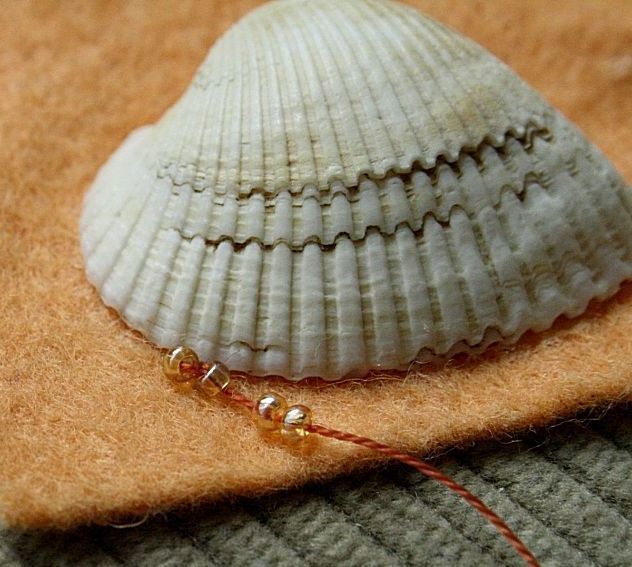
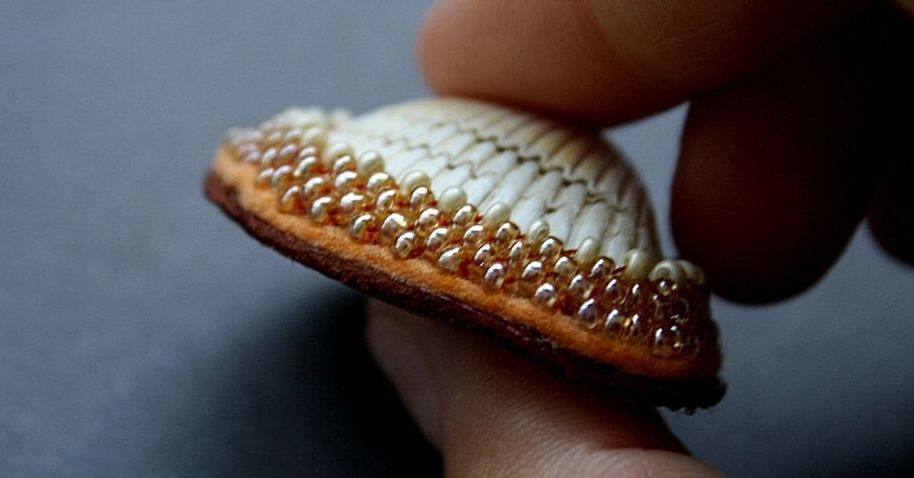
You bead the outer edge first, then work upward, gradually reducing the number of beads per row.
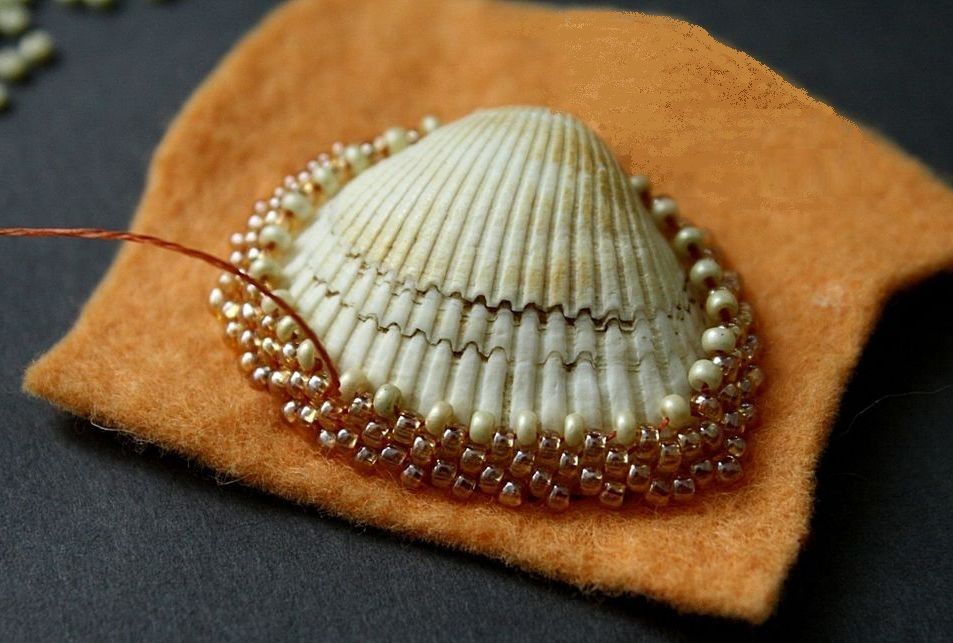
The second and third bead rows are sewn through every other bead of the previous row, creating a checkerboard pattern.
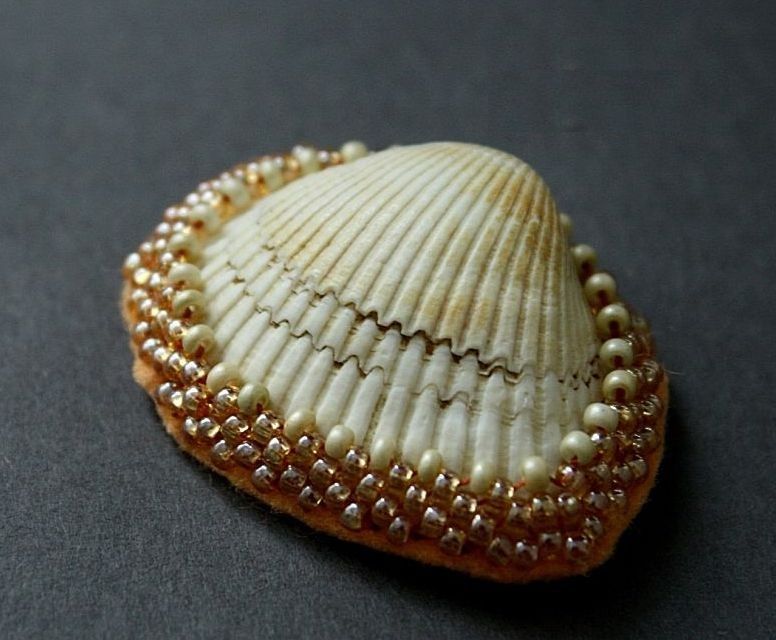
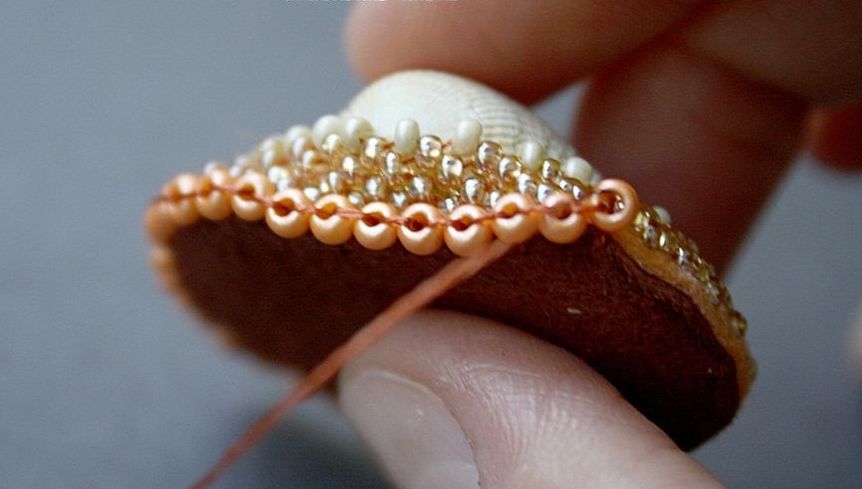
On the fourth and final round, switch to larger beads for contrast.
The felt base is trimmed, glued onto leather and trimmed again, and the side seam is closed with the largest beads.
What you'll get
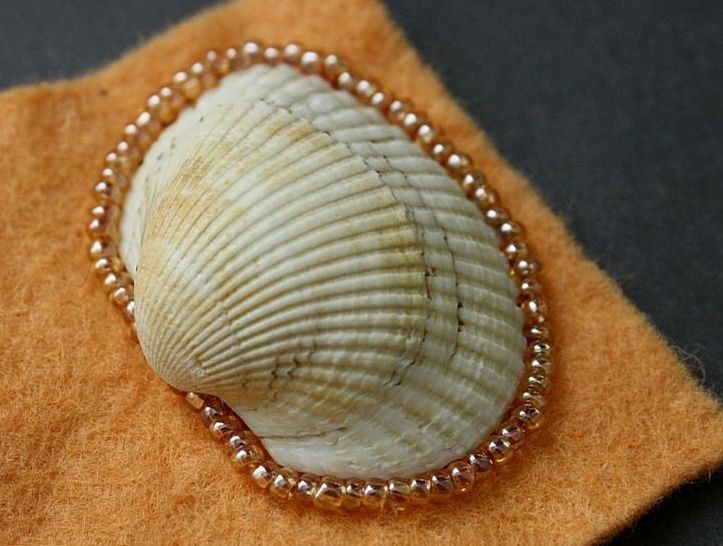
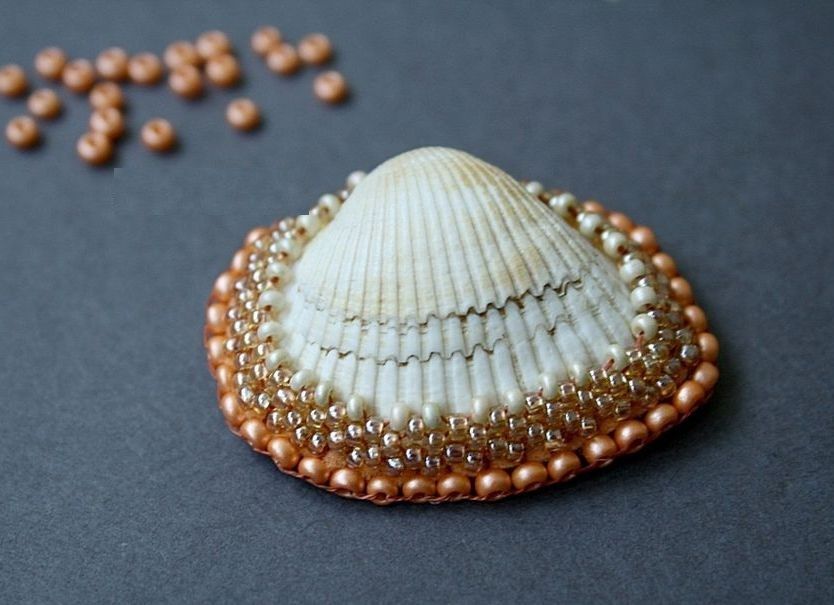
You'll get a shell fully bead-embroidered around the edge in four rows, with contrasting large beads on the final round and the side seam, ready to wear as a pendant or brooch.
Materials and tools
Materials
Felt, used as the base the shell is mounted on before bead embroidery
Seed beads, needed in different sizes: small for the first three rows and large for the fourth row and the side seam
Nylon thread, used to sew on the beads
Glue gun and Moment-brand glue, the glue gun with silicone glue fills the shell's cavity, and the Moment glue mounts the shell on felt and the felt base on leather
Tools
Scissors, needed to trim the felt and leather base after beading
Preparation
Get your materials ready
Gather felt, seed beads in a few sizes, nylon thread, a glue gun with silicone glue, and Moment-brand glue. Also prepare a small piece of leather for the final backing.
Choose a shell
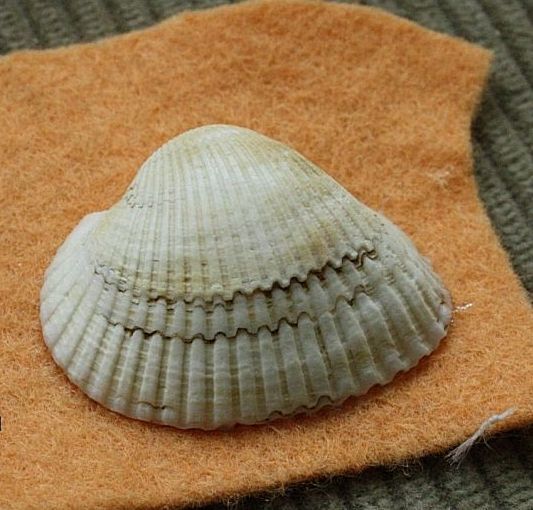
Take a clean, dry shell left over from a trip to the sea — it'll become the centerpiece of your jewelry.
Mount the shell on a base
First, prepare the shell so it's easy to bead-embroider.
Fill the shell's cavity with silicone glue
Fill the shell's cavity with silicone glue from a glue gun — this gives it a sturdy base.
Glue the shell onto felt
Once the glue has set, mount the shell onto felt using clear Moment glue. This gives you a workable piece ready for bead embroidery.
Bead-embroider the shell
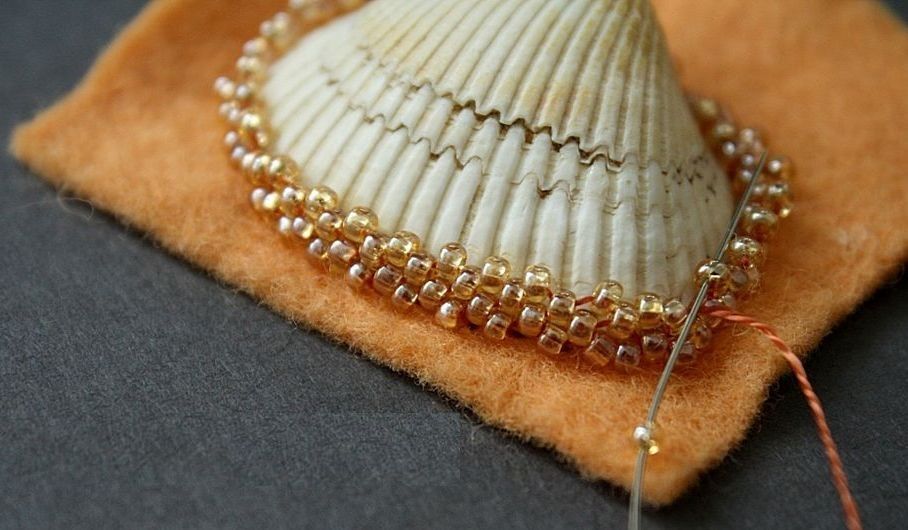
Beading works from the edge toward the center, gradually reducing the beads per row.
Bead the outer edge as the first row
Bead the shell's outer edge, forming the first row.
Sew the second and third rows through every other bead
Work your way upward gradually, reducing the number of beads per row. Sew the second and third rows through every other bead of the previous row, to create a neat checkerboard pattern.
Finish with a fourth row of large beads
On the fourth and final round, switch to larger beads for contrast. Take the thread to the back and secure it.
Finish the base
All that's left is to trim away excess material and close the side seam.
Trim the felt base
Trim the felt base to remove the excess material without cutting into the beadwork.
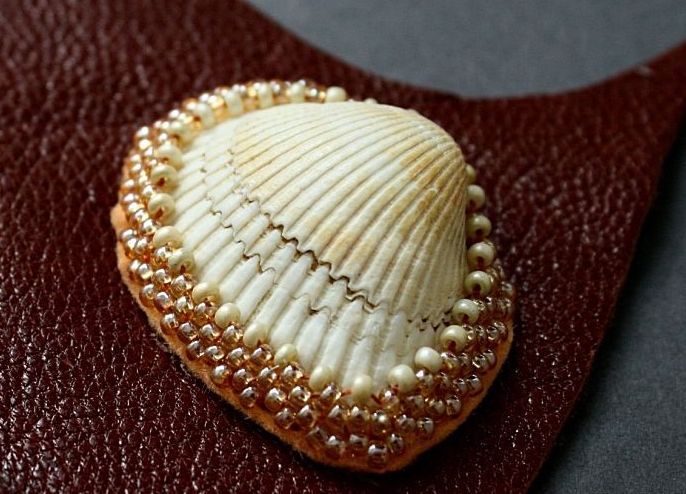
Glue the piece onto leather and trim the edge
Glue the bead-embroidered piece onto a leather surface and trim away the excess leather.
Close the side seam with large beads
Close the side seam with the largest beads, stringing them one at a time along the edge until you've ringed the whole space.
Finish and variations
Finish
Use your piece of jewelry
You can wear the finished piece as a pendant on nylon thread, or attach it to any other base. The same technique works for sea pebbles too, not just shells, letting you build a whole matching set.
Variations
Sea pebbles instead of a shell
You can bead-embroider sea pebbles the same way, not just shells — together they make a lovely matching set of jewelry.
This is the cabochon bead-embroidery technique! I never would have thought it'd look this good with shells (y) Probably a lot depends on the shade of the beads too — the bead color needs to match the shell's own color as closely as possible.

 IntermediateFree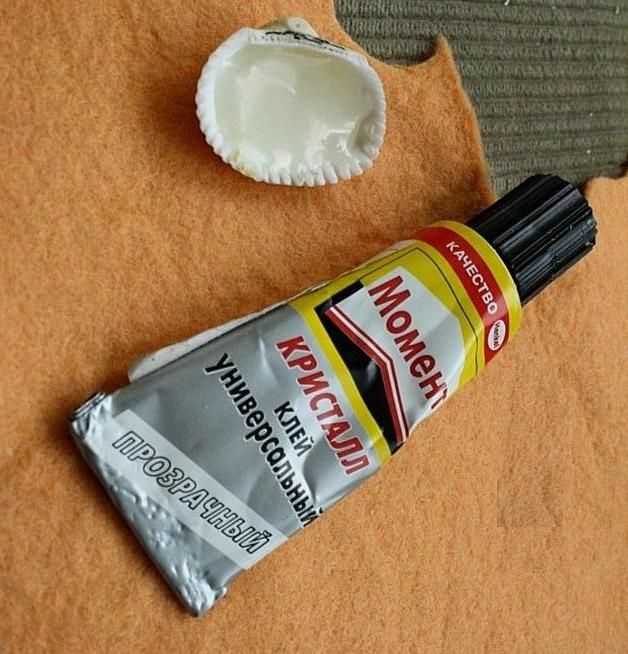


That's right )) What's great about it is that you can bead-embroider just about anything. And quickly too, in any solid color or pattern 😉