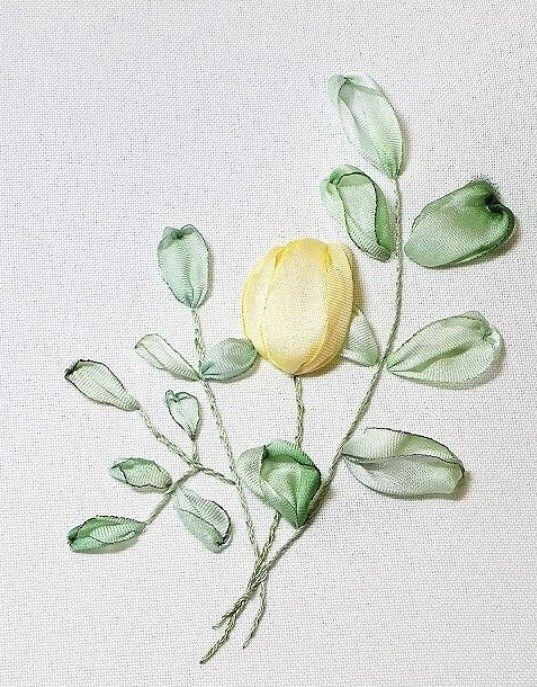
Ribbon Embroidery for Beginners: Embroidering a Bouquet
To embroider a tulip bouquet with ribbons, we will need: fabric (canvas is ideal for beginners); an embroidery hoop; ribbons (wide yellow and green ribbons, slightly narrower green ribbon, and narrow pink satin ribbons in two shades); green embroidery floss
BeginnerFree
Translated
Ribbon Embroidery for Beginners: Embroidering a Bouquet
To embroider a tulip bouquet with ribbons, we will need: fabric (canvas is ideal for beginners); an embroidery hoop; ribbons (wide yellow and green ribbons, slightly narrower green ribbon, and narrow pink satin ribbons in two shades); green embroidery floss
Main Steps
Step 1
To embroider a tulip bouquet with ribbons, we will need: • fabric (canvas is ideal for beginners); • an embroidery hoop; • ribbons (wide yellow and green ribbons, slightly narrower green ribbon, and narrow pink satin ribbons in two shades); • green embroidery floss (2-3 shades) for embroidering the stems; • a needle with a long, narrow eye; • an embroidery needle; • scissors.
Step 2
Before you begin ribbon embroidery, I recommend sketching your design on paper for reference, or lightly in pencil directly on the fabric if the ribbons are washable.
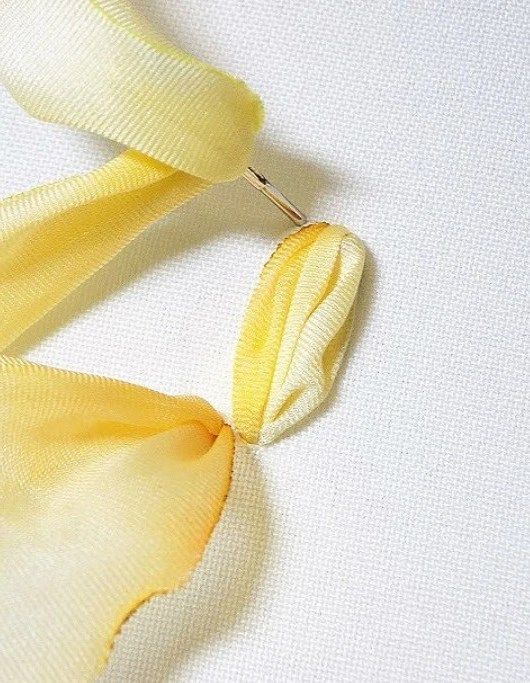
Now, secure the fabric in the embroidery hoop and thread the needle with the yellow ribbon. It is best to secure wide ribbon without a knot! Therefore, leave 1-2 cm of ribbon on the wrong side and bring the needle and ribbon out to the right side—this will be the base of the bud. Determine the size of the flower and insert the needle into the fabric, bringing it to the wrong side. Do not pull the ribbon tight—we need volume!
Step 3
Step 4
Step 5
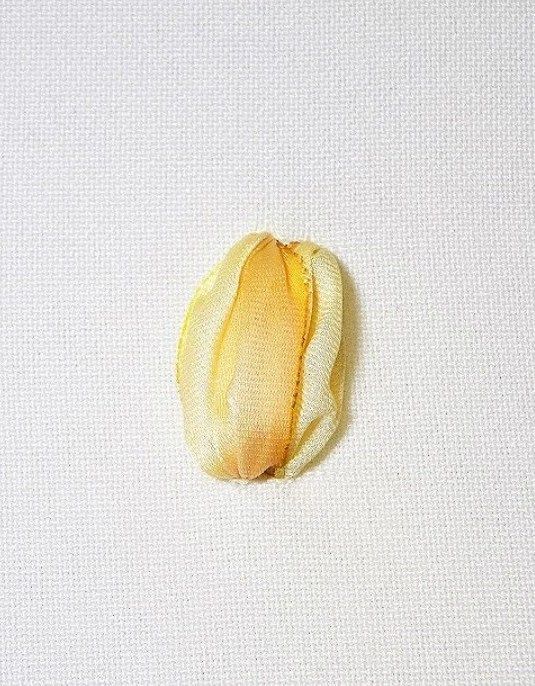
Make the second petal the same way, adjusting the ribbon tension.
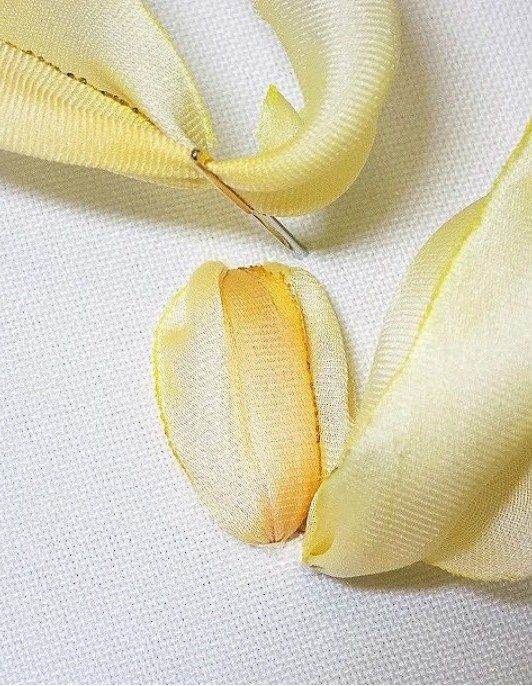
Next is the third petal. To make the tulip look more lifelike, make this petal slightly longer than the previous ones—start a bit below the first petal and end above it.
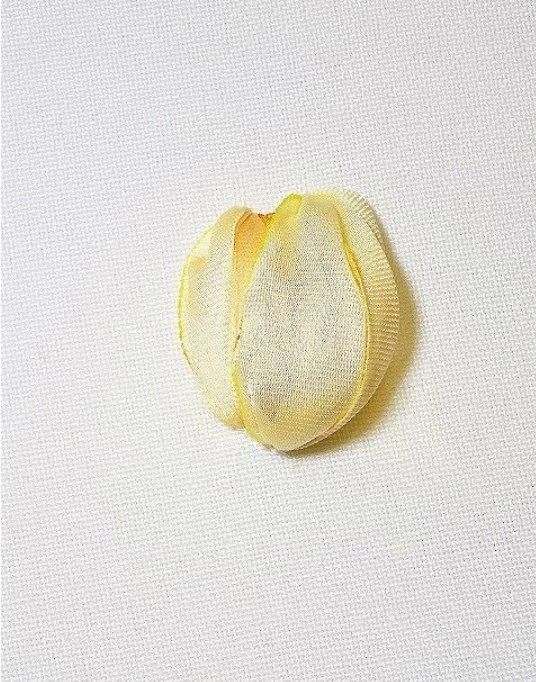
Take a look at your embroidery; if needed, add a fourth petal.
Step 6
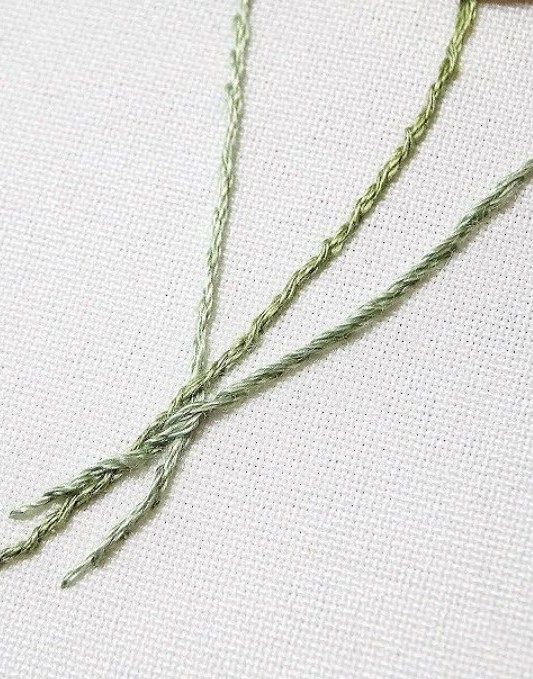
Thread the embroidery floss into the needle and embroider several stems.
Step 7
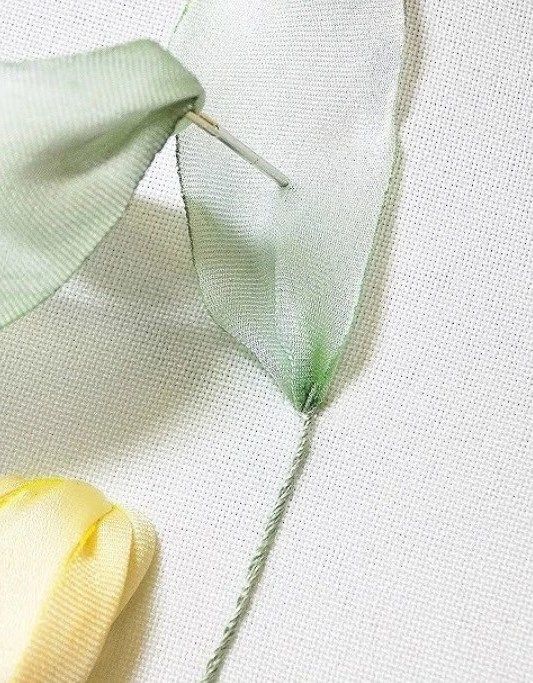
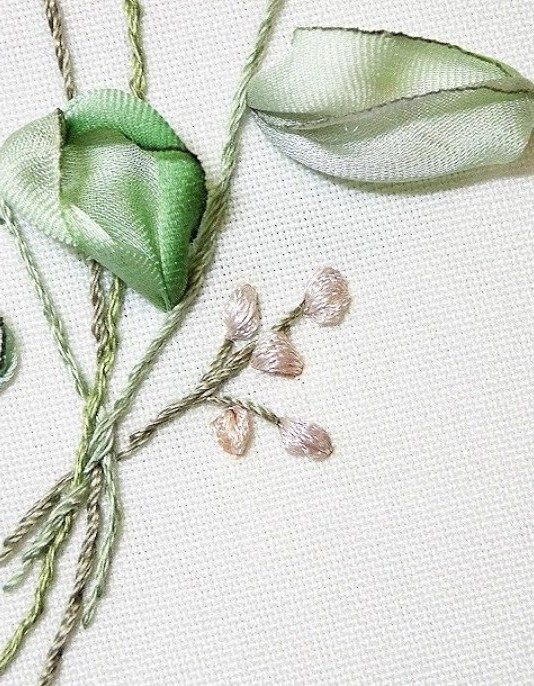
Then embroider the leaves with green ribbon as follows: bring the needle up to the right side, determine the length of the leaf, smooth out the ribbon, and insert the needle through the center of the ribbon (as shown in the photo below), then pull the needle through to the back. Pull gently, but do not tighten—keep the volume!
Step 8
Embroider the desired number of leaves.
Step 9
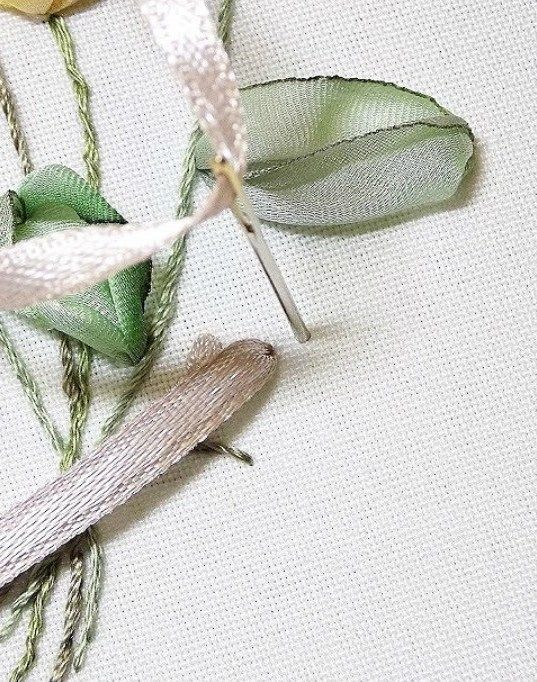
Now let's move on to embroidering the small pink flower buds. They are embroidered using narrow ribbon with a knot formed at the end (leave it on the wrong side of the work).
Step 10
Bring the needle up to the right side and insert it right next to the first stitch. Pull the ribbon, keeping it slightly loose—a small, dimensional bud is formed. The buds can be round or elongated.
Embroider the desired number of buds. Secure the narrow ribbon on the wrong side of the fabric by piercing the tail end before the knot with the needle or weaving it into the stitches on the wrong side.

 BeginnerFree