Step by step, turn old trousers into a skirt: cut off the top for the yoke, cut strips from the legs, form inverted pleats, attach the lower panel, and finish the hem.
BeginnerFree
Translated
Things you will learn
The top of the trousers becomes the ready yoke, so the waistband and closure stay from the original garment.
Four identical rectangular strips are cut from the trouser legs for the lower skirt panel.
The lower panel is formed into inverted pleats, closed into a ring, and sewn to the yoke.
The finished skirt can be left plain or decorated with heat-transfer appliqués.
What you will make
Old trousers become a short skirt on a yoke. The trouser top turns into the fitted yoke, and the lower part is sewn from rectangular strips arranged into inverted pleats. This works well when the trousers are boring or the lower hem is damaged, but the top is still good enough to reuse.
Materials and tools
Materials
Old trousers, 1 pair, The top is used for the yoke; the legs become the lower skirt panel.
Thread matching the fabric, For joining seams, fixing pleats, topstitching, and hemming.
Heat-transfer appliqués, Optional final decoration.
Tools
Scissors, For cutting open the legs, removing old cuffs, and trimming the yoke.
Pins, For pinning strips, pleats, and pieces before stitching.
Sewing machine, For joining strips, securing pleats, attaching the lower panel, and hemming.
Serger, In the source master class, the seam allowances and skirt hem are finished with a serger.
Files and resources
tugbaislerSource of the idea and materials, referenced in the old master class.
Author video: turning trousers into a skirtThe original material says the author’s video shows the sewing process in more detail.Author video: turning trousers into a skirt
Preparation
Choose suitable trousers
Use trousers whose upper part still fits well enough to become the yoke. A worn lower hem is not a problem: the old folded edge is cut away anyway.
Decide the yoke length
Before the first cut, decide how tall the upper part of the skirt should be. This determines where to cut the trousers and how much fabric remains for the pleated lower panel.
Cut the trousers into a yoke and strips
First separate the upper part of the trousers, then open the legs and turn them into pieces for the lower panel.
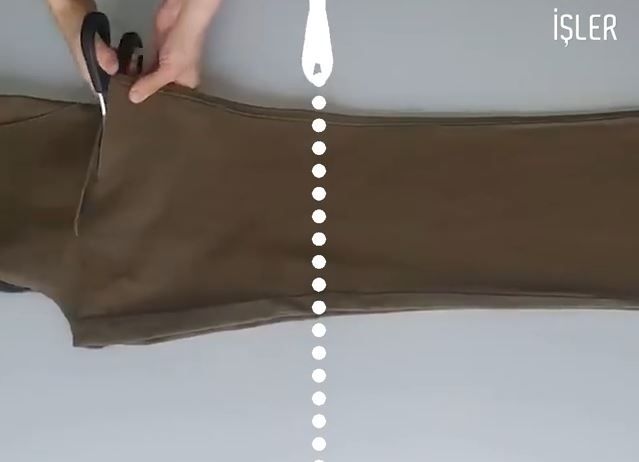
Cut off the trouser top for the yoke
Cut the upper part of the trousers at the height chosen for the skirt yoke. Keep the edge as even as possible: the pleated lower panel will be sewn to it later.
The trouser top becomes the yoke.
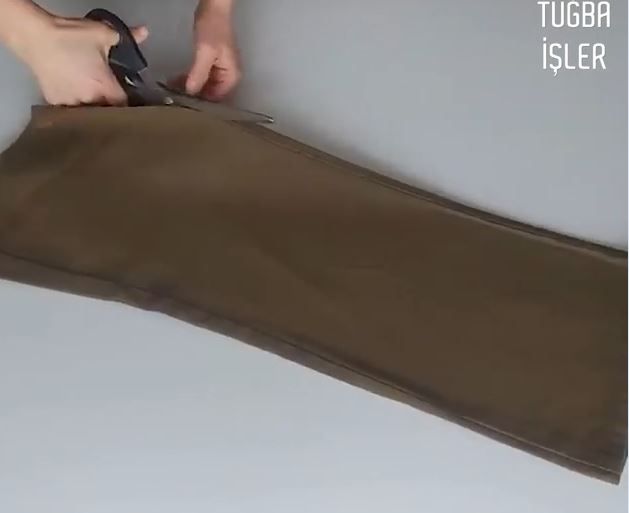
Cut the legs along the inseam
Cut each trouser leg open along the inseam so you get flat fabric pieces for cutting.
Open each leg along the inseam before cutting strips.
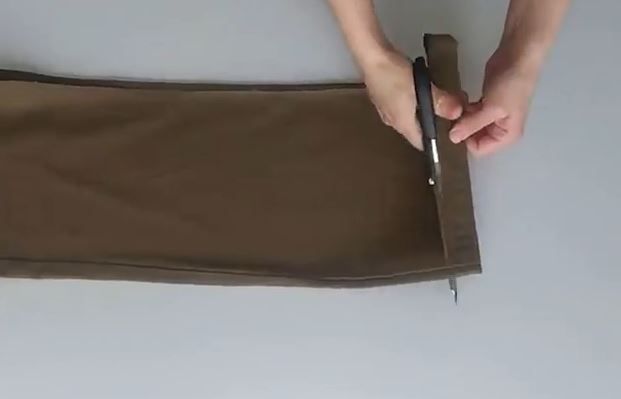
Remove the old hems and cut four strips
Cut away the lower edge with the old folded hem. From the opened legs, cut four identical rectangular strips; these will form the lower part of the skirt.
Remove the old lower hem before cutting rectangular strips.
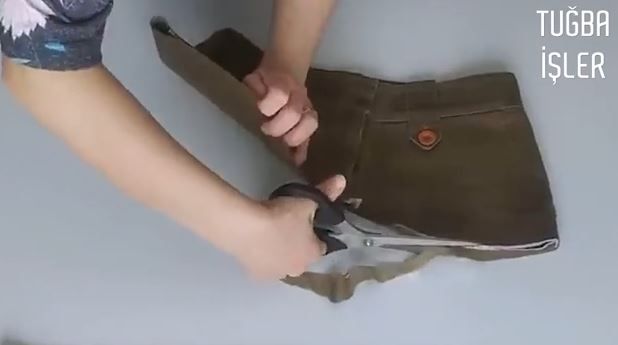
Trim the lower edge of the yoke
Even out the lower edge of the cut-off upper piece. The neater this edge is, the easier it will be to attach the pleated panel.
Even the lower edge of the yoke before attaching the pleated panel.
Make the pleated lower panel
The four strips are joined into one long piece, then inverted pleats are arranged along it.
Join the strips and form inverted pleats
Pin the strips together along their short sides and sew them into one long piece. Arrange inverted pleats along the full length and secure them with a row of stitching so they do not shift during assembly.
The strips are joined and the inverted pleats are fixed with stitching.
Check the pleats
Before securing them, check that the pleats are distributed evenly along the whole length.
Close the panel into a ring
Pin and sew the remaining short sides of the pleated strip together. The lower skirt panel should become a ring that can be attached to the yoke.
The pleated lower panel is closed into a ring.
Attach the pleats to the yoke
The lower panel is joined to the yoke, then the seam allowances are finished and secured with topstitching.
Sew the lower panel to the yoke
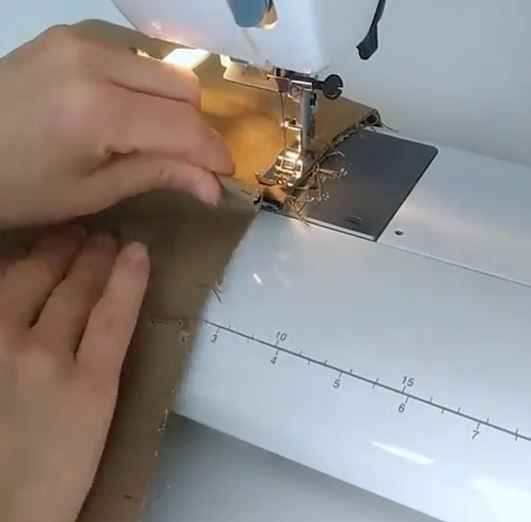
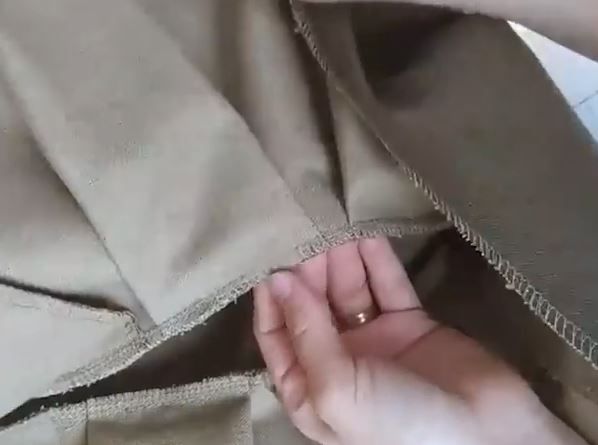
Place the pleated panel against the lower edge of the yoke, pin, and stitch. After sewing, finish the seam allowances with a serger.
The pleated panel is sewn to the lower edge of the yoke.
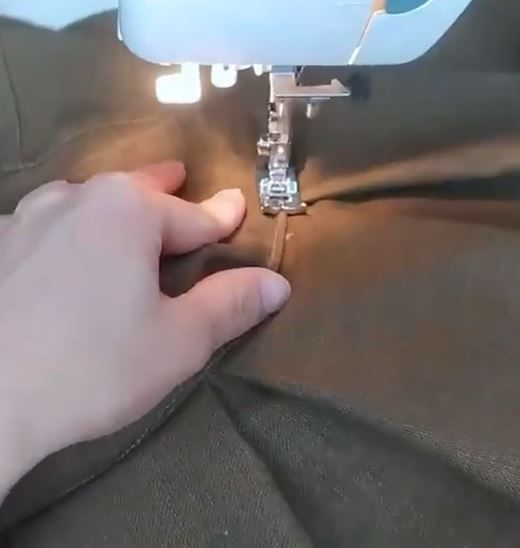
Press the seam allowance toward the yoke
Turn the finished seam allowance upward, toward the yoke. This helps the seam sit neatly and prepares it for topstitching from the right side.
The seam allowance is turned upward before topstitching.
Add topstitching
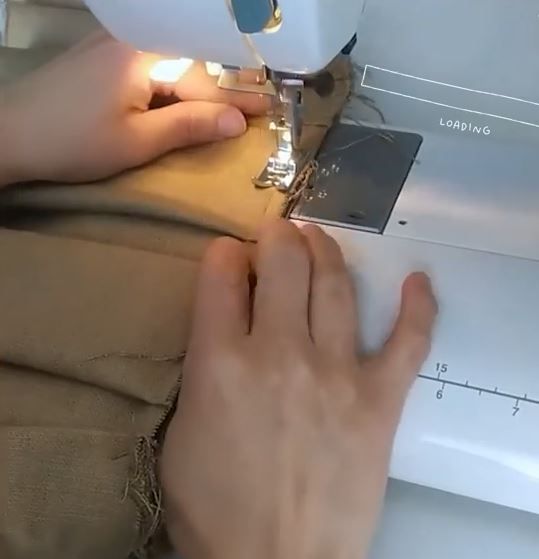
From the right side, topstitch along the seam where the yoke and lower panel meet. This secures the seam allowance and makes the joining line look clean.
Topstitching secures the seam allowance and neatens the joining line.
Finish the hem and decoration
To finish, close the lower raw edge and add appliqués if you want decoration.
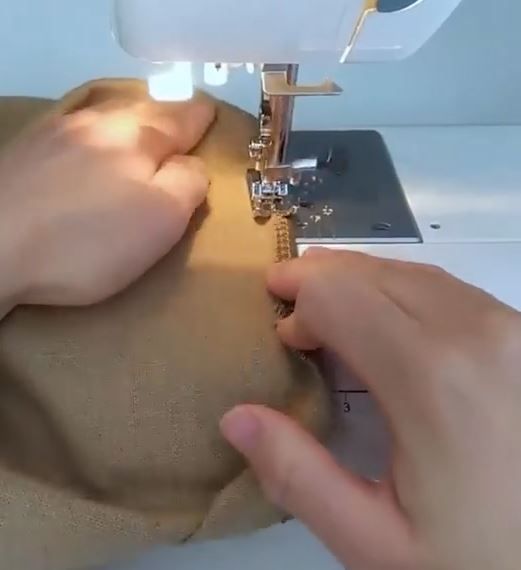
Finish and hem the skirt bottom
Finish the lower raw edge of the skirt with a serger. Then turn it to the wrong side and stitch the hem.
The lower edge is finished, turned to the wrong side, and stitched.
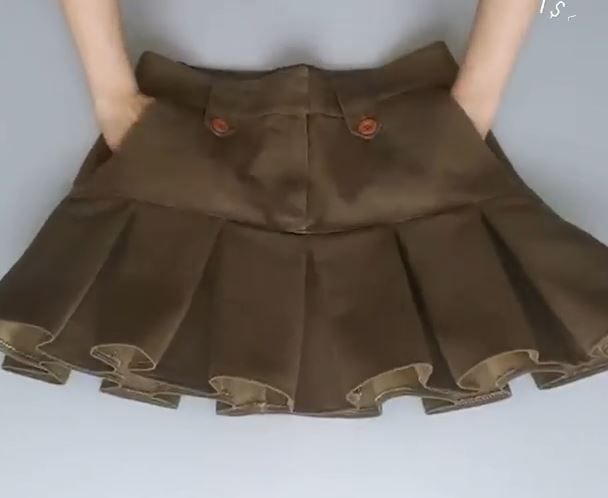
Check the finished skirt
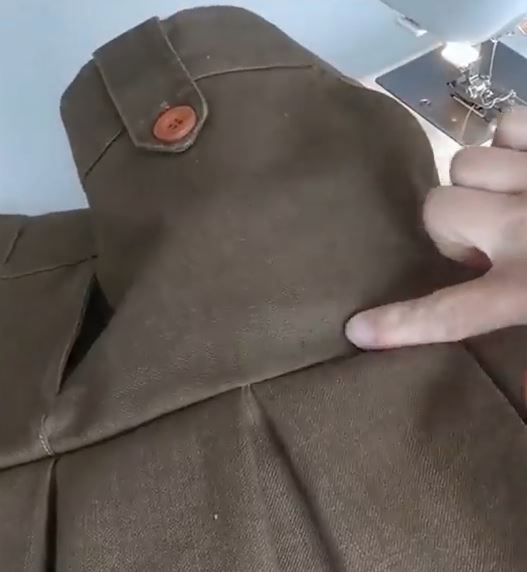
After hemming, the skirt is ready: the yoke remains from the old trousers, and the lower part keeps its shape thanks to the inverted pleats.
The skirt is ready after the lower edge is finished.
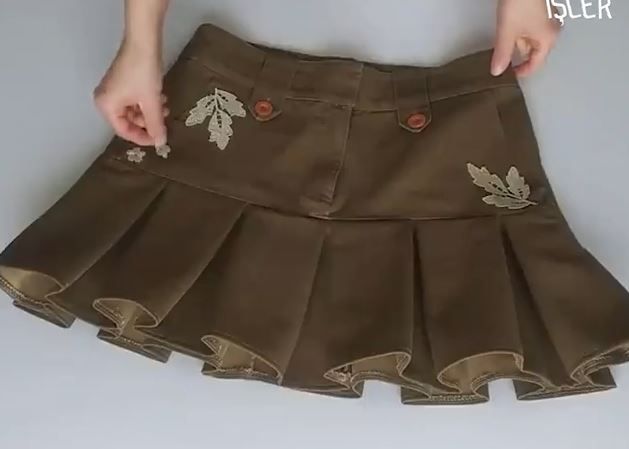
Add heat-transfer appliqués if desired
If you want a more decorative skirt, add heat-transfer appliqués. In the source example, they are added after the main skirt is sewn.
Optional heat-transfer appliqués decorate the finished skirt.
Finish and variations
Finish
Done when
the yoke is joined evenly to the lower panel, the inverted pleats hold their shape, the seam allowance is secured with topstitching, and the lower edge is finished and hemmed.
Variations
Appliqué decoration
In the source example, the finished skirt is decorated with heat-transfer appliqués. This is optional: you can leave the skirt plain if the fabric and buttons already look complete.
The lower panel looks skewed, or the pleats on one side are deeper than on the other.
Likely cause
The pleats were formed without checking the full panel length first.
How to fix it
Before stitching, lay out the whole long panel and even out the depth of the inverted pleats. Pin the pleats first, then secure them with stitching.
The pleated ring does not match the yoke
Problem
After being closed into a ring, the lower panel is larger or smaller than the lower edge of the yoke.
Likely cause
Pleat depth or short-seam allowances came out uneven.
How to fix it
Before sewing it to the yoke, test the ring against the lower edge. If the lengths do not match, redistribute the pleats and only then secure them permanently.
The raw edges fray
Problem
The trouser fabric frays at the joining seam or along the lower edge.
Likely cause
The raw edges were not finished after stitching.
How to fix it
In the source master class, the edges are finished with a serger: first the yoke joining seam, then the skirt bottom before hemming.
The skirt hem is uneven
Problem
After hemming, the lower edge looks wavy or uneven in height.
Likely cause
The lower-panel strips were not cut as identical rectangles, or the hem was turned unevenly.
How to fix it
When cutting, make four identical rectangular strips. Before the final stitch, turn the lower edge evenly to the wrong side all around.
?FAQ
Do I need a pattern for this skirt?
No separate pattern is used here: the yoke comes from the upper part of the trousers, and the lower panel is built from four rectangular strips cut from the legs.
How many strips should I cut from the legs?
The source master class cuts four identical rectangular strips. They are sewn into one long panel, and inverted pleats are then formed along it.
Can I do this without a serger?
The source finishes the raw edges with a serger, so that is the closest repeat. If you do not have one, use another seam finish suitable for your fabric and test it on a scrap first.
What trousers work for this upcycle?
Choose trousers whose upper part is still usable as a yoke and whose legs have enough fabric for four strips. If the lower hems are worn, cut them away as shown in the master class.
When should I add heat-transfer appliqués?
Add appliqués after the main skirt is assembled: finish the hem and check the final shape first, then place the decoration if desired.
Your project
Log in to track your project, attach photos, and publish your result into the shared feed.

 BeginnerFree