This master class shows how to sew a pillowcase with an invisible zipper: cut two fabric pieces, finish the edges, mark the zipper opening, temporarily sew the zipper section with a long stitch, install the zipper with a special foot, remove the basting seam, and sew the remaining sides of the pillowcase.
BeginnerFree
Translated
Things you will learn
For a 70 × 70 cm pillow, cut two pieces with 1.5 cm seam allowances on all sides.
A 50 cm invisible zipper is sewn into one pillowcase seam.
The zipper section is first sewn with a long stitch and no backstitching, so that seam can be removed later.
Pin the zipper from the wrong side, with the slider facing down, aligned to the marks.
After sewing in the zipper, remove the temporary seam, sew the three remaining sides, turn the pillowcase right side out, and press it.
Pillowcase with a hidden closure
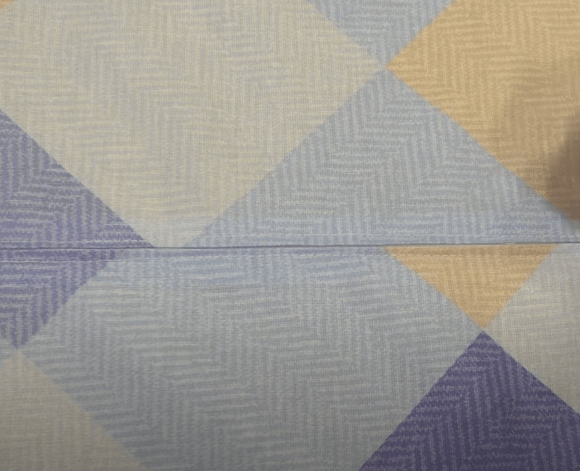
The result is a neat pillowcase without a flap: the zipper is hidden in the seam, the closure holds the pillow securely, and the method works for both bedding and decorative sofa pillows.
Materials and tools
Materials
Fabric, 2 pieces, For a 70 × 70 cm pillow, cut two pieces 70 × 70 cm plus 1.5 cm seam allowances on all sides.
Invisible zipper, 50 cm, Choose a zipper that matches the fabric if possible.
Thread, Use thread matching the fabric or zipper.
Tools
Sewing machine, For sewing the pillowcase pieces and installing the zipper.
Invisible zipper foot, Usually included with many modern domestic sewing machines.
Serger or zigzag stitch, For finishing the raw edges.
Seam ripper, For removing the temporary seam after the zipper is sewn in.
Iron, For pressing the seam open and finishing the pillowcase.
Pins and pencil, For holding the zipper and marking the start of the teeth and the slider position.
Preparation
Cut the pieces
For a 70 × 70 cm square pillow, prepare two fabric pieces with 1.5 cm seam allowances on all sides.
Prepare the zipper and foot
Use an invisible zipper about 50 cm long, preferably in a matching color, and install the invisible zipper foot.
Cutting and preparing the seam
First prepare the pillowcase pieces and the seam where the invisible zipper will be inserted.
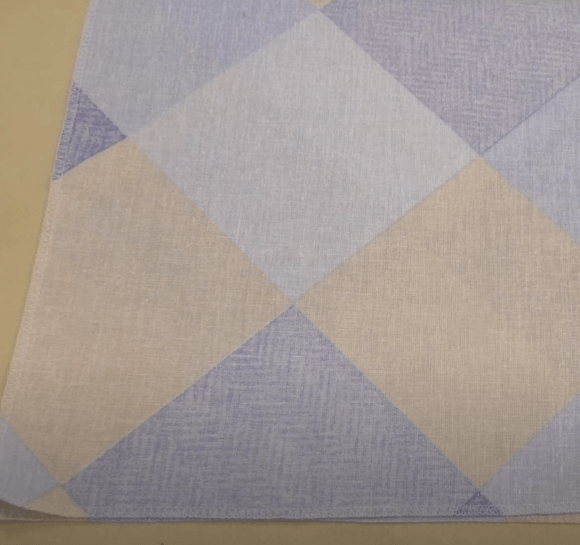
Cut two pieces
Cut two identical pillowcase pieces. For a 70 × 70 cm pillow, add about 1.5 cm seam allowance to each side.
Finish the edges
Finish the raw edges with a serger or zigzag stitch so the fabric will not fray inside the pillowcase.
Mark the zipper position
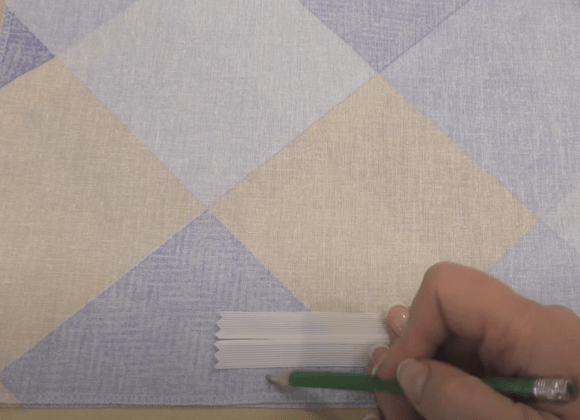
Place the pieces right sides together. Step back 5.5 cm from the edge, lay the zipper in place, and mark where the teeth begin and where the slider sits.
Sew the seam in three sections
Sew the seam normally with backstitching on both sides of the zipper opening. Sew the zipper section with the longest stitch length, minimal tension, and no backstitching; this temporary seam will be removed later.
Do not backstitch the temporary seam
Backstitching in the zipper section makes the temporary seam harder to remove.
Installing the invisible zipper
The neatness depends on accurate marking, aligning the zipper with the temporary seam, and using the correct zipper foot.
Press the seam open
Press the seam open on both sides so the zipper line is flat and even.
Pin the zipper from the wrong side
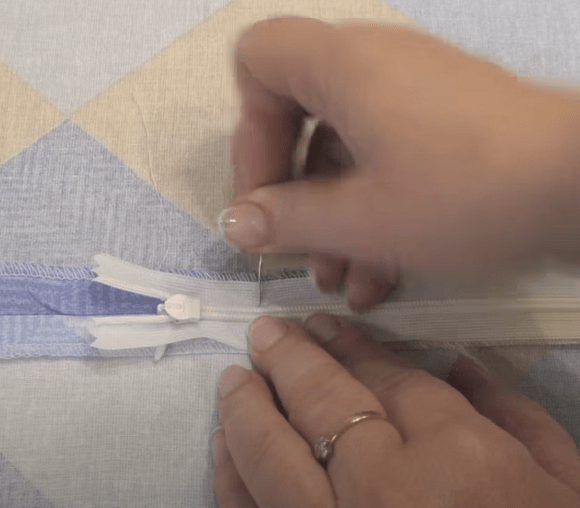
From the wrong side, position the zipper against the marks with the slider facing down, and secure it with pins.
Change the presser foot
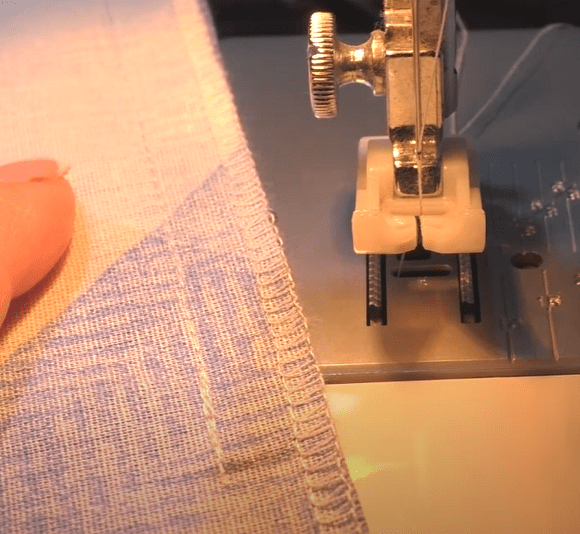
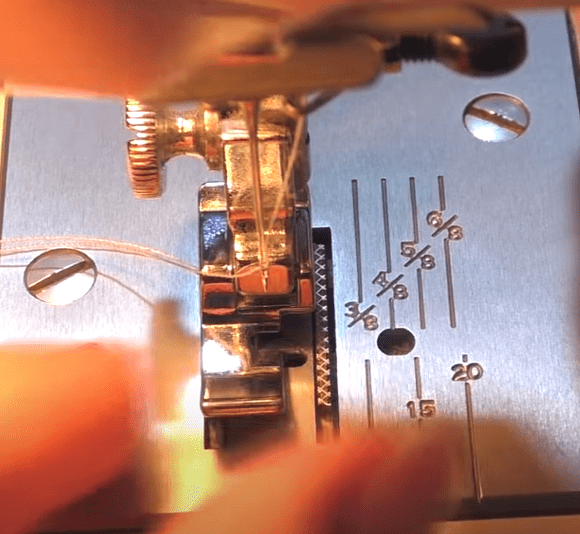
Attach the invisible zipper foot. It helps guide the seam close to the zipper teeth so the closure is almost hidden after turning.
Sew in the zipper
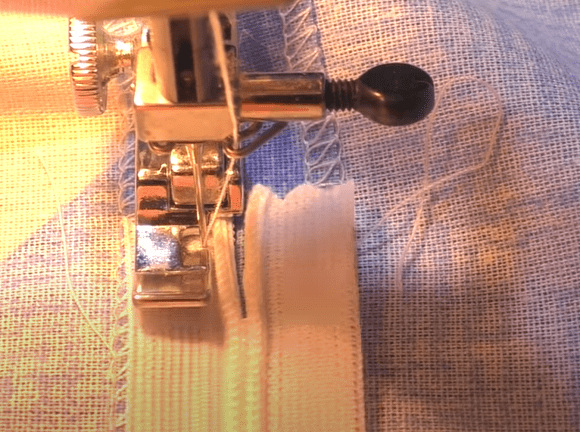
Stitch the zipper in place, trying to align the zipper closure with the temporary seam joining the two pillowcase pieces. If you are new to this, hand-baste the zipper to the fabric first.
Assembling the pillowcase
Once the zipper is installed, open it, remove the temporary seam, and close the remaining sides.
Remove the temporary seam
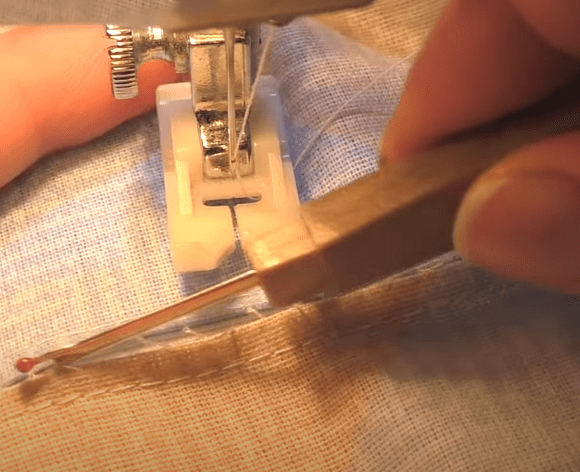
After the zipper is stitched in, carefully remove the basting seam with a seam ripper.
Check the closure
Make sure the zipper opens and closes smoothly and is hidden in the seam from the right side.
Sew the remaining sides
Open the zipper so you can turn the pillowcase later. Sew the three remaining sides with a straight stitch.
Turn and press
Turn the pillowcase right side out, shape the corners neatly, and press the finished piece.
Finish and variations
Finish
Final check
Check that the zipper is hidden in the seam, the slider moves freely, the corners are shaped, and the pillowcase fits the pillow.
Variations
Decorative pillow
The same method works for sofa cushions if you choose fabric that suits the room.
Different size
For another pillow size, measure the pillow, cut two matching pieces, and add seam allowances.

 BeginnerFree