Napkins, tablecloths, towels—in all of these items, the corners should be as close to perfection as possible 👌 To ensure the finished result is flawless, I suggest taking a detailed look at 2 ways to fold and finish corners. The first opti
BeginnerFree
Translated
Perfect Corners: A Detailed Step-by-Step Guide
Napkins, tablecloths, towels—in all of these items, the corners should be as close to perfection as possible 👌 To ensure the finished result is flawless, I suggest taking a detailed look at 2 ways to fold and finish corners. The first opti
Main Steps
Step 1
Napkins, tablecloths, towels—in all of these items, the corners should be as close to perfection as possible 👌
Step 2
To ensure the finished result is flawless, I suggest taking a detailed look at 2 ways to fold and finish corners.
The first option is simpler and faster—it's great for decorative napkins and tablecloths, that is, items that won't be subjected to any heavy wear and tear.
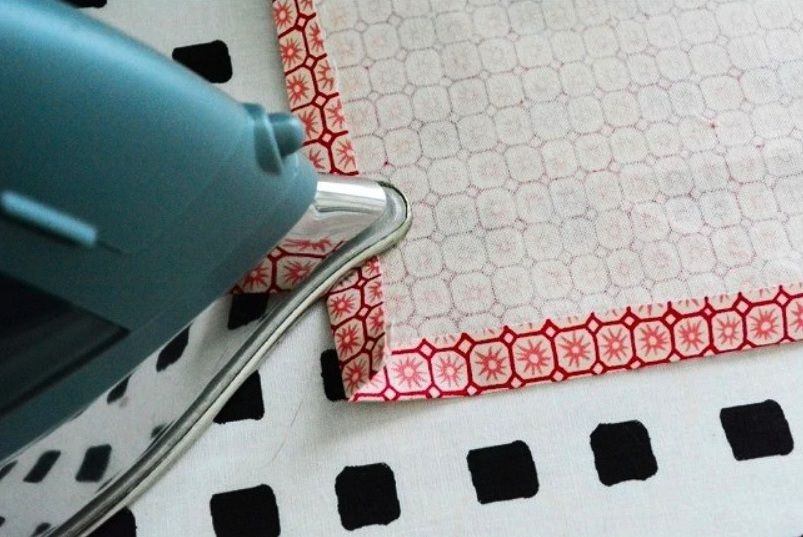
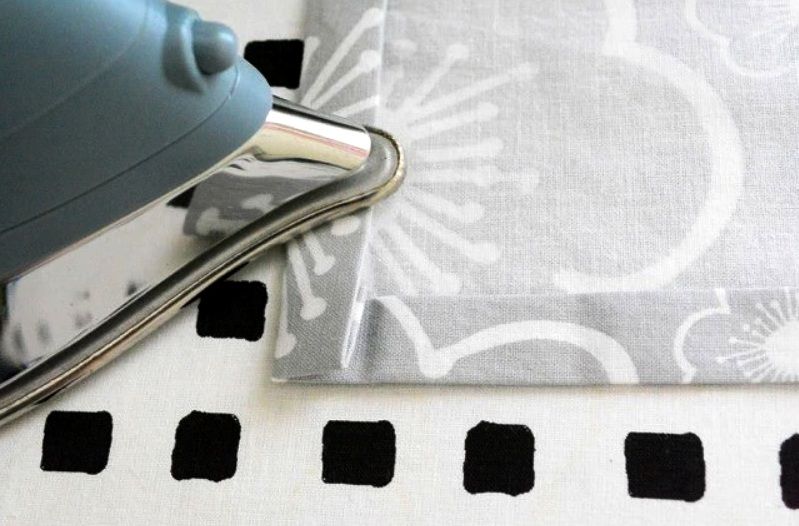
To start, make a hem allowance 2 times smaller than usual and press it to the wrong side—first one edge, then the other.
Step 3
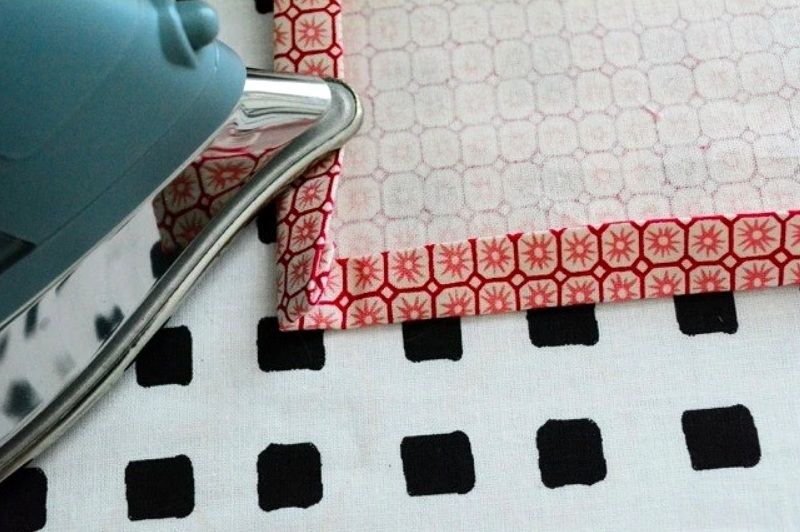
Fold it over a second time—by the exact same width.
Step 4
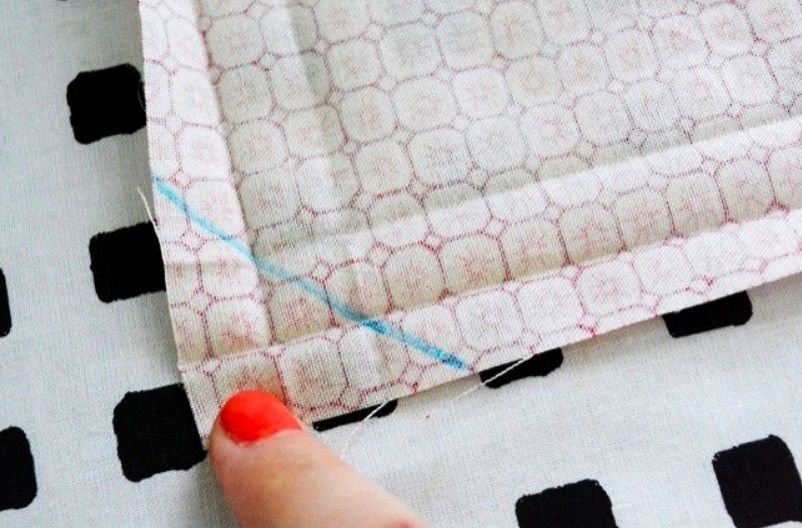
Unfold the allowances completely—the pressed creases form a square. Take a marker and draw a line dividing it into 2 equal right triangles.
Step 5
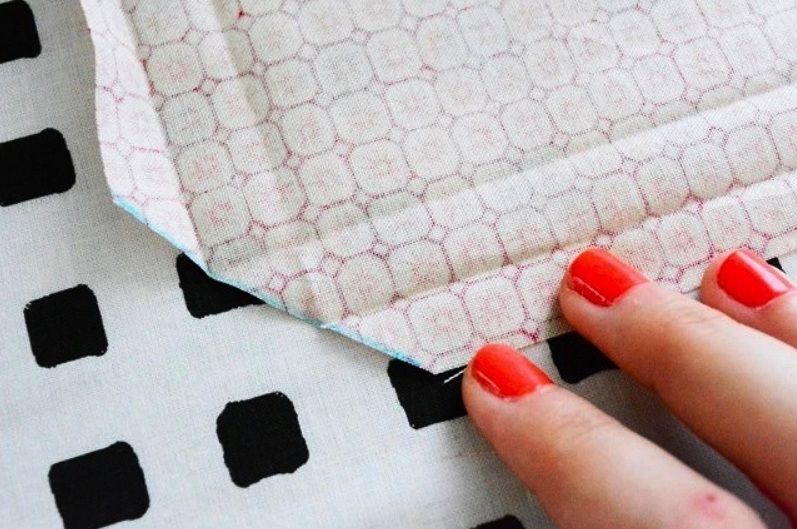
Go ahead and snip off the corner 😉
Step 6
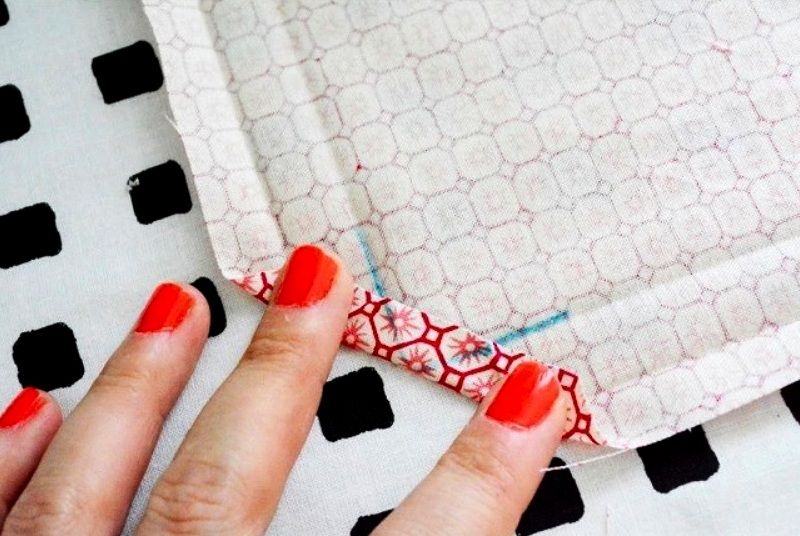
Make a new fold and extend the marker lines onto it.
Step 7
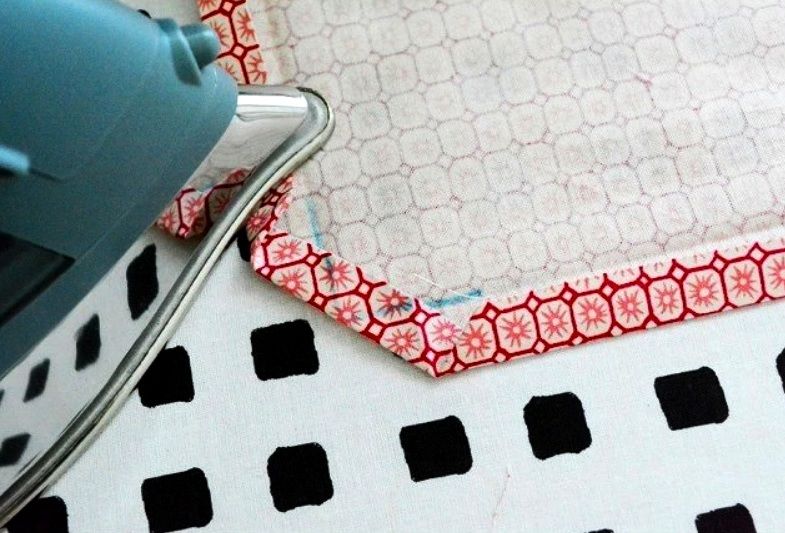
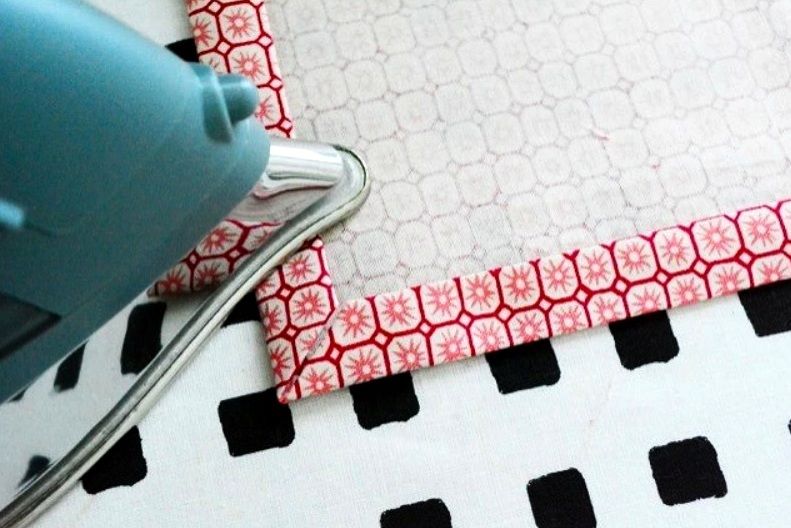
Press the folds again on both sides, using the marks as a guide.
Step 8
Make the final fold.
Step 9
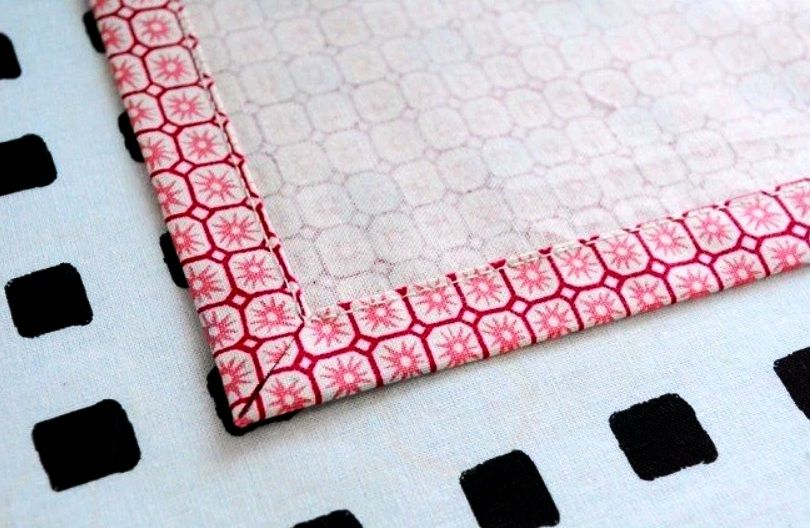
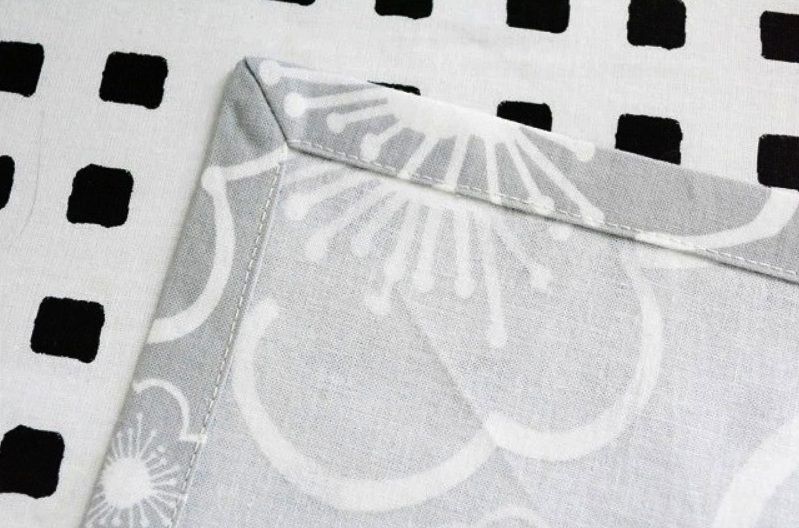
And stitch around the perimeter—the first corner is ready 👍
Step 10
The second option is a bit trickier, but the corner turns out sturdier and more durable against wear and tear. It works great for kitchen towels, bedsheets, and items with wide hems.
The initial steps are the same as in the first method: make 2 folds in sequence, pressing each one.
Step 11
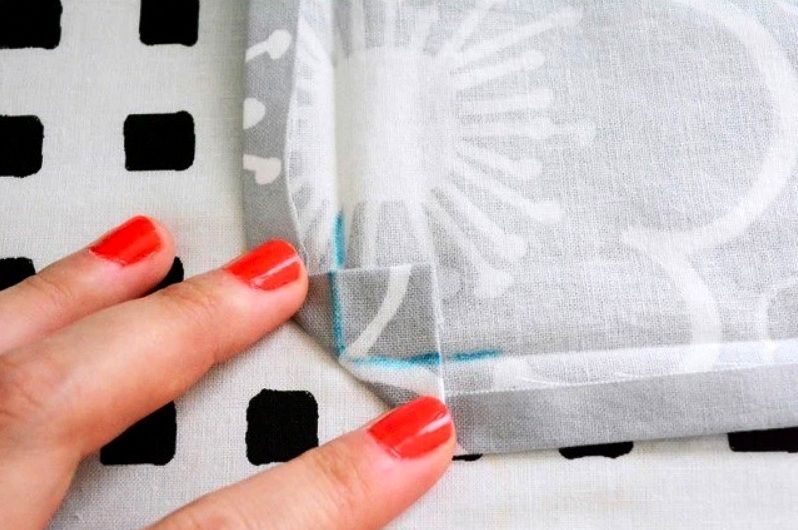
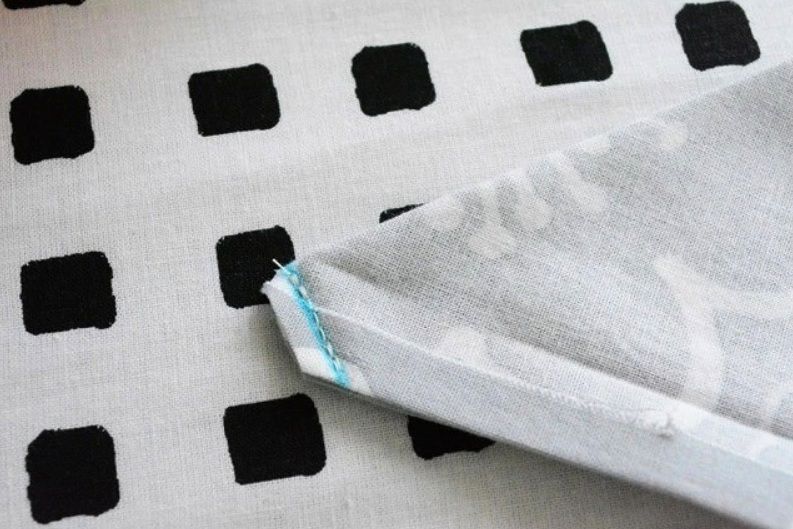
Unfold one layer, fold the corner in, and make marks with a marker.
Step 12
Press the corner so that a crisp crease remains when unfolded.
Step 13
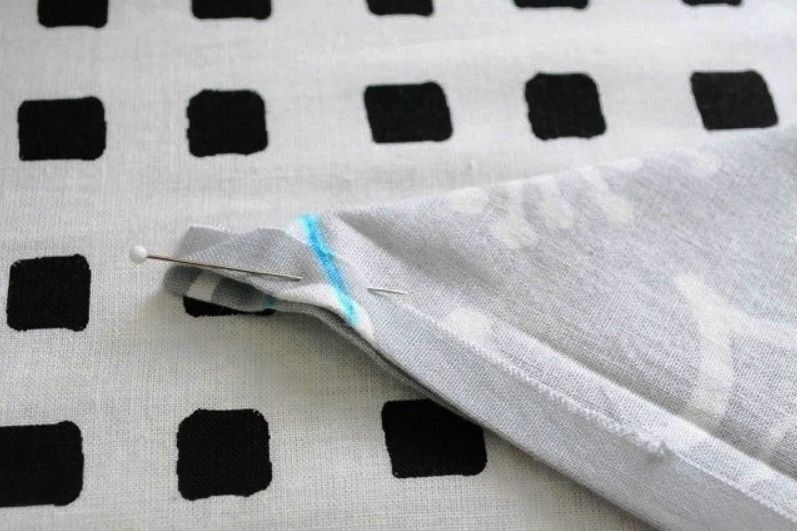
Fold the corner wrong side out (diagonally) and secure it with a pin.
Step 14
Stitch along the pressed crease line and trim the corner.
Step 15
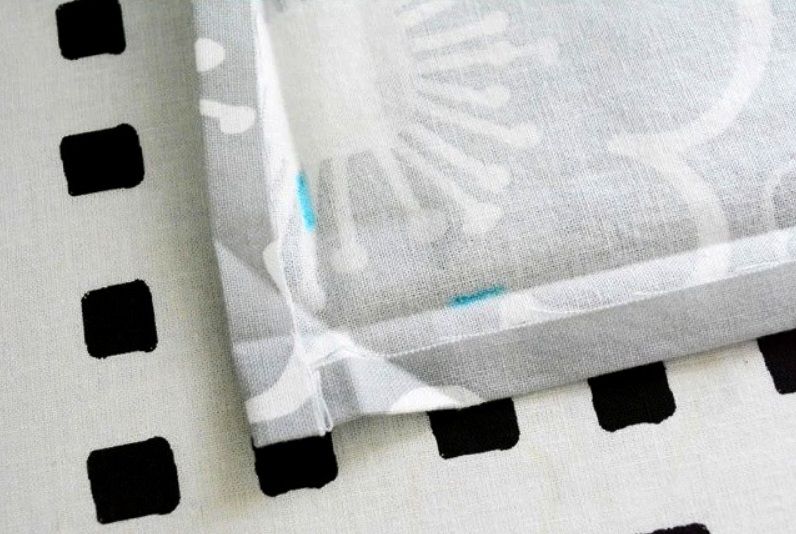
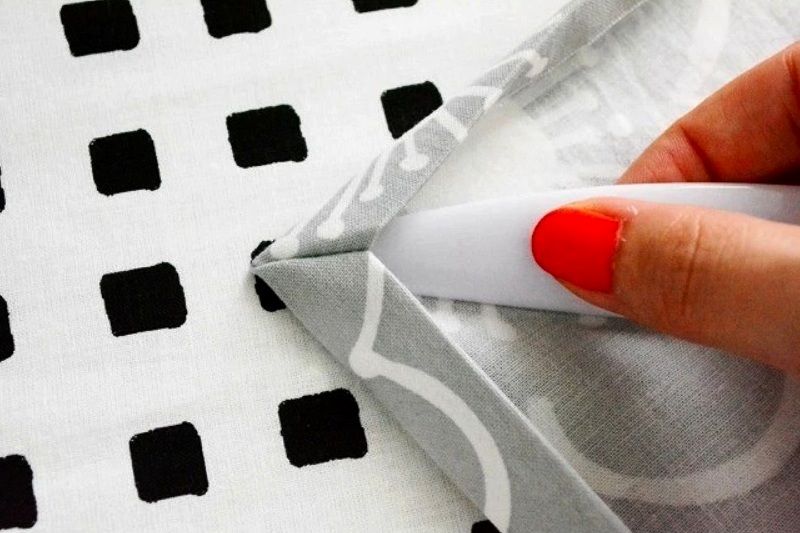
Turn the corner right side out, carefully shaping it.
Step 16
Steam-press the corner and sew a securing topstitch—and that's finally all there is to it 😉
I hope these detailed steps help someone master both beautiful corners :giggle:

 BeginnerFree