Patchwork Quilt from Squares with Polyester Batting
Step-by-step master class for a patchwork quilt from squares: cut 10 x 10 cm cotton squares, chain-piece them with a 0.75 cm seam allowance, press the top, layer backing-batting-patchwork top, quilt along the seams, secure the perimeter, and finish the edge with 4.5 cm wide bias binding.
BeginnerFree
Translated
Things you will learn
For a children's quilt measuring 110 x 140 cm, the source gives a layout of 13 x 16 squares, 208 pieces total.
The squares are chain-pieced: pairs and following rows are sewn without constantly cutting the thread.
The basic seam allowance for joining squares is 0.75 cm.
Cut the batting 1-2 cm larger than the patchwork top, and the backing another 1-2 cm larger than the batting.
Before binding, secure the perimeter with a seam 0.5 cm from the edge of the top piece and trim away the extra batting.
What you will get
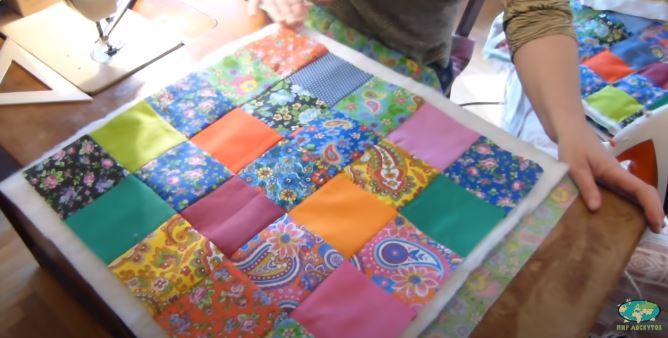
A simple patchwork quilt from cotton squares, with backing, polyester batting, and an edge finished with bias binding. The source gives an example for a children's quilt measuring 110 x 140 cm.
Materials and tools
Materials
Scraps for squares, 100% cotton; the author suggests calico/chintz or a ready-made set of squares
Backing fabric, cut larger than the batting piece
Polyester batting, for warmth; the middle layer is cut 1-2 cm larger than the patchwork top
Bias binding, ready-made or cut at a 45-degree angle; width 4.5 cm
Thread, and regular sewing supplies
Tools
Sewing machine, for joining squares, quilting, and attaching the binding
Iron, for pressing seam allowances from the wrong side
Pins, for fixing the layers at seam intersections
Scissors or rotary cutter, for squares, batting, backing, and trimming extra batting
Tape, optional: for fixing a large quilt to the floor at the four corners
Files and resources
Mir Loskutov video master classIn the source, this video is referenced for a detailed process, binding calculation, and turning the binding at the corners.Mir Loskutov video master class
Preparation
Prepare the squares
Cut 10 x 10 cm squares from cotton scraps, or use a ready-made set for a patchwork quilt.
Check the sample size
For a child aged 3 to 12, the source gives a size of 110 x 140 cm and a layout of 13 x 16 squares, 208 pieces total.
Do not estimate the binding by eye
The text gives a binding width of 4.5 cm and a 45-degree cutting direction; the author refers to the video for calculating the needed length.
Chain-piece the squares
The point of the quick method is that pairs and rows are sewn without constantly breaking the thread.
Sew the first pair of squares
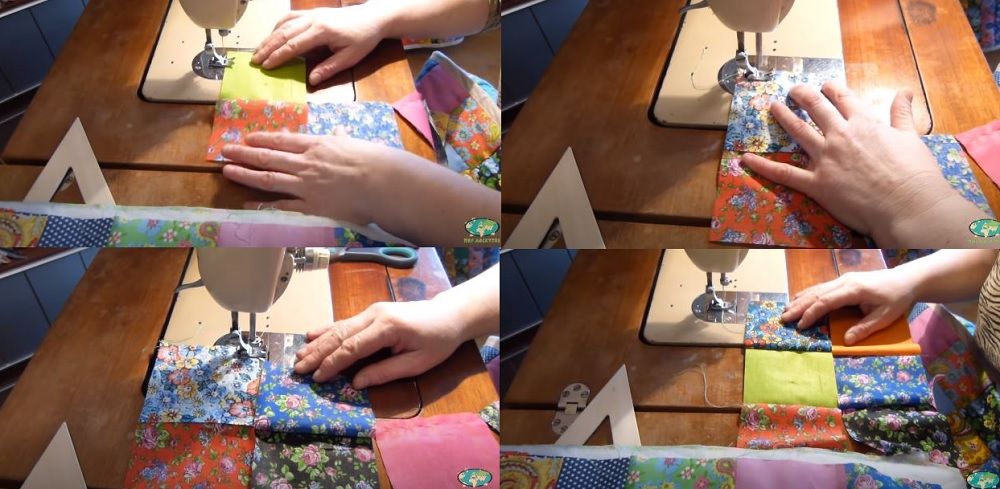
Place two squares right sides together and stitch with a 0.75 cm seam allowance.
The first pairs of squares are sewn with a 0.75 cm seam allowance.
Continue stitching without cutting the thread
Without cutting the thread or stopping the line of stitching, sew the next two squares. Before that, choose them by color so the new pair works with the already sewn one. Place the new pair right up against the first.
Color rhythm
The source specifically asks you to choose the next pairs by color so they work with the already sewn squares.
Assemble the first strip
Sew the next pairs the same way, continuing without cutting the thread. In the sample, the author sews five pairs of squares, then cuts the thread: the first strip is ready.
The strip is assembled with chain piecing, without constantly cutting the thread.
Attach the next rows
Open out the first pair of squares. Place the next prepared piece on the right side of the right square and sew the pieces together without cutting the thread. Then open the next pair of the first strip, place another square on the right square, and stitch again.
Make the horizontal garland
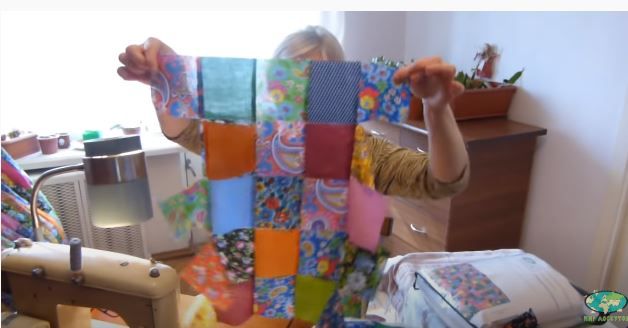
Attach the following rows the same way; in the source sample there are five rows total. The result is a “garland” of squares sewn horizontally.
The horizontal rows stay connected before the vertical seams are sewn.
Top and pressing
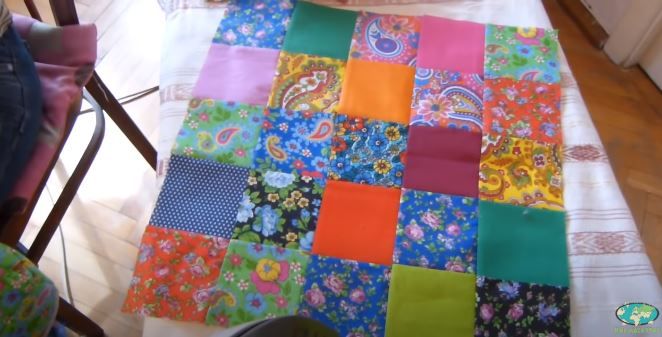
After the horizontal joining, press the top and close the vertical seams.
Press the horizontal seams
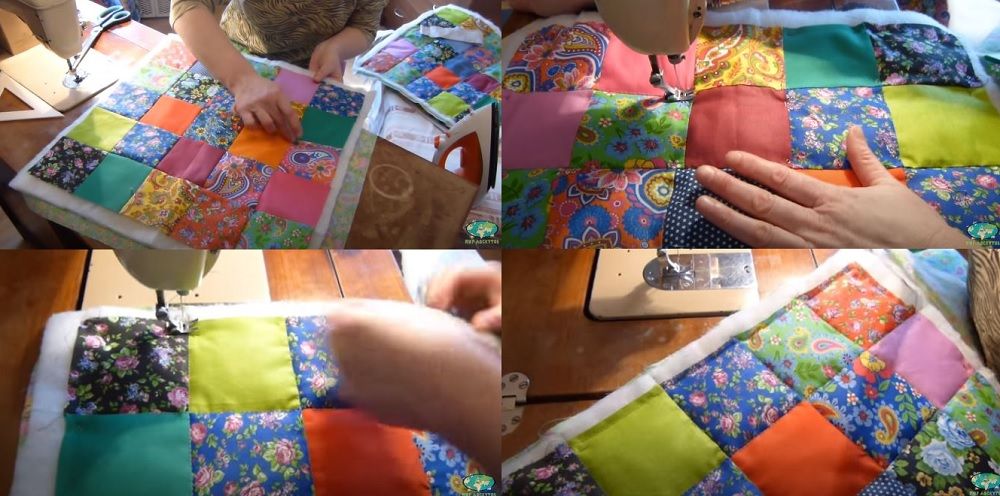
Press all squares from the wrong side, pressing seam allowances to one side. Gently stretch the fabric at the seams while pressing.
Sew the squares vertically
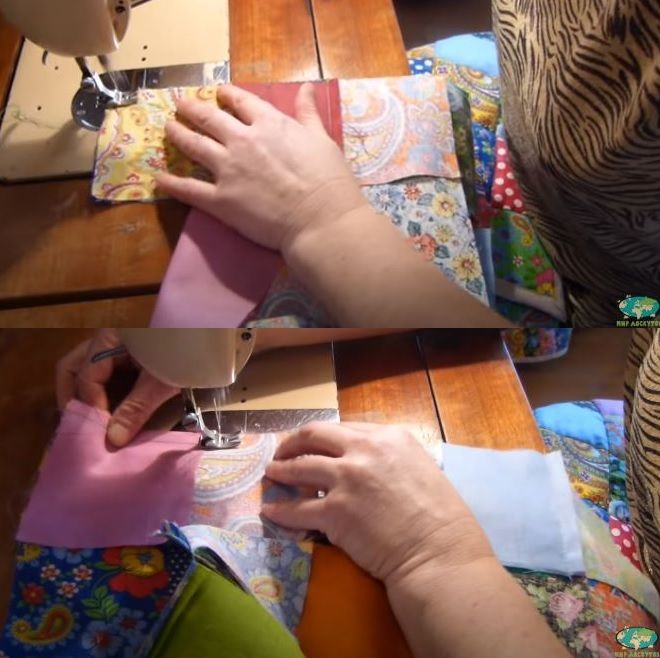
Join the squares vertically. You do not need to pin or baste first: they have already been stitched horizontally without cutting the thread and hold together. Sew the vertical seams with a 0.75 cm seam allowance.
Vertical seams are sewn with the same 0.75 cm seam allowance.
Press the finished top
After all vertical seams, press the top again from the wrong side. This time the pressing direction should be perpendicular to the previous one: press seam allowances to one side and gently stretch the seams.
After the vertical seams, the top is pressed again from the wrong side.
Sandwich and quilting
At this stage, the patchwork top is joined with batting and backing.
Cut the batting and backing
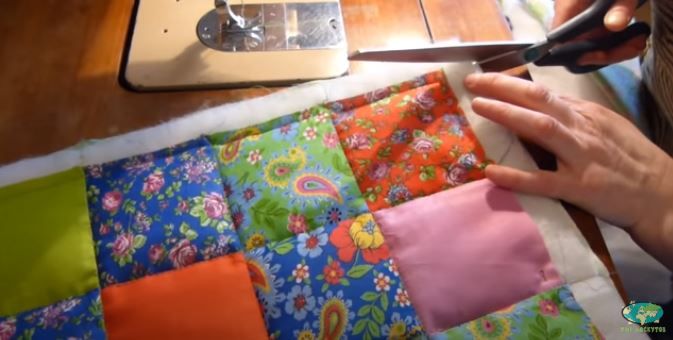
Cut the middle piece from polyester batting: it should be 1-2 cm larger than the patchwork top. Then cut the backing: it should be another 1-2 cm larger than the batting piece.
Layer the three pieces
Place the backing wrong side up, lay the batting on top, then place the patchwork top right side up.
The layers are arranged as backing, batting, and patchwork top.
Fix the layers
If the quilt is large, it is easier to assemble it on the floor. The author recommends securing the pieces with tape at the four corners. Then pin the layers at the intersections of vertical and horizontal seams, meaning at the corners of the squares.
Pins are placed at the intersections of horizontal and vertical seams.
Quilt along the seams
Stitch the assembly along all horizontal and vertical seams through the three layers. If the squares are large and the layers shift, press the pieces down with an available object; the source uses a wooden triangle.
The stitch goes through three layers
This operation joins the patchwork top, batting, and backing, so do not skip seam sections.
Secure the perimeter and trim extra batting
Sew a securing stitch through all three layers around the perimeter, 0.5 cm from the edge of the top piece. This will make binding the edge easier. After that, trim away the extra batting.
The perimeter is secured with stitching, then the extra batting is trimmed.
Finish the edge with binding
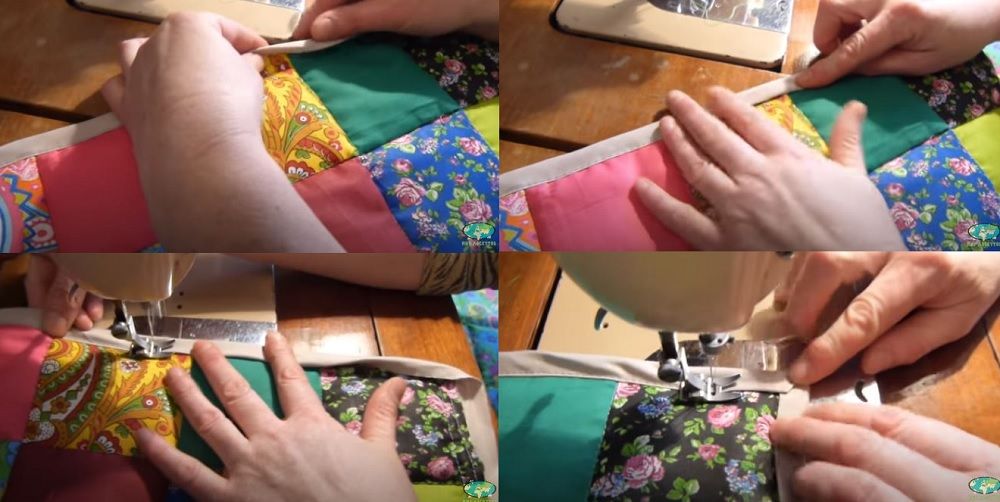
The edge is closed with bias binding: first from the backing side, then from the front side close to the edge.
Attach the binding from the backing side
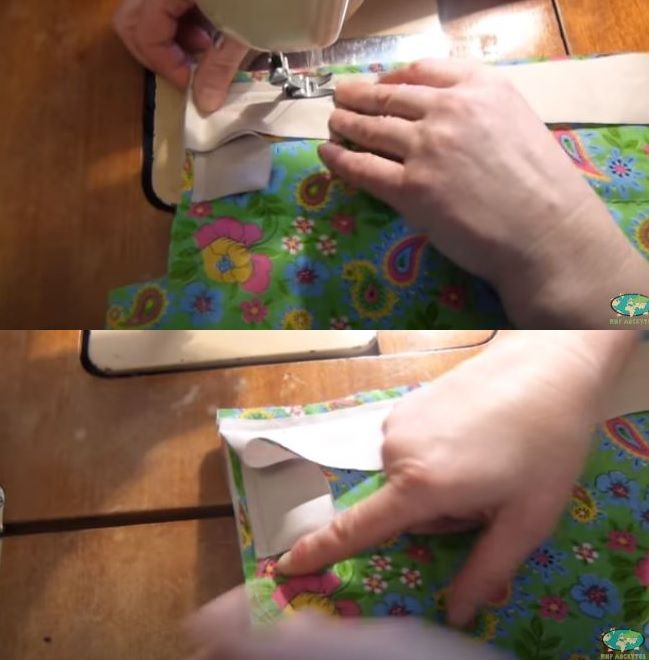
Place the quilt backing side up. Fold in the short ends of the binding, then place the binding along the quilt edge, edge to edge, right side down. The author suggests calculating the needed amount of binding from the video master class.
At the corner, stop stitching 5 mm before the edge and turn the binding.
Shape the corners
At the corners, stop stitching 5 mm before the edge. Stop the seam, fold the binding by turning it 90 degrees, and continue sewing. Attach the binding around the entire perimeter this way. The binding ends should meet on one side with an overlap of a couple of centimeters.
The turn is shown in the video
In the text, the source points to the video for how to fold the binding at the corner.
Topstitch the binding close to the edge
Turn the quilt with the patchwork side up. Wrap the binding around the raw edges and shape neat corners. Fold the binding edge inward and stitch it close to the edge.
The binding wraps the raw edges and is topstitched close to the edge from the front side.
Finish and variations
Finish
Quilting through three layers
Check that the horizontal and vertical seams are stitched through the patchwork top, batting, and backing.
Edge closed with binding
The binding should cover the raw edges around the entire perimeter, the corners should be folded neatly, and the final stitch should run close to the edge.
Variations
Ready-made set of squares
Instead of cutting 10 x 10 cm squares yourself, you can use a ready-made quilt square set.
Ready-made or self-cut binding
The source allows ready-made bias binding or binding cut at a 45-degree angle, 4.5 cm wide.
Another size
The text calculates the example of 110 x 140 cm with 13 x 16 squares; for another size, recalculate the number of pieces and binding length separately.
Rows begin to shift, and seam intersections look uneven.
Likely cause
The 0.75 cm seam allowance changed, or the square pairs were not sewn with chain piecing.
How to fix it
Keep the 0.75 cm seam allowance consistent and sew pairs/rows without constantly cutting the thread, as in the source.
Seam allowances create bulk and distortion
Problem
The top does not lie smoothly after the squares are joined.
Likely cause
The seam allowances were not pressed, or the pressing direction was not changed after the vertical seams.
How to fix it
First press seam allowances to one side, then after the vertical seams press again from the wrong side in the perpendicular direction.
The layers shift during quilting
Problem
The backing, batting, and patchwork top move apart under the presser foot.
Likely cause
The sandwich was not secured enough before quilting along the seams.
How to fix it
For a large quilt, assemble the layers on the floor, tape the corners down, and pin the seam intersections.
The edge is hard to bind
Problem
The batting makes it hard to fold and stitch the binding evenly.
Likely cause
The perimeter was not secured in advance, or the extra batting was not trimmed.
How to fix it
Before binding, sew a securing stitch through all three layers 0.5 cm from the edge of the top piece, then trim away the extra batting.
The binding corners look bulky
Problem
The corners form a lump or twist.
Likely cause
The seam was sewn all the way to the edge, or the binding was not turned 90 degrees.
How to fix it
At the corner, stop 5 mm before the edge, stop stitching, fold the binding with a 90-degree turn, and only then continue.
?FAQ
What quilt size is shown in the master class?
The source gives an example of a children's quilt measuring 110 x 140 cm for ages 3 to 12.
How many squares are needed for this size?
For 110 x 140 cm, the source gives a layout of 13 x 16 squares, 208 pieces total. One square before sewing is 10 x 10 cm.
What seam allowance is needed when joining squares?
The text gives a 0.75 cm seam allowance for horizontal and vertical seams.
How should I cut the batting and backing?
Cut the batting 1-2 cm larger than the main patchwork piece, and the backing 1-2 cm larger than the batting piece.
What binding is needed for the edge?
Use ready-made bias binding or binding cut at a 45-degree angle. The source width is 4.5 cm; the author suggests checking the video for calculating the quantity.
Your project
Log in to track your project, attach photos, and publish your result into the shared feed.

 BeginnerFree