Remember how people used to hang horseshoes over the front door to attract and accumulate wealth and well-being? I think there's something to it. I'd like to share a tutorial on making a leather horseshoe that can...
BeginnerFree
Translated
Process
Step 1
Remember how people used to hang horseshoes over the front door to attract and accumulate wealth and well-being? I think there's something to it. I'd like to share a tutorial on making a leather horseshoe that you can hang in your own home or give to a loved one.
Illustration 2
Step 3
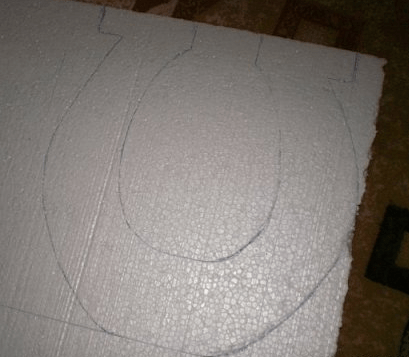
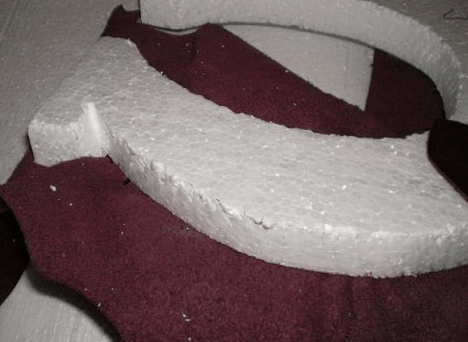
A horseshoe like this can be absolutely any size, but personally I like one around 40 cm best (it is moderately substantial, and it's easier to work with the flowers, which are also made of leather). Cut a horseshoe-shaped blank from a sheet of foam. It's best to use 40 foam (that is, 4 cm thick). If you have extruded foam with a smaller thickness but higher density, that material will work too.
Illustration 4
Step 5
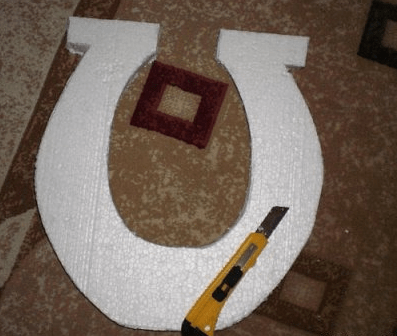
Cut out the horseshoe with a sharp utility knife. A quick tip: when cutting foam, it's best to do it on a floor without carpeting (or simply cover your work surface with an oilcloth). Cleaning up polystyrene beads is very difficult, even with a vacuum cleaner.
Illustration 6
Step 7
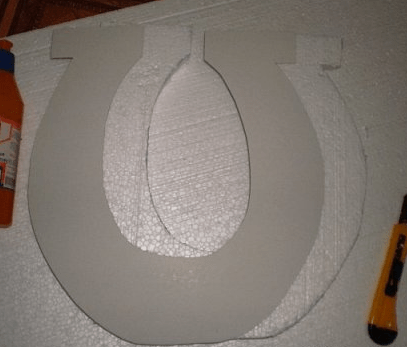
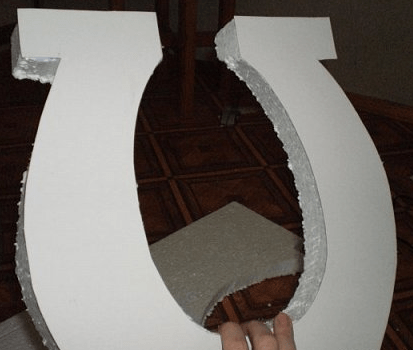
Trace our blank onto cardboard and cut out two more identical horseshoes from the cardboard. Glue one of the extra horseshoes onto the foam blank. Dragon glue works great for bonding, but if you don't have allergies, you can also use Moment glue.
Illustration 8
Illustration 9
Step 10
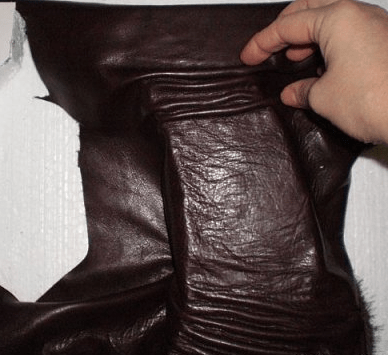
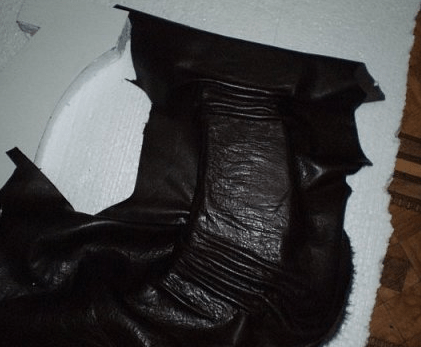
Cut several small scraps from the leather and begin decorating the base. Generously coat the wrong side of the leather with glue and stick it to the base. Form small folds as you go.
Illustration 11
Step 12
Don't be afraid, and don't try to stretch it only the way you want. Leather is a pliable material and will show you the best way to drape it.
Illustration 13
Step 14
Turn the piece over to the back side and secure the edges. Trim off any excess.
Illustration 15
Step 16
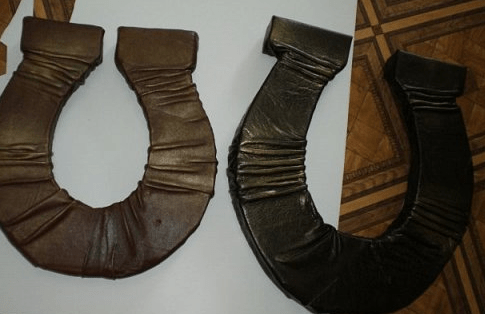
You will end up with a horseshoe like this, but at this stage it looks dull and plain, so gently brush over it with gold acrylic paint and move on to the next step.
Illustration 17
Step 18
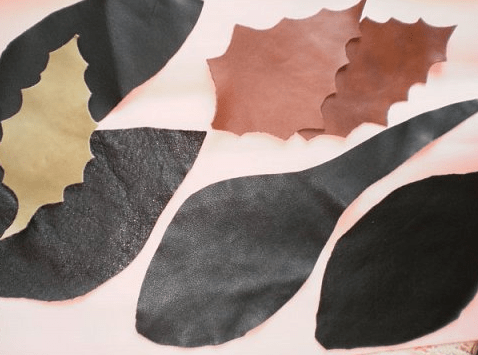
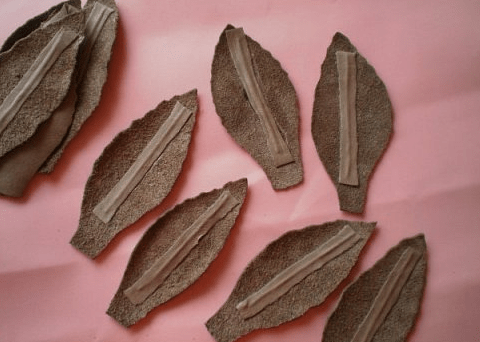
Cut out freeform leaves from leather scraps in different shades.
Illustration 19
Step 20
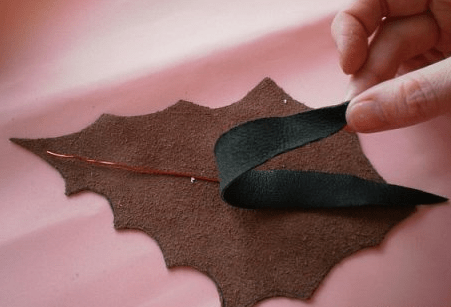
Place a medium-thin wire down the center of each leaf and glue a narrow strip of leather over it.
Illustration 21
Step 22
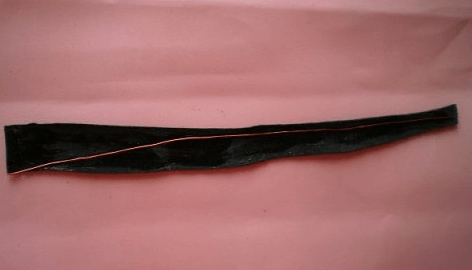
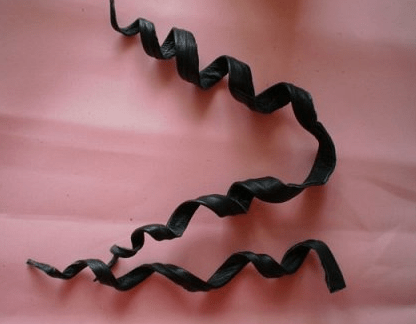
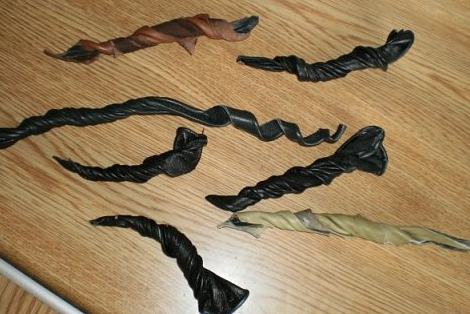
For extra decoration, cut leather strips measuring 15/4 cm. Place a wire along the center and secure the edges with glue, folding them toward the center. Twist them to create curls like these.
Illustration 23
Illustration 24
Step 25
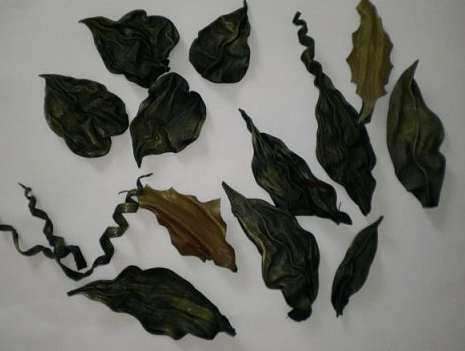
Coat the leaf blanks with PVA glue diluted 1:2 with plain water. Twist them as if wringing out laundry and leave them for 35-45 minutes.
Illustration 26
Step 27
Once you unroll the rolled-up leaves, you will get this lovely result. This leaf shade is achieved by misting the leaves with spray paint.
Illustration 28
Step 29
For the lily flowers, cut out 18 petals, which will make 3 flowers. Glue a short piece of wire to the back side and conceal it with a narrow strip of leather.
Illustration 30
Step 31
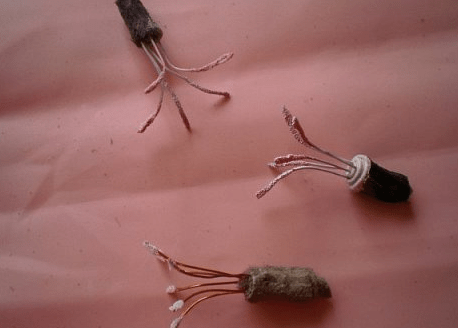
Make the flower centers out of wire.
Illustration 32
Step 33
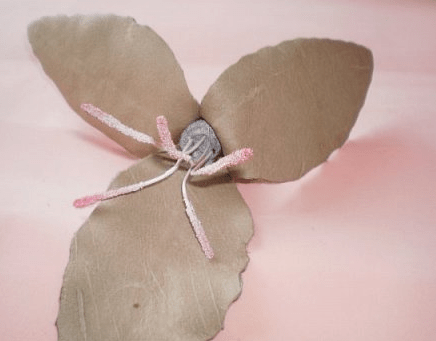
Glue three petals to the center all at once.
Illustration 34
Step 35
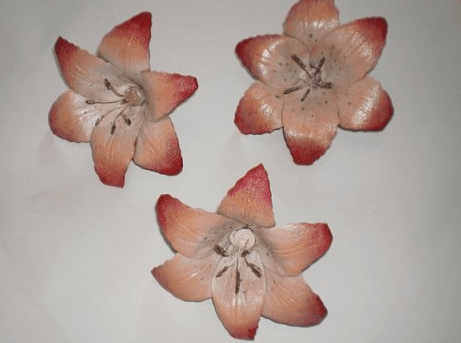
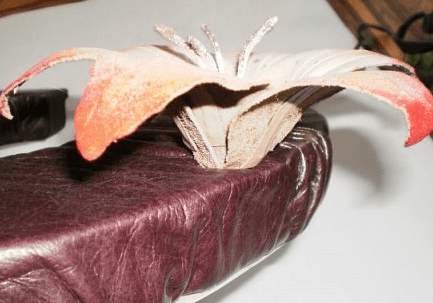
Then add three more, staggering them. Paint the flower pieces so they look truly like lilies. If you're skilled with a paintbrush and can paint all the details by hand, that's wonderful. But I'm not a pro and prefer spray paint. First, I spray yellow paint into the center of the flower (from a distance), then just a tiny touch of red closer to the center of the petals, and a bit more red right on the petal tips. Then lightly mist the yellow center and the entire flower with white spray paint, which helps even out the color and blend the transitions.
Illustration 36
Step 37
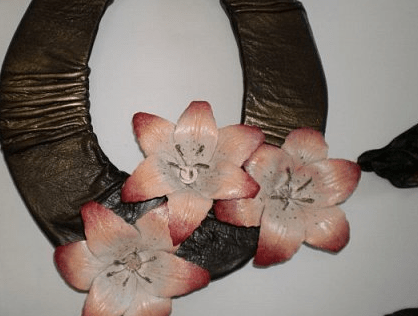
And secure our flowers, leaves, and curls onto the horseshoe.

 BeginnerFree