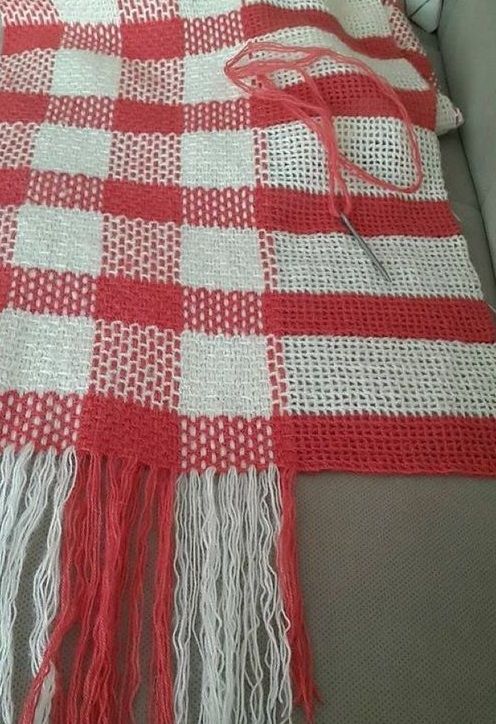
For the most part, I love knitting, so this embroidery method is great for anyone who works with knitwear. We will work stitches across the fabric to imitate a plaid pattern. It's a real lifesaver for crafters who don't like to fuss.
BeginnerFree
Translated
Love plaid? Then this method is for you!
For the most part, I love knitting, so this embroidery method is great for anyone who works with knitwear. We will work stitches across the fabric to imitate a plaid pattern. It's a real lifesaver for crafters who don't like to fuss.
Main Steps
Step 1
For the most part, I love knitting, so this embroidery method is great for anyone who works with knitwear. We will work stitches across the fabric to imitate a plaid pattern. It's a real lifesaver for crafters who don't like to fuss with ten balls of yarn. Shall we begin?
STEP 1
Choose the yarn the item is knitted from for the embroidery, color 1. Thread it into a yarn needle (thick, with a rounded tip). Leave a long tail without securing it, and work running stitches along the fabric. Pass the needle EVERY OTHER ROW! The vertical and horizontal stripes should be the same width (5 rows on the swatch).
Step 2
STEP 2
Switch yarn, choosing the second color, and repeat all the steps. DO NOT SECURE the yarn at the end of the work; leave a long tail.
Step 3
STEP 3
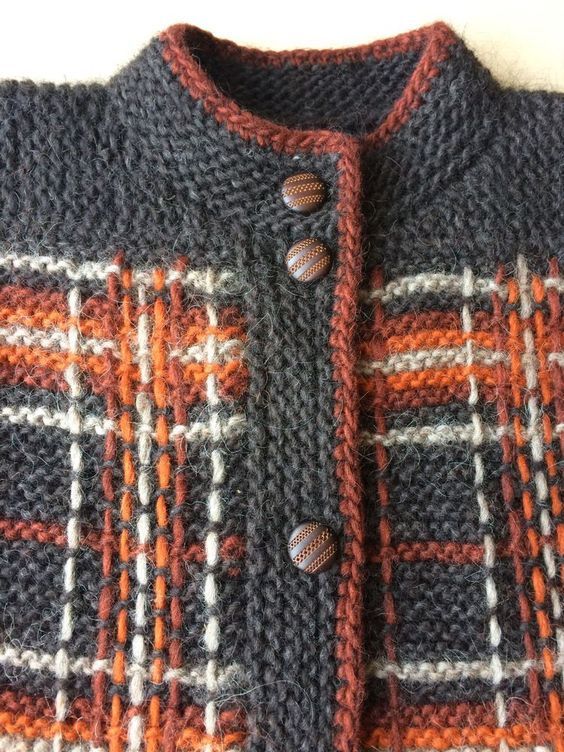
If you are making a scarf, as in my case, make fringe from the yarn tails, trimming them to an even length. If you are embellishing a garment with embroidery, the yarn must be secured at the beginning and end of each row. As an example, I've attached a photo of a classic jacket with English plaid.
Give this method a try, and you'll see that it's accessible even to beginners!

 BeginnerFree