How to Sew a Fabric Doll with Your Own Hands: Pattern and Detailed Master Class
Tools and materials: beige cotton or knit fabric for the body; small pieces of bright fabric for the dress and accessories; sewing thread; doll wefts or any other doll hair of your choice; little shoes for the doll; sharp s
BeginnerFree
Translated
Instructions
Tools and materials:
- beige cotton or knit fabric for the body;
- small pieces of bright fabric for the dress and accessories;
- sewing thread;
- doll wefts or any other doll hair of your choice;
- little shoes for the doll;
- sharp scissors;
- tweezers or a chopstick for easy stuffing of the pieces;
- stuffing;
- sewing machine;
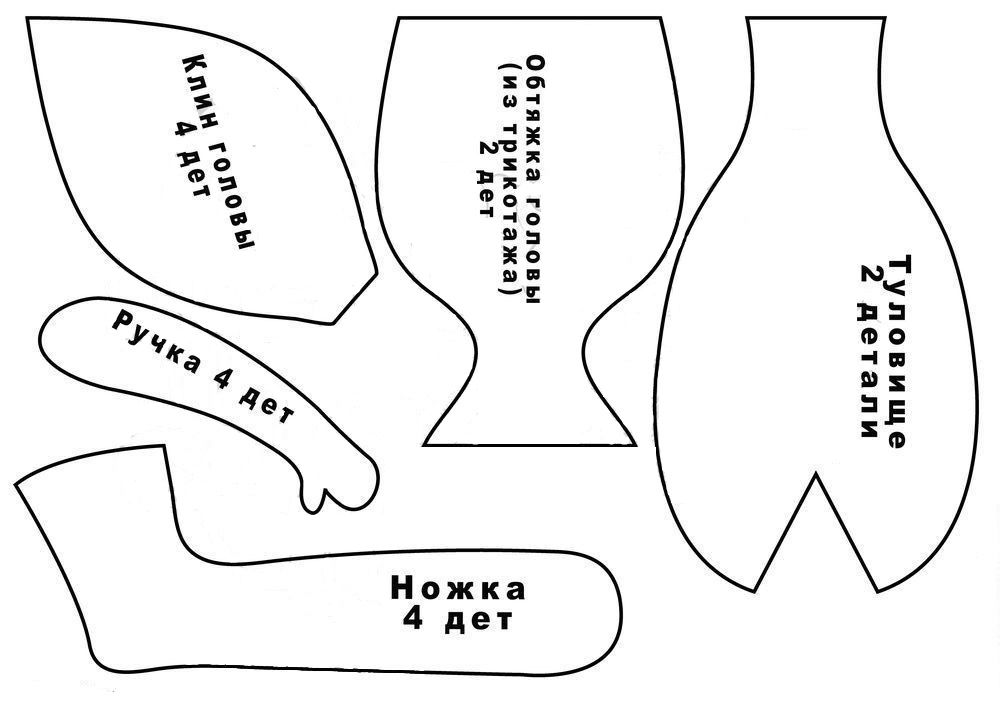
- patterns (attached below);
- buttons;
- glue gun;
- pins.
Pattern
Illustration 1
Illustration 2
Illustration 3
Step 4
Print and cut them out. You can change the size of the patterns, but make sure to maintain the proportions of all the pieces.
How to Sew a Doll with Your Own Hands: Master Class
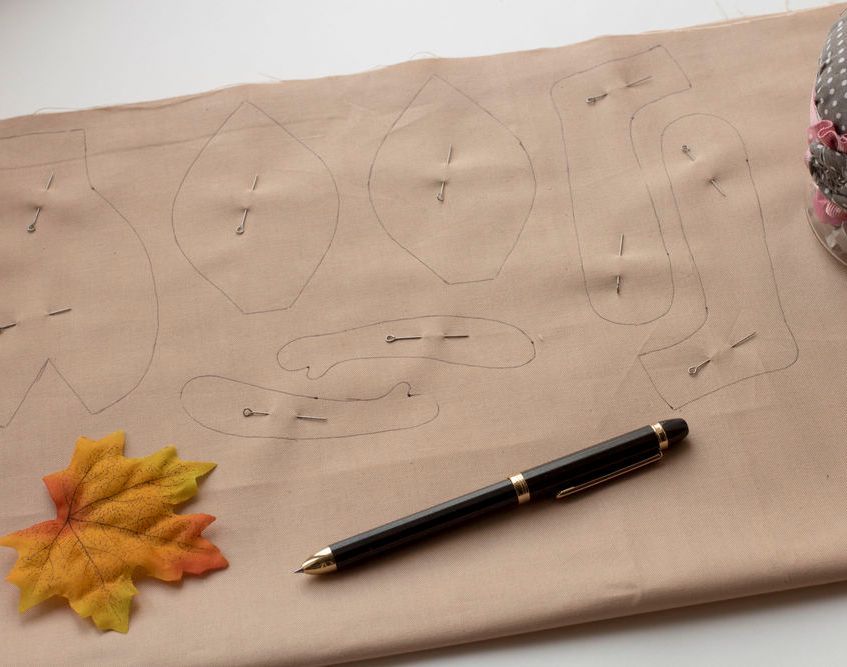
Transfer the patterns onto the fabric: the head cover onto 1 layer of knit fabric, and all the rest onto cotton folded in half. Pin all the pieces together.
Illustration 5
Step 6
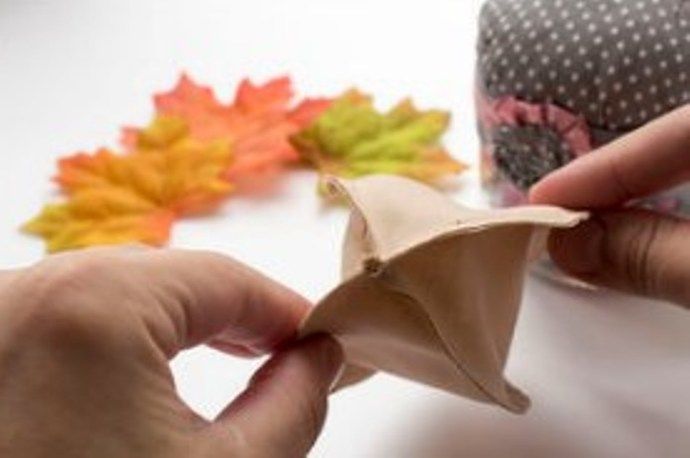
Fold the head wedges, sewn along one side, with right sides facing inward, pin them seam to seam, and stitch. Leave an opening at the bottom unstitched for stuffing!
Illustration 7
Step 8
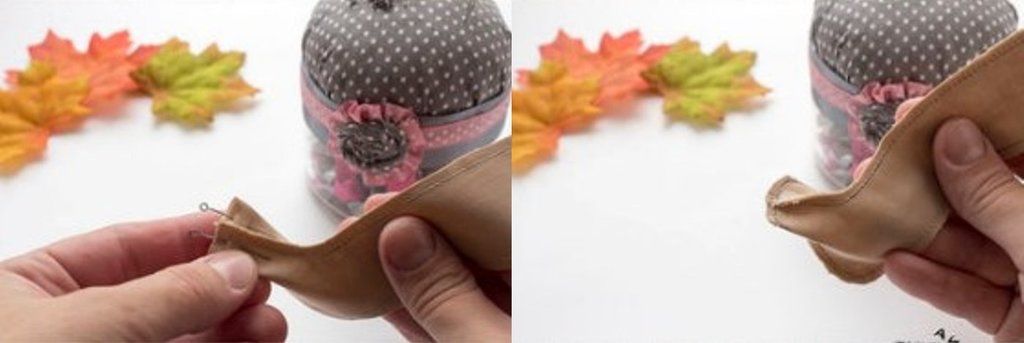
Now for the leg. Fold the foot as shown in the photo. Stitch in a semicircle.
Illustration 9
Step 10
For the torso, pinning the dart, stitching it, and trimming the excess is not required, but recommended. This makes the body more rounded.
Turn the pieces right side out.
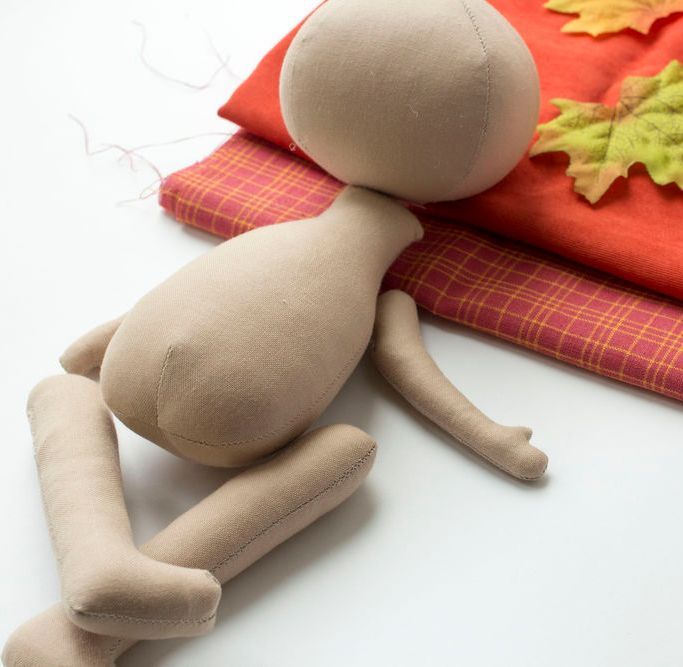
Stuff the pieces quite firmly (the legs and neck as firmly as possible).
Illustration 11
Step 12
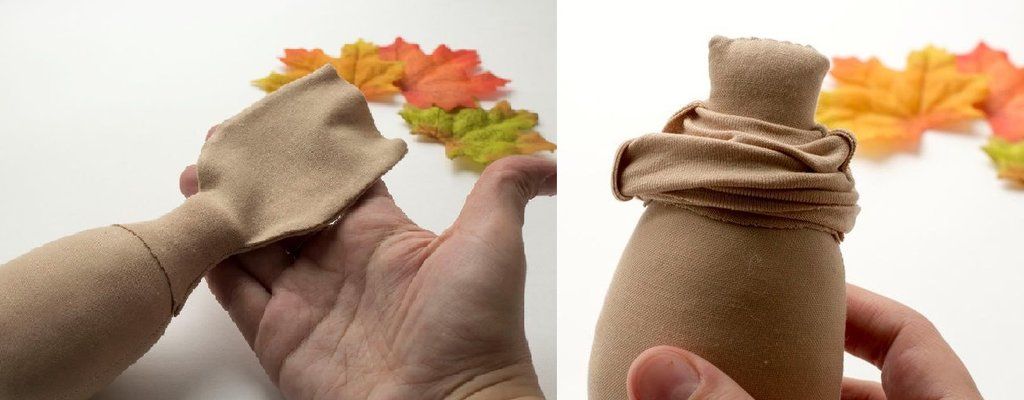
Take the knit piece and pull it over the neck. Slide it all the way down onto the body.
Illustration 13
Step 14
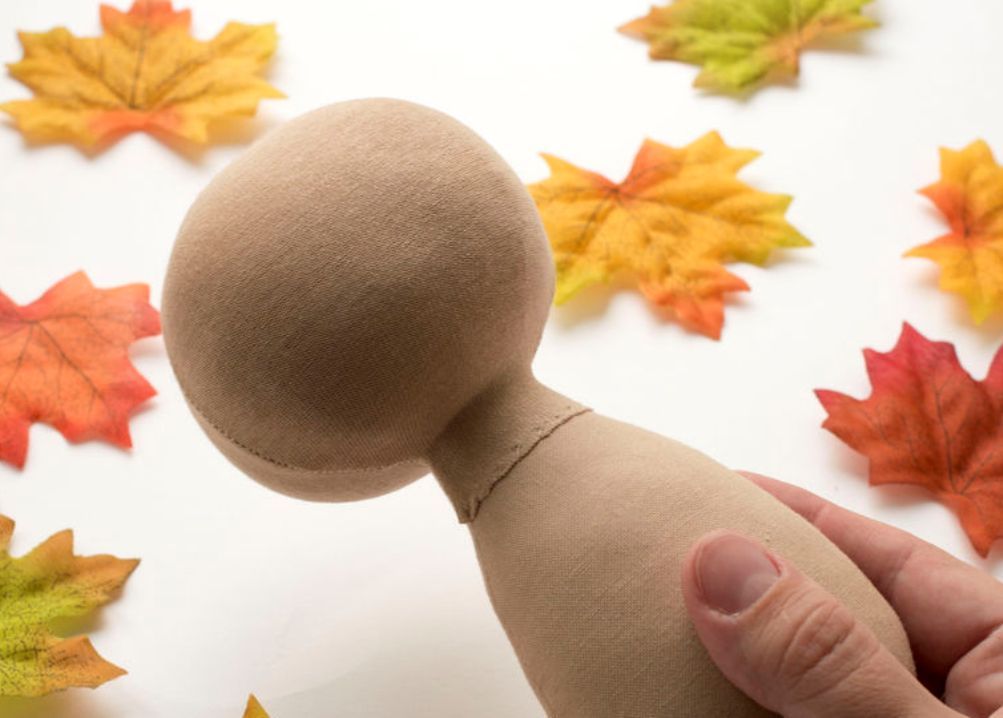
Sew the head on with blind stitches in two rounds, positioning the wedge seams on either side of the center of the face. Pull the knit piece over the sewn-on head. Neatly sew the bottom and cinch the top, shaping the crown of the head.
Illustration 15
Step 16
Attach the legs. To do this, insert the needle into a button, then into the leg, pierce straight through the body, pass the needle through the second leg, and through the second button. Turn around and go back the exact same way. Pull the ends of the thread tightly and tie them off. If the buttons have 4 holes, repeat the pass in both directions.
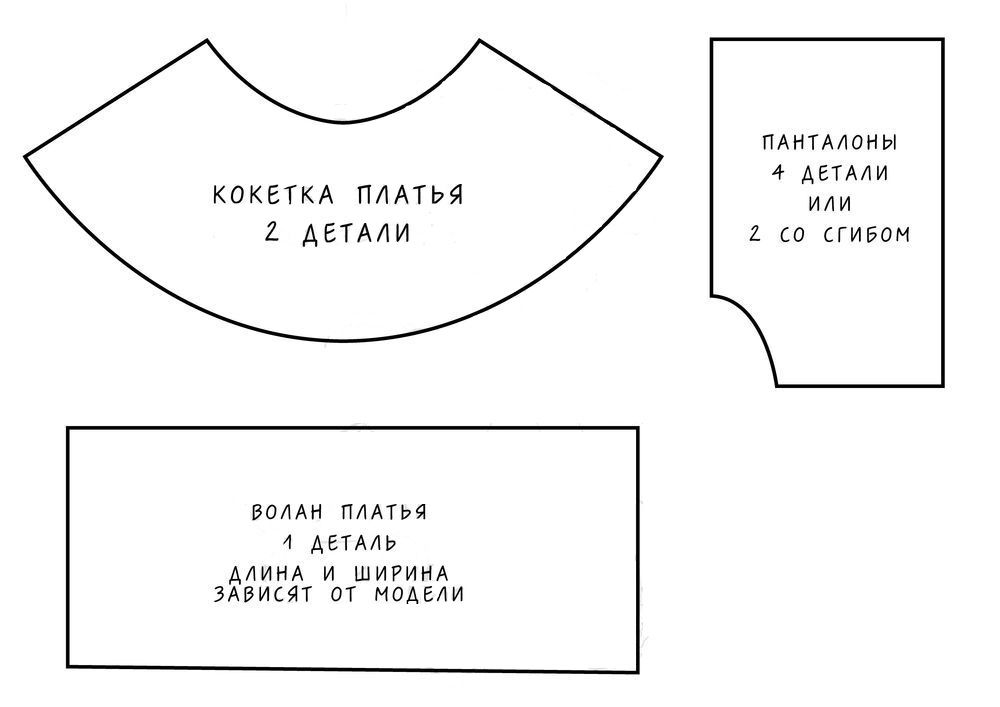
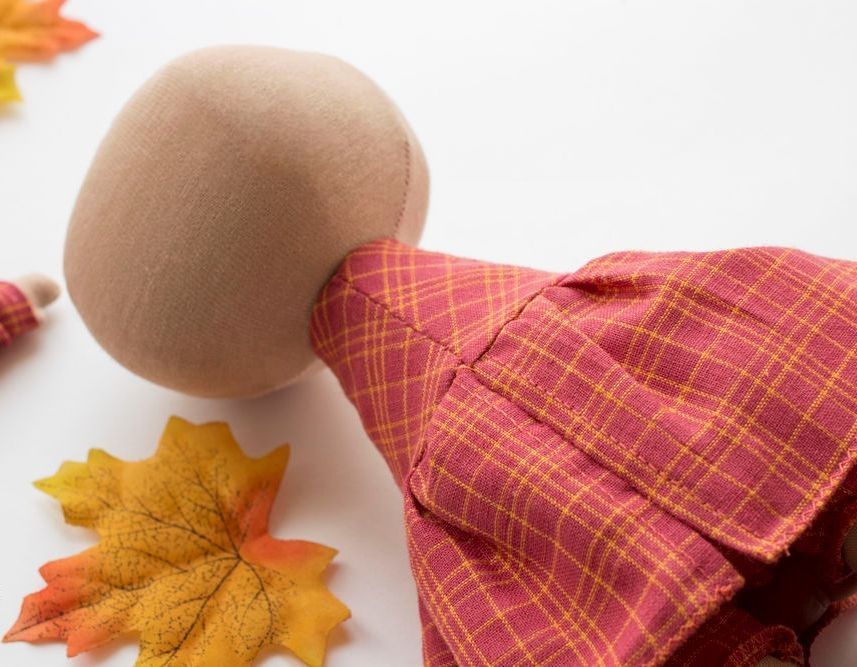
Next is sewing the doll's clothes: bloomers and a long-sleeved dress.
Pattern:
Illustration 17
Step 18
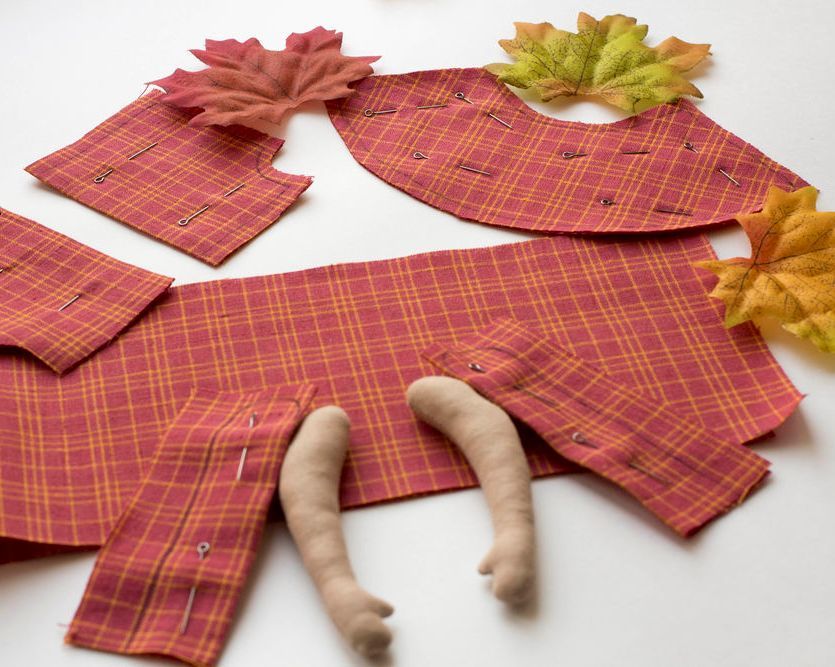
Print and cut them out.
There is no pattern for the sleeves: simply measure the arm at its widest part and the desired length of the piece. Draw a rectangle with a semicircle on top of it.
Illustration 19
Step 20
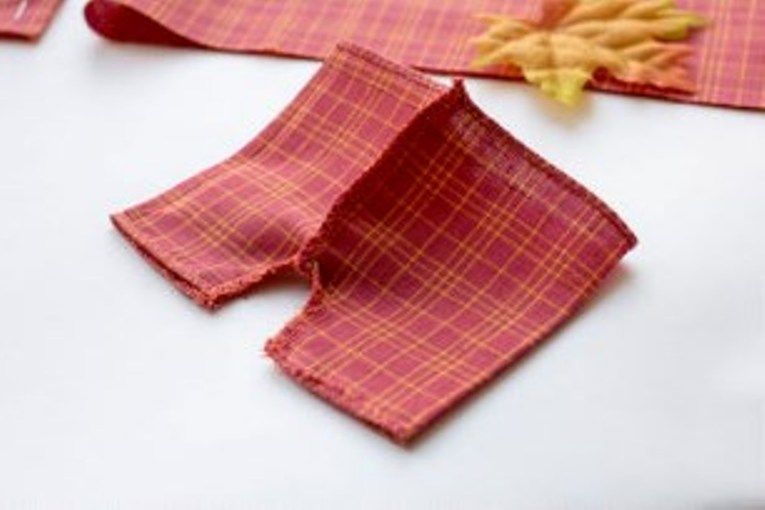
Sew the bloomers. Finish the raw edges.
Illustration 21
Step 22
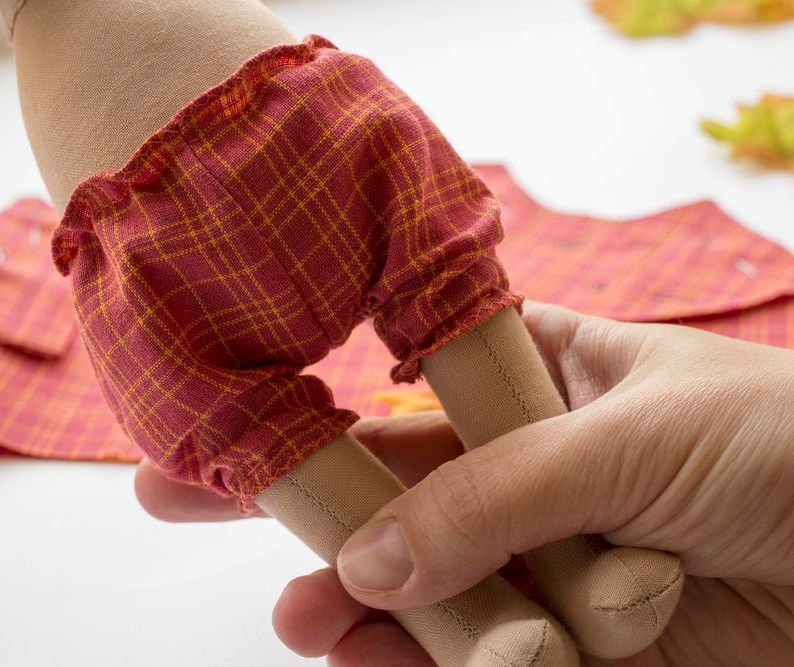
Turn right side out. Stitch with elastic thread along the top edge and along the bottoms of the pant legs. Try them on.
Illustration 23
Step 24
Now for the dress. Sew the yoke along three sides. Clip the upper corners for easy turning. Turn right side out and press.
Finish the ruffle along the bottom and side edges. Run a 5 mm gathering stitch along the top, and gather it to fit the width of the bottom of the yoke.
Baste and stitch in place. Remove the basting and press.
Fold under the bottom edge of the yoke and sew it to the ruffle with blind stitches.
Try on the dress and sew it up the back with blind stitches.
Illustration 25
Step 26
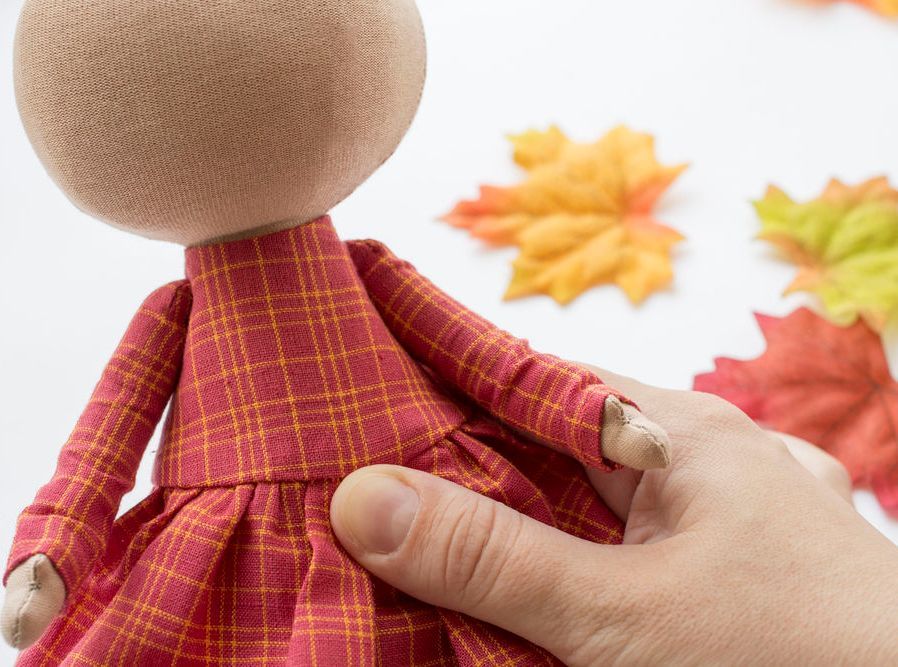
Attach the arms. To do this, pierce all the way through one arm with a needle, insert the needle into the body, pierce straight through it, pass the needle through the second arm, and return back. Tie a double knot and hide the thread inside the body.
Illustration 27
Step 28
Now it's time for the doll's hairstyle.
In our case, the hair wefts are glued on, so it is best to wrap the doll itself in a plastic bag. If you are going to sew them on, there is no need to do this.
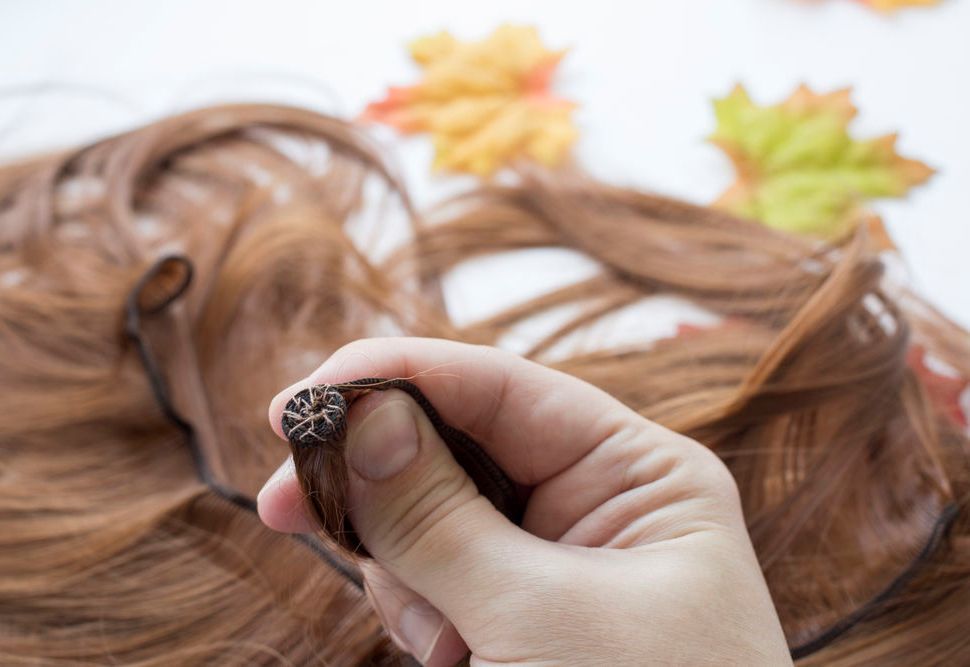
Roll up a small bundle of wefts 1 cm in diameter (wind and stitch it).
Illustration 29
Step 30
Take one piece of hair weft and glue it from one side seam to the other. Glue all subsequent layers starting slightly closer to the face than the previous ones.
Glue the 5th layer in the round. After that, glue the wefts without any gap from the previous row. Continue until only a small opening remains at the crown of the head. Glue the rolled-up weft bundle into this spot.
The hairs will stick straight up like a "palm tree." To fix this issue, spread them out to the sides and place a damp cloth folded in four layers over the head. Hold it there. Press with a hot iron through the cloth (a couple of seconds at most!).
Essentially, the doll is ready!
Paint on or sew/glue on her eyes, and apply blush.
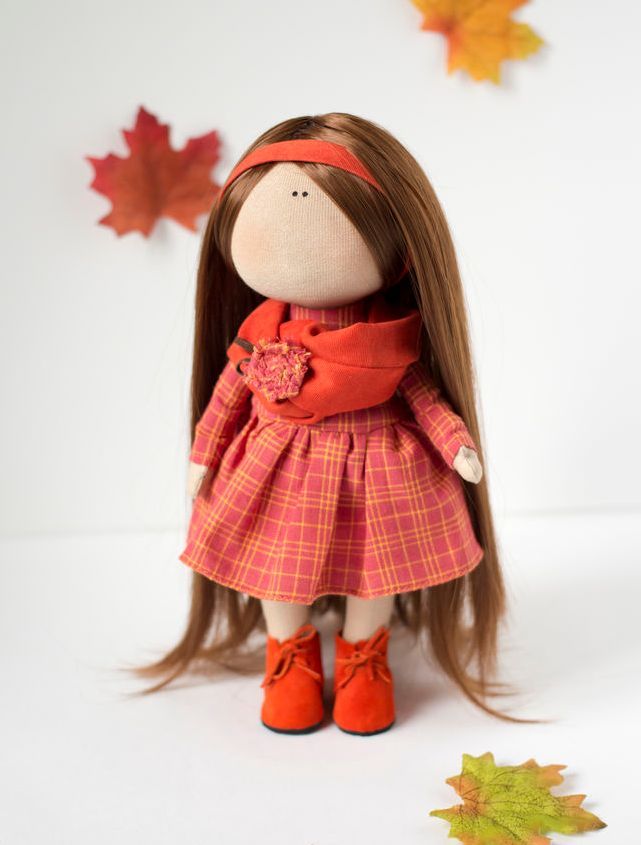
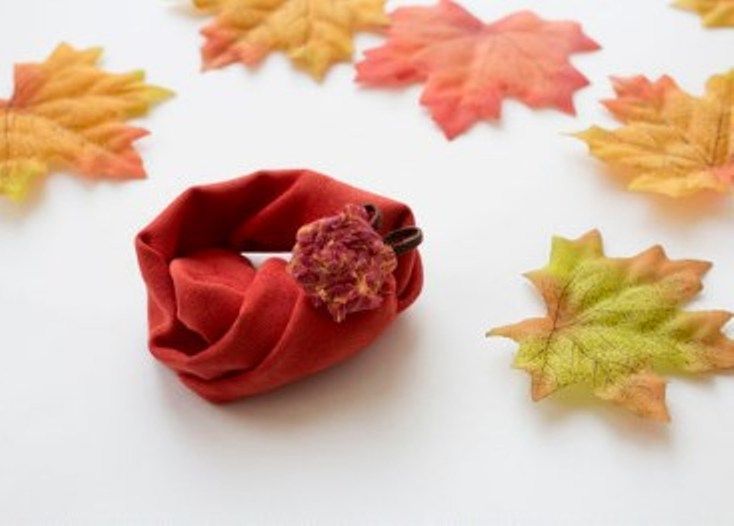
As an accessory, make her a scarf with a brooch.
To do this, cut out a rectangle of micro-corduroy. Fold with right sides facing inward, sew three sides, turn right side out, and sew the remaining short side closed with blind stitches, tucking the raw edges inside.
For the brooch, cut a strip of fabric, fringe it, roll it into a spiral while twisting the strip at the same time, and secure with blind stitches. Add two loops for a suede cord.

 BeginnerFree