A short master class on repairing stretched knit cuffs: when it is easier to replace the cuff, how to unpick the old one, align the pieces, sew with a 1.5-2 mm stitch length, press the seams, and sew the cuff back in using 4 matching points.
BeginnerFree
Translated
Things you will learn
If you have matching knit fabric from a garment you no longer wear, the easiest option is to unpick the old cuffs and sew on new ones.
If you do not have replacement fabric, turn the old cuffs wrong side out, align them, pin them, and sew by machine with a 1.5-2 mm stitch length.
Before sewing the side seam, check whether the cuff ribbing has stretched out; remove the excess width before inserting it back into the sleeve.
To sew the cuff in evenly, divide both the sleeve and the cuff into 4 sections, mark them with pins, and match the control points.
What you will get
A stretched and worn sleeve edge looks neat again: the cuff is trimmed along an even line, the seams are pressed open, and the edge is sewn back into the sleeve and overcast. The source photos show the before and after of this repair.
Materials and tools
Materials
A sweatshirt, jacket, or other knit garment with worn cuffs, the source especially refers to workwear
Matching knit fabric for a new cuff, needed only for the simplest option, when the cuff is replaced completely
Thread for machine stitching, for the seam, overcasting the edge, and sewing the cuff back in
Tools
Seam ripper, used to remove the old sleeve seam
Tailor's chalk or a sliver of soap, for marking an even line on the cuff
Pins, for pinning the pieces and marking 4 control points
Sewing machine, the source uses a 1.5-2 mm stitch length
Scissors, after machine stitching, cut the fold and clean up uneven threads
Steam iron, for pressing the seams open; press wool through gauze or a thin cloth
Preparation
Assess the cuffs
If the cuffs are only stretched and worn along the edge, you can restore them with this master class. If you have matching knit fabric for replacement, the source suggests an easier method: unpick the old cuffs and sew on new ones.
Work on both cuffs the same way
When aligning the cuffs, check that both pieces are the same width. The source calls this out separately, and it matters if you want the sleeves to look like a matched pair after repair.
The simplest option: replace the cuffs
If you have a suitable knit piece, a full replacement will be faster than repairing the old edge.
Unpick the old cuffs and sew on new ones
Use knit fabric from a garment you no longer wear: you can cut new cuffs from it. In that case, simply unpick the stretched or torn pieces and sew on the new ones.
If you have replacement fabric, you can unpick the old cuff and sew on a new one.
When to choose replacement
This method works if you have fabric of a similar weight and color. If you do not have a replacement, move on to restoring the old cuff.
Unpick and align the old cuffs
Remove the sleeve seam
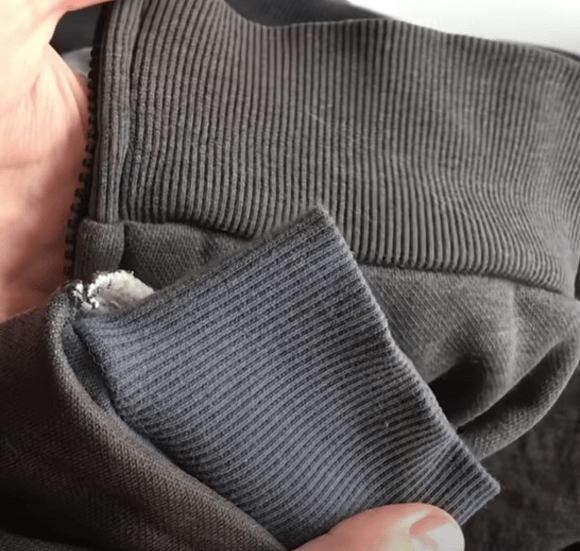
Use a seam ripper to carefully remove the seam that holds the cuff to the sleeve. Work slowly so you do not damage the main sleeve fabric.
First, remove the old sleeve seam.
Align the cuffs from the wrong side
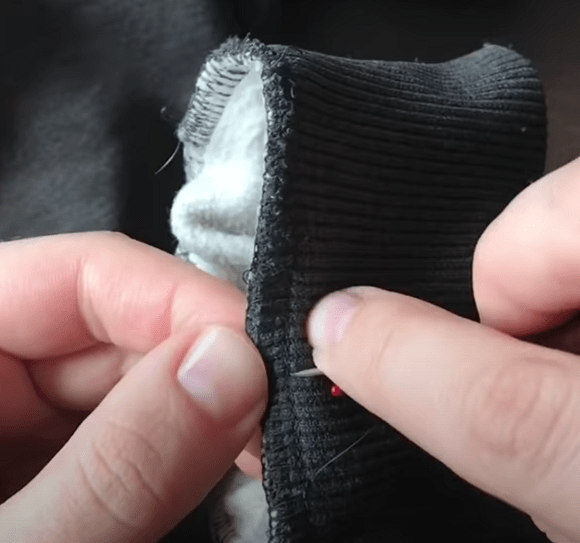
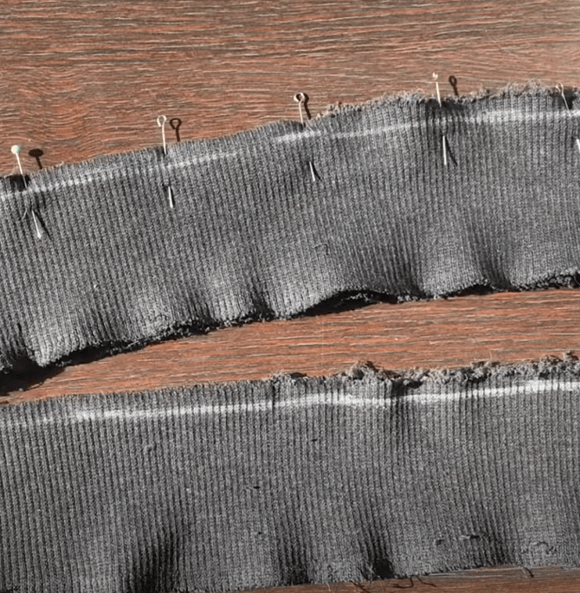
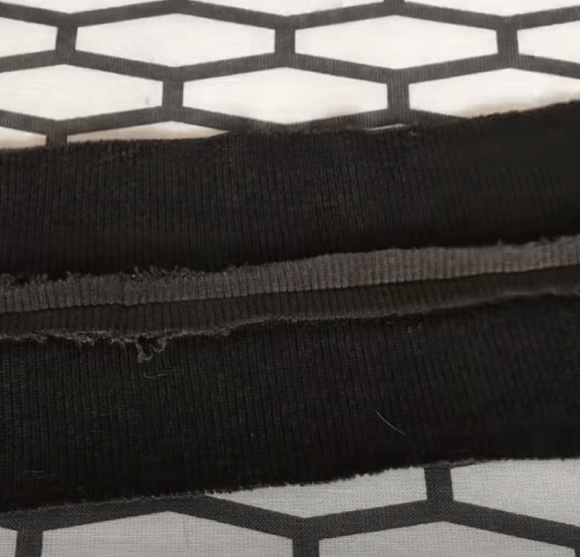
Turn the cuffs wrong side out. Mark a straight line with tailor's chalk or a sliver of soap, check that both pieces are the same width, and pin them together.
Check the pieces by width and secure them with pins.
Check the pair
Both cuffs should end up the same width; otherwise the sleeves will look uneven after repair.
Stitch, cut the edge, and press
Sew the machine stitch
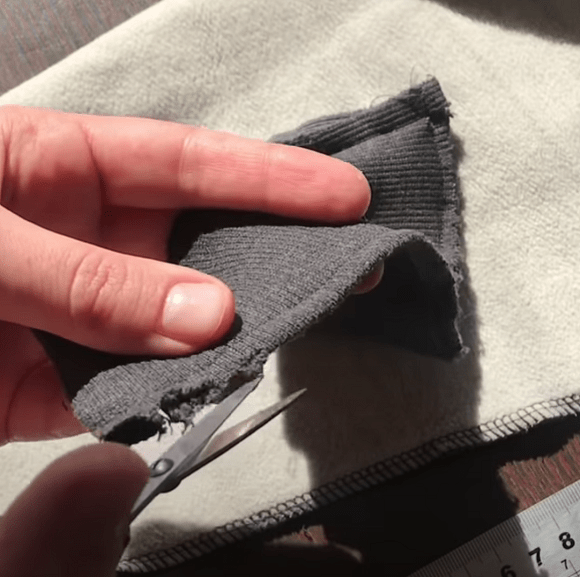
Sew the seam by machine with a 1.5-2 mm stitch length. After that, cut the fold, remove loose threads, and even out the edge.
After stitching at 1.5-2 mm, cut the fold and clean up uneven edges.
Press the seams open
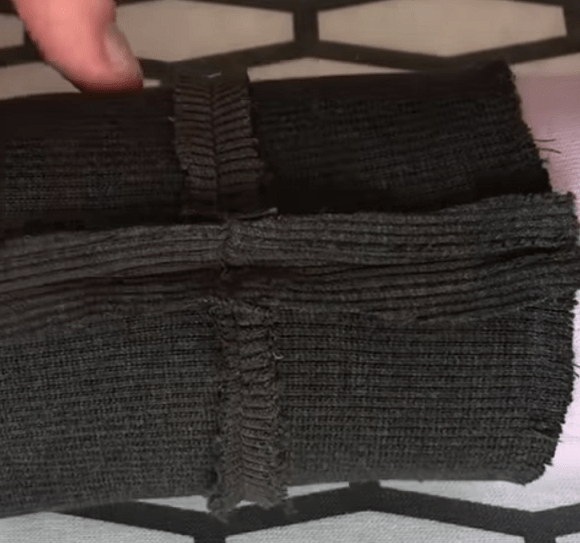
On both cuffs, press the seams open in opposite directions with a steam iron. If the garment is wool, press it through gauze or a thin cloth.
Press the seams open in opposite directions on both cuffs.
Use a pressing cloth for wool
The source specifically warns: press wool garments through gauze or a thin cloth.
Side seam and sewing the cuff into the sleeve
Sew the side seam and remove excess width
Before sewing the side seam, check whether the cuff ribbing has stretched out. If it has, remove the excess width. Press the finished side seam open again in opposite directions.
Before sewing the side seam, check whether the cuff ribbing has stretched out.
Do not skip the width check
If you leave the stretched width as it is, the cuff may still look loose after repair.
Divide the sleeve and cuff into 4 sections
To sew the cuff in quickly and evenly, divide the sleeve into 4 sections and mark them with pins. Do the same with the cuff, then match the control points.
Stitch and overcast the edge
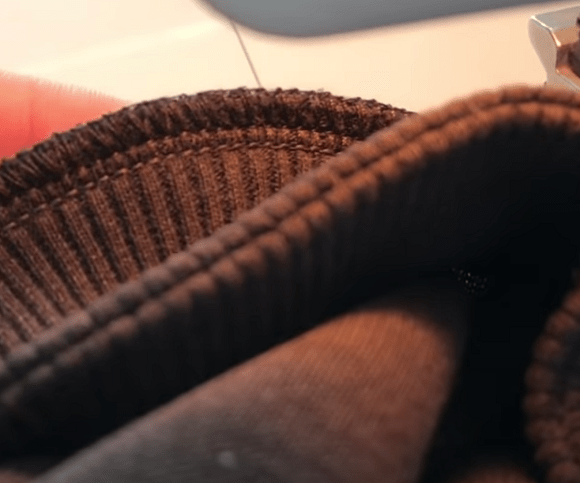
After matching the control points, sew the cuff into the sleeve. Sew the seam and overcast the edge so the cut edge stays neat after wear and washing.
After matching the control points, sew in the cuff and overcast the edge.
Finish and variations
Finish
Lightly press the garment along the seam
After the repair, the source recommends lightly pressing the garment along the seam so the insertion area looks neat.
You do not have anything suitable to cut new cuffs from.
Likely cause
There is no donor garment or matching rib knit in the right color and weight.
How to fix it
Use the main method from the material: unpick the old cuffs, align them, stitch them, cut the fold, and sew them back in.
The cuffs come out different widths
Problem
After aligning, one cuff is wider than the other.
Likely cause
The pieces were not compared before stitching.
How to fix it
Before machine stitching, mark the line with chalk or a sliver of soap, compare both cuffs by width, and only then pin them.
The cuff still looks stretched after repair
Problem
The edge looks loose and does not hold its shape.
Likely cause
The excess width of the stretched ribbing was not removed before the side seam.
How to fix it
Before sewing the side seam, check the cuff width. If the ribbing is stretched, remove the excess, then sew the side seam and press it open.
The cuff was sewn in unevenly
Problem
After insertion, the fabric is distributed unevenly.
Likely cause
The sleeve and cuff were not divided into control sections.
How to fix it
Before stitching, divide both the sleeve and the cuff into 4 sections, mark them with pins, and match these points while sewing.
?FAQ
Is it better to replace the cuffs or restore the old ones?
If you have matching knit fabric from a garment you no longer wear, it is easier to unpick the old cuffs and sew on new ones. If you do not have replacement fabric, use this master class to restore the old cuff.
What stitch length should I use for the repair?
The source uses a machine seam with a 1.5-2 mm stitch length before cutting the fold and cleaning loose threads from the edge.
Why check the cuff width before sewing the side seam?
If the cuff ribbing has stretched out, the excess width needs to be removed before the side seam. Otherwise the cuff will remain too loose.
Why divide the sleeve and cuff into 4 sections?
It makes it easier to match the pieces without twisting: mark the sleeve in 4 places with pins, mark the cuff the same way, then match the control points.
How should I press a wool garment?
The source recommends pressing the seams open with a steam iron, and always pressing wool through gauze or a thin cloth.
Your project
Log in to track your project, attach photos, and publish your result into the shared feed.

 BeginnerFree