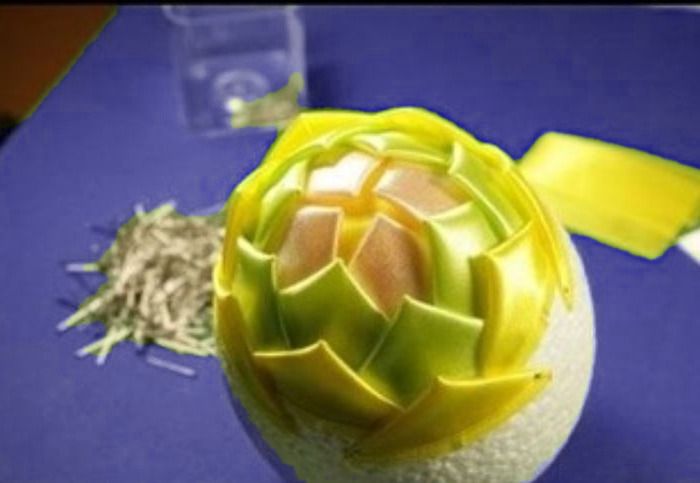
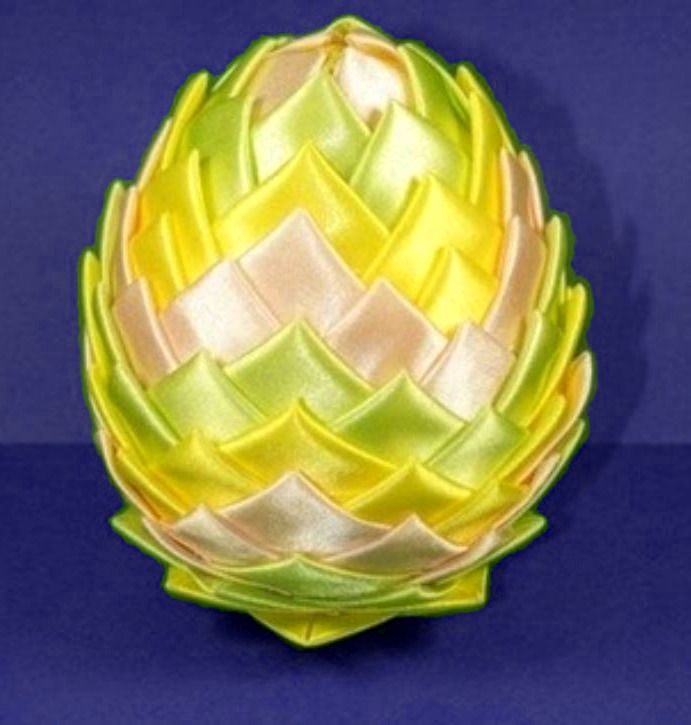
A Christmas tree looks especially festive with pinecones on it, but natural cones are rarely available. Instead, make as many decorative pinecones as you want by hand.
BeginnerFree
Translated
Instructions
Step 1
A Christmas tree looks especially festive with pinecones on it, but natural cones are rarely available. I suggest not waiting around—make pinecones yourself, in exactly the number and style you want.
Illustration 2
Step 3
You need a foam base. It can be round, oval, conical—any shape. Your pinecone will take that shape. You can replace the foam base with any soft object of the right shape, even an egg-shaped form made from a sock and stuffed with filling. Make the scales from satin ribbons (or substitute any trim).
Illustration 4
Step 5
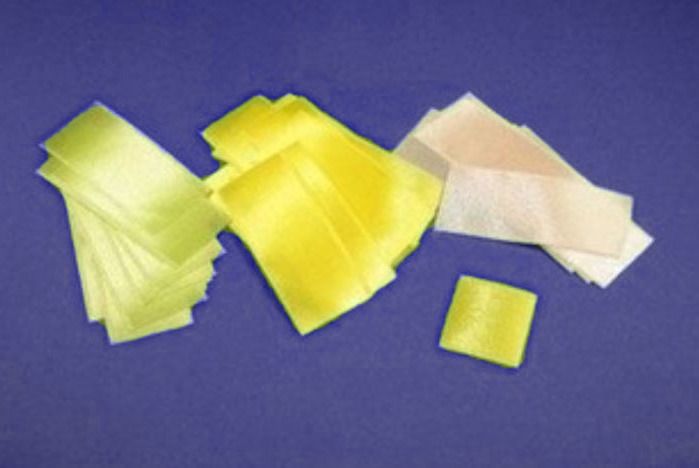
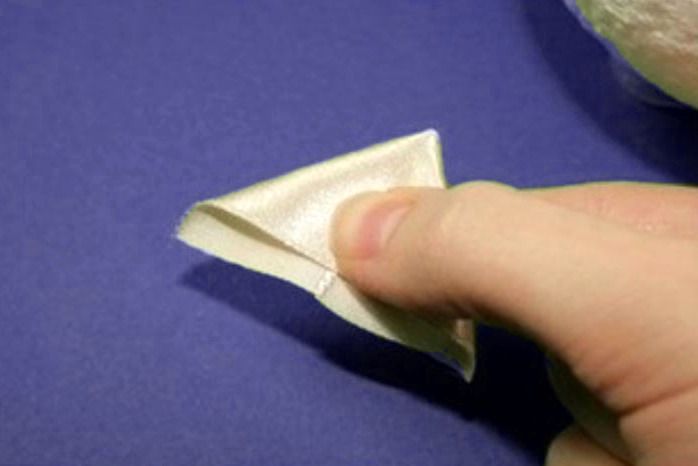
Cut the ribbons into pieces. Most are rectangular, but you need square blanks for the back and tip of the pinecone. I used three colors; make your own combination. The piece size depends on the ribbon width. Fold the pieces in half and seal one side with heat. Then turn the scale corner as shown in the photo.
Illustration 6
Step 7
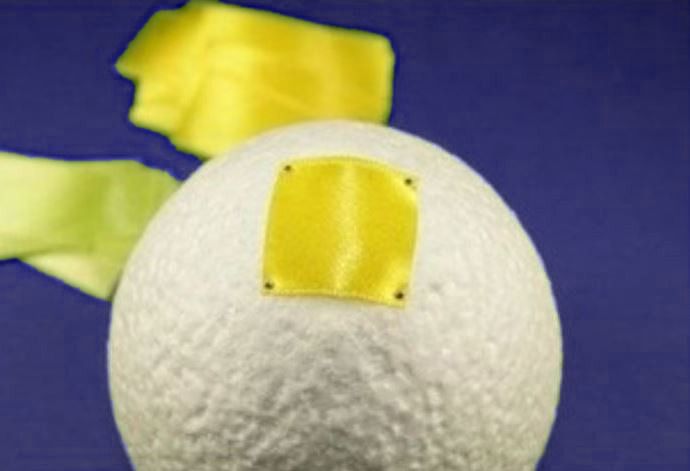
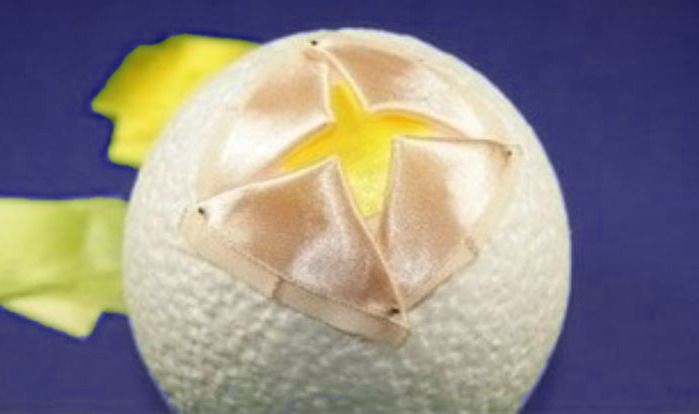
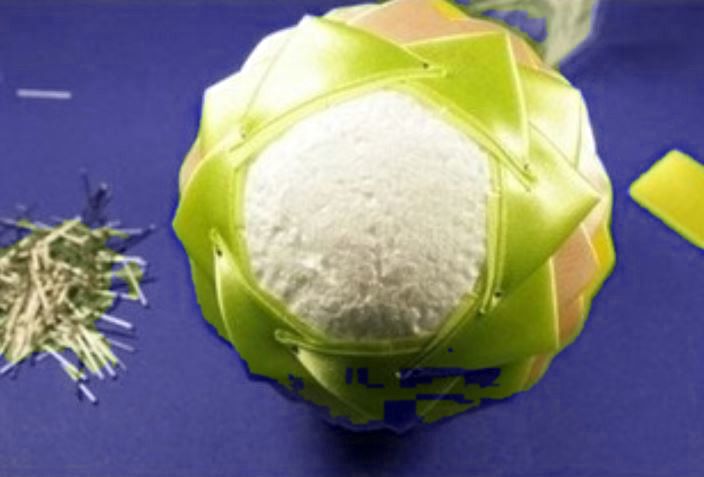
Start at the back. Place a ribbon square on the base and secure its corners with pins. You can use glue instead of pins, but pins are more convenient for me. It is not essential.
Illustration 8
Step 9
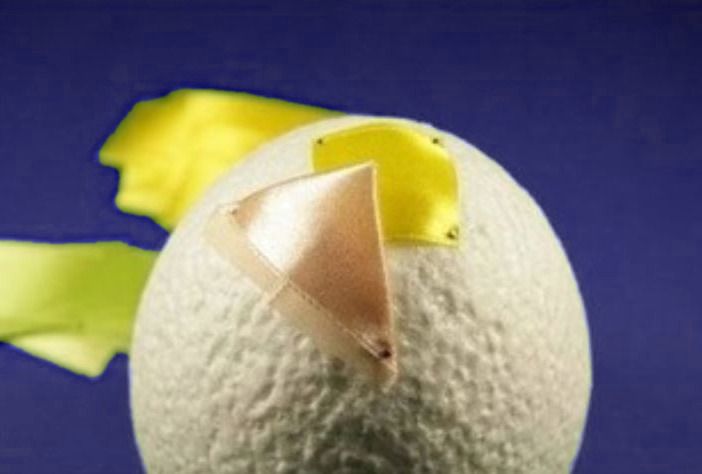
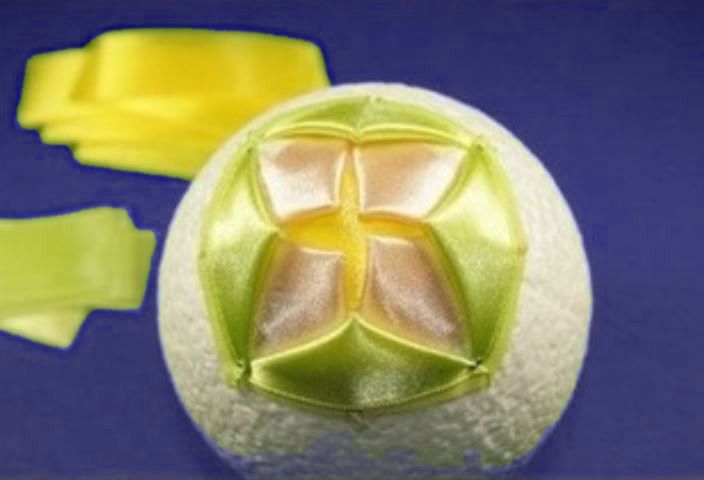
Then attach the first row of scales. Position them so their points almost reach the center of the square already secured to the base.
Illustration 10
Step 11
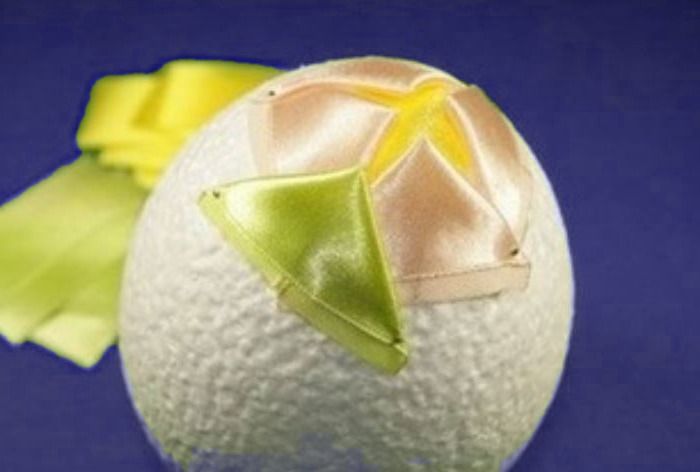
Pin the scales on one side only, leaving their upper corners free.
Illustration 12
Step 13
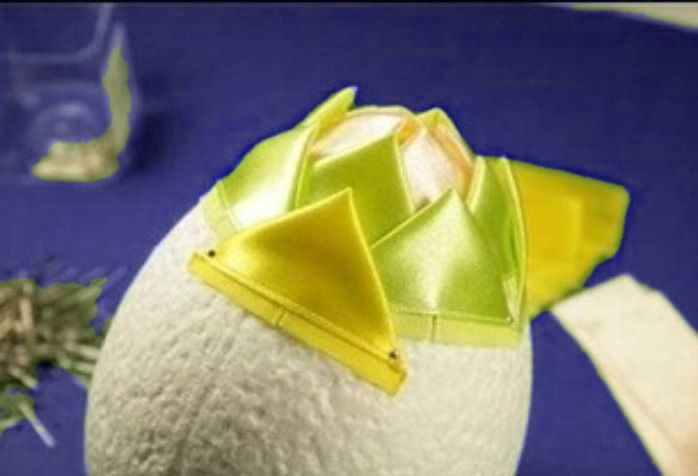
When one row of scales is finished, move to the second. Use ribbon of a different color, make more scales, and attach them in a staggered second row, dropping down by half a scale height.
Illustration 14
Illustration 15
Step 16
As the base diameter increases, the number of scales around the circumference increases too. Secure them while changing ribbon colors in each row, or however you like.
Illustration 17
Illustration 18
Step 19
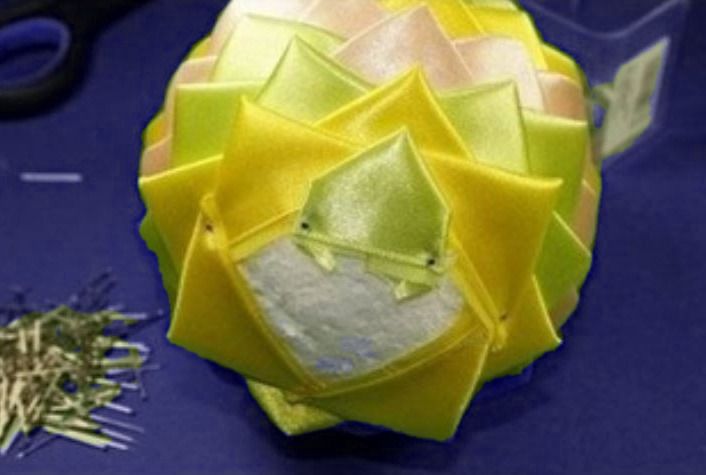
When you reach the back of the pinecone, shorten the triangular scales you are attaching by folding in the side corners.
Illustration 20
Illustration 21
Step 22
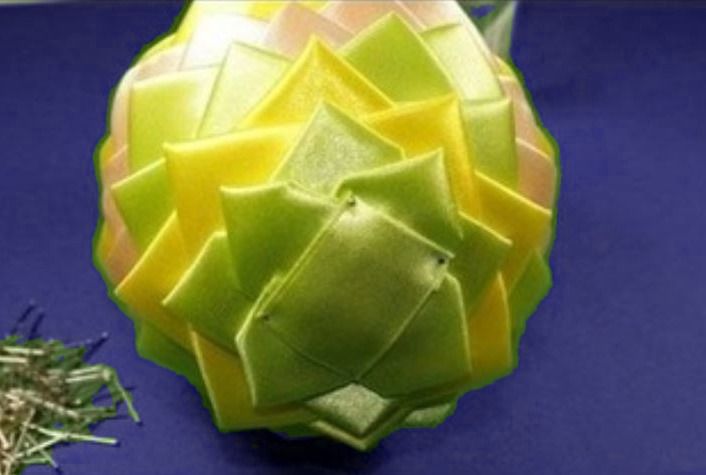
Attach a rectangular ribbon patch last.
Illustration 23
Step 24
That’s it—the pinecone is ready!
Illustration 25
Step 26
You can pin on a ribbon hanging loop and decorate the Christmas tree.

 BeginnerFree